Blog
Sew Your Own Stylish Planner Cover: A Step-by-Step Guide

Like many, I was feeling the urge for organization. What better way than with a beautiful planner? While I love the convenience of my smartphone, sometimes you just need to see your schedule laid out in front of you. Plus, there’s something so satisfying about putting pen to paper!
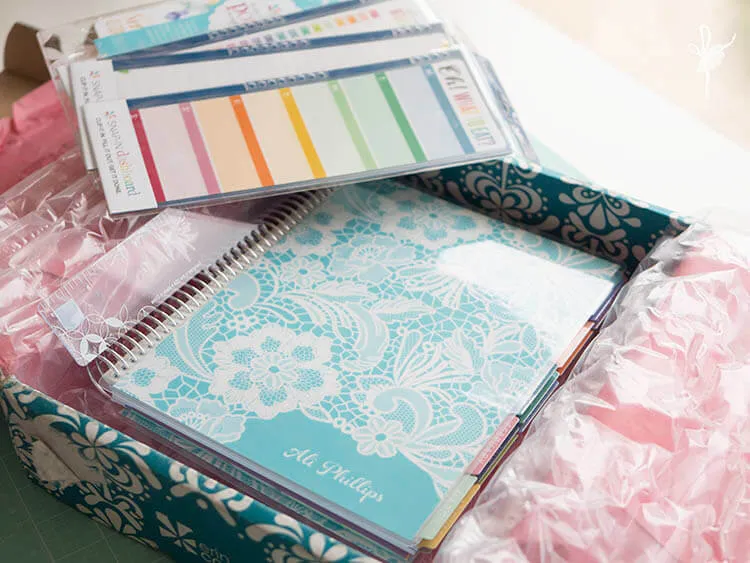
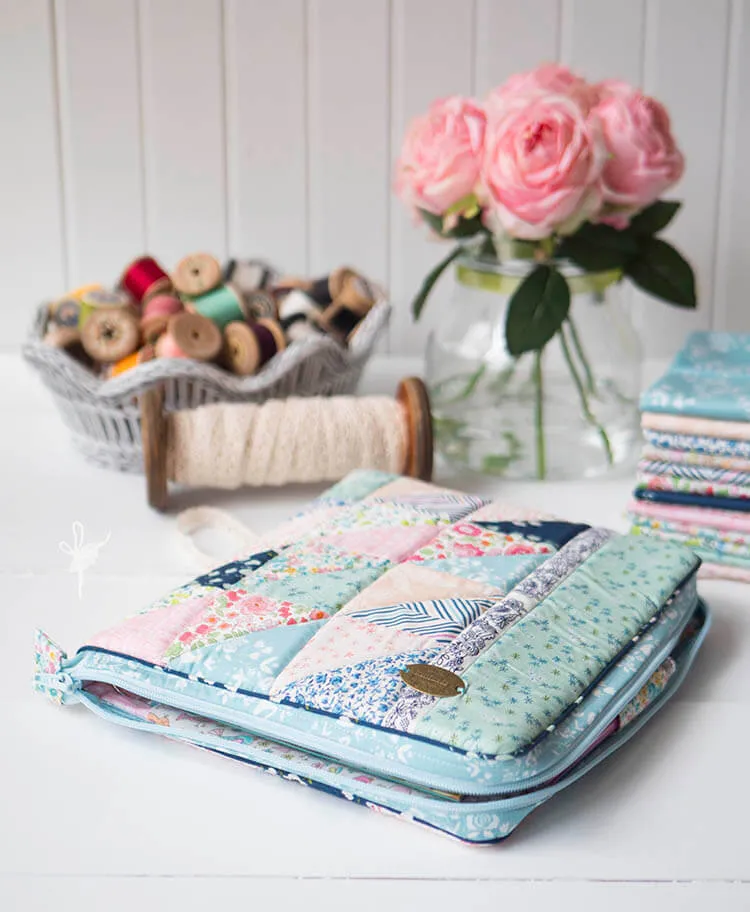
But when my Erin Condren Life Planner arrived, I knew I couldn’t leave it bare. As a sewist, I had to add my personal touch. Follow along as I show you how to sew a stylish, zippered, padded planner cover that will make staying organized even more enjoyable!
 erin condren life planner
Gathering Your Materials
- Fabric: Choose a variety of fabrics that complement each other. Think cotton, linen, or even quilting cotton for durability. I used a mix of Liberty lawn, Cosmo, Playground by Amy Sinibaldi, Little House on the Prairie, Yuwa, Les Fleurs, and a sweet birdie print.
- Zipper: Select a zipper that’s slightly longer than the width of your planner.
- Flex-foam: This will give your cover structure and padding.
- Batting: Optional, but adds extra padding and a luxurious feel.
- Basic sewing supplies: Sewing machine, thread, scissors, rotary cutter and mat (optional), ruler, marking tool, etc.
Creating the Patchwork Design (Optional)
-
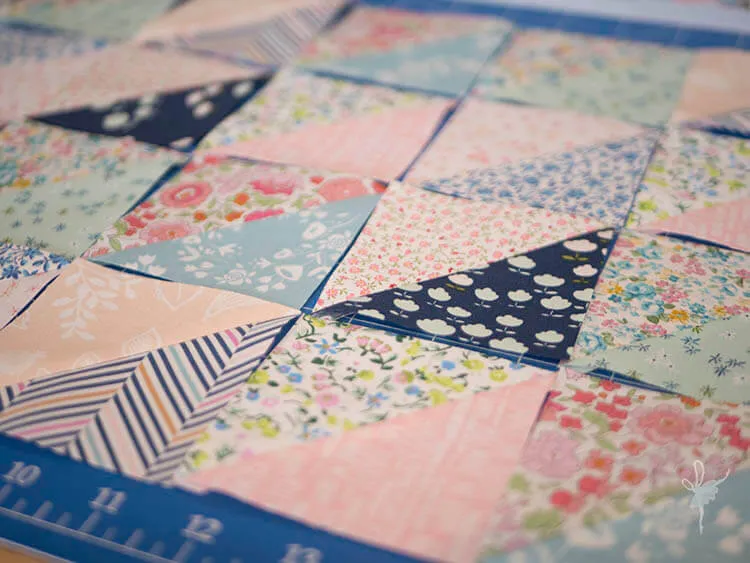
Choose a patchwork pattern: I opted for the classic four-at-a-time triangle method, which creates a dynamic and visually appealing design.
-
Cut your fabric: Using a rotary cutter and mat for precision, cut your fabric into squares. I chose 3.5″ squares for a finished size of 2.5″.
 patchwork layout
 -
Sew and press: Sew your squares together, following your chosen patchwork pattern. Be sure to press your seams for a professional finish.
Assembling the Cover
- Cut your fabric: Measure your planner’s height, width, and spine thickness. Add seam allowances to these measurements to determine the dimensions for your cover pieces (front, back, and spine). Cut out your fabric pieces accordingly.
- Interface your fabric: Fuse your chosen interfacing to the wrong side of your fabric pieces to provide stability and prevent stretching.
- Layer your fabrics: Place your outer fabric (right side down), flex-foam, and lining fabric (right side up) on top of each other. Baste the layers together to prevent shifting.
- Install the zipper: Following a zipper pouch tutorial, sew the zipper along the top edge of your cover.
- Sew the sides and bottom: With the right sides together, sew the sides and bottom of your cover. Remember to leave an opening for turning.
The Finishing Touches
-
Turn and press: Turn your cover right side out through the opening you left. Gently poke out the corners for a crisp finish and give everything a good press.
-
Topstitch: Edgestitch around the entire cover to secure the lining and add a professional look.
-
Add embellishments: Now comes the fun part! Personalize your cover with decorative stitching, buttons, charms, or anything else that speaks to your style! I added a handmade tag and some pretty ribbon.
 planner cover unzipped
Tips for Success
- Take accurate measurements: This is crucial for a cover that fits your planner perfectly.
- Use the right needle and thread: A universal needle (size 80/12) and all-purpose thread will work for most fabrics.
- Don’t be afraid to experiment: Play with different fabrics, colors, and embellishments to create a cover that truly reflects your personality.
Conclusion
Sewing your own planner cover is a rewarding project that allows you to combine your love of crafting with your desire for organization. The finished product is not only functional but also a beautiful and personalized accessory that you’ll cherish.
Give it a try and share your creations with me! You can also explore Robert Kline Art for more handmade gift ideas and inspiration. Happy sewing!
