Blog
How to Make Fabric Covered Picture Frames: A Step-by-Step Boho Guide

Do you have a few old picture frames gathering dust? Give them a boho makeover with this easy DIY fabric picture frame tutorial. Not only is this a fun and creative project, but it’s also a fantastic way to add a touch of personalized flair to your home decor or create unique handmade gifts for loved ones. And the best part? It’s budget-friendly and doesn’t require any special skills.
Let’s dive into the world of boho chic and transform those forgotten frames into treasured works of art!
Why Choose Boho Fabric Frames?
Boho style is all about embracing individuality, celebrating cultural influences, and surrounding yourself with items that tell a story. It’s about creating a space that feels warm, welcoming, and uniquely yours.
Boho fabric picture frames perfectly encapsulate this spirit. They allow you to blend vintage charm with modern aesthetics, infusing your space with a touch of free-spirited elegance. Plus, they make incredibly thoughtful and personalized gifts, especially for those who appreciate handcrafted items.
 A beautiful fabric covered picture frame in a boho pink pattern is sitting on a table with Christmas books and flowers. A pinterest graphic with title.
What You’ll Need to Make Your Own Fabric Picture Frame:
Before we begin, gather your supplies. Here’s what you’ll need:
- An old picture frame: Any size or material will work!
- Fabric scraps: Choose a fabric that speaks to your style – boho patterns, vintage florals, or bold geometrics are great choices. Make sure you have enough to completely cover the frame.
- Fabric spray adhesive: This ensures a strong bond between the fabric and the frame.
- Fabric glue or Mod Podge: This is optional but can be helpful for securing the edges.
- Paintbrush: (Optional) For spreading glue if you’re not using spray adhesive.
- Scissors: For precise fabric cutting.
- Scotch tape: Black tape works best for a seamless look on the backside of the frame.
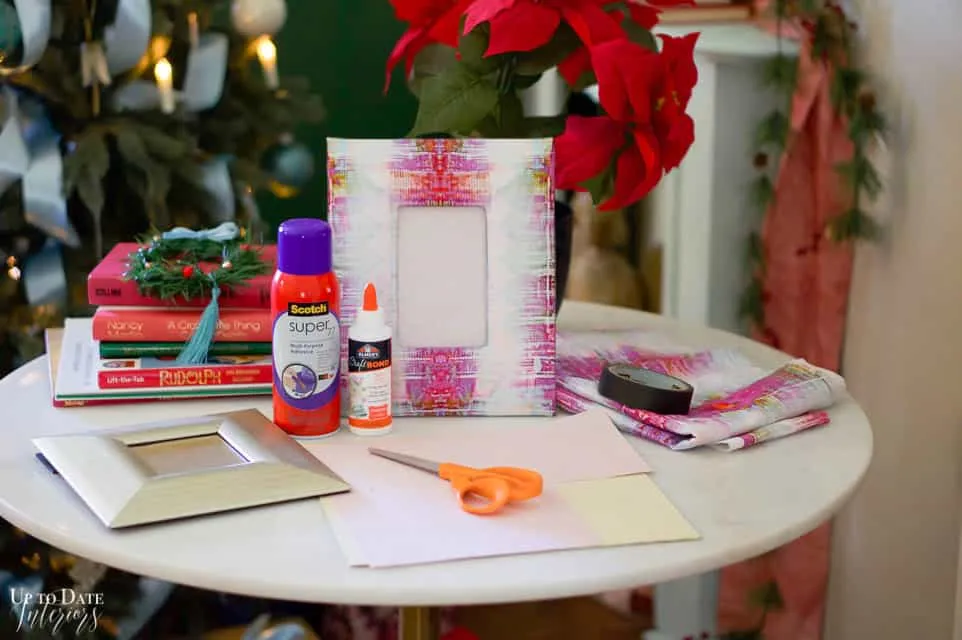 Supplies needed for a fabric covered picture frame sit on a white marble table in front of Christmas decorations.
Easy Steps to Create Your Own Boho Fabric Picture Frame
Now, let’s bring those creative visions to life! Follow these easy steps to create your own masterpiece:
Step 1: Prep Your Workspace and Frame
- Start by disassembling your picture frame. Remove the glass and backing, setting them aside for later.
- Protect your work surface by covering it with newspaper or wax paper.
Step 2: Measure and Cut Your Fabric
- Lay your chosen fabric flat on your work surface with the wrong side facing up.
- Place the picture frame on top of the fabric.
- Using a pen or fabric marker, trace around the frame, adding an extra inch or two to each side for folding over the edges.
- Carefully cut out the traced fabric piece.
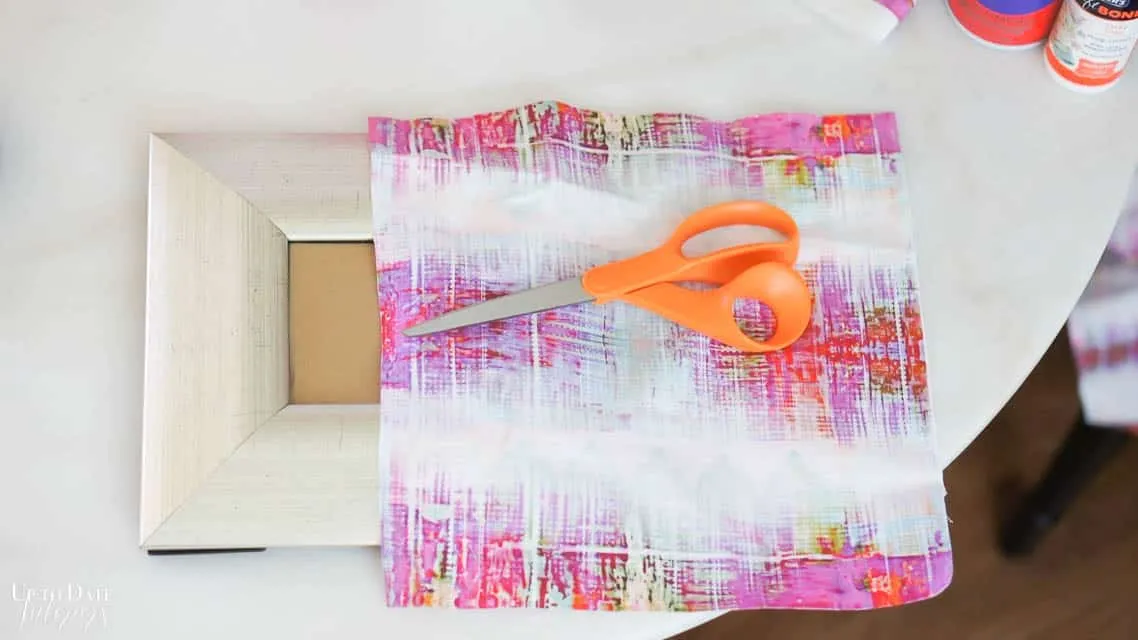 A cut piece of pink boho fabric, scissors, and a silver frame lay on a white table.
Step 3: Adhere the Fabric to the Frame
- If using spray adhesive, apply a light and even coat to the front of the frame.
- Carefully center the frame onto the wrong side of the fabric, pressing down firmly to ensure a secure bond. Smooth out any air bubbles or wrinkles.
- If using glue or Mod Podge, apply a thin layer to the frame using a paintbrush. Carefully lay the fabric over the frame and smooth out any air bubbles. Allow it to dry completely before moving to the next step.
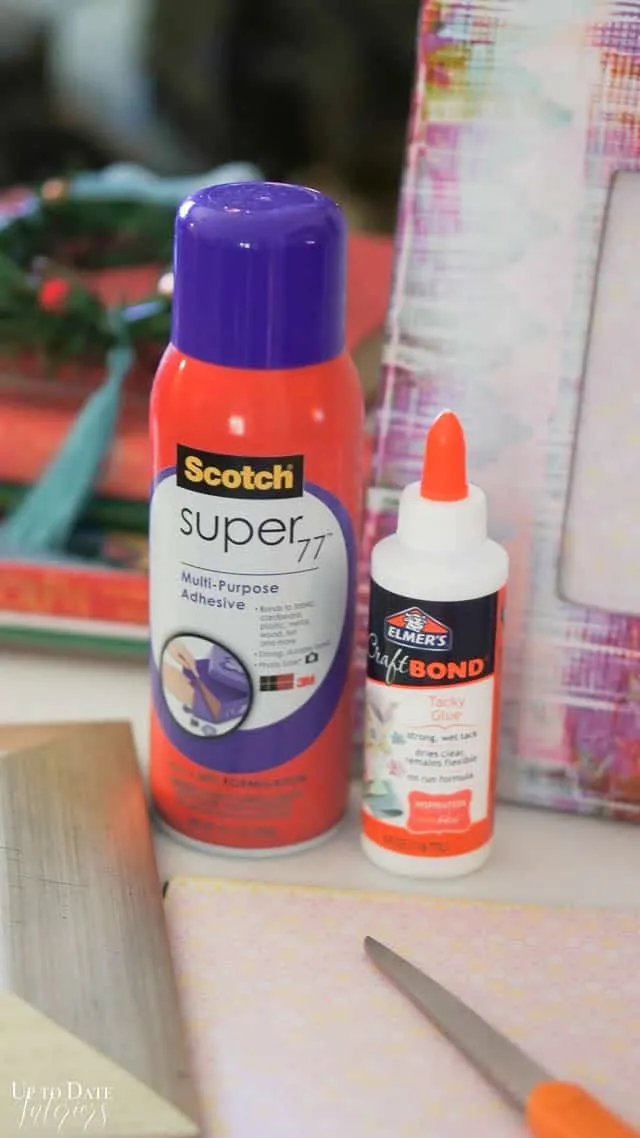 Spray glue and craft glue sit nearby a DIY fabric covered frame.
Step 4: Create the Opening for Your Picture
- Flip the frame over so the fabric-covered side is facing down.
- Carefully cut an “X” shape from corner to corner in the center of the fabric where the photo opening is located. Be sure not to cut too close to the frame’s edge – leave about an inch of fabric around the opening.
Step 5: Secure the Edges
- Fold the excess fabric around the edges of the frame, securing it to the back with Scotch tape.
- For a clean finish, use black tape to cover the raw edges of the fabric on the backside of the frame.
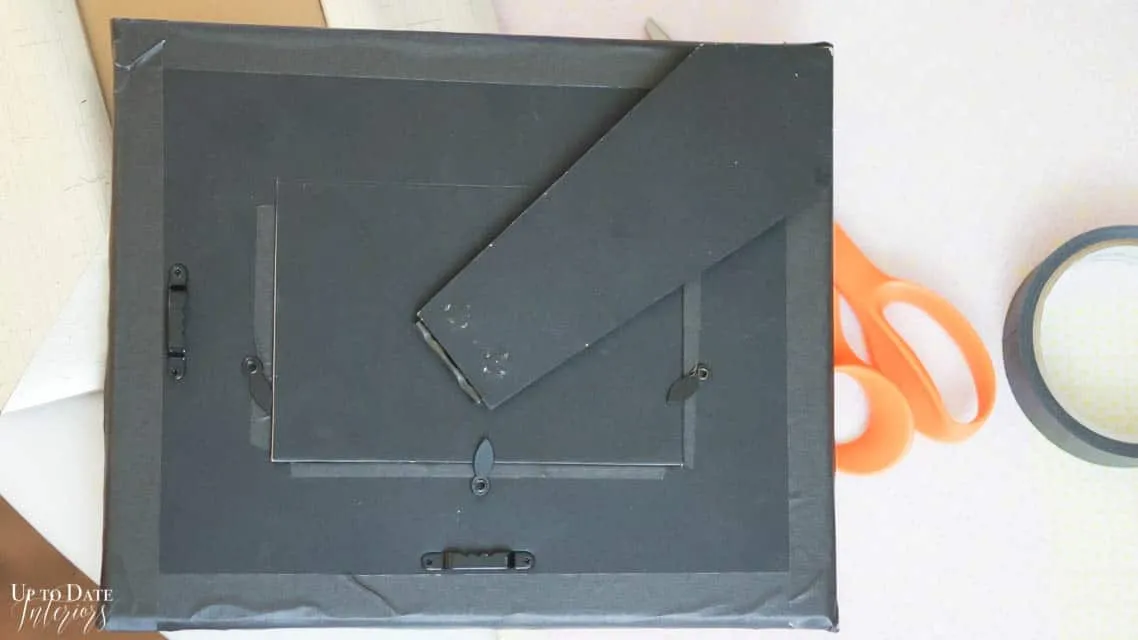 A diy fabric frame is face down to show black washi tape for clean edges.
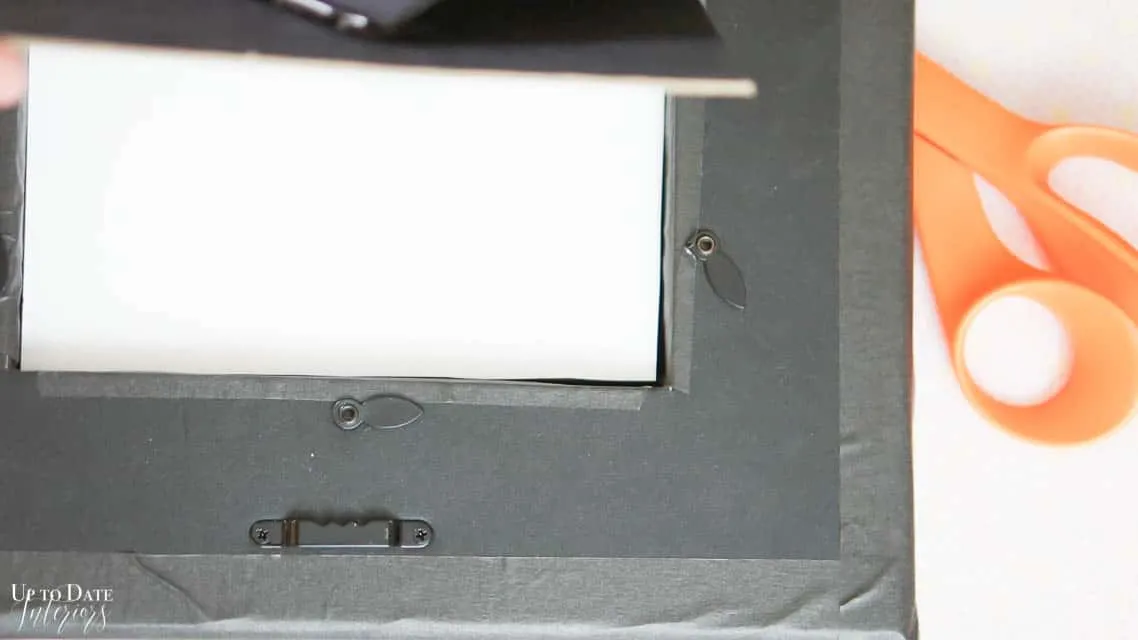 A close up of how to cover a picture frame with fabric is is face down to show black washi tape for clean edges.
Step 6: Reassemble and Admire Your Handiwork
- Carefully reinsert the glass and backing into the frame.
- Add your favorite photo, a piece of artwork, or even some decorative paper to complete the look!
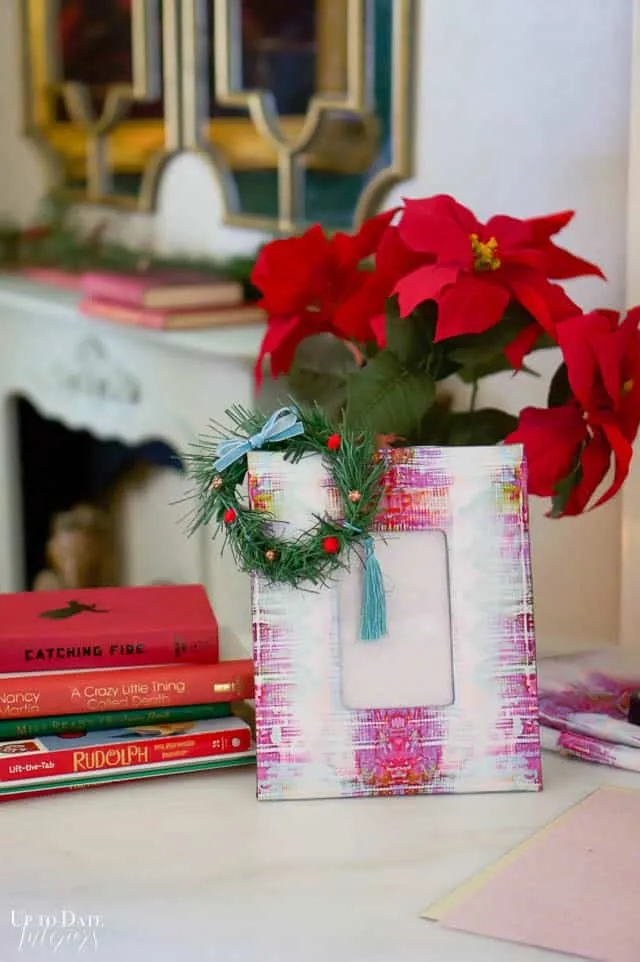 How to make fabric picture frames with a beautiful boho pink fabric covered frame and Christmas decor.
Tips for Creating Stunning Boho Fabric Frames:
- Mix and Match Fabrics: Get creative and combine different fabric patterns and textures for a truly unique and eclectic look.
- Embellish It: Add extra personality with decorative trims, buttons, beads, or ribbons.
- Go Beyond Photos: Use your fabric-covered frames to display pressed flowers, inspirational quotes, or even small pieces of artwork.
- Think Outside the Traditional Frame: Don’t limit yourself to just rectangular frames. Try covering circular frames, oval frames, or even heart-shaped frames.
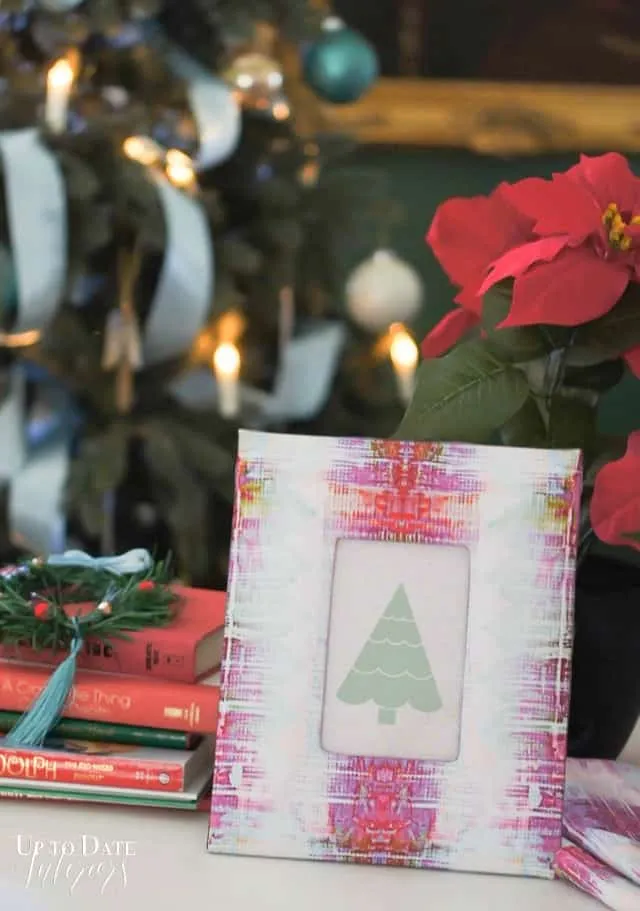 A finished DIY fabric frame with pink boho pattern and a Christmas tree picture. It sits on a white marble table with red books and a Christmas tree in the background.
Ready to Create Your Own Masterpieces?
There you have it – a simple and rewarding project that transforms ordinary picture frames into personalized works of art.
I encourage you to explore the endless creative possibilities of DIY fabric picture frames. Experiment with different fabrics, colors, and embellishments.
Share your creations with me in the comments below. I can’t wait to see what you come up with!
For more inspiring DIY projects and creative ideas, browse the Robert Kline Art website and discover a world of handcrafted wonders. Let’s make something beautiful together!
