Blog
DIY Fabric Covered Storage Boxes: Upcycle Your Way to Organized Bliss
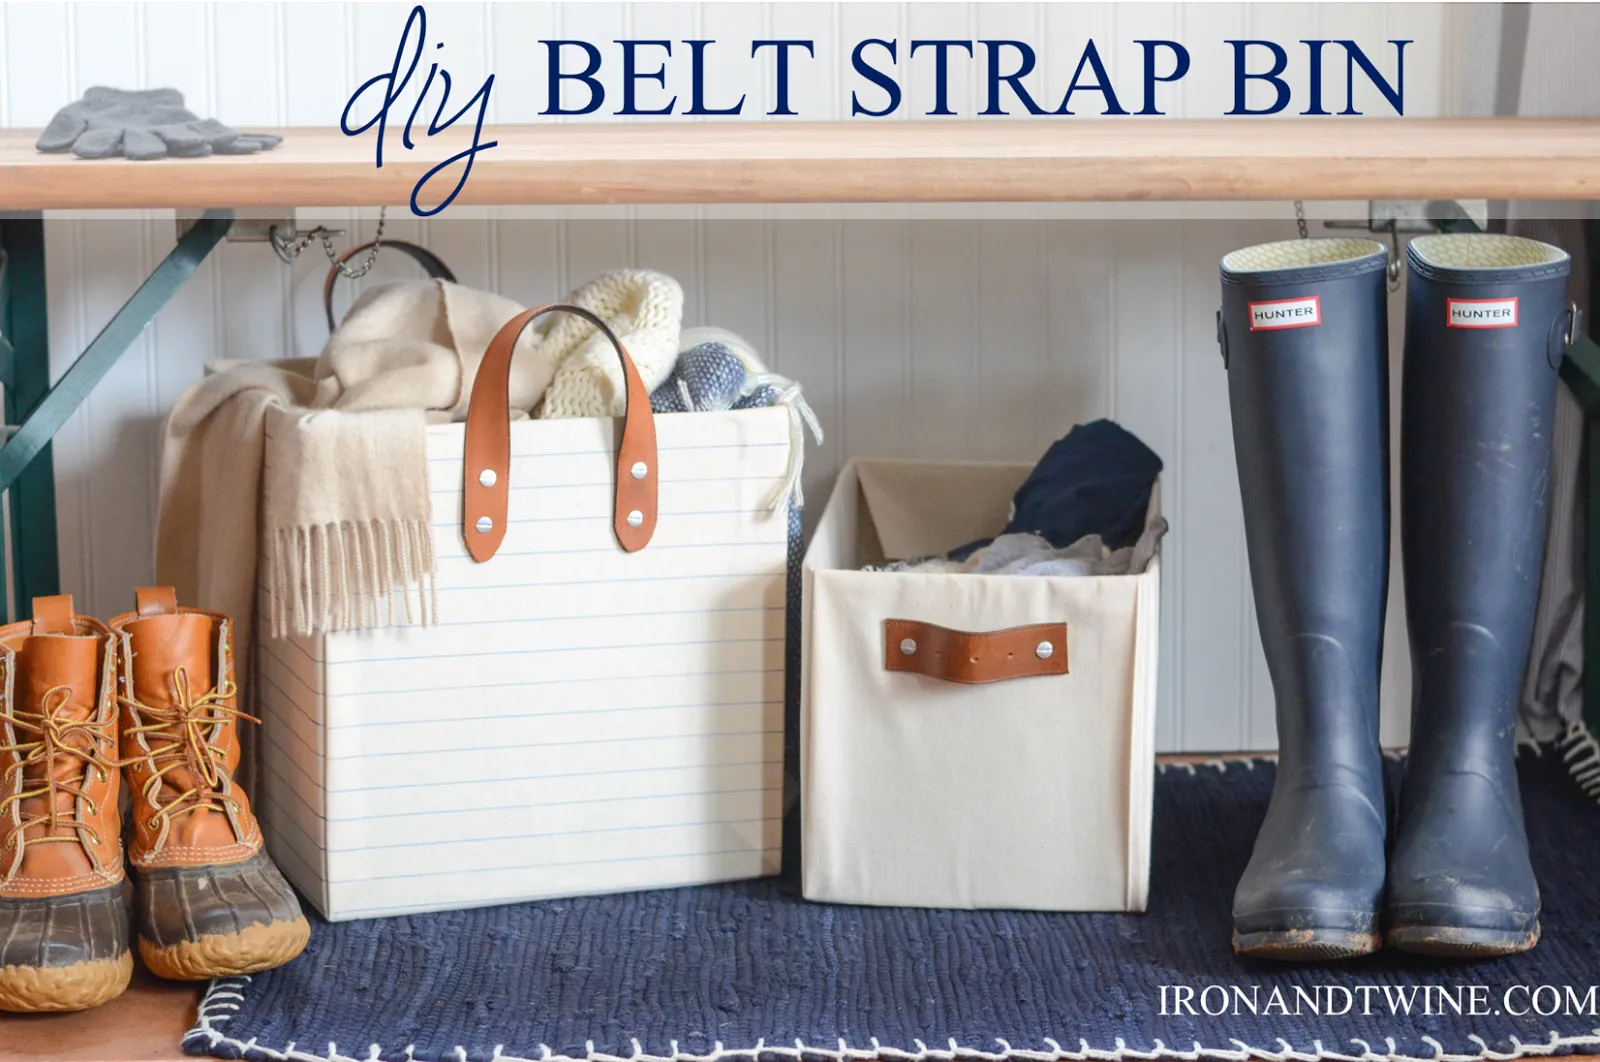
Hey there, fellow craft enthusiasts! Robert Kline, your friendly neighborhood art aficionado here, and today, we’re diving headfirst into the wonderful world of DIY organization.
There’s nothing quite like the feeling of a clutter-free space, but let’s face it, stylish storage solutions can cost a pretty penny. That’s why I’m all about finding creative ways to upcycle and craft our way to an organized oasis.
Recently, I’ve been on a mission to revamp my storage game, and these DIY fabric-covered boxes have become my latest obsession. They’re not only incredibly functional but also add a touch of personalized charm to any room. And the best part? They’re surprisingly budget-friendly to make!
So, grab your crafting tools, and let’s transform those ordinary cardboard boxes into stylish storage masterpieces.
Gathering Your Supplies
Before we embark on this creative journey, let’s gather our trusty sidekicks:
- Cardboard Boxes: The stars of our show! Any size will do, depending on your storage needs.
- Utility Fabric: Choose a fabric that complements your style and is durable enough for everyday use.
- Spray Adhesive: Our trusty bonding agent for a smooth and secure finish.
- Old Leather Belt: Time to give those pre-loved belts a new life as stylish handles.
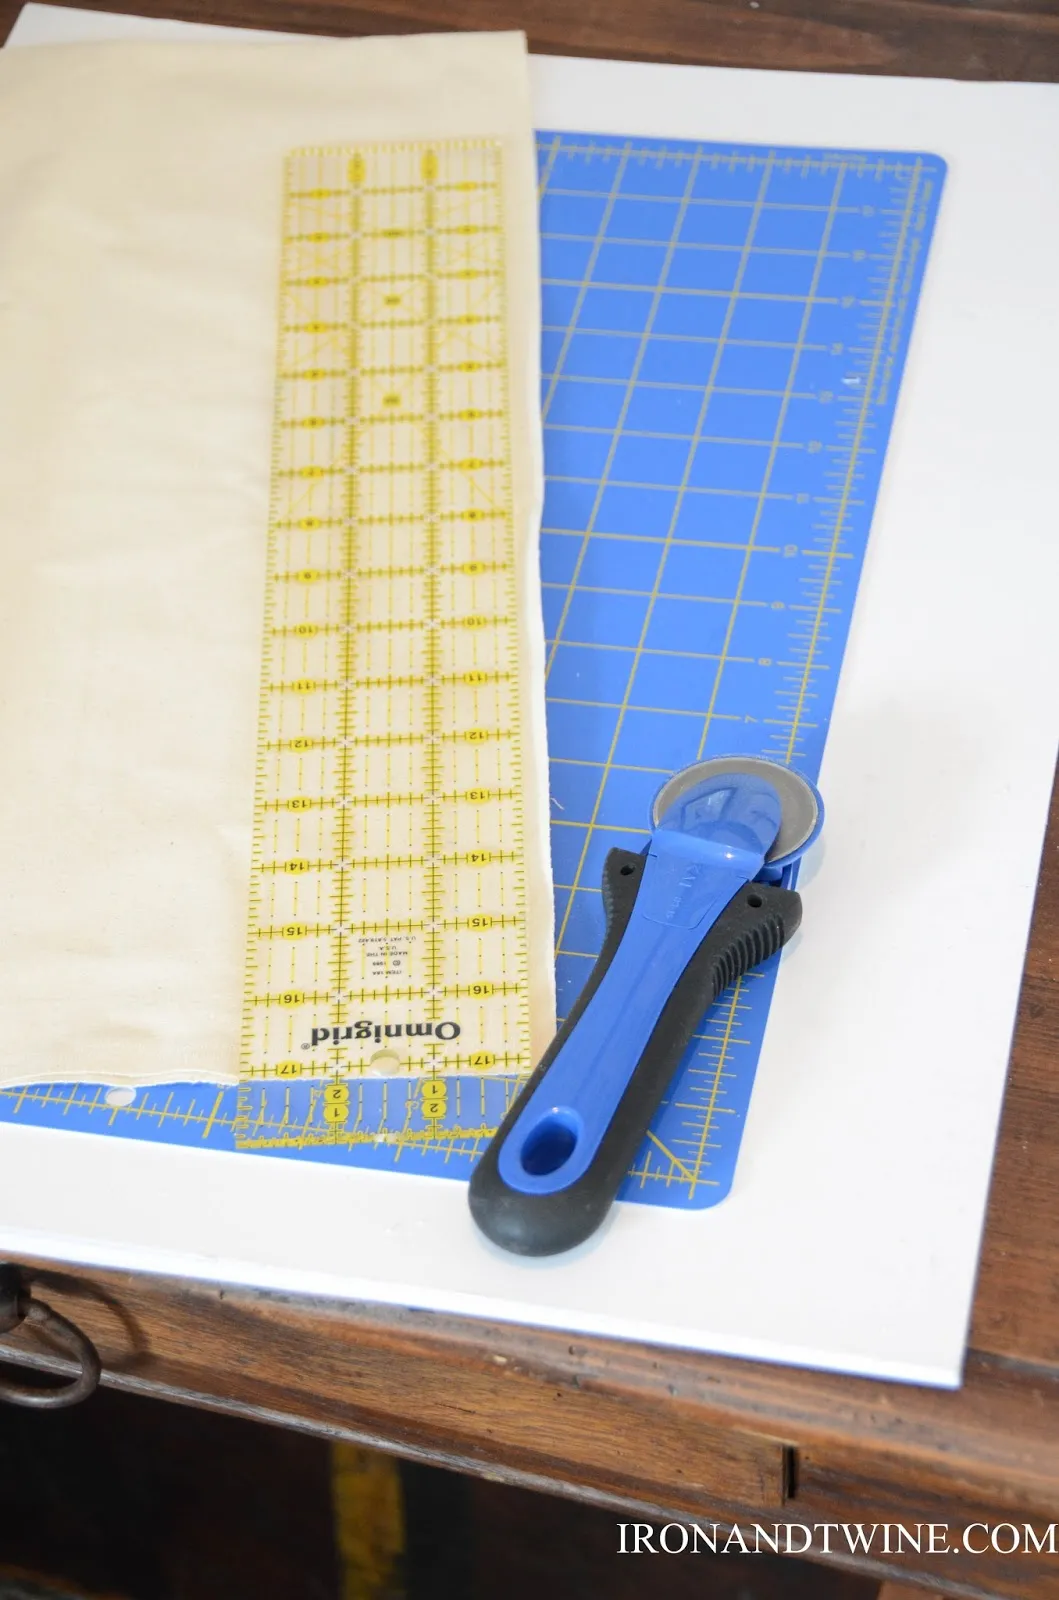
- Rotary Cutter and Mat (Optional): If you’re a frequent fabric cutter, these tools are game-changers for precision.
- Scissors: For those who prefer the classic cutting method.
- Iron: A crisp ironed fabric guarantees a polished look.
- Binding Post Screws: For securing our leather pulls or handles.
- Flat Head Screwdriver: Our partner in crime for attaching those screws.
- Industrial Hole Punch (Optional): For clean and effortless holes in the leather.
- Exacto Knife (or similar): For precise cutting and creating holes.
- Clothespins: Our little helpers for securing fabric while it dries.
- Ruler and Fabric Marker (Optional): For adding a touch of personalized flair with stripes or patterns.
Creating Your Masterpiece
Now that we’ve assembled our crafting arsenal, let’s roll up our sleeves and bring those storage boxes to life!
Step 1: Preparing the Cardboard Canvas
-
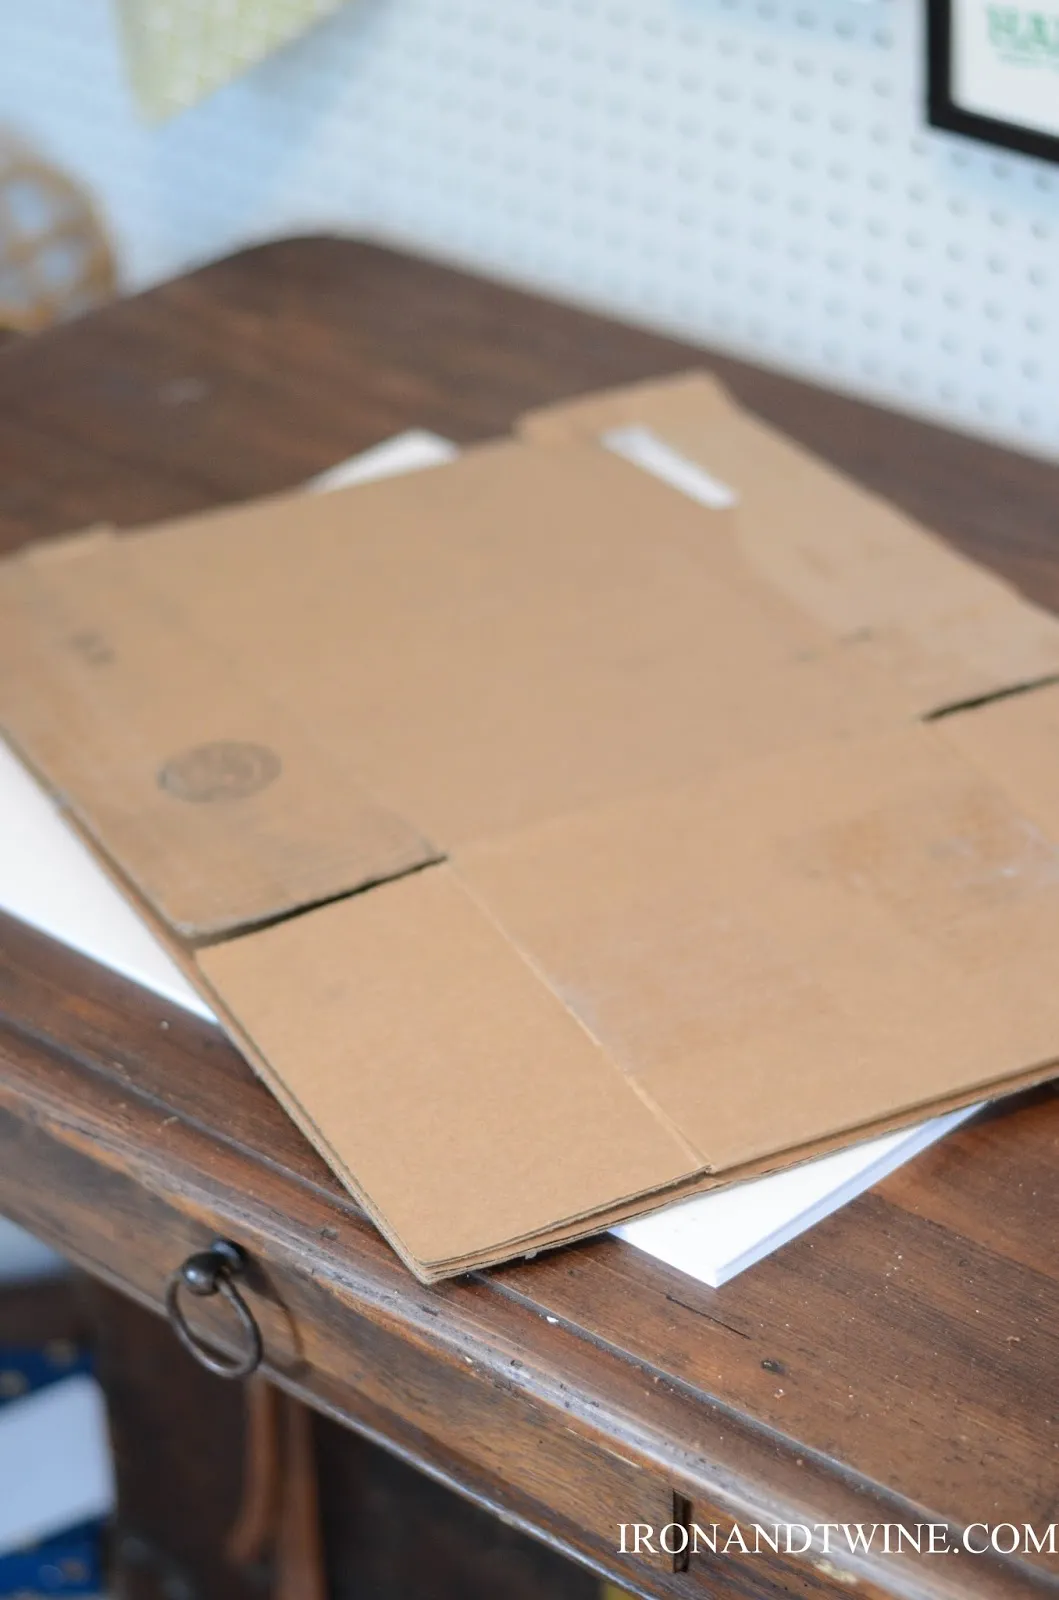
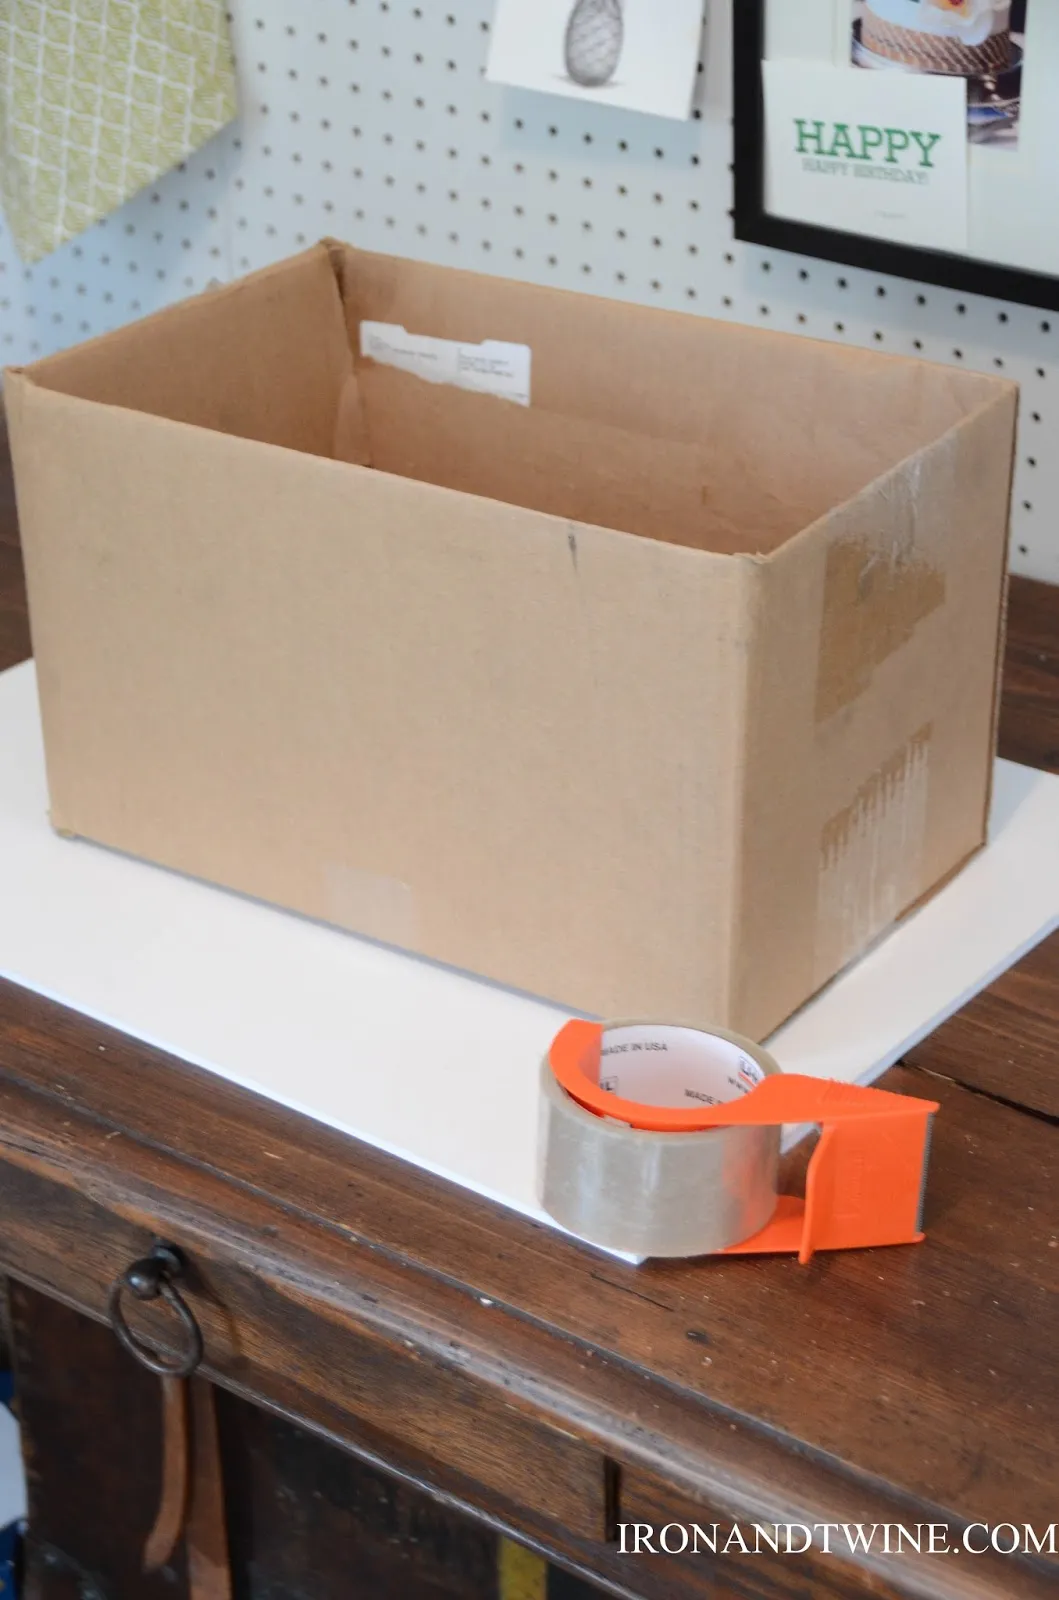
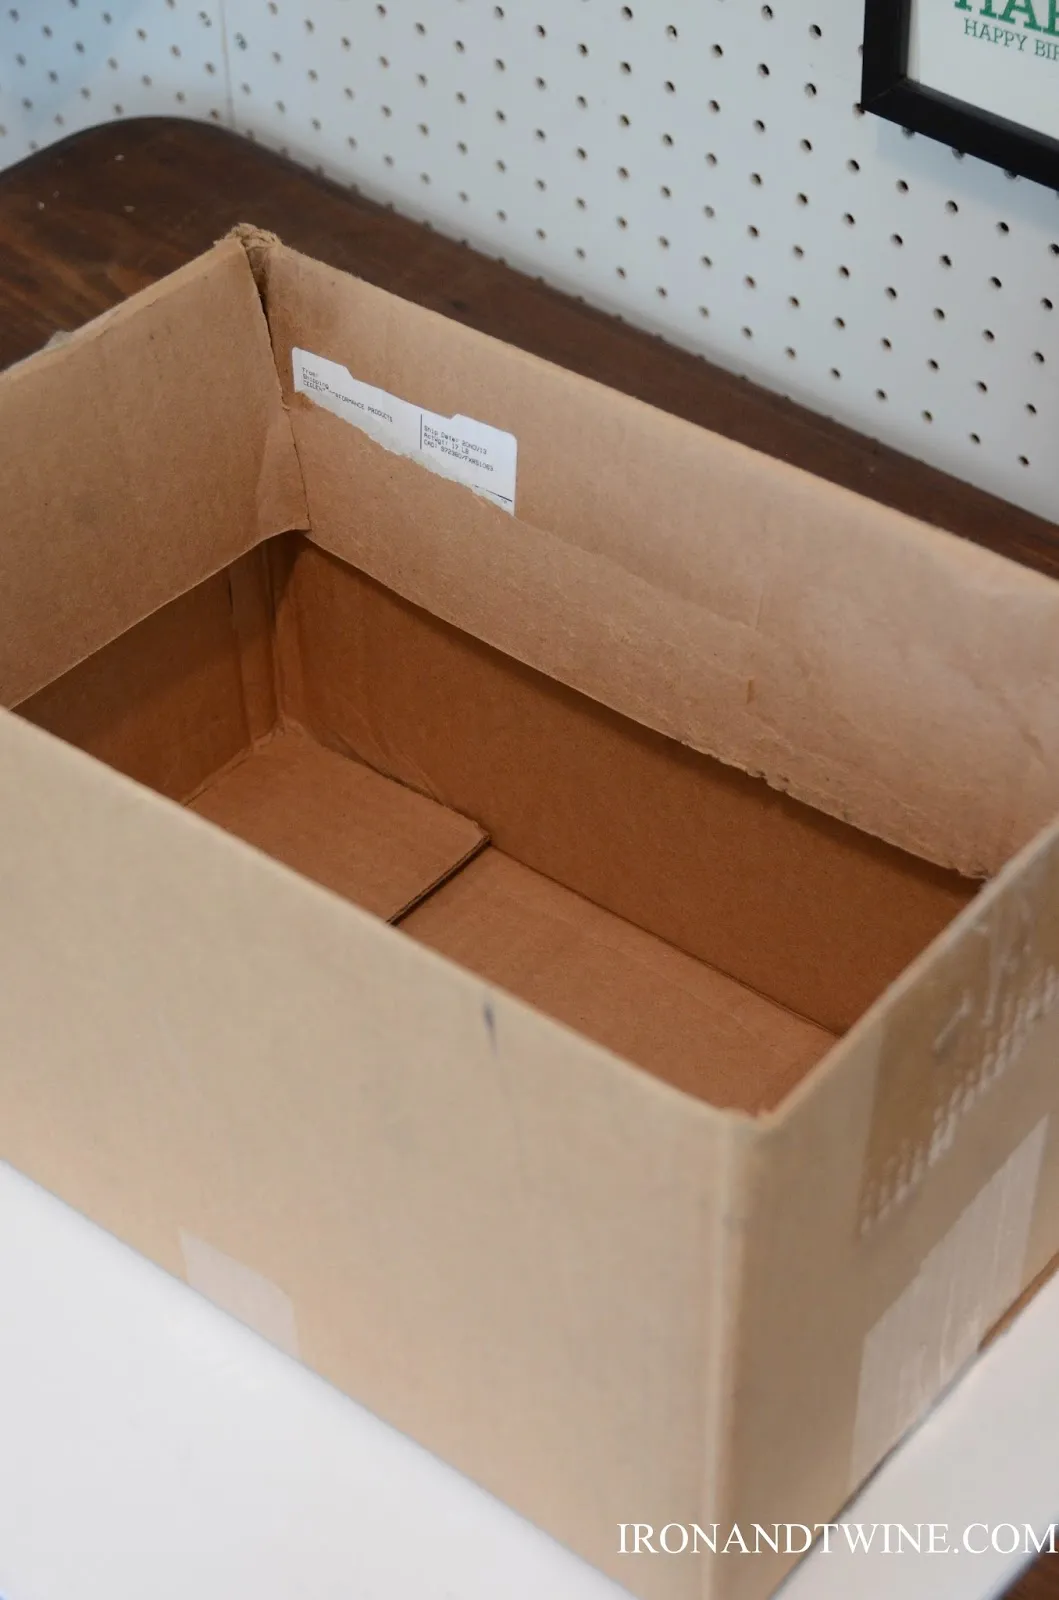
Secure the Top: Start by securely taping down the top flaps of your cardboard box. For added sturdiness, fold the top flaps inward, creating a double layer.
 "Cardboard box
 -
Measure and Cut the Fabric: Measure the inside dimensions of your box and cut your fabric accordingly, leaving a little extra for overlap. Iron the fabric for a smooth finish.
Step 2: Adding the Interior Fabric
-
Apply Spray Adhesive: Working in small sections, apply spray adhesive to the inside walls of the box.
-
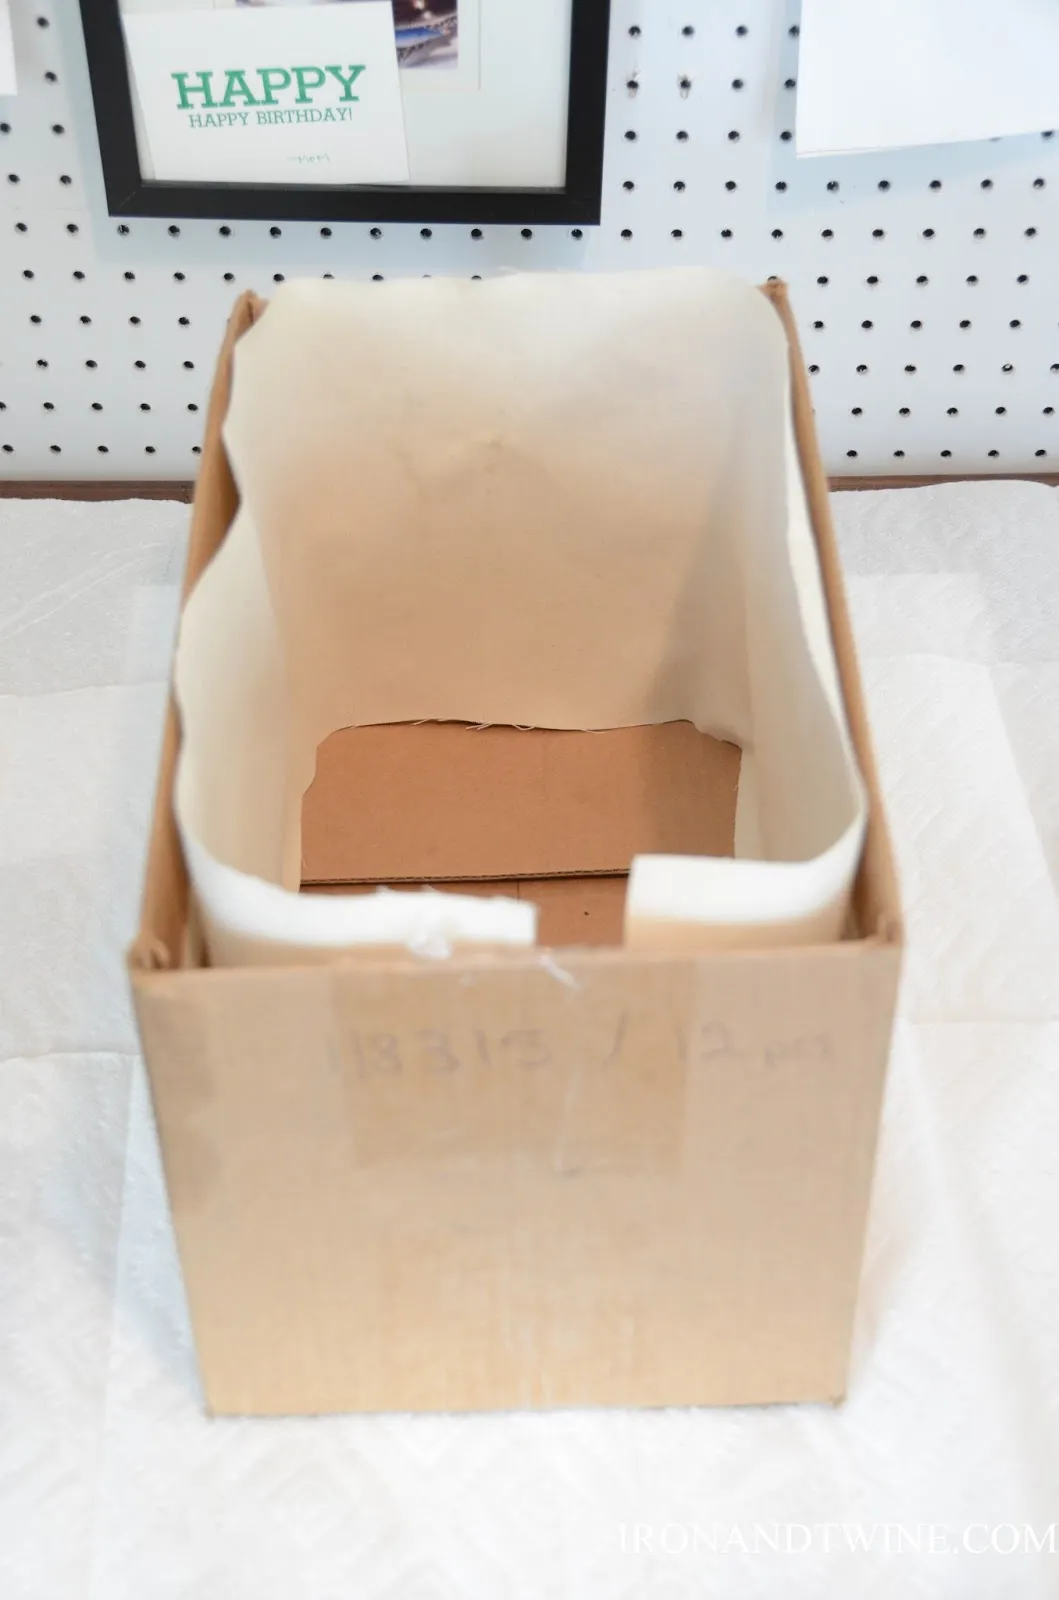
Adhere the Fabric: Carefully press the fabric onto the adhesive, smoothing out any wrinkles or bubbles. If your fabric doesn’t cover the entire interior in one piece, simply cut additional pieces and adhere them as needed.
 "Fabric inside box
Step 3: Wrapping the Exterior
-
Cut and Iron: Cut a piece of fabric large enough to wrap around the entire exterior of the box, leaving 2-4 inches of excess on all sides. Iron this piece flat.
-
Center and Secure: Lay the exterior fabric face down on a smooth surface. Center your box on top of the fabric and use clothespins to secure the fabric to the opposite side you’ll be working on.
 "Fabric placement on box
 -
Create Corner Cutouts: On the right and left corners, cut out a square or rectangular section of fabric to remove excess bulk. Leave about an inch of fabric from the corner edge of the box.
-
Adhere the Fabric: Pull the fabric taut and apply spray adhesive to the inside edges of the box. Carefully press the fabric onto the adhesive. Repeat this process for the opposite side.
 "Corner fabric placement
 -
Fold and Secure the Corners: Think of this step like wrapping a present! Apply spray adhesive to the inside of one of the remaining flaps. Fold the corner of the fabric inward at a 45-degree angle and press it firmly onto the adhesive. Fold the remaining flap over and adhere it to the inside of the box. Secure with a clothespin and repeat for the remaining corners.
 "Corner fabric fold
Step 4: Adding Leather Accents
-
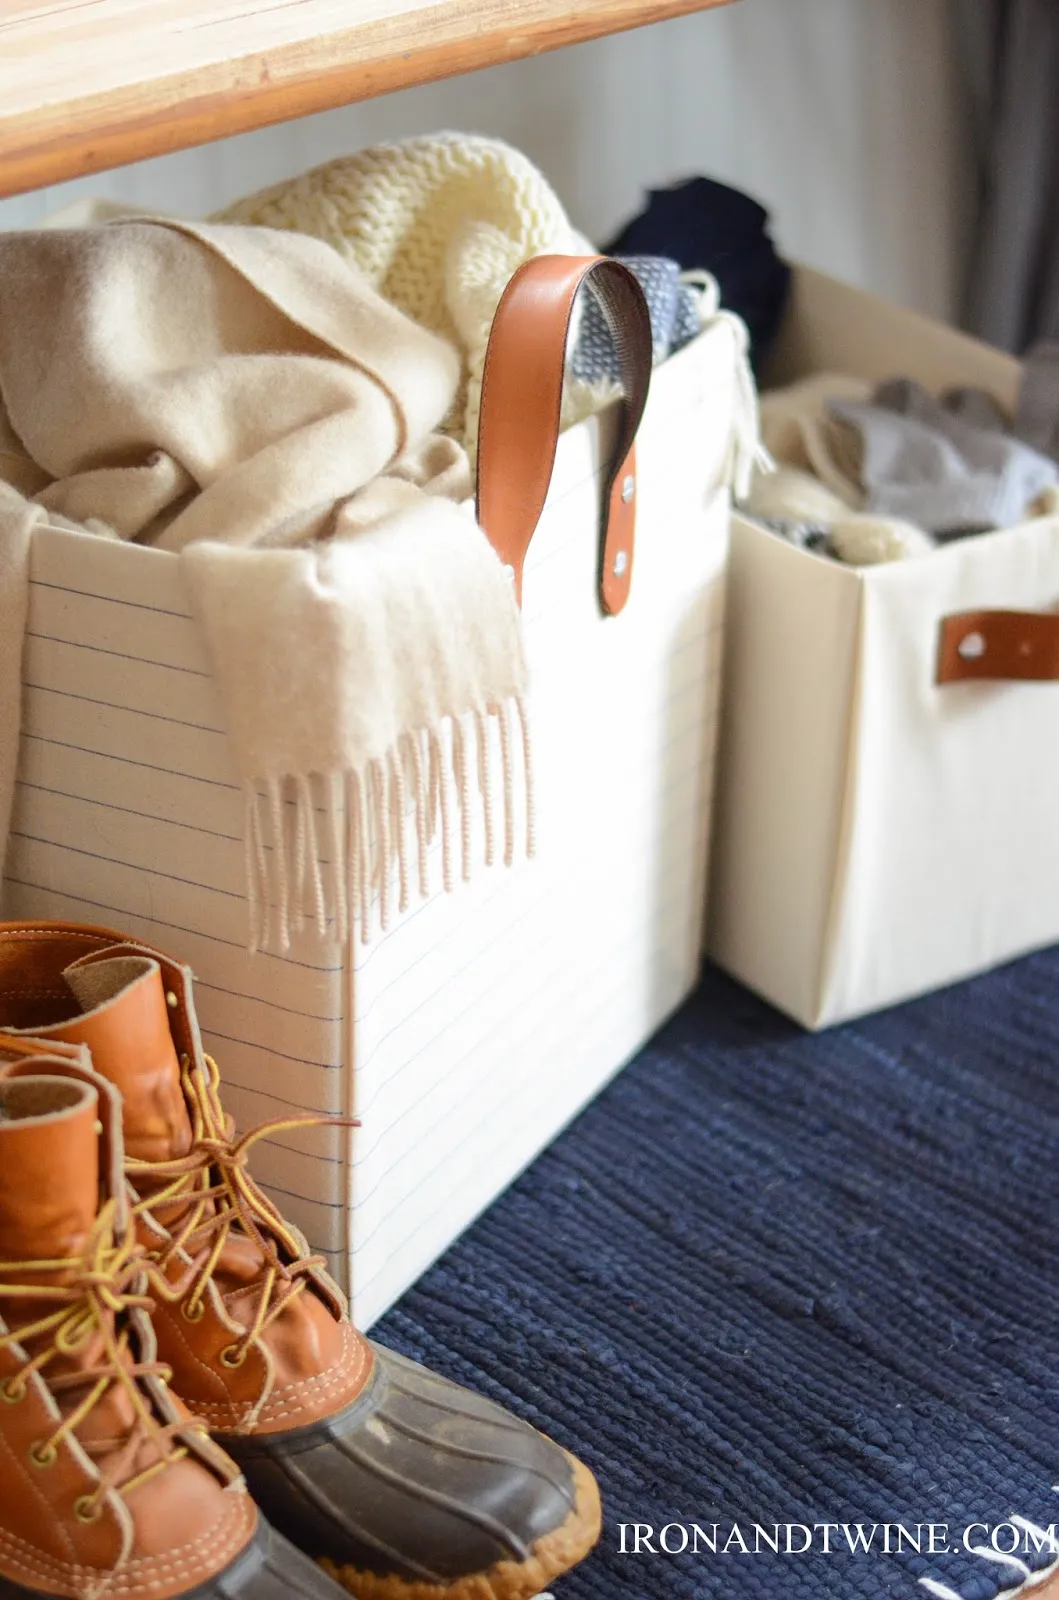
Prepare the Leather: Cut your old leather belt to your desired length for pulls or handles.
-
Create Holes: If you’re not using the buckle holes, mark and create holes in the leather using an industrial hole punch or an Exacto knife.
 "Leather pulls on box
 -
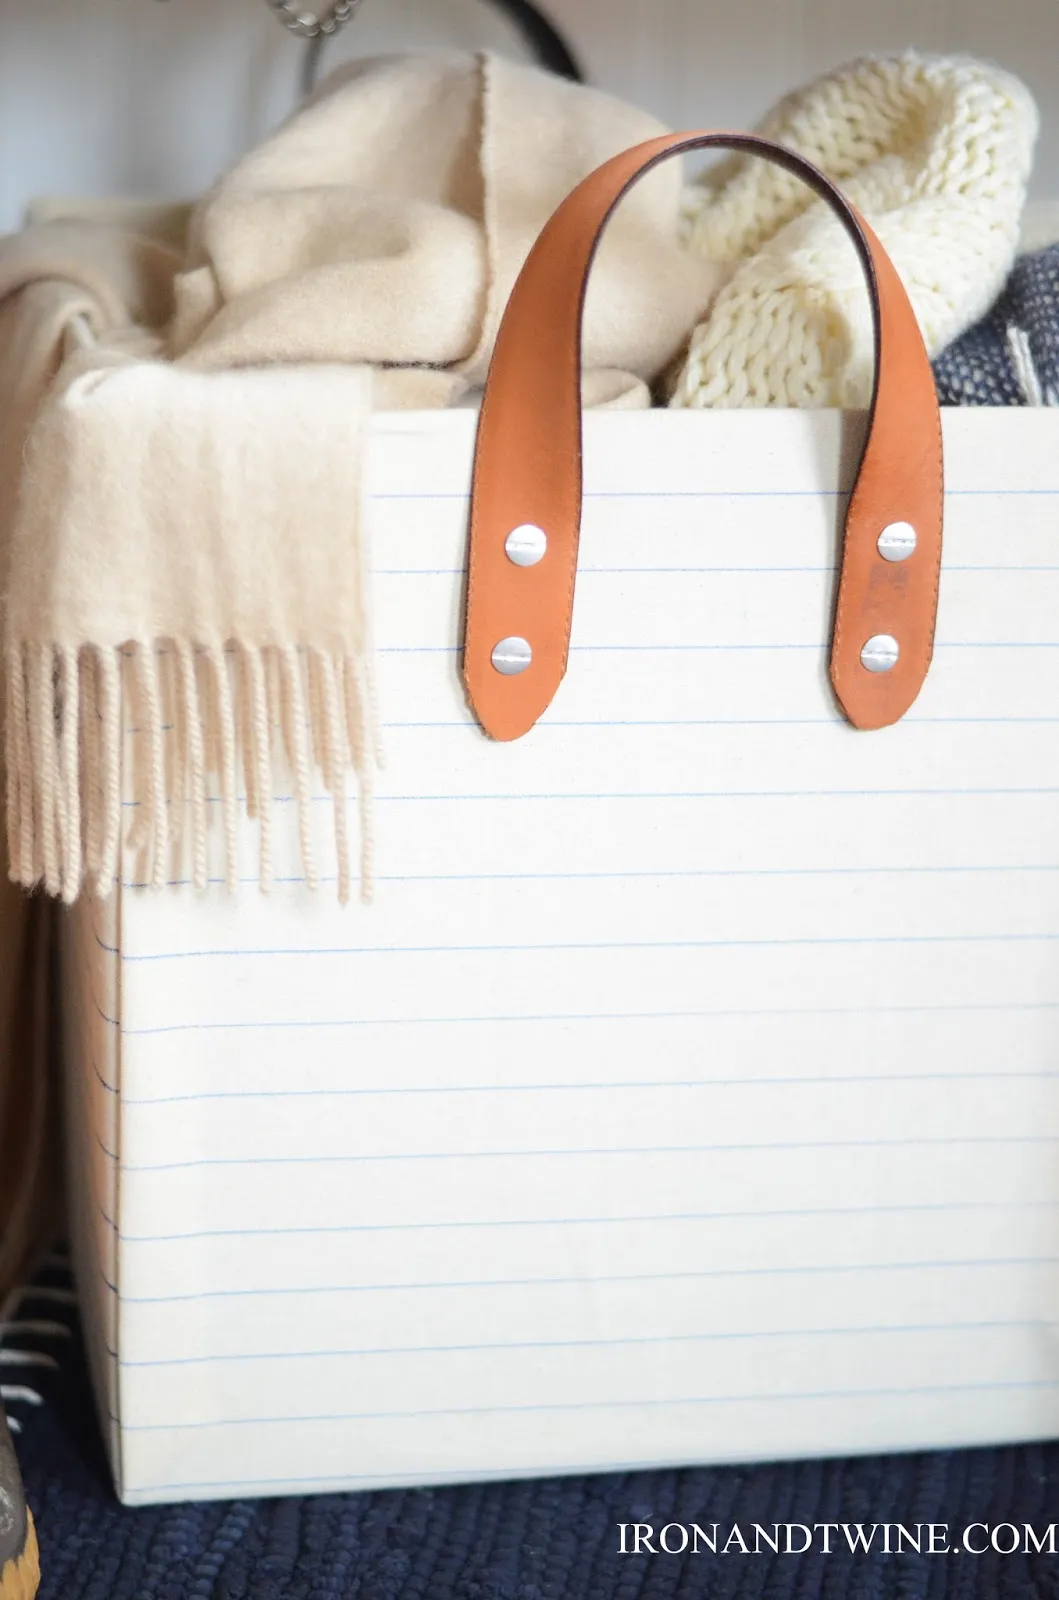
Attach the Leather: Align the leather pulls or handles on the box and mark the screw positions. Use a sharp object to create small pilot holes in the fabric and cardboard. Finally, secure the leather accents using binding post screws and a flat-head screwdriver.
 "Finished fabric storage boxes
Tips and Tricks for Crafting Success
-
Embrace Imperfections: Remember, handmade items are full of character. Don’t fret over minor imperfections—they add to the unique charm!
-
Get Creative with Fabric: Experiment with different colors, patterns, and textures to match your decor.
-
Personalize It: Add your own creative spin with embellishments, stencils, or decorative accents.
 "Fabric storage box
Conclusion
And there you have it—your very own set of stylish and functional fabric-covered storage boxes! Not only will these beauties help you conquer clutter, but they also add a touch of handmade love to your home décor.
Ready to upcycle your way to an organized haven? I’d love to see your creations! Share your DIY triumphs and connect with fellow art enthusiasts at Robert Kline Art.
Happy crafting!
