Blog
How to Make a Unique Fabric Covered Photo Album: A Step-by-Step Guide
Looking for a heartfelt and personalized gift idea that goes beyond the ordinary? Look no further than a handmade fabric covered photo album! It’s a thoughtful gesture that will be cherished for years to come, and the best part? It’s surprisingly simple to create.
In this step-by-step guide, we’ll walk you through the process of transforming a plain photo album into a beautiful keepsake using just a few basic supplies. So gather your materials, unleash your creativity, and let’s get crafting!
Gathering Your Supplies: What You’ll Need
Before we dive into the crafting process, let’s make sure you have everything you need on hand:
- A plain photo album: The size is up to you, but a standard 4″x6″ album works perfectly.
- Fabric: Choose a fabric that speaks to your recipient’s personality. Consider their favorite colors, patterns, or even themes that hold special meaning. Make sure you have enough to cover the entire album with about an inch of excess on all sides.
- Scissors: For precise fabric cutting.
- Iron and ironing board: To smooth out any wrinkles in your chosen fabric for a polished finish.
- Tacky Glue or fabric glue: Opt for a glue specifically designed for fabric to ensure a secure and lasting bond.
- Small paintbrush: To apply the glue evenly.
- Cardstock paper or index cards (optional): For a polished interior finish.
- Embellishments (optional): Get creative with ribbons, buttons, or other decorative elements to personalize your album further.
Time to Craft: Creating Your Fabric Covered Photo Album
Now that you have your supplies ready, let’s transform that plain photo album into a work of art:
Step 1: Measure and Cut Your Fabric
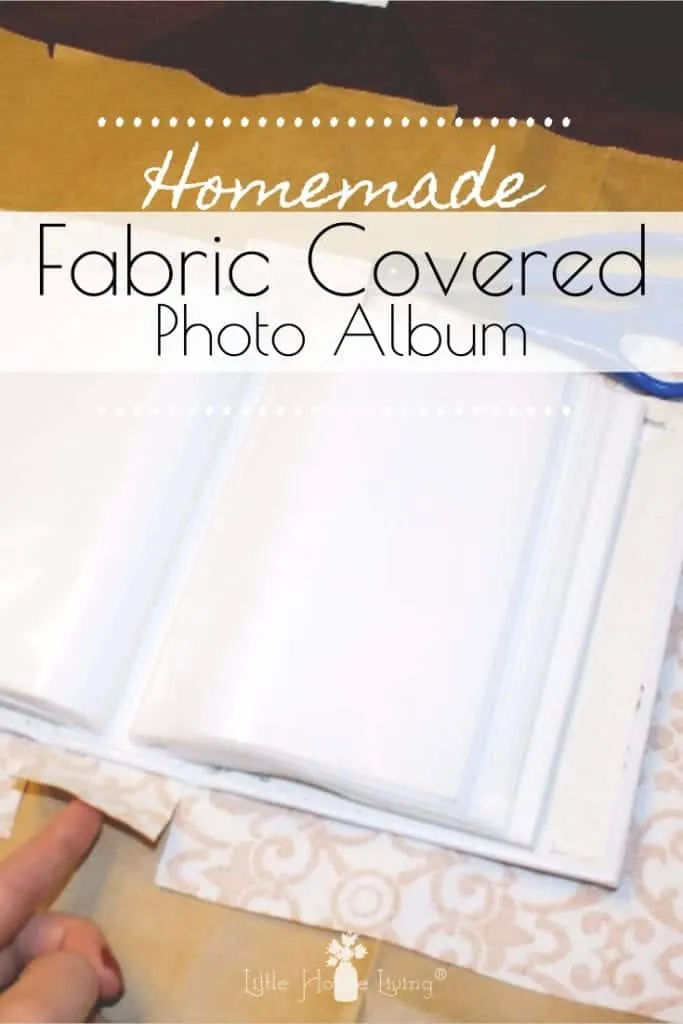
Lay your photo album flat on top of the fabric. Remember to leave about an inch of excess fabric on all sides for folding and gluing. Using your scissors, carefully cut out your fabric to the correct size.
Pro Tip: Ironing your fabric before cutting will help ensure clean lines and remove any wrinkles.
Step 2: Prepare the Spine
Place the album face down on the wrong side of your fabric, ensuring it’s squared up neatly. Using your scissors, carefully make four small snips at the spine of the album. These snips will allow for a smoother fold when attaching the fabric to the spine.
Step 3: Adhering the Fabric
Starting with the spine, run a thin line of glue along the spine of the album and carefully press the fabric onto the glue. Repeat this process for the front and back covers of the album.
Important Note: Avoid gluing the fabric too tightly, especially around the spine, to ensure the album opens and closes smoothly.
Step 4: Wrapping the Edges
Now it’s time to wrap the front and back covers of the album. Think of it like wrapping a present! Apply glue to one edge of the cover and carefully fold the fabric over, pressing it firmly to secure. Repeat this process for the remaining edges, ensuring the corners are neat and tidy.
Expert Tip: Ironing each fold before gluing can help achieve cleaner lines and reduce bulkiness.
Step 5: Finishing the Spine
This step can be a bit tricky, but with a little patience, you’ll master it. Fold the excess fabric at the spine inward, creating a neat crease. Apply glue to the inside of the folded fabric and carefully press it onto the spine of the album.
Key Point: It’s best to use less glue on the spine to prevent the pages from sticking together. Hold the fabric in place for a minute or two to allow the glue to set.
Step 6: Personalize and Embellish
Congratulations, your fabric-covered photo album is complete! Now comes the fun part: adding your personal touch. Tie a ribbon around the album, add decorative buttons, or let your creativity run wild with other embellishments.
Optional Finishing Touch: For a polished interior, cut a rectangle of cardstock or an index card and glue it to the inside cover to conceal the raw fabric edges.
Sharing Your Masterpiece
And there you have it—a beautiful and unique handmade fabric-covered photo album ready to be filled with cherished memories.
If you enjoyed this tutorial, be sure to explore Robert Kline Art for more inspiring craft ideas and projects. And don’t forget to share your creations with us! We’d love to see your unique spin on this heartfelt craft. Leave a comment below and let us know who you’re creating this special gift for.
 Looking for easy, homemade gift ideas? This easy picture tutorial on How to Cover a Photo Album with Fabric makes a very personal and sweet gift that your friends and family will enjoy for years to come!
