Blog
DIY Neon Painted Pencil Case: A Splash of Color for Your Creativity

Hey there, fellow art enthusiasts! Do you ever get that feeling when you see a vibrant, unique piece and think, “I wish I could make that”? Well, I’m here to tell you, you absolutely can! Today, we’re diving into the wonderful world of handmade gifts with a project that’s as fun to create as it is practical: a DIY neon painted pencil case.
Why a DIY Pencil Case?
Now, you might be thinking, “Why a pencil case? Can’t I just buy one?” Of course you can! But trust me on this, crafting your own pencil case is an incredibly rewarding experience. Not only will you end up with a one-of-a-kind piece that reflects your personal style, but the process itself is incredibly therapeutic and fun.
As an artist, I’m always drawn to projects that encourage creativity and self-expression. There’s something so satisfying about taking raw materials and transforming them into something beautiful and functional. Plus, imagine the look on your friend’s face when you gift them a handmade pencil case bursting with neon color!
Gather Your Supplies
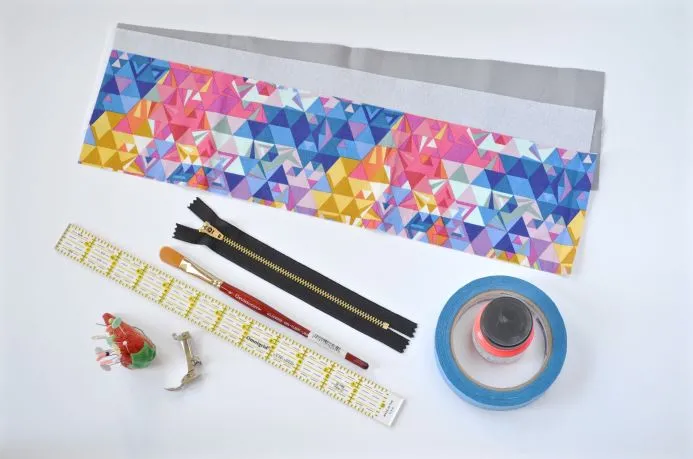
Before we unleash our inner artists, let’s gather our tools. Here’s what you’ll need:
Fabrics:
- Three 17″ x 4.25″ rectangles:
- One exterior fabric in a solid, light color (think grey, light blue, or even white)
- One interior fabric in a bright, fun geometric print
- One piece of fusible interfacing (the same size as your other fabric rectangles)
Painting Supplies:
- Painter’s tape
- High-quality textile paint in a vibrant neon color (I love Jacquard Textile Color in Fluorescent Red)
- Paintbrush
Sewing Essentials:
- 7-inch zipper
- Zipper foot for your sewing machine
- Iron
- Pins
- Ruler
- Scissors
- Pencil
 DIY Neon Painted Pencil Case Supplies
Image Alt: An array of colorful fabrics, paint, and sewing supplies for a DIY neon pencil case project.
Let’s Get Crafting!
Now for the fun part – bringing our neon vision to life!
Step 1: Paint Your Fabric
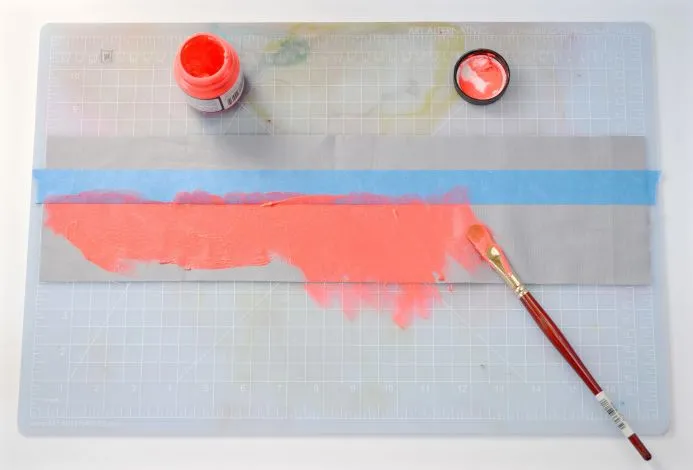
- Tape It Off: Using painter’s tape, carefully mark off the area you want to paint. I like to create a bold stripe about two inches wide at the top of my exterior fabric.
- Unleash the Neon: Apply your textile paint generously within the taped area. Don’t be afraid to get a little messy and have fun with it!
- Dry Time: Allow the paint to dry completely. For faster drying, you can use a hairdryer on a low setting.
- Set the Color: Once dry, carefully remove the painter’s tape. Follow the instructions on your textile paint bottle to heat set the color with an iron. This will help prevent the paint from fading or cracking.
 DIY Neon Painted Pencil Case – Applying Neon Paint
Image Alt: A close-up of neon paint being applied to a piece of fabric for a pencil case.
Step 2: Prep Your Fabric
- Interface for Durability: Iron the fusible interfacing to the wrong side of your painted exterior fabric, following the manufacturer’s instructions. This will add structure and durability to your pencil case.
- Cut to Size: Cut both your exterior and interior fabrics into two rectangles, each measuring 8.5″ x 4.25″.
Step 3: Sew in the Zipper
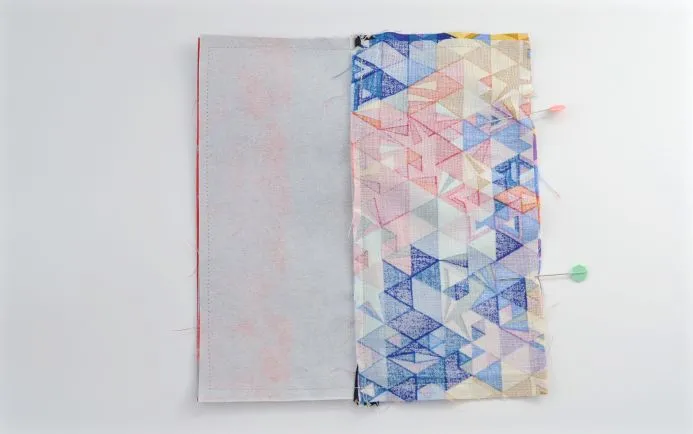
- Create a Fabric Sandwich: Place your exterior fabric (right side up), your zipper (facing down with the zipper pull facing the exterior fabric), and your interior fabric (right side down), creating a layered “sandwich.”
- Pin and Sew: Pin the layers together along the top edge, ensuring the zipper tape is aligned with the raw edge of the fabric. Use your zipper foot to sew along the edge, backstitching at the beginning and end for extra strength.
- Topstitch for a Professional Finish: Fold the exterior fabric over the zipper and topstitch close to the zipper teeth. This will create a neat and professional look.
 DIY Neon Painted Pencil Case – Sewing the Zipper
Image Alt: A sewing machine stitching a zipper onto a fabric panel for a pencil case.
- Repeat on the Other Side: Repeat steps 1-3 on the other side of the zipper, attaching the remaining fabric rectangles.
- Partially Unzip: This is important! Unzip the zipper about ¾ of the way down. This will make turning your pencil case right-side out much easier later on.
Step 4: Sew the Pencil Case Together
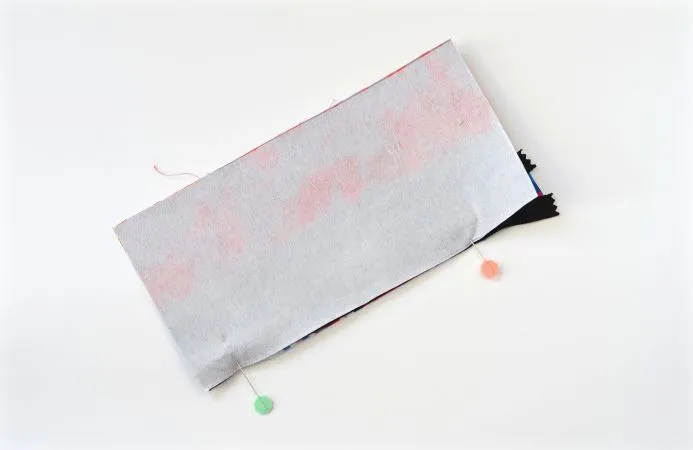
- Right Sides Together: With the zipper unzipped ¾ of the way, fold the pencil case so that the right sides of the exterior fabric and the right sides of the interior fabric are facing each other. Pin the layers together around the perimeter.
- Sew the Sides and Bottom: Sew along the pinned edges, leaving a 3-inch gap at the bottom edge of the interior fabric. This opening will be used to turn the pencil case right side out.
 DIY Neon Painted Pencil Case – Sewing the Sides
Image Alt: A sewing machine stitching the sides of a fabric pencil case together.
Step 5: Box the Corners (Optional)
For a professional touch and added dimension, you can box the corners of your pencil case:
- Pinch and Sew: At each corner of the pencil case, pinch the fabric where the side seam meets the bottom seam, creating a triangular shape. Make sure the seams are aligned, and pin the triangle in place.
- Sew a Straight Line: Sew a straight line across the triangle, about 2 inches in from the tip. This will create the “boxed” corner effect. Repeat for all four corners.

Image Alt: A detailed close-up showing how to box the corners of a fabric pencil case for a professional finish.
Step 6: Turn, Press, and Admire
- Turn Right Side Out: Reach through the 3-inch opening you left in the bottom seam and gently turn your pencil case right side out.
- Press for Perfection: Use your iron to press the seams flat, tucking in the raw edges at the opening.
- Topstitch (Optional): For an extra polished finish, topstitch around the opening, closing the gap and securing the raw edges.
 DIY Neon Painted Pencil Case – Finished Project
Image Alt: A completed neon painted pencil case, showcasing its vibrant color and handmade charm.
Congratulations!
You did it! You’ve just created a one-of-a-kind, neon-bright pencil case. Not only is it a stylish way to store your art supplies, but it also makes a fantastic handmade gift.
Remember, the beauty of DIY projects lies in their flexibility. Feel free to experiment with different fabric combinations, paint colors, and embellishments to create a pencil case that reflects your unique style.
Ready to share your creations with the world? We’d love to see them! Share your photos and tag Robert Kline Art on social media. And don’t forget to explore our website for more handmade gift ideas and inspiration.
