Blog
DIY Fabric Storage Boxes: The Perfect Solution for a Clutter-Free Home
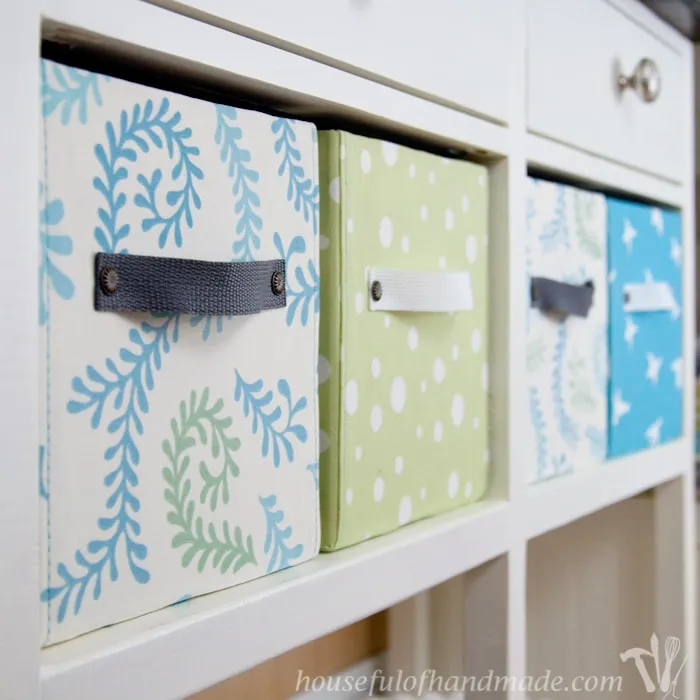
We all have those little piles of clutter that never seem to find a home. Whether it’s extra K-cups in the kitchen or random odds and ends, a lack of storage can quickly turn any room into a disaster zone. But what if I told you there was a simple, stylish, and affordable solution? Enter DIY fabric storage boxes!
These versatile organizational wonders are easy to make and completely customizable to fit any space. In this step-by-step guide, we’ll transform ordinary cardboard boxes into beautiful fabric storage boxes that are as functional as they are fabulous. So, grab your supplies, and let’s dive into the world of handmade organization!
Materials You’ll Need
Before we start crafting, let’s gather our tools and materials. Here’s what you’ll need to create your very own DIY fabric storage boxes:
Materials:
- Cardboard boxes (size and quantity as desired)
- Fabric of your choice (consider durability and aesthetics)
- 1-inch wide webbing for handles
- Permanent spray adhesive
- Fabric glue (Fabri-Tac is highly recommended)
- Decorative brads
- Ribbon (to conceal raw edges)
Optional Tools (for sewing enthusiasts):
- Seam gauge
- Quilter’s rulers
- Rotary cutter
Step-by-Step Guide
1. Preparing the Cardboard Boxes
- If you can’t find boxes in the perfect size, don’t fret! You can easily resize them to fit your needs.
- Carefully cut open the bottom tape of the box and deconstruct it.
- Trim the front, back, and side panels to your desired size, adding a couple of inches for gluing tabs.
- Fold over the tabs, apply hot glue, and reassemble the box. Now you have a custom-sized storage solution!
2. Cutting the Fabric
- For each box, cut one piece of fabric for the front, bottom, and back combined. This piece should be the total length of these sides plus 2-3 inches, and the width of the box front plus 1 inch.
- Cut two additional pieces for the sides. These should be the height of your box plus 2-3 inches, and the depth of your box plus 2-3 inches.
3. Adding a Touch of Sewing (Optional)
- This step is for those who want to add a decorative flair to their boxes.
- Fold over 1/2 inch on each side of the front/bottom/back fabric piece and press.
- Sew a straight line about 1/4 inch from the edge using a contrasting thread color for a pop of visual interest. A thicker thread or a duplicate stitch setting on your sewing machine can create a bolder look.
4. Attaching the Fabric to the Box
- Spray the back side of the side fabric pieces with adhesive. Avoid getting any on the front as it’s permanent.
- Carefully align and attach the fabric to the sides of the box, wrapping the excess fabric inside and securing it with glue.
- Repeat the process with the front/bottom/back fabric piece, ensuring it’s centered and smoothed out for a clean finish.
- For added durability, especially if you have curious little hands at home, apply extra fabric glue to the edges of the fabric inside the box.
5. Adding Handles and Finishing Touches
- Following the instructions from the inspiration for this project, Craft Passion, create and attach sturdy handles to your boxes using webbing and decorative brads.
- To conceal the raw edges inside the box and give it a polished look, glue a ribbon along the top edge. This simple step makes a world of difference!
Conclusion
Congratulations! You’ve successfully transformed ordinary cardboard boxes into beautiful and functional fabric storage boxes. Not only will these DIY organizers help keep your home tidy and clutter-free, but they also add a touch of personalized style to any room.
I encourage you to explore different fabric patterns and colors to match your home decor. You can even involve the whole family in the process and make it a fun weekend project.
Now that you’ve mastered the art of DIY fabric storage boxes, what will you organize first? Share your creations and experiences in the comments below, and don’t forget to check out Robert Kline Art for more creative handmade gift ideas!
Images:
 DIY fabric storage boxes displayed on a bookshelf.
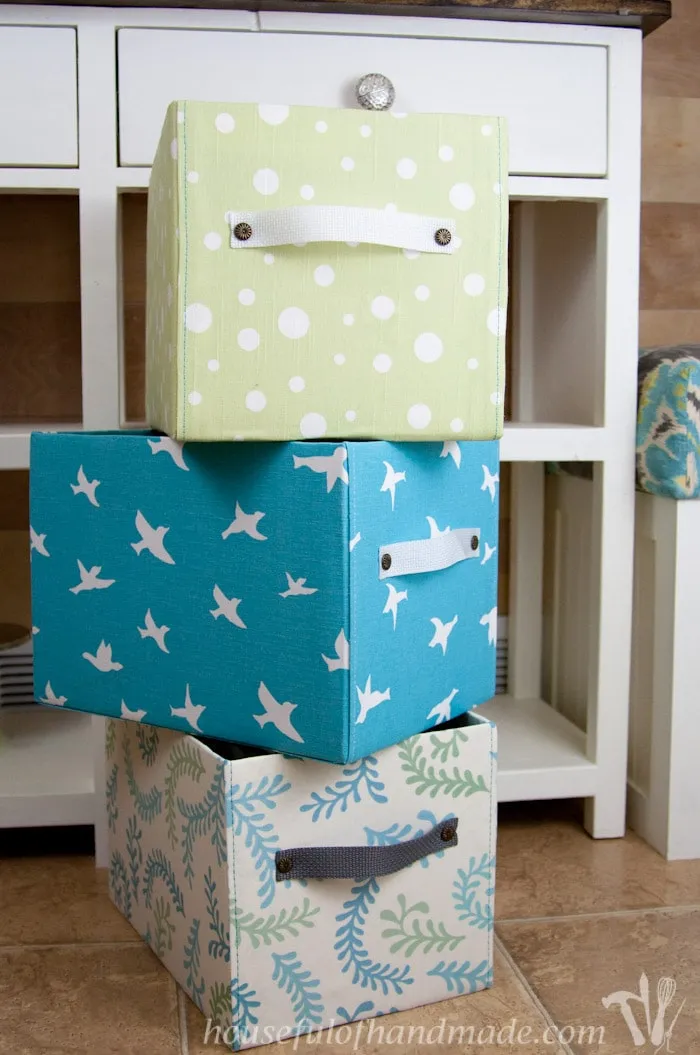 DIY fabric storage boxes in green and white polka dots, blue with birds and a multi-colored box.
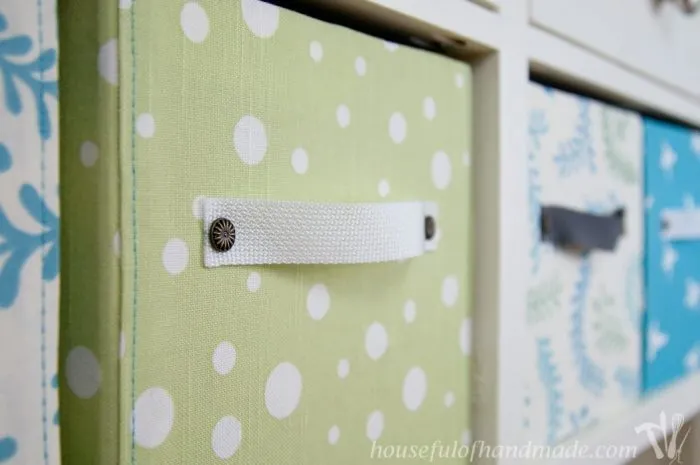 Close-up of DIY fabric-covered storage boxes with handles.
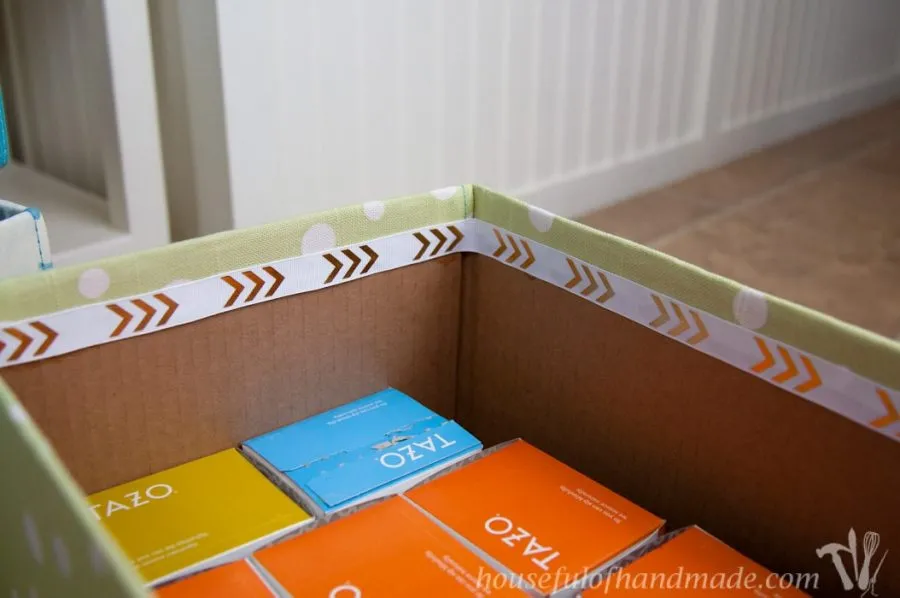 DIY fabric-covered boxes shown filled with boxes of coffee.
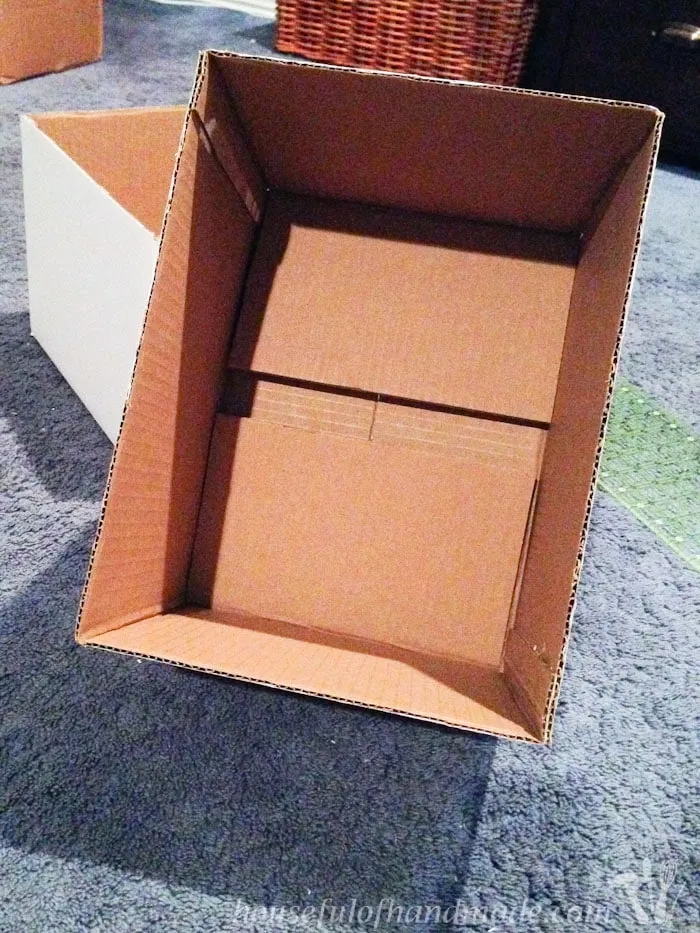 Empty cardboard box to be used for DIY storage boxes.
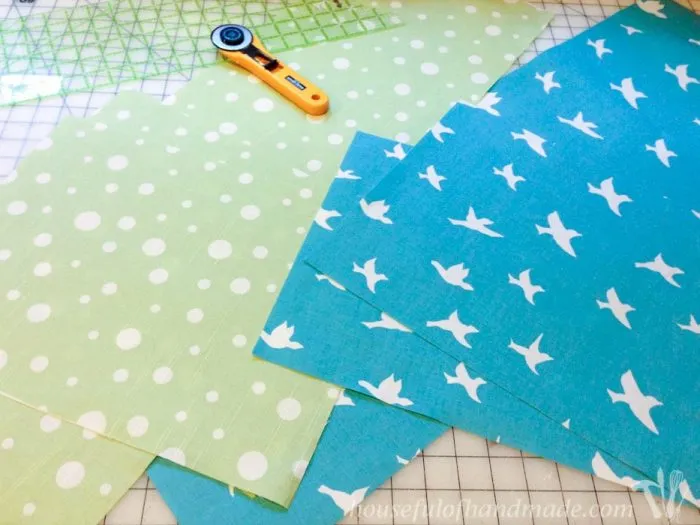 Decorative fabric shown with rotary cutter.
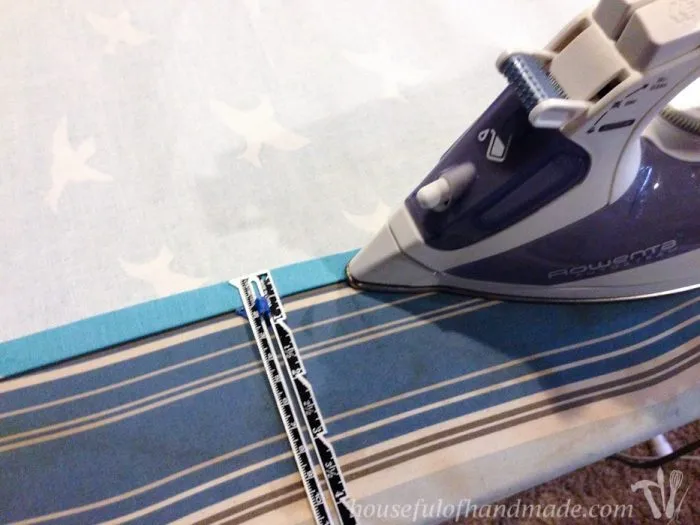 Cut fabric shown being ironed.
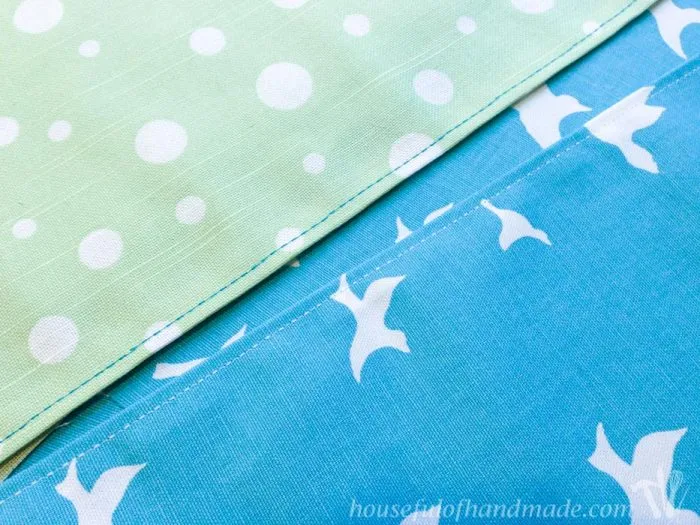 Two pieces of fabric shown after being stitched.
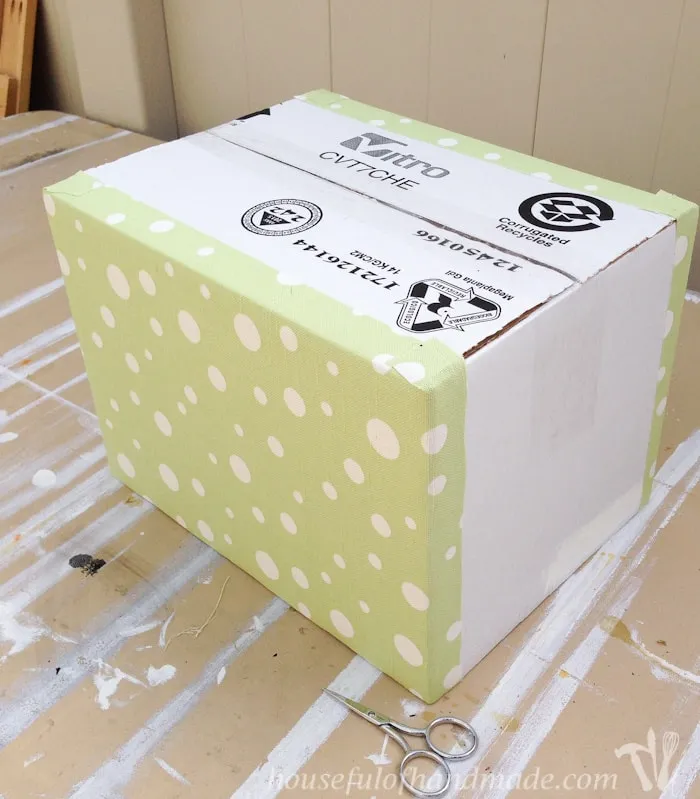 Cardboard box shown with fabric on two sides.
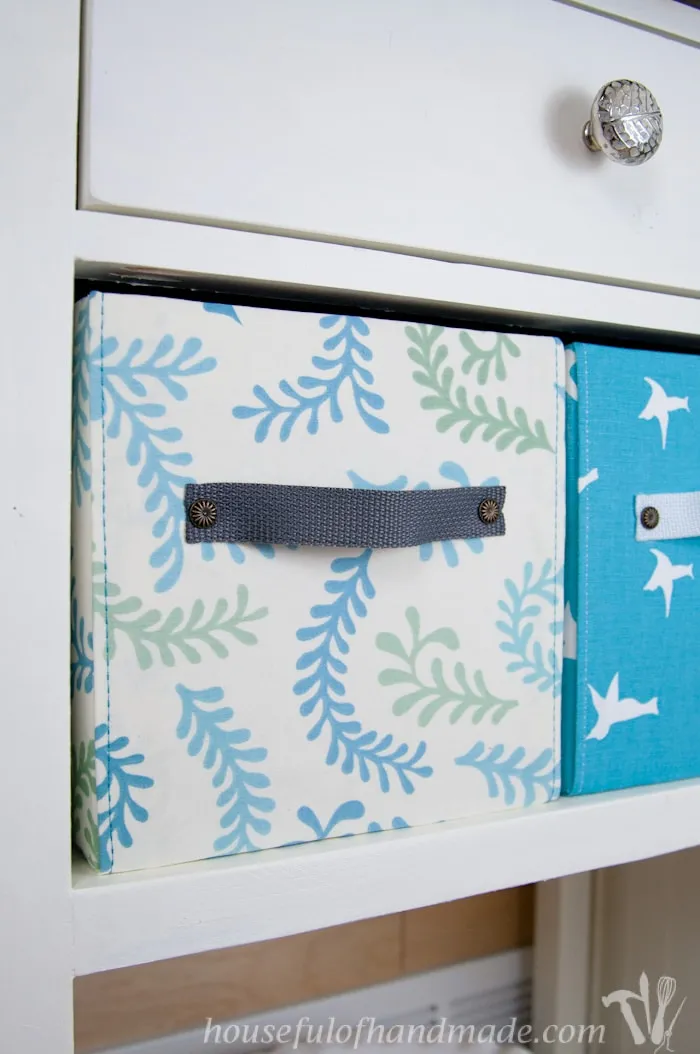 Finished DIY fabric storage boxes shown on shelf.
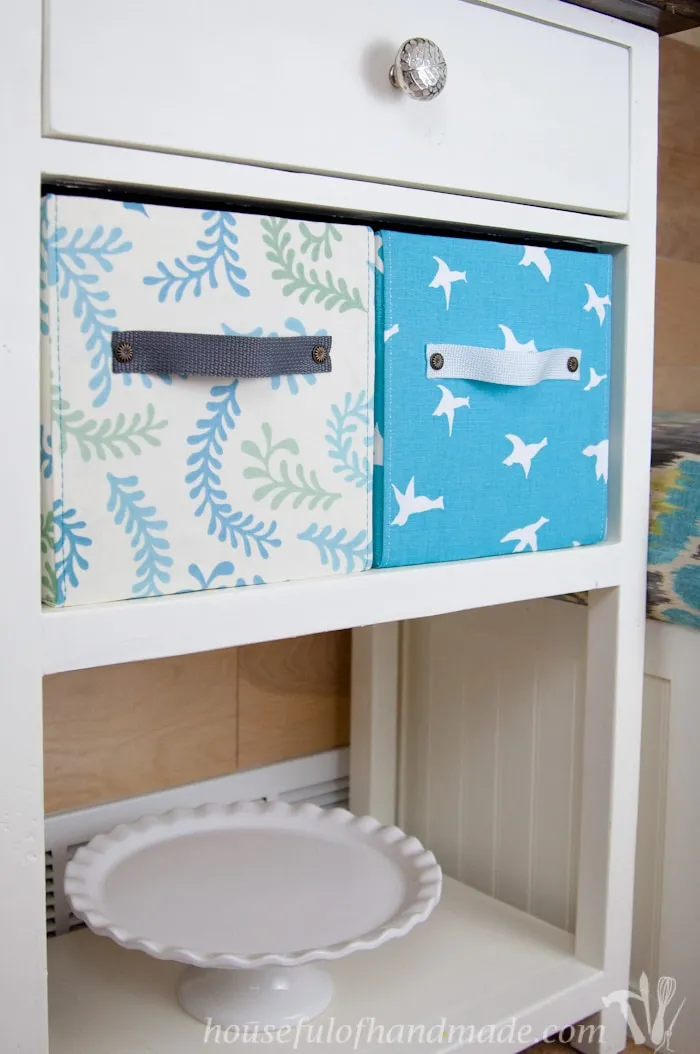 Set of two fabric-covered DIY boxes shown in a coffee station.
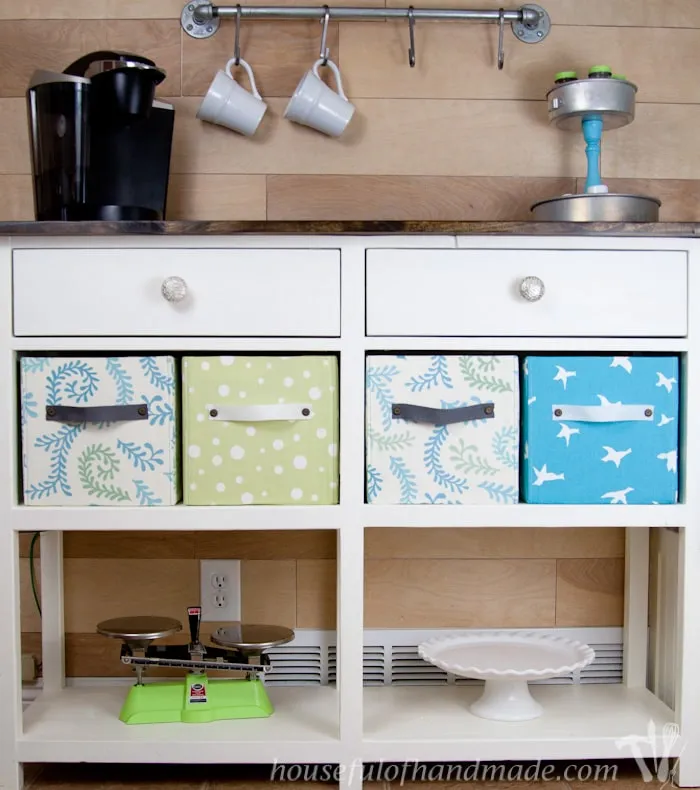 Coffee bar station shown with DIY fabric storage boxes.
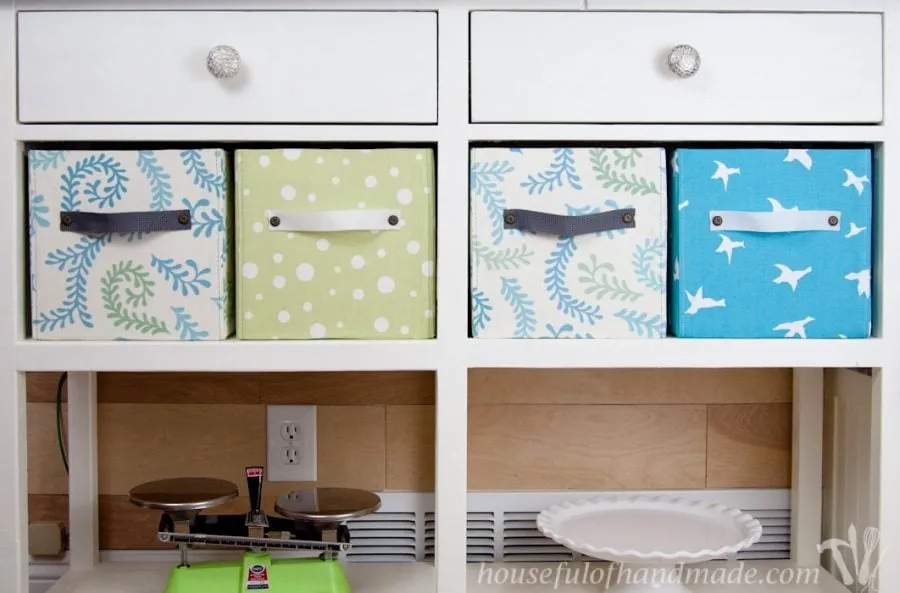 4 DIY fabric storage boxes shown in coffee station.
