Blog
DIY Designer-Inspired Headbands: The Perfect Handmade Touch
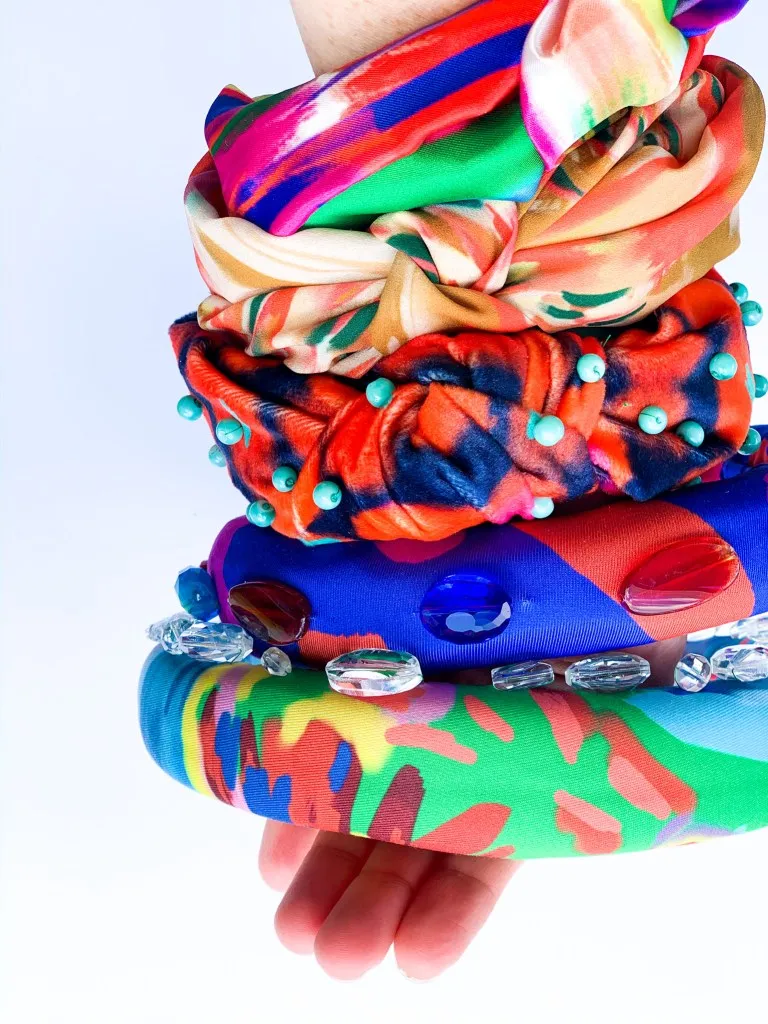
Hey there, fellow craft enthusiasts! Robert Kline here, your guide to all things handmade. Remember the headband trend that took over last year? Well, as someone who’s always had a soft spot for handmade hair accessories, I’m here to tell you that headbands are here to stay! And the best part? You can easily create your own designer-inspired pieces right at home.
This week, I decided to try my hand at recreating two of my favorite headband styles: the plush, padded headbands reminiscent of Lele Sadoughi’s iconic designs and the effortlessly chic knotted headbands I spotted at Anthropologie. Inspired by the sparkling embellishments on Lele’s headbands and the bold prints at Anthro, I decided to combine these elements for a unique twist.
For this project, I dove into my stash of vibrant Spoonflower fabrics – a treasure trove of unique prints and textures. Let me show you how different prints and materials can completely transform your headbands.
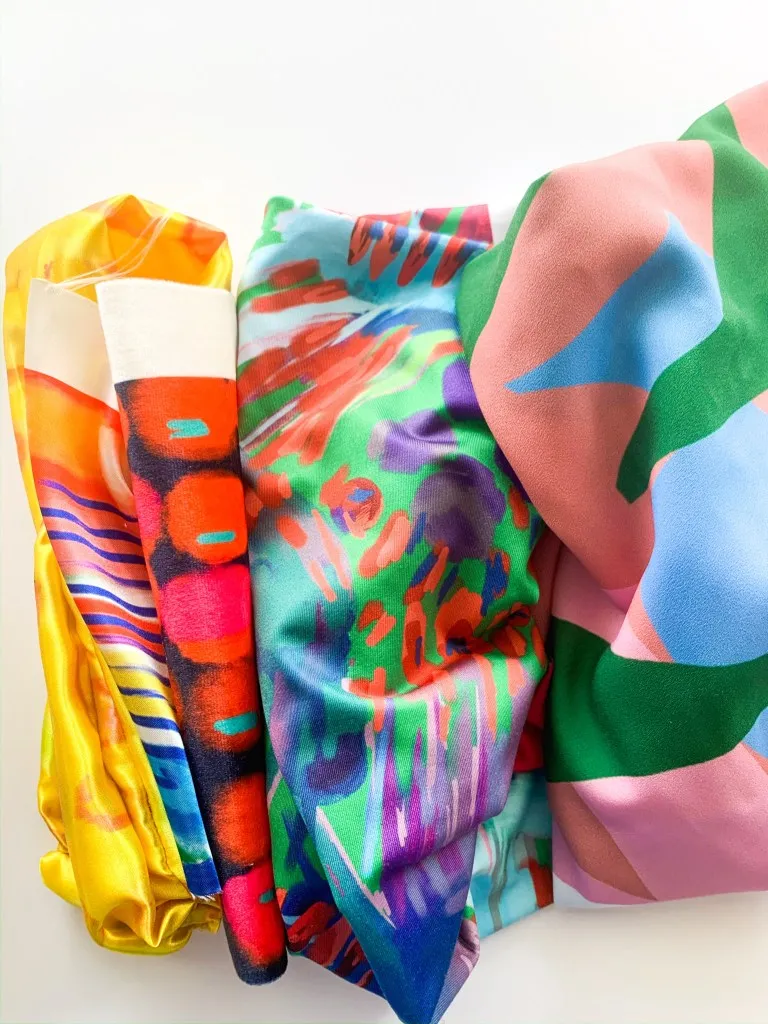
 "Different fabrics for headbands" srcset=
In this photo, we have (from left to right): luxurious Satin, plush Celosia Velvet (upholstery grade), versatile Sport Lycra, and elegant Poly Crepe de Chine. These are the fabrics I used to craft my headbands, each lending its own distinct personality to the finished product.
Turban-Style Knotted Headband: Embrace Effortless Chic
Let’s begin with the quicker and easier of the two styles: the turban-style knotted headband.
 "Floral fabric" srcset=
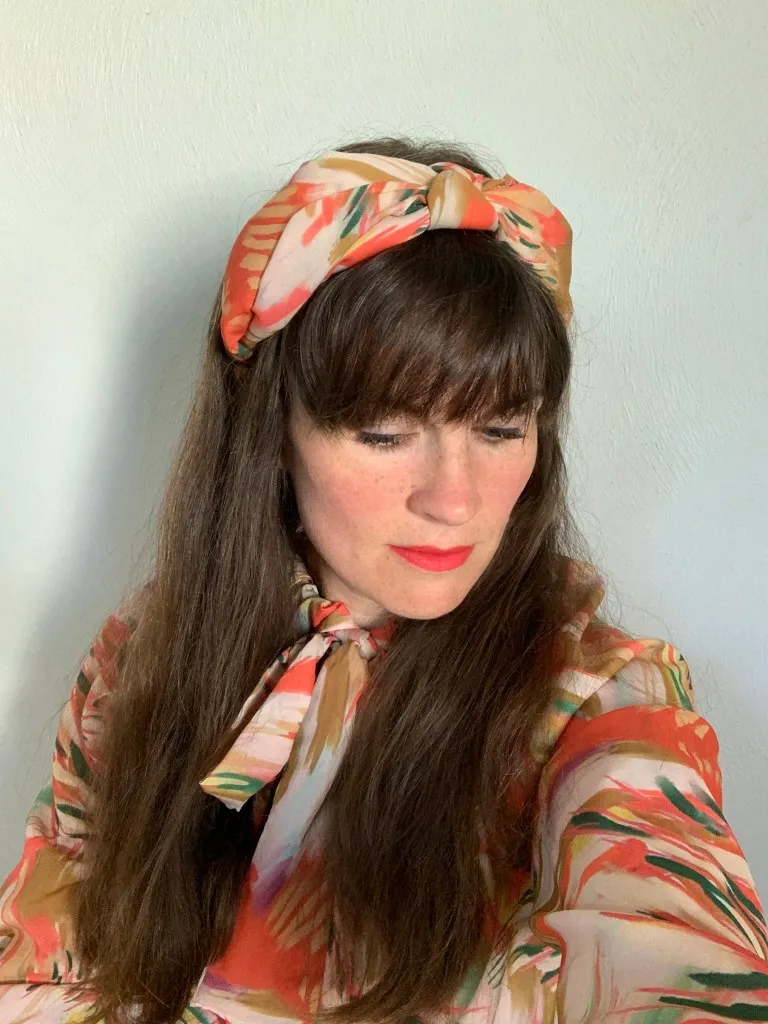
(This is the print I used on the poly crepe de chine for this tutorial. It’s amazing how fabric choice can change the entire feel!)
Materials:
- A fat quarter of fabric (feel free to experiment with different types!)
- A plastic headband (without teeth)
- Hot glue gun and glue sticks
- Quilt batting (optional, for adding volume to thinner fabrics)
- Beads (optional, for that extra sparkle!)
Instructions:
-
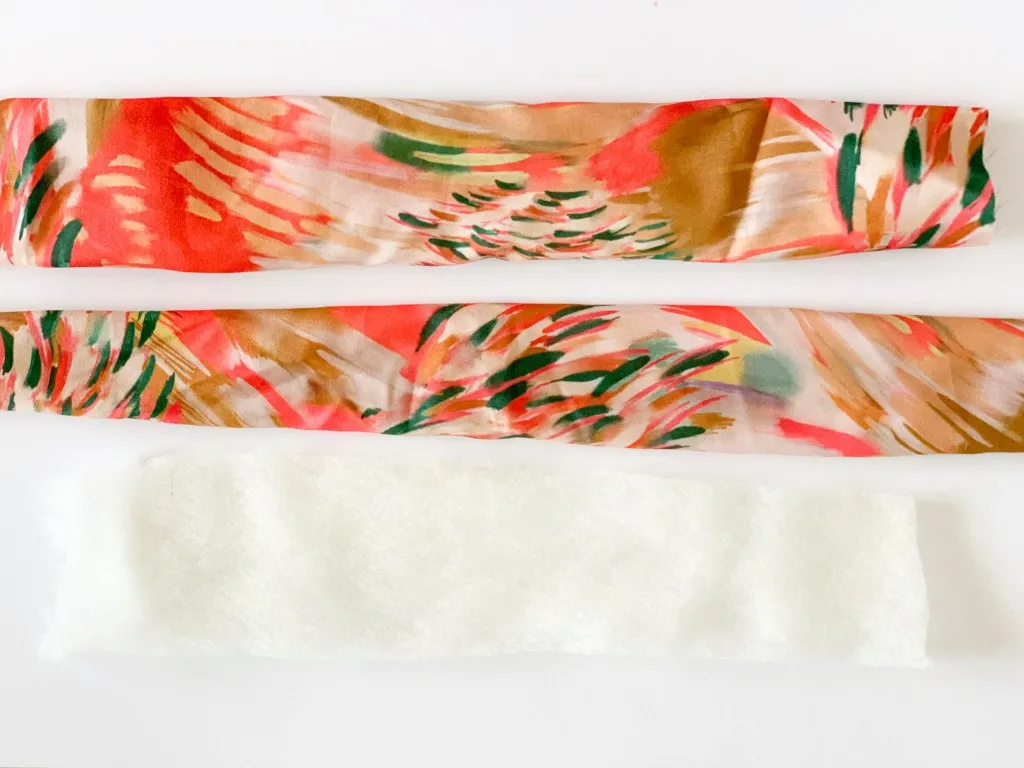
Prepare Your Fabric: For thinner fabrics, cut two strips measuring 5-6 inches wide and about 22 inches long (ensure you have enough to wrap around the headband with about 5 inches to spare). If you’re using a thin fabric and want to add volume, cut a piece of batting the length of your headband (I used a piece 2.5 inches by 13 inches). For thicker fabrics like velvet, a single strip measuring 5 inches by 22 inches will suffice, and you can skip the batting.
-
Create the Tube: With right sides together, sew along the longer edge of the fabric strips using a 1/4-inch seam allowance. Turn the tubes right side out. If you’re adding batting, insert it into the center of one of the tubes.
 "Sewing headband" srcset=
 -
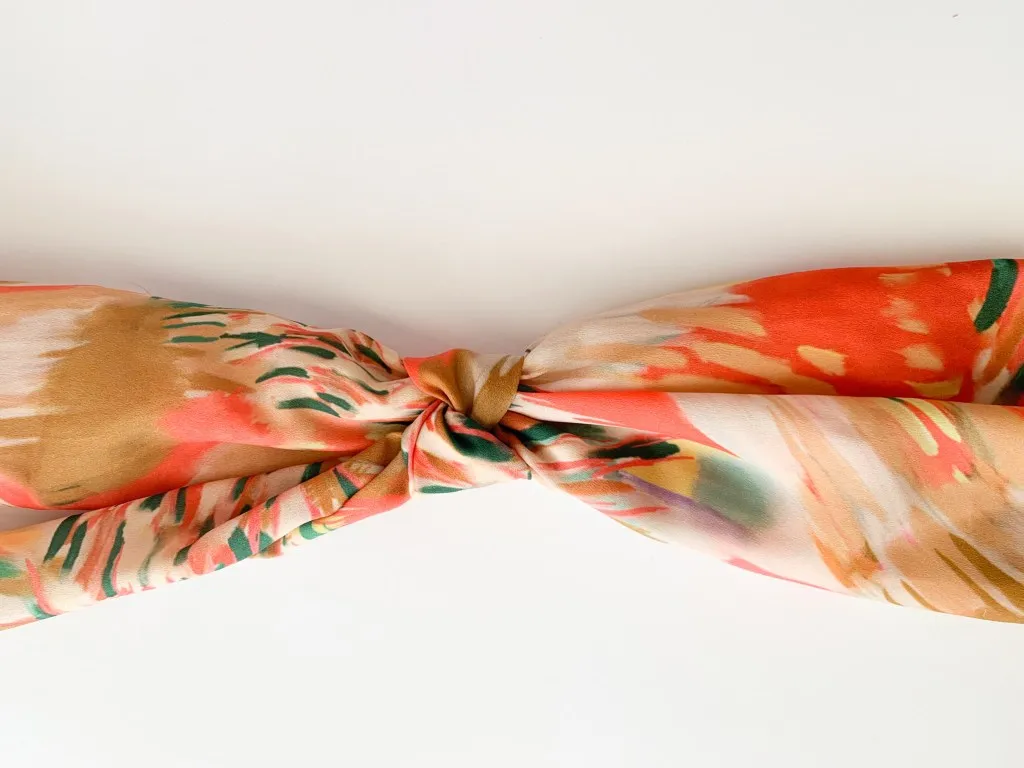
Tie the Knot: Take one fabric tube and tie it around the other in the center, creating a knot. You can experiment with the placement of the batting (if using) to achieve the desired puffiness for your knot.
 "Tying knot on headband" srcset=
 -
Cover the Headband: Using thin strips of fabric (1-2 inches wide) or ribbon, wrap your headband, securing it with hot glue as you go. Make sure to wrap and glue the ends neatly. If you like the look of your headband as is, you can skip this step.
 "Wrapping headband with fabric" data-id=
 -
Optional End Caps: Create neat end caps by sewing small fabric tubes measuring 1.25 inches by 1.5 inches. Alternatively, use the finishing method described in step 8.
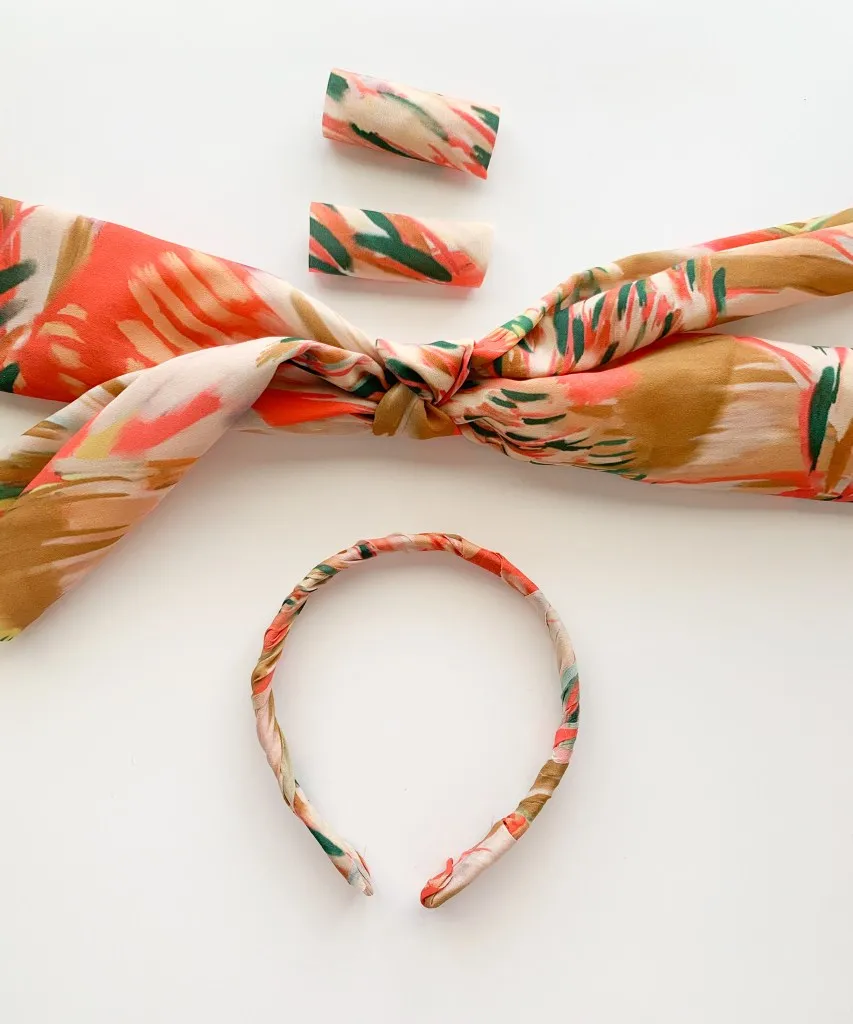 "Sewing end caps for headband " data-id=
 -
Secure the Knot: Slide the knotted fabric piece over the covered headband. Apply a dot of hot glue to secure the knot in place.
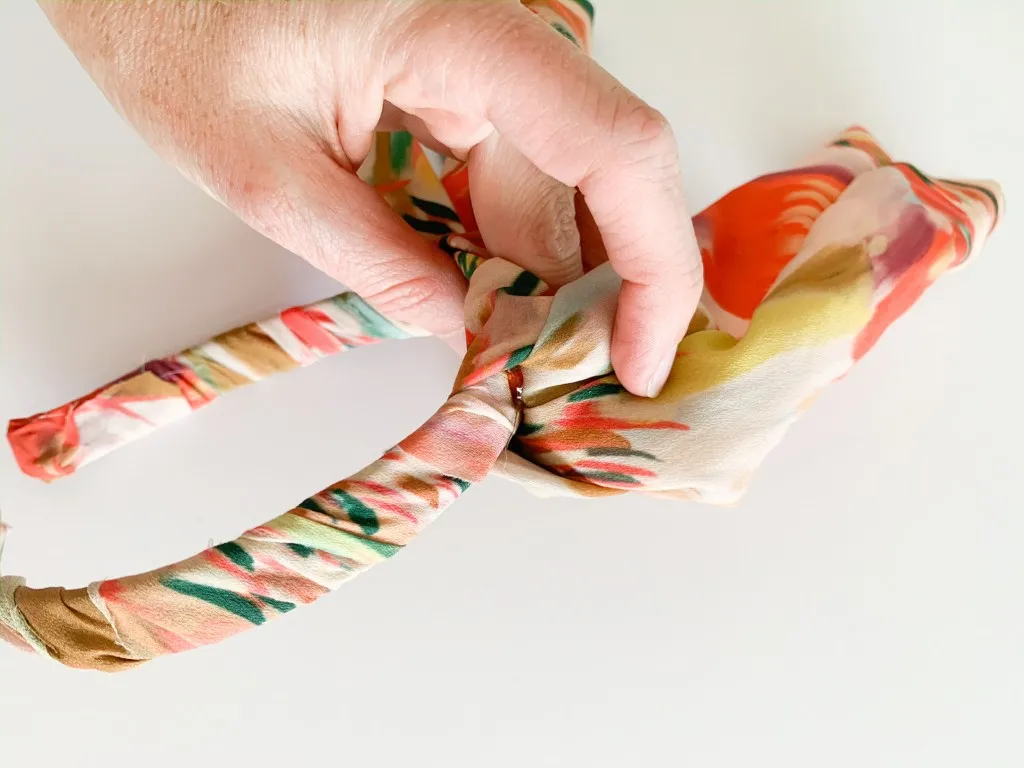 "Securing knot with glue" data-id=
 -
Finishing Touches: Clip or pin the ends of the two fabric tubes together. You can secure them by gluing, sewing, or keeping them pinned as you apply hot glue along the side of the headband, pressing the fabric down firmly.
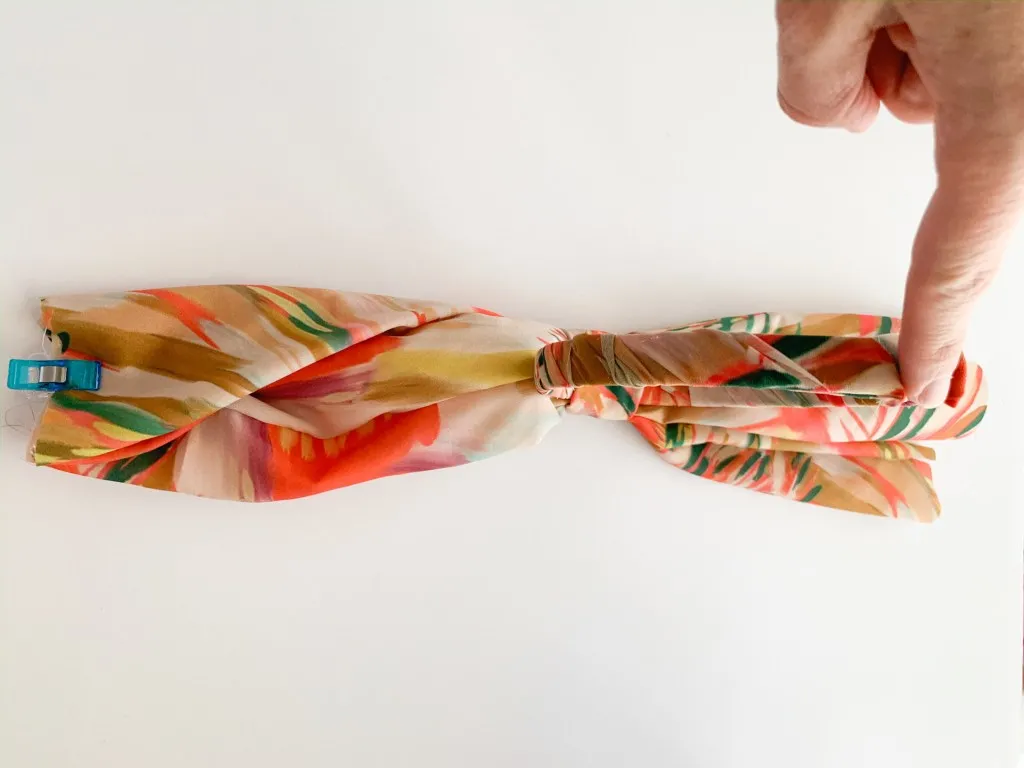 "Finishing headband" data-id=
 -
Finishing the Ends: When you reach the bottom, overlap the fabric ends neatly and secure them with hot glue. For a polished look, use the small fabric tubes created in step 5 to cover the raw edges. Alternatively, fold the excess fabric multiple times and glue it down for a simpler finish.
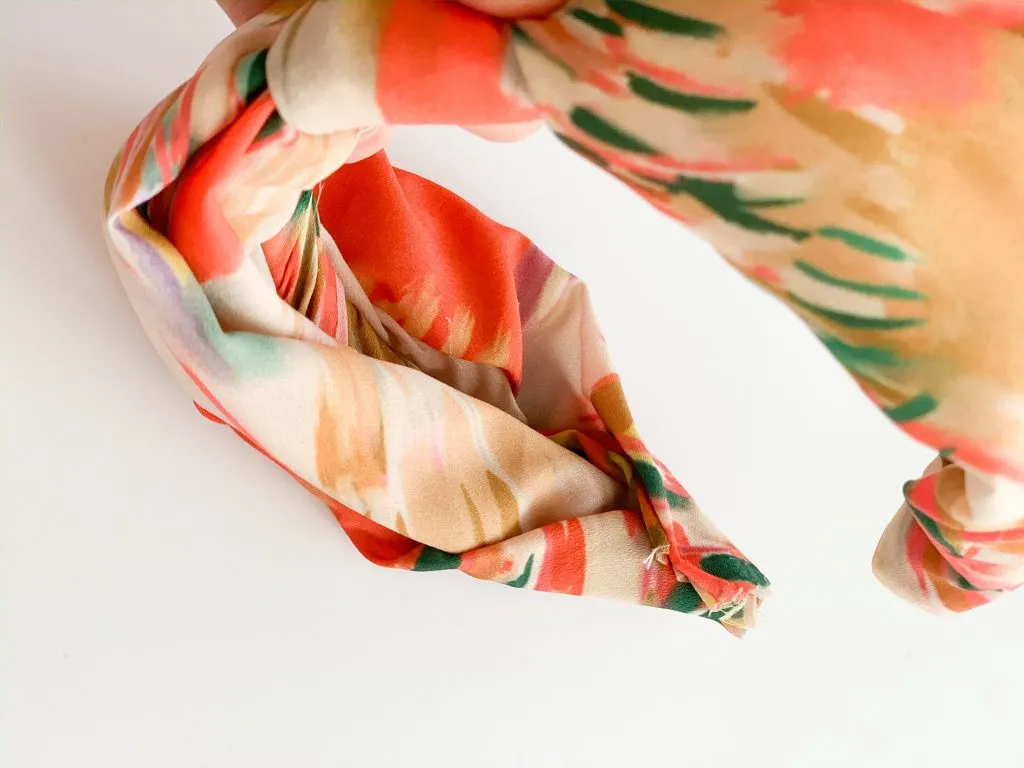 "Finished headband ends" data-id=
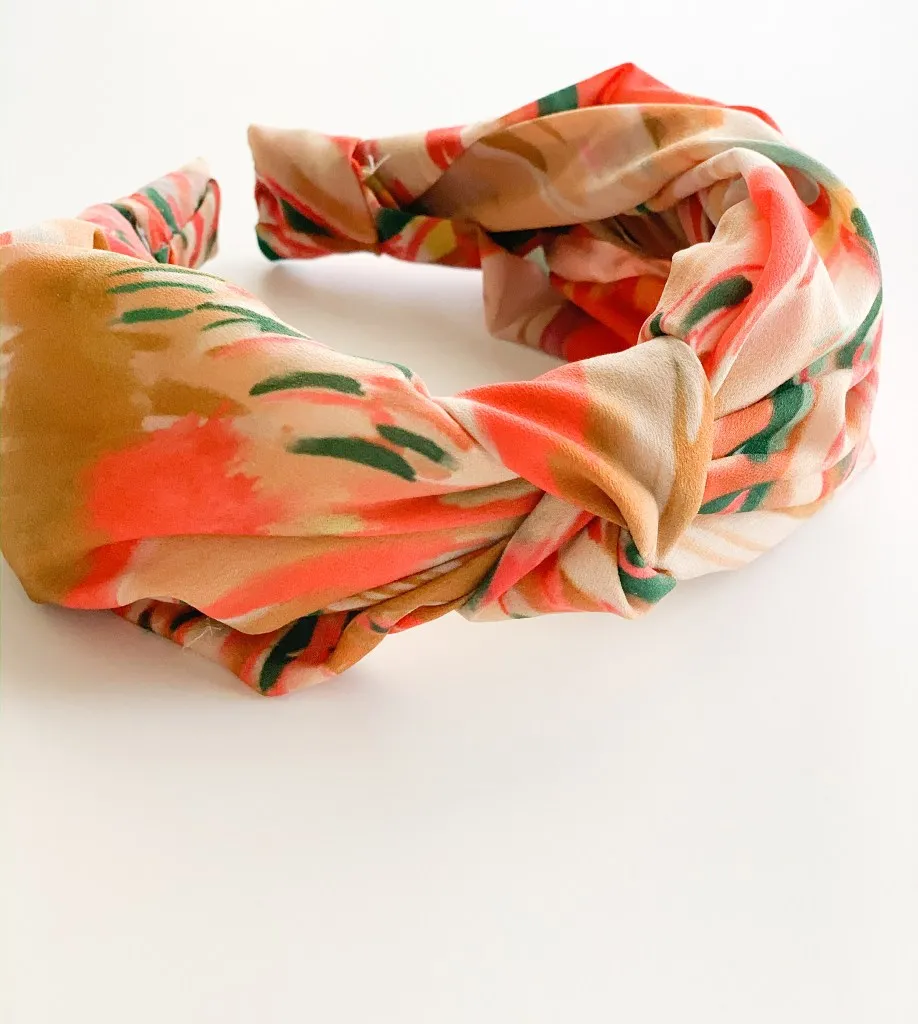 "Floral headbands" data-id=
(The headband on the right features a beautiful Spoonflower satin in a charming floral print.)
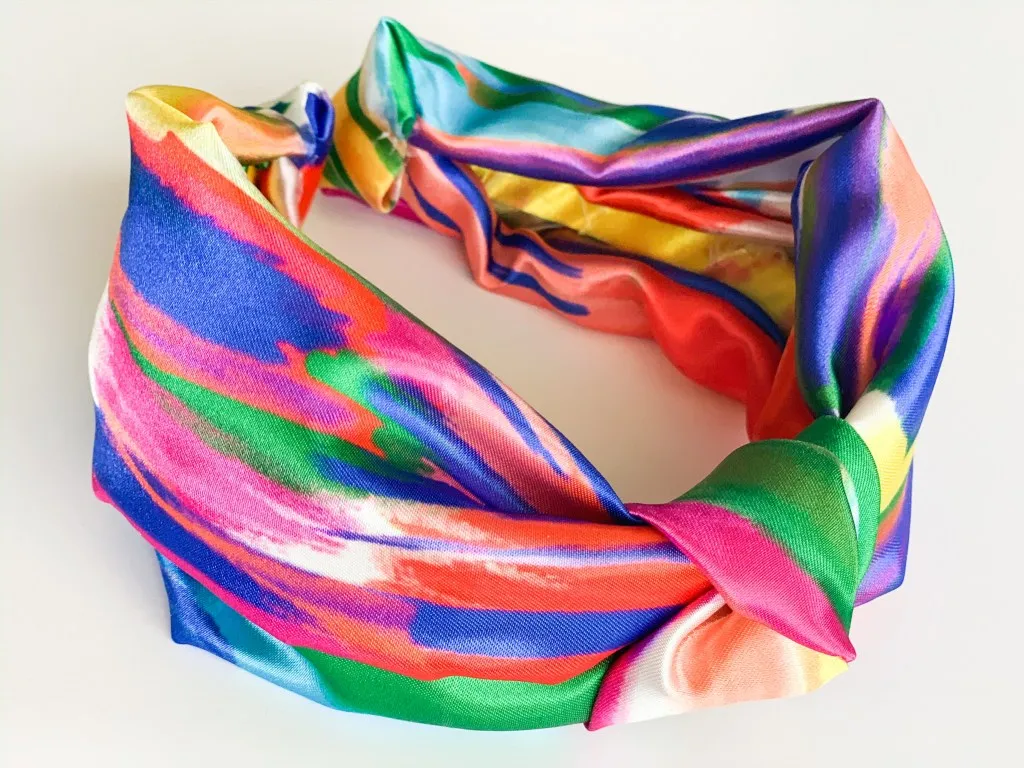 "Close-up of headband ends" data-id=
(On the left, I used the fabric tubes (turned inwards to hide raw edges). On the right, I simply folded the ends and glued them. It’s a touch less refined but feels the same when worn.)
-
Thick Fabric Variation: For thicker fabrics, tie the long fabric strip around the headband and secure it with glue. Fold the ends over, glue them down, and for a polished finish, cover the ends with a thinner fabric or ribbon.
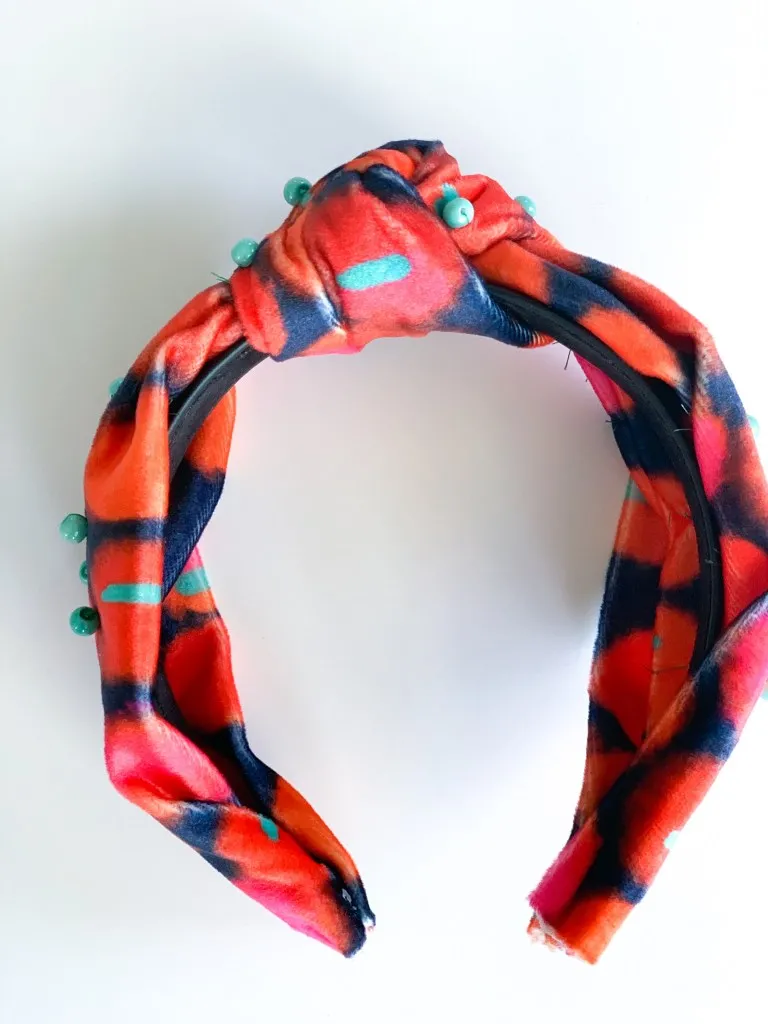 "Velvet headband" srcset=
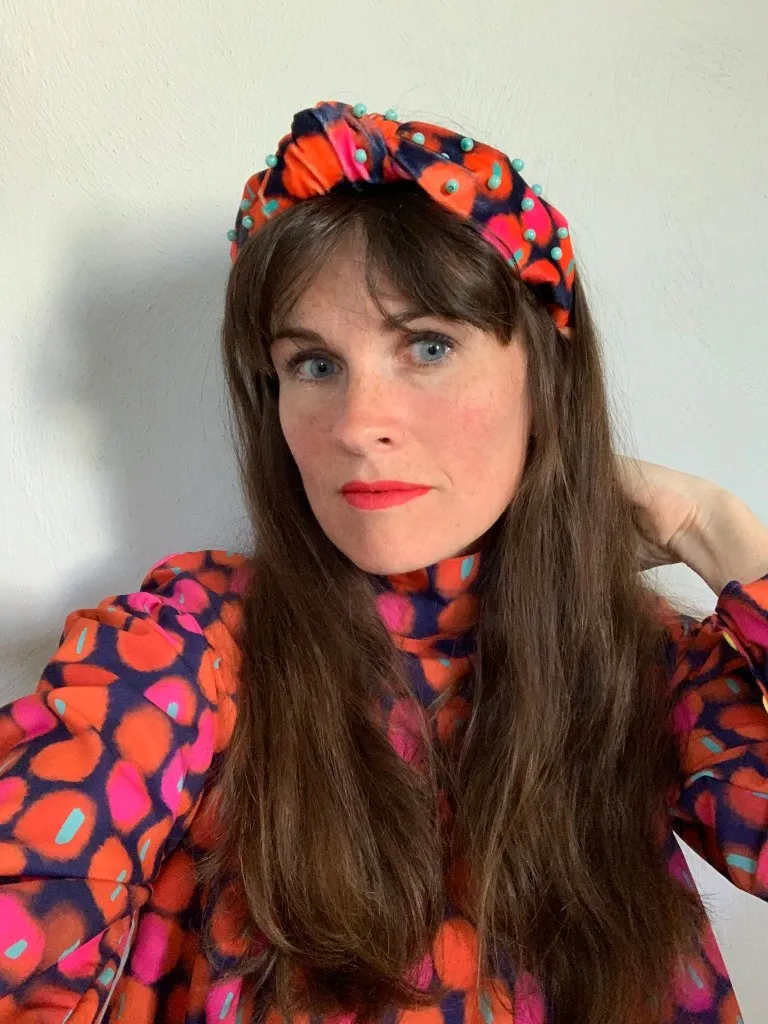
(For this headband, I used this stunning print from my Spoonflower shop in their luxurious velvet.)
-
Embellishments: For an extra touch of glamour, add beads! You can sew them on individually, tying off each bead, or thread them onto a single strand and secure it underneath. For a seamless look, add the beads before assembling the headband.
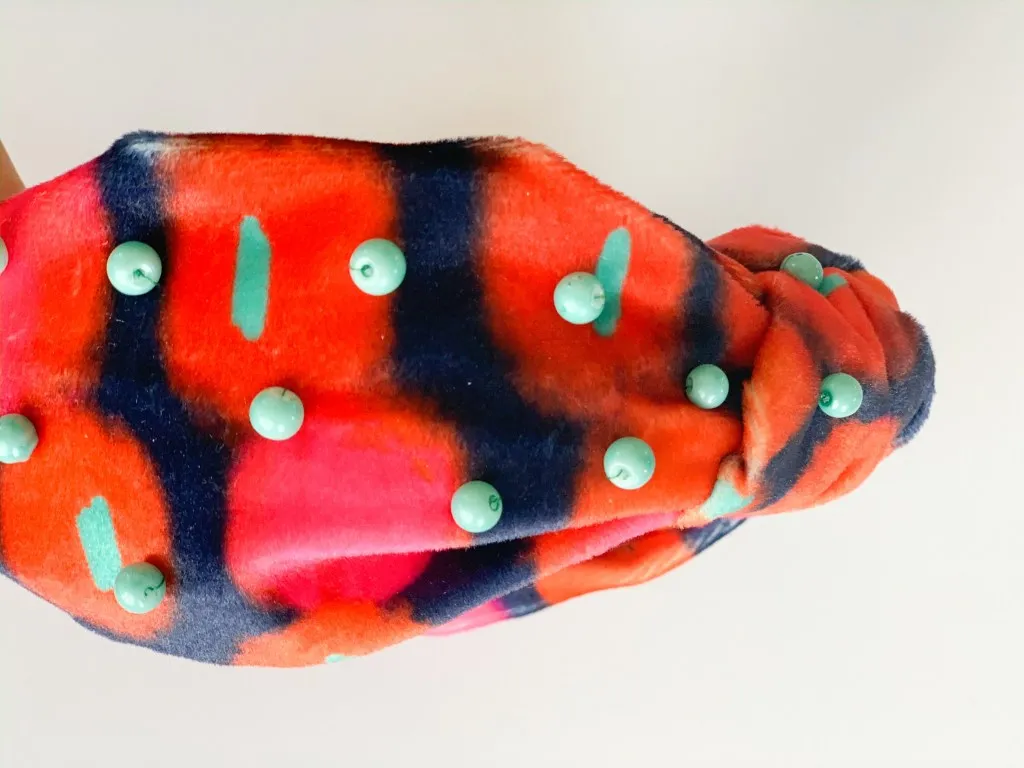 "Adding beads to headband" data-id=
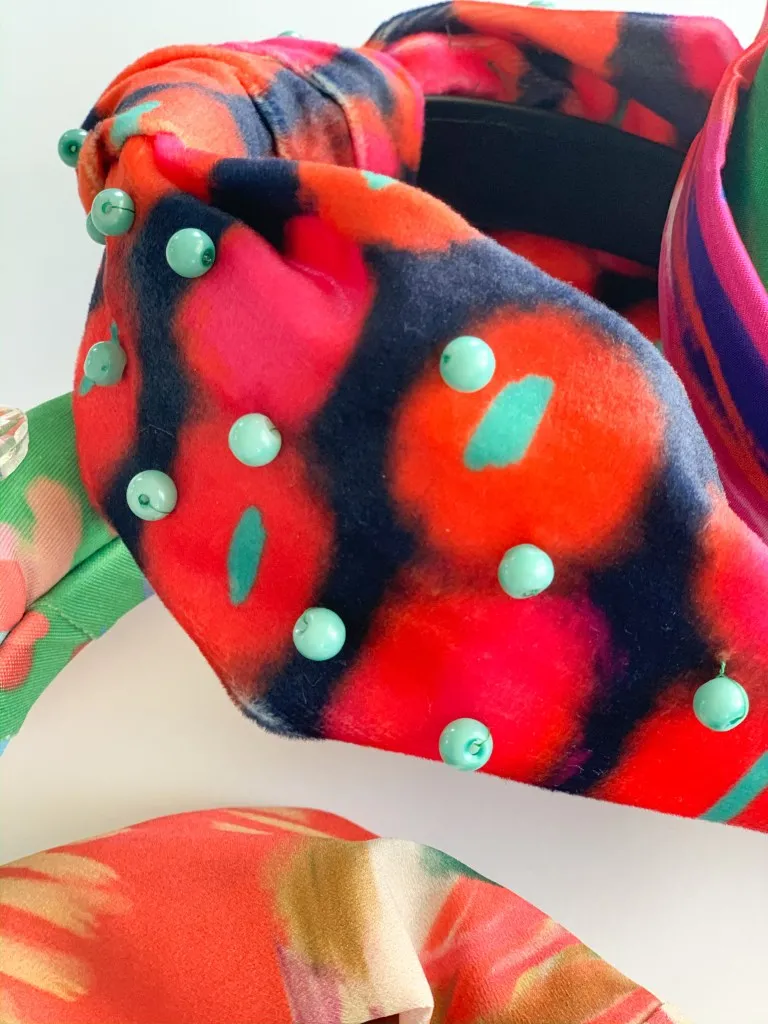 "Close-up of beaded headband" data-id=
(I love how these turban knots showcase the beauty of Spoonflower prints, especially this structured velvet. A bonus: they coordinate perfectly with outfits I’ve sewn using the same fabrics! )
Padded Headband: Channel Your Inner Lele Sadoughi
Now, let’s move on to the Lele Sadoughi-inspired padded headbands. These are a bit more involved than the knotted style, but the end result is oh-so-worth it!
Materials:
- Stretchy fabric such as Spoonflower Sport Lycra (swimsuit fabric works wonders, but cotton spandex would likely work too! A fat quarter or less will do)
- Foam padding (1-2 inches thick)
- A headband (at least 1 inch wide)
- Hot glue gun and glue sticks
- A sharp needle and thread
- Beads or gems (optional)
Instructions:
-
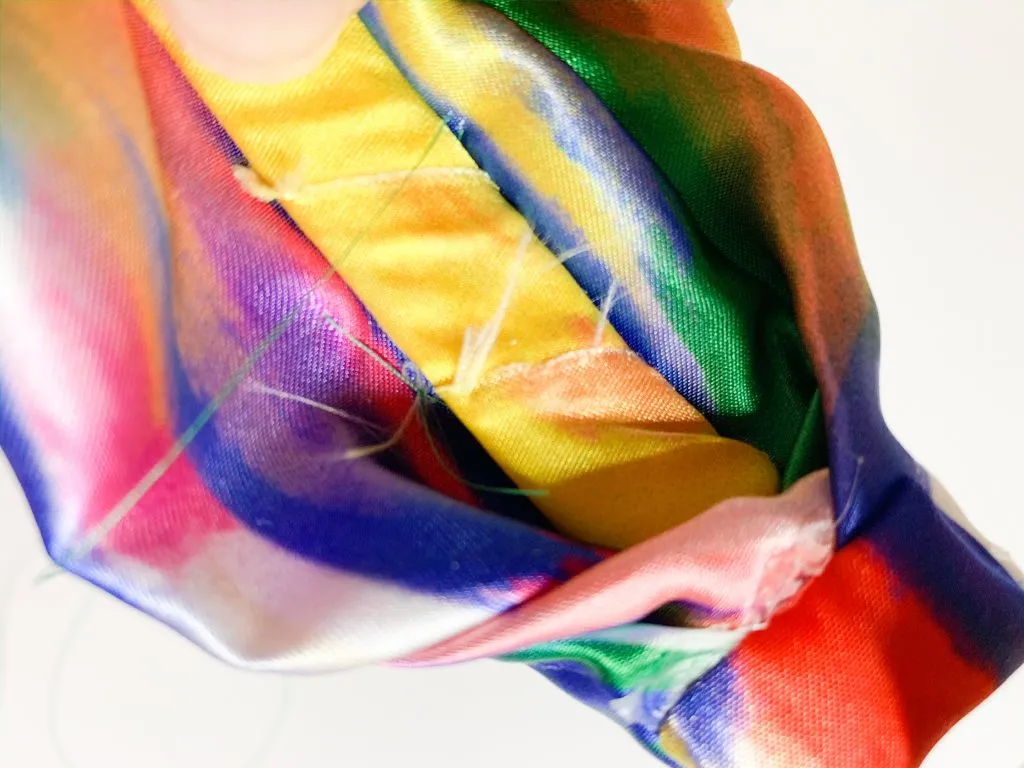
Prepare the Padding: Cut a piece of foam slightly longer than your headband. For a less bulky look, trim the foam’s width and taper the ends. I used 2-inch thick foam and cut a 1-inch strip, which determined the thickness, not the height, of the padding.
 "Cutting foam for headband" data-id=
 -
Cut the Fabric: Cut a strip of fabric longer than the foam and wide enough to overlap by at least half an inch down the center of the foam.
 "Cutting fabric for headband" data-id=
 -
Encase the Foam: Pin the fabric around the foam and hand-stitch as close to the edge as possible. Maintain a balance – don’t pull so tightly that the foam compresses, but avoid leaving it too loose, which can lead to a messy look.
 "Sewing fabric around foam" data-id=
 -
Trim and Cover: Carefully trim the seam allowance down to 1/4 inch. Wrap your headband with a thin strip of fabric or ribbon, securing it with hot glue as you go.
 "Trimming seam allowance" data-id=
 -
Attach the Padding: Apply hot glue down the center of the padded piece, ensuring the sewn seam is completely covered by the headband. Apply glue generously to create a strong bond.
 "Attaching padding to headband" data-id=
 -
Finish the Ends: Fold the ends of the fabric-covered padding down and secure them with hot glue. You can either fold the headband ends over and glue them down or neatly tuck and secure them behind the headband.
 "Finishing headband ends" data-id=
 -
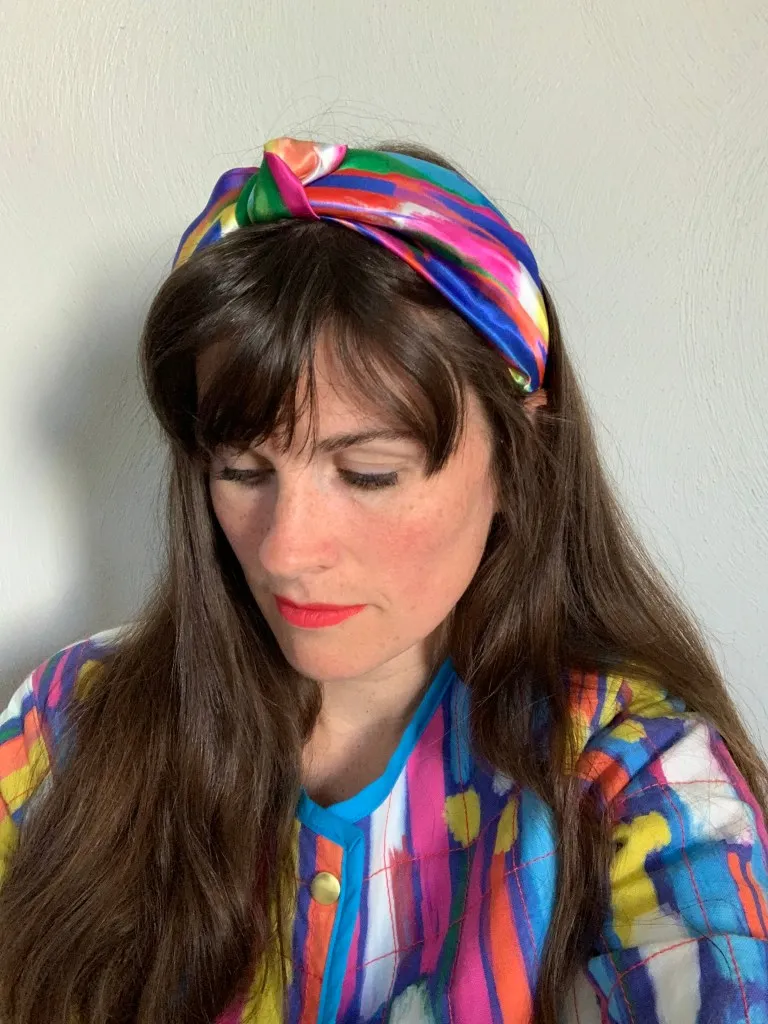
Adding Beads: If you’re adding beads, plan their placement beforehand. Mark the headband or simply eyeball it like I did. Thread a long piece of thread onto a sharp needle, tying a secure knot at the end. Start from the underside of one headband end.
 "Adding beads to padded headband" data-id=
(I used this fun print in Spoonflower’s Sport Lycra for a touch of whimsy.)
-
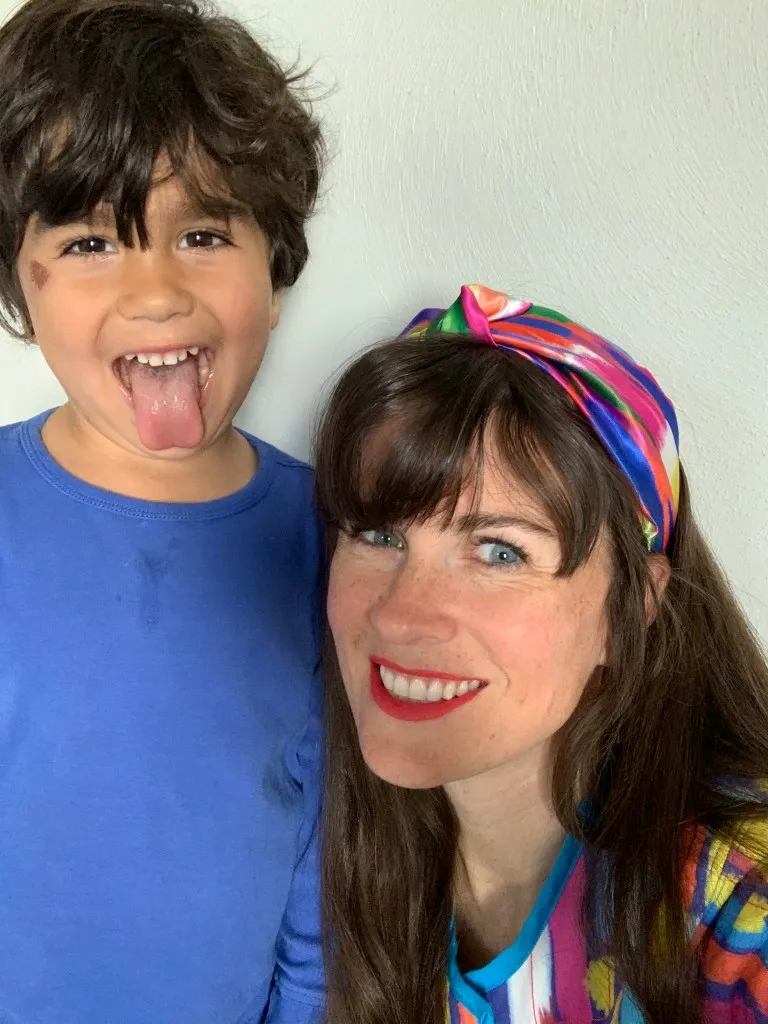
Beading Technique: Bring the needle up through the foam to your desired bead placement. Weave the thread in and out of the foam, adding beads as you go. Secure the thread at the other end by tying a few knots and trimming the excess.
 "Close up of beading technique" data-id=
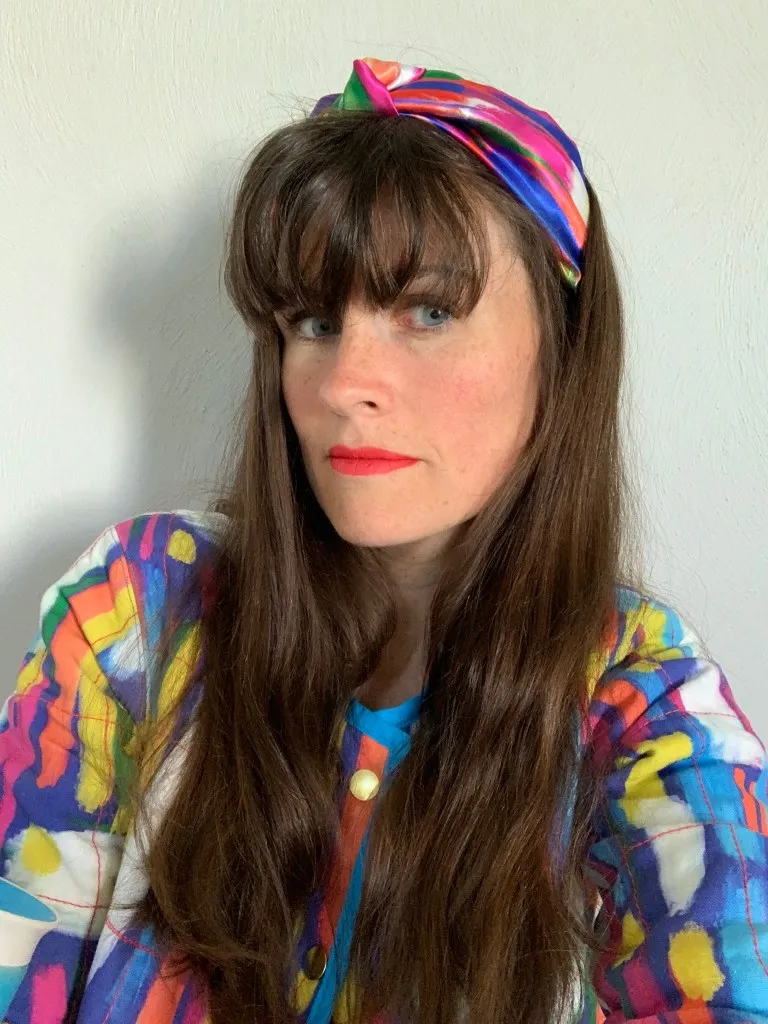 "Finished beaded headband" data-id=
And there you have it—two stunning, designer-inspired headbands ready to elevate your style! I had a blast creating these, and I know you will too. Remember, the beauty of handmade lies in the freedom to experiment and infuse your creations with personal flair.
“I find that experimenting with different textures and embellishments is a fantastic way to add a unique touch,” says renowned craft artist [Insert Fictional Craft Artist Name], “Don’t be afraid to let your creativity run wild!”
So, gather your materials, unleash your inner artist, and fashion some head-turning accessories. And when you do, be sure to share your creations with me. I can’t wait to see what you come up with!
For more crafting inspiration and unique handmade gifts, be sure to explore the rest of Robert Kline Art. Happy crafting!
