Blog
DIY Fabric Covered Bulletin Board: A Fun and Easy Craft Project

Hey there, fellow craft enthusiasts! Robert Kline here, and today we’re diving into a project that’s as practical as it is stylish: creating your very own fabric covered bulletin boards.
This idea came to me when my kids started using their bedroom walls as personal art galleries – don’t tell me yours haven’t tried it! While I adore their creativity, the peeling paint from all the tape didn’t spark quite the same joy. That’s when inspiration struck! These DIY bulletin boards are the perfect solution to protect our walls and unleash their creative spirit.
The best part? It’s a beginner-friendly project that anyone can tackle. We’re even using an existing bulletin board to keep things super simple. Ready to get crafty? Let’s go!
Gathering Your Supplies
Before we start, let’s gather our crafting essentials. You’ll need:
- A bulletin board (I found mine at a craft store for a steal!)
- Your favorite fabric (choose something that reflects your personality!)
- Spray adhesive
- A sharp craft knife
- Painter’s tape
Step-by-Step Guide to Fabric Covered Bulletin Board Bliss
Step 1: Measure and Cut Your Fabric
Measure your fabric, adding about an inch on all sides of the bulletin board to ensure you have enough to wrap around.
Step 2: Iron Out the Wrinkles
A smooth finish is key! Give your fabric a good ironing to get rid of any wrinkles that might show through once it’s on the bulletin board.
Step 3: Protect Your Frame
Use painter’s tape to carefully cover the frame of your bulletin board. This will prevent any stray spray adhesive from ruining the look.
Step 4: Adhesive is Your Best Friend
Now for the magic touch! Use a spray adhesive that’s suitable for both fabric and cork. Evenly coat both the cork surface of the bulletin board and the back of your fabric. Carefully align and apply the fabric to the bulletin board, smoothing it out from the center outward. For a professional finish, use a vinyl squeegee or a credit card to press out any air bubbles, ensuring the fabric adheres completely to the edges. Allow at least an hour for the adhesive to dry completely.
Pro-tip: A good quality spray adhesive is a versatile tool for any crafter. “I find myself reaching for it in so many projects,” says renowned DIY expert, Sarah Jones. “It’s perfect for everything from fabric to wood and even heavier materials.”
Step 5: Trim the Excess
Using your sharp craft knife, carefully cut along the edges of the bulletin board to remove any excess fabric. This will give your project a clean and polished look.
Step 6: Peel and Reveal
Gently peel away the fabric scraps, revealing a perfectly wrapped bulletin board. You’re almost there!
Step 7: Frame It Up!
Finally, remove the painter’s tape to unveil your beautifully framed, fabric-covered bulletin board!
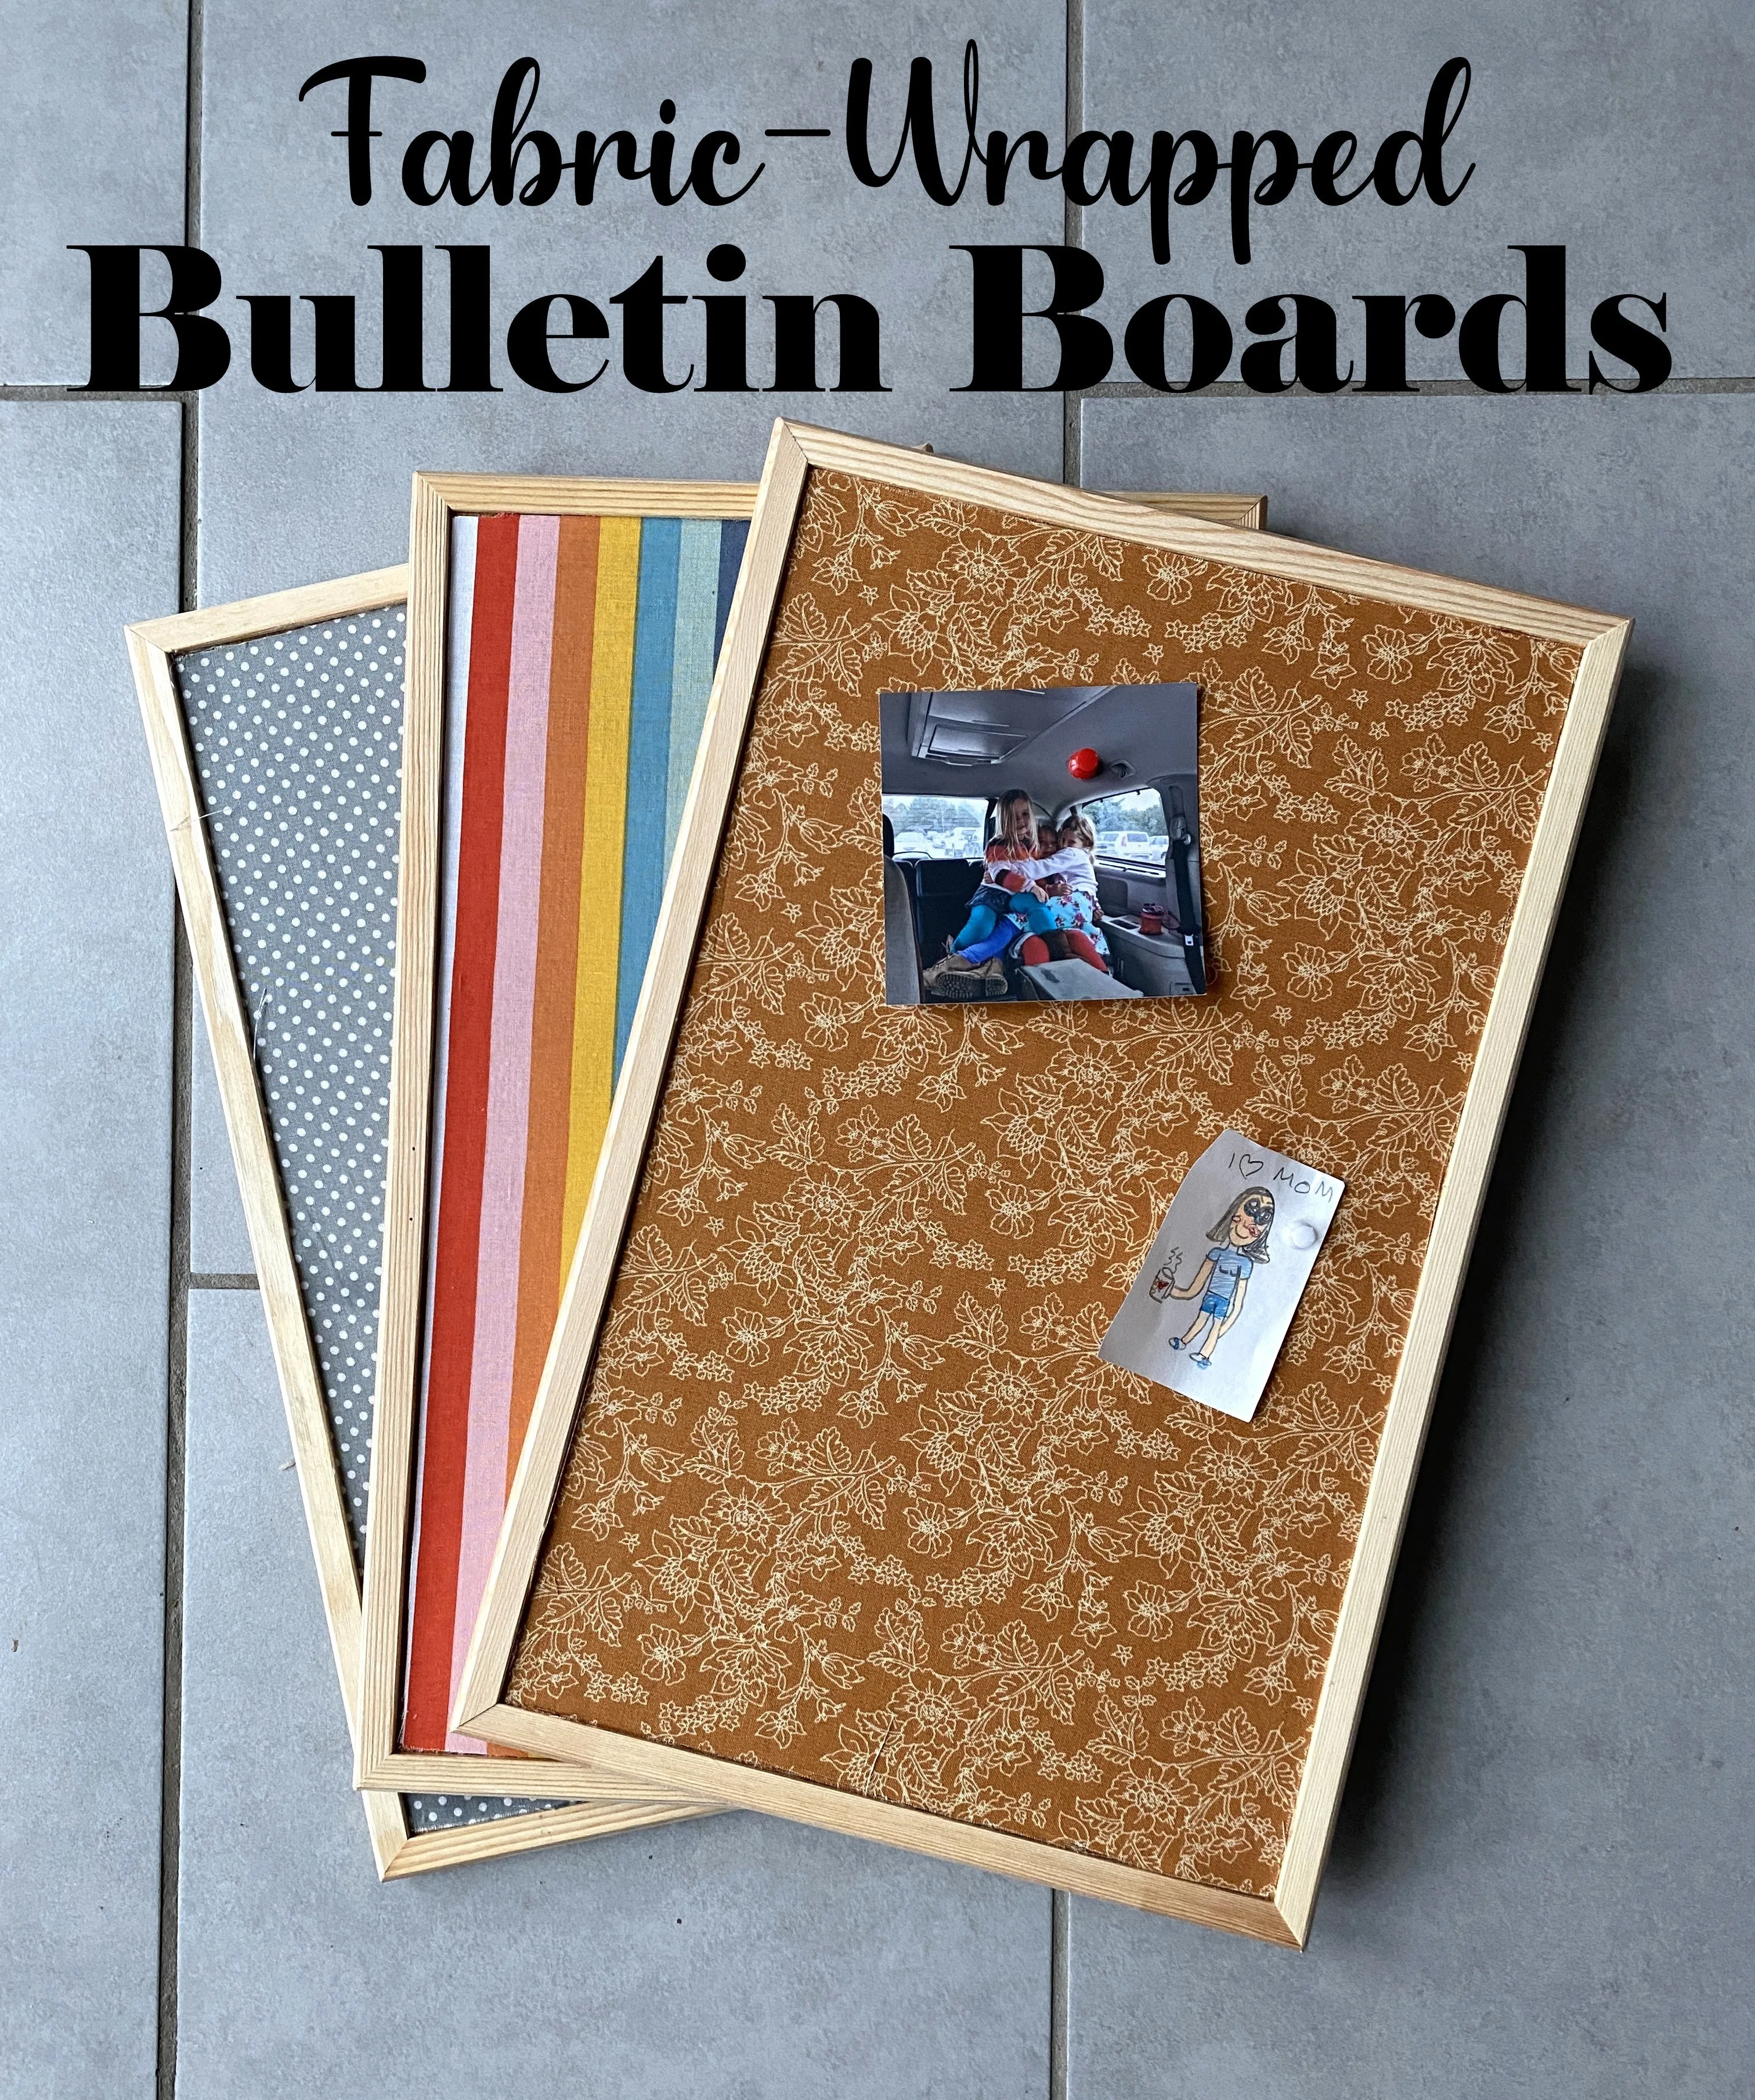
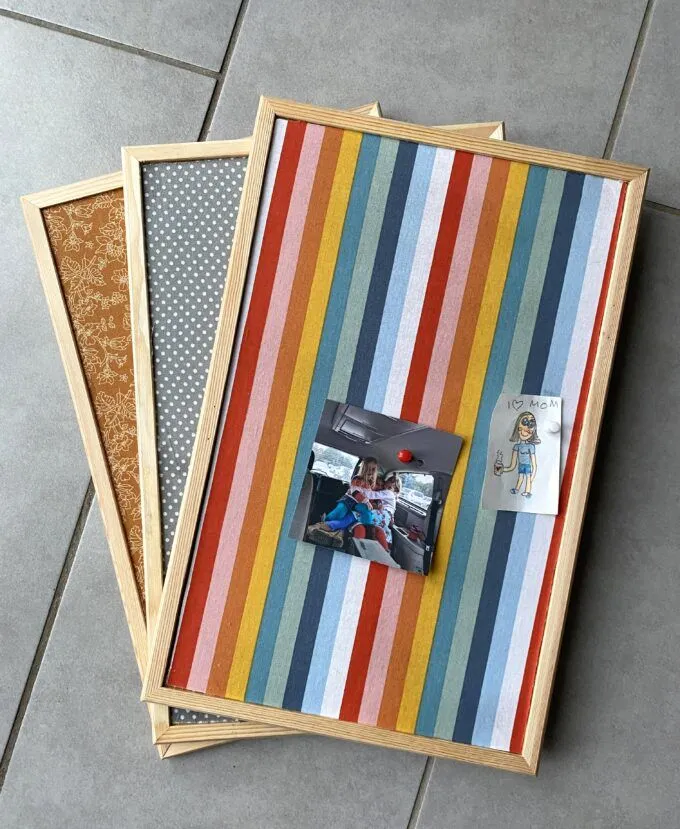
 A finished DIY fabric covered bulletin board.
Personalizing Your Masterpiece
While our fabric covered bulletin boards are stunning as is, feel free to let your creativity soar! Add decorative touches like nailhead trim, a playful pom-pom border, or a fresh coat of paint to the frame. Let your personality shine!
 Different fabric choices for your DIY bulletin board.
Conclusion
And there you have it! You’ve transformed a simple bulletin board into a personalized work of art. I chose fabrics that matched my kids’ personalities, and they can’t wait to hang them up. Hopefully, this means my walls will remain paint-chip-free for a little while longer!
Why stop there? This DIY project also makes a thoughtful and unique handmade gift. Get creative, experiment with different fabrics and embellishments, and share your creations with the world!
Remember, crafting is a journey, not a destination. Share your fabric-covered bulletin board creations with me on Instagram [@RobertKlineArt](your website link). Happy crafting!
Looking for more inspiring handmade gift ideas? Check out our curated collection of [DIY craft projects](your website link) to find your next creative endeavor.
