Blog
Making Fabric Covered Buttons: A Simple Guide

As a craft enthusiast, I’m always looking for ways to add unique, handmade touches to my projects. One of my favorite ways to elevate a simple garment is with fabric covered buttons. They offer a charming, personalized touch that you just can’t get from store-bought buttons.
Remember that thrill you felt when you finished your first project? Remember the joy it brought to the person you gifted it to? That’s the magic we’re going to recreate today. Don’t worry, you don’t need to be a master seamster for this project. With a few simple steps, you’ll be crafting beautiful fabric buttons in no time!
Gathering Your Supplies
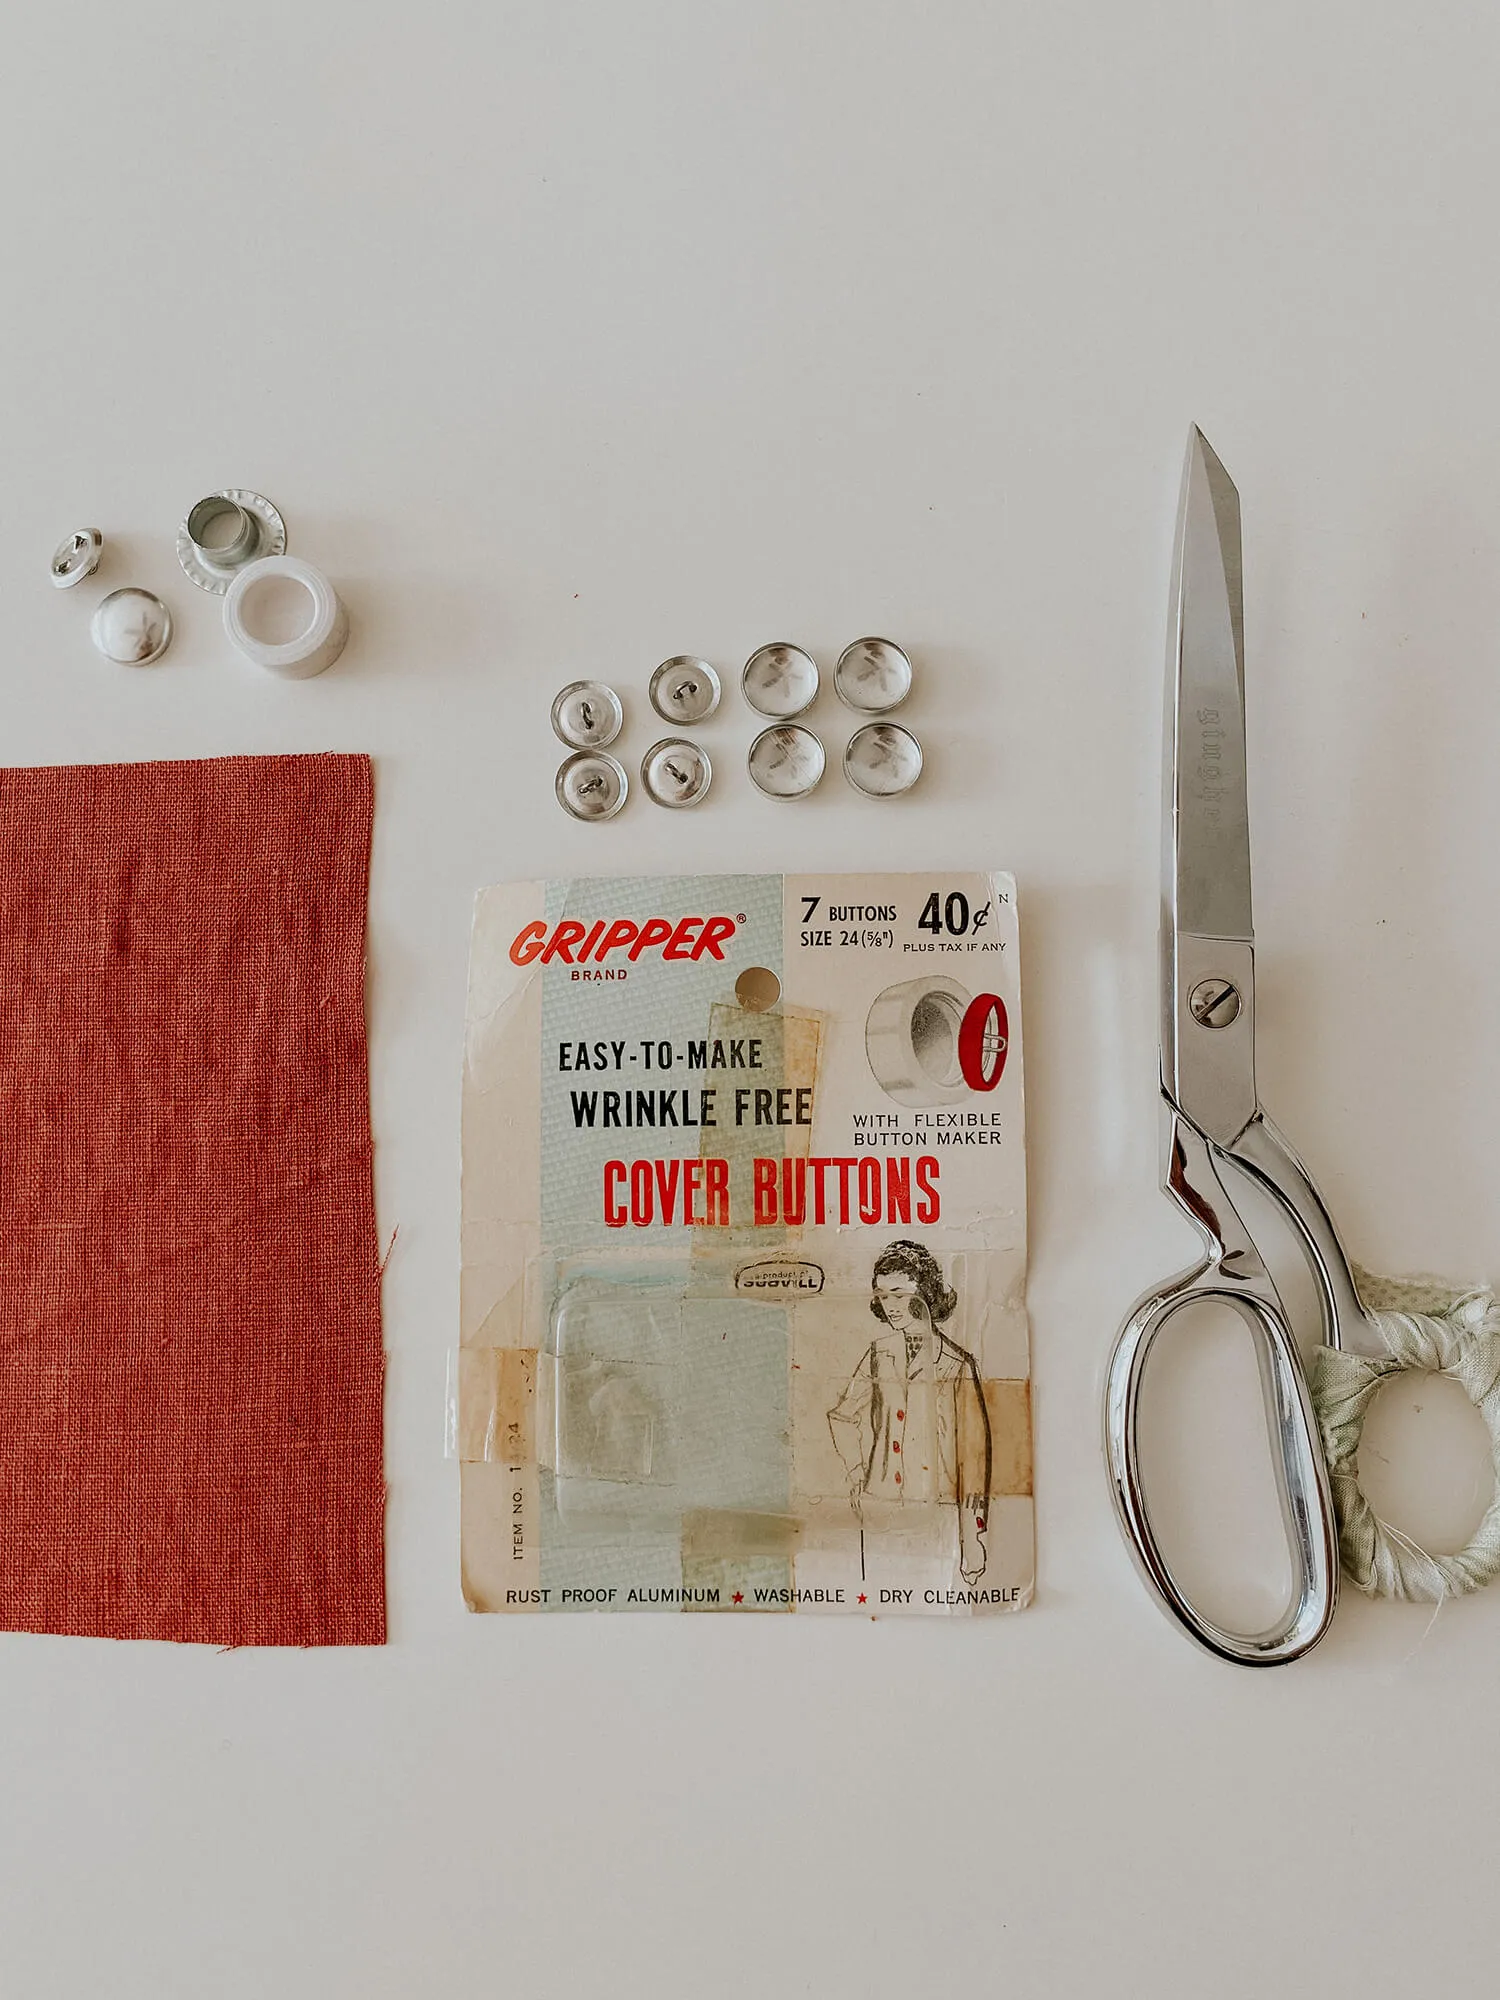
Before we get started, let’s gather our materials:
- Fabric of your choice: I love using linen for its beautiful texture, but feel free to experiment with cotton, silk, or even velvet!
- Button covering kit: This handy kit typically includes the button shells, a rubber button maker, and a pusher tool.
- Iron and ironing board
- Fabric scissors
- Lightweight interfacing (optional)
- Small piece of fiber fill (optional)
Step-by-Step Guide to Making Fabric Covered Buttons
Here’s a detailed walkthrough of how to create your own fabric covered buttons:
- Prepare your fabric: If your fabric is prone to fraying or is particularly thin, you might want to iron a piece of lightweight interfacing to the back of your fabric piece for added stability.
 Preparing the fabric for covered buttons
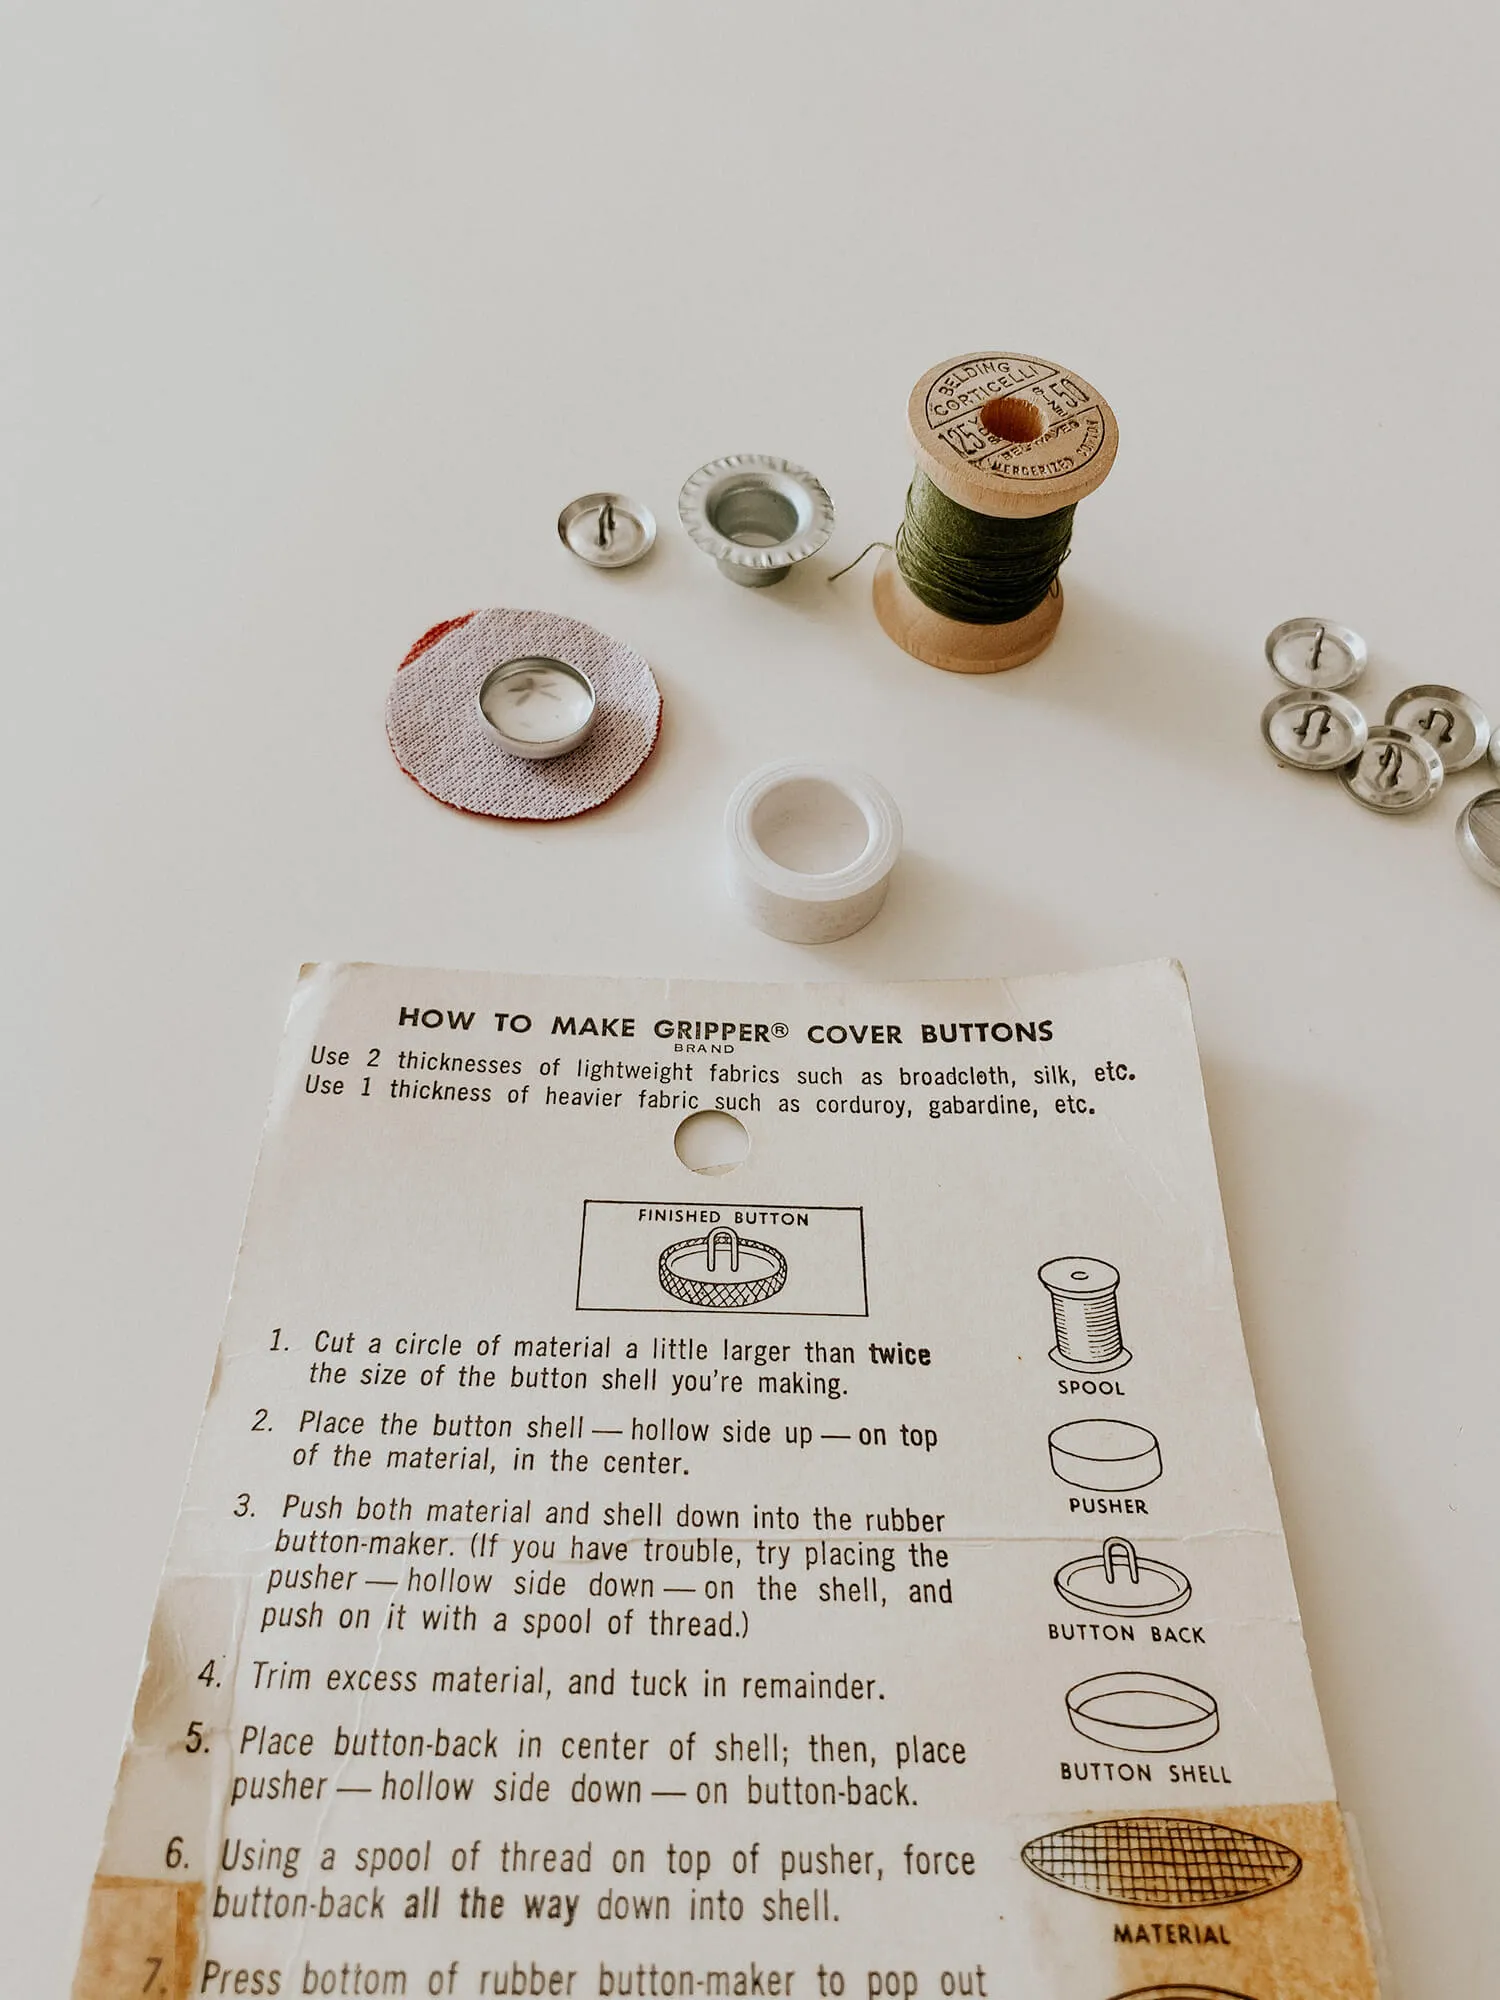
- Cut your fabric circles: Using the template provided in your button covering kit (or estimating twice the diameter of your button), carefully cut out the required number of fabric circles.
 Cutting fabric for covered buttons
- Assemble the button: Place the fabric circle wrong side up over the rubber button maker. Center the button shell on top of the fabric, then carefully fold the excess fabric towards the center.
 Placing the button shell
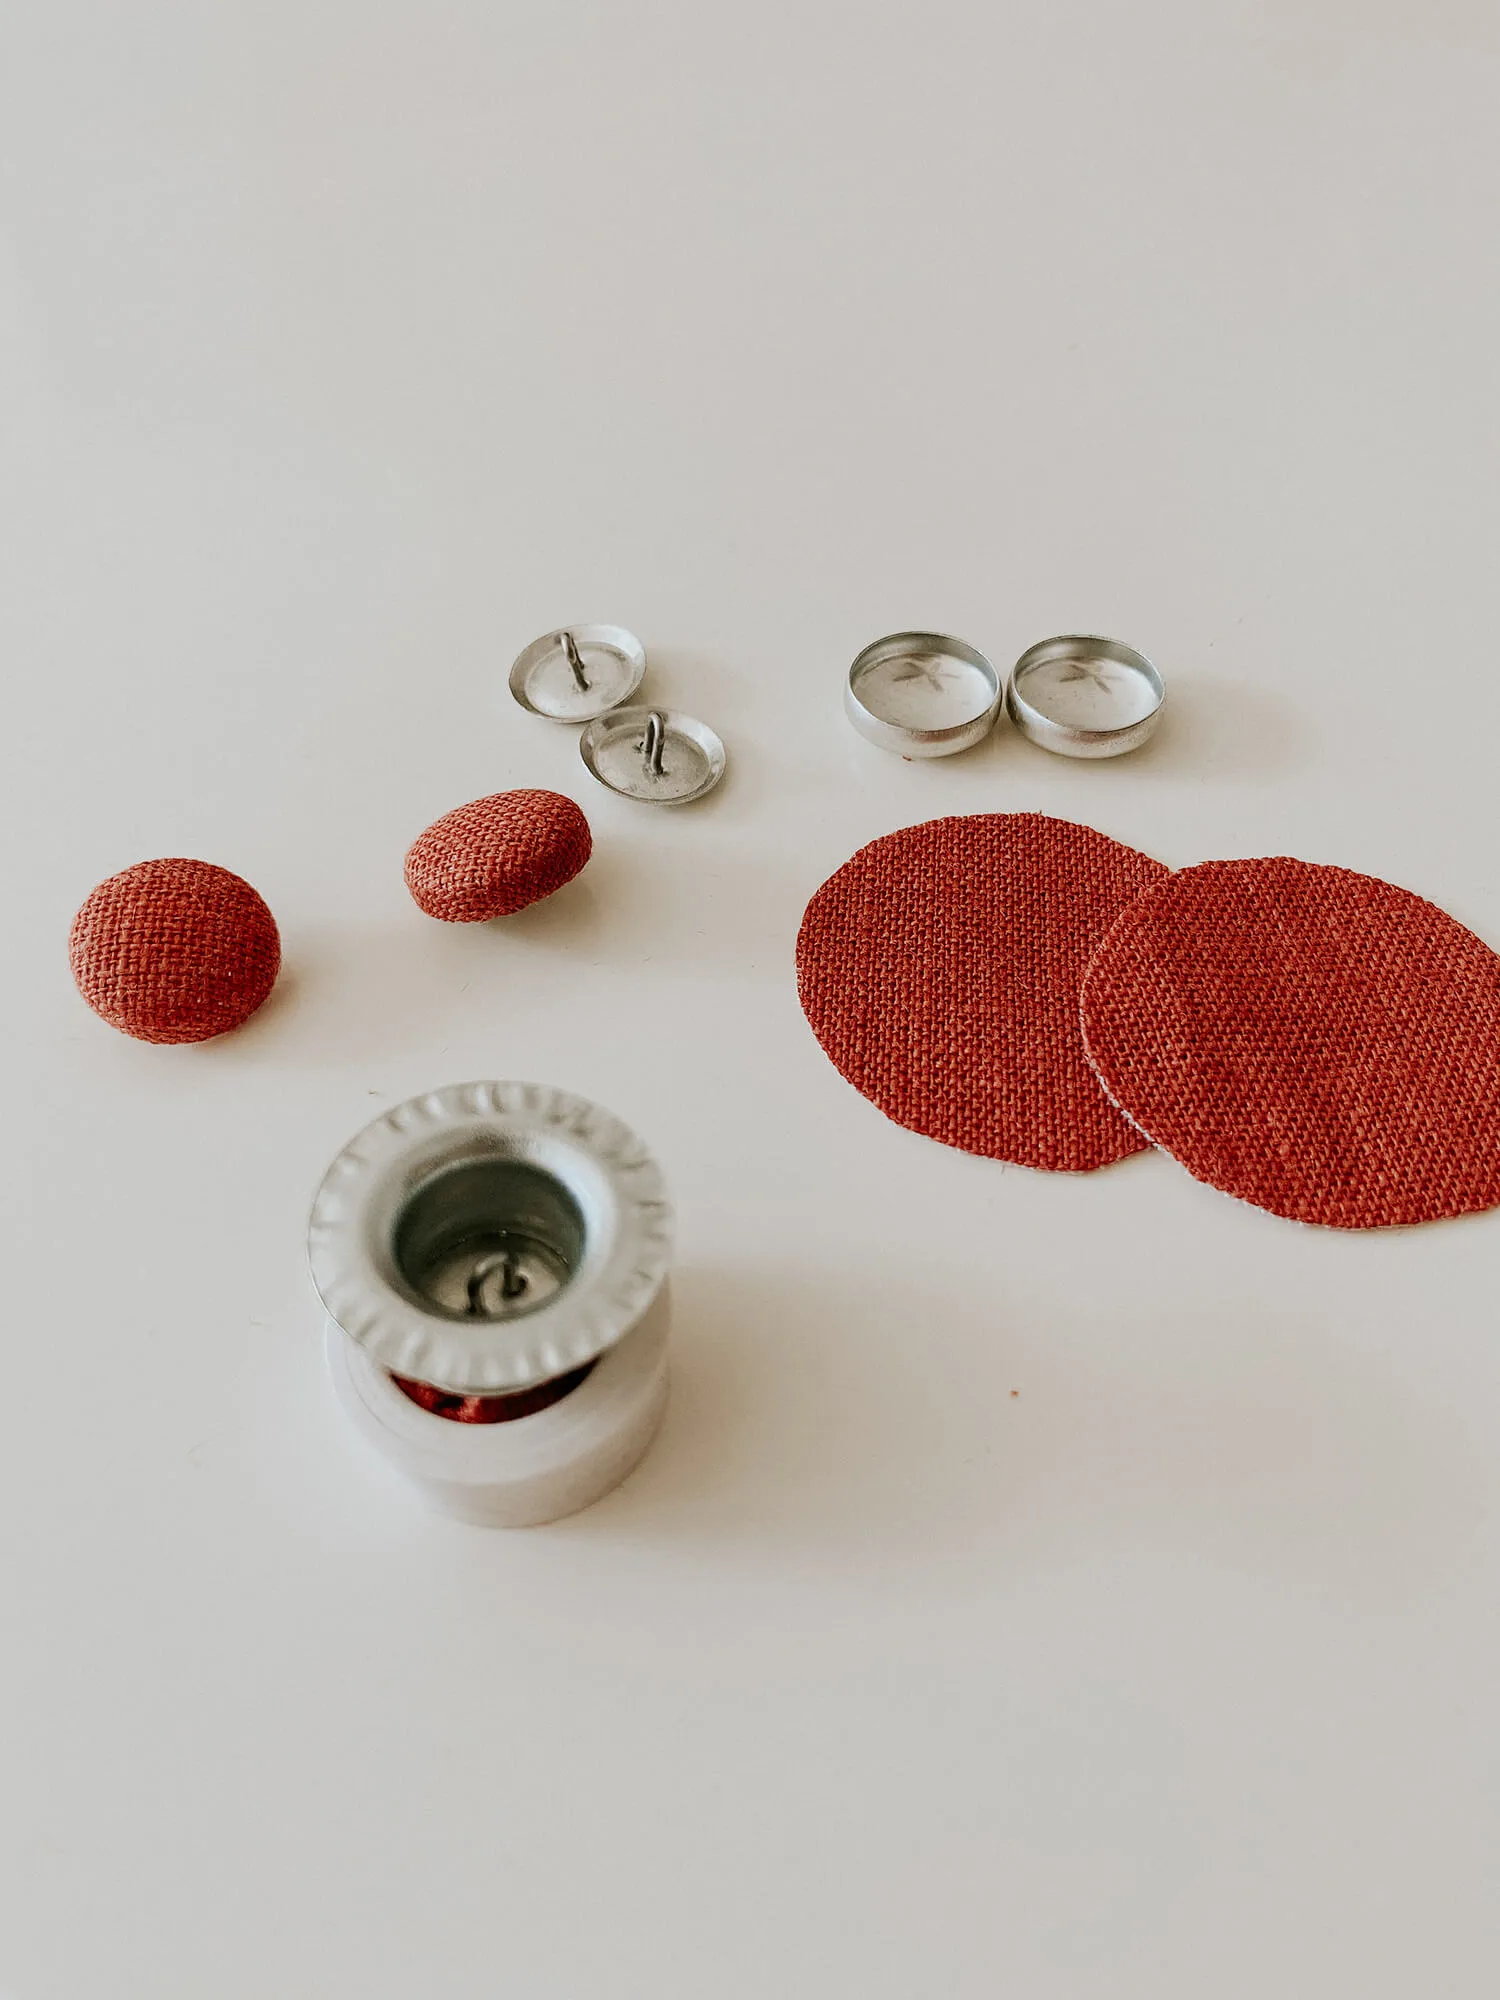
- Secure the button back: Place the button back over the gathered fabric, ensuring it sits snugly within the button shell.
 Securing the button back
- Press and set: Using the pusher tool from the kit (or a sturdy, flat object), press down firmly on the button back to secure it within the shell. You should hear a satisfying click as the pieces snap together.
 Pressing the button
- Add a touch of plush (optional): For a slightly padded effect, you can insert a tiny amount of fiber fill before securing the button back.
 A finished fabric covered button
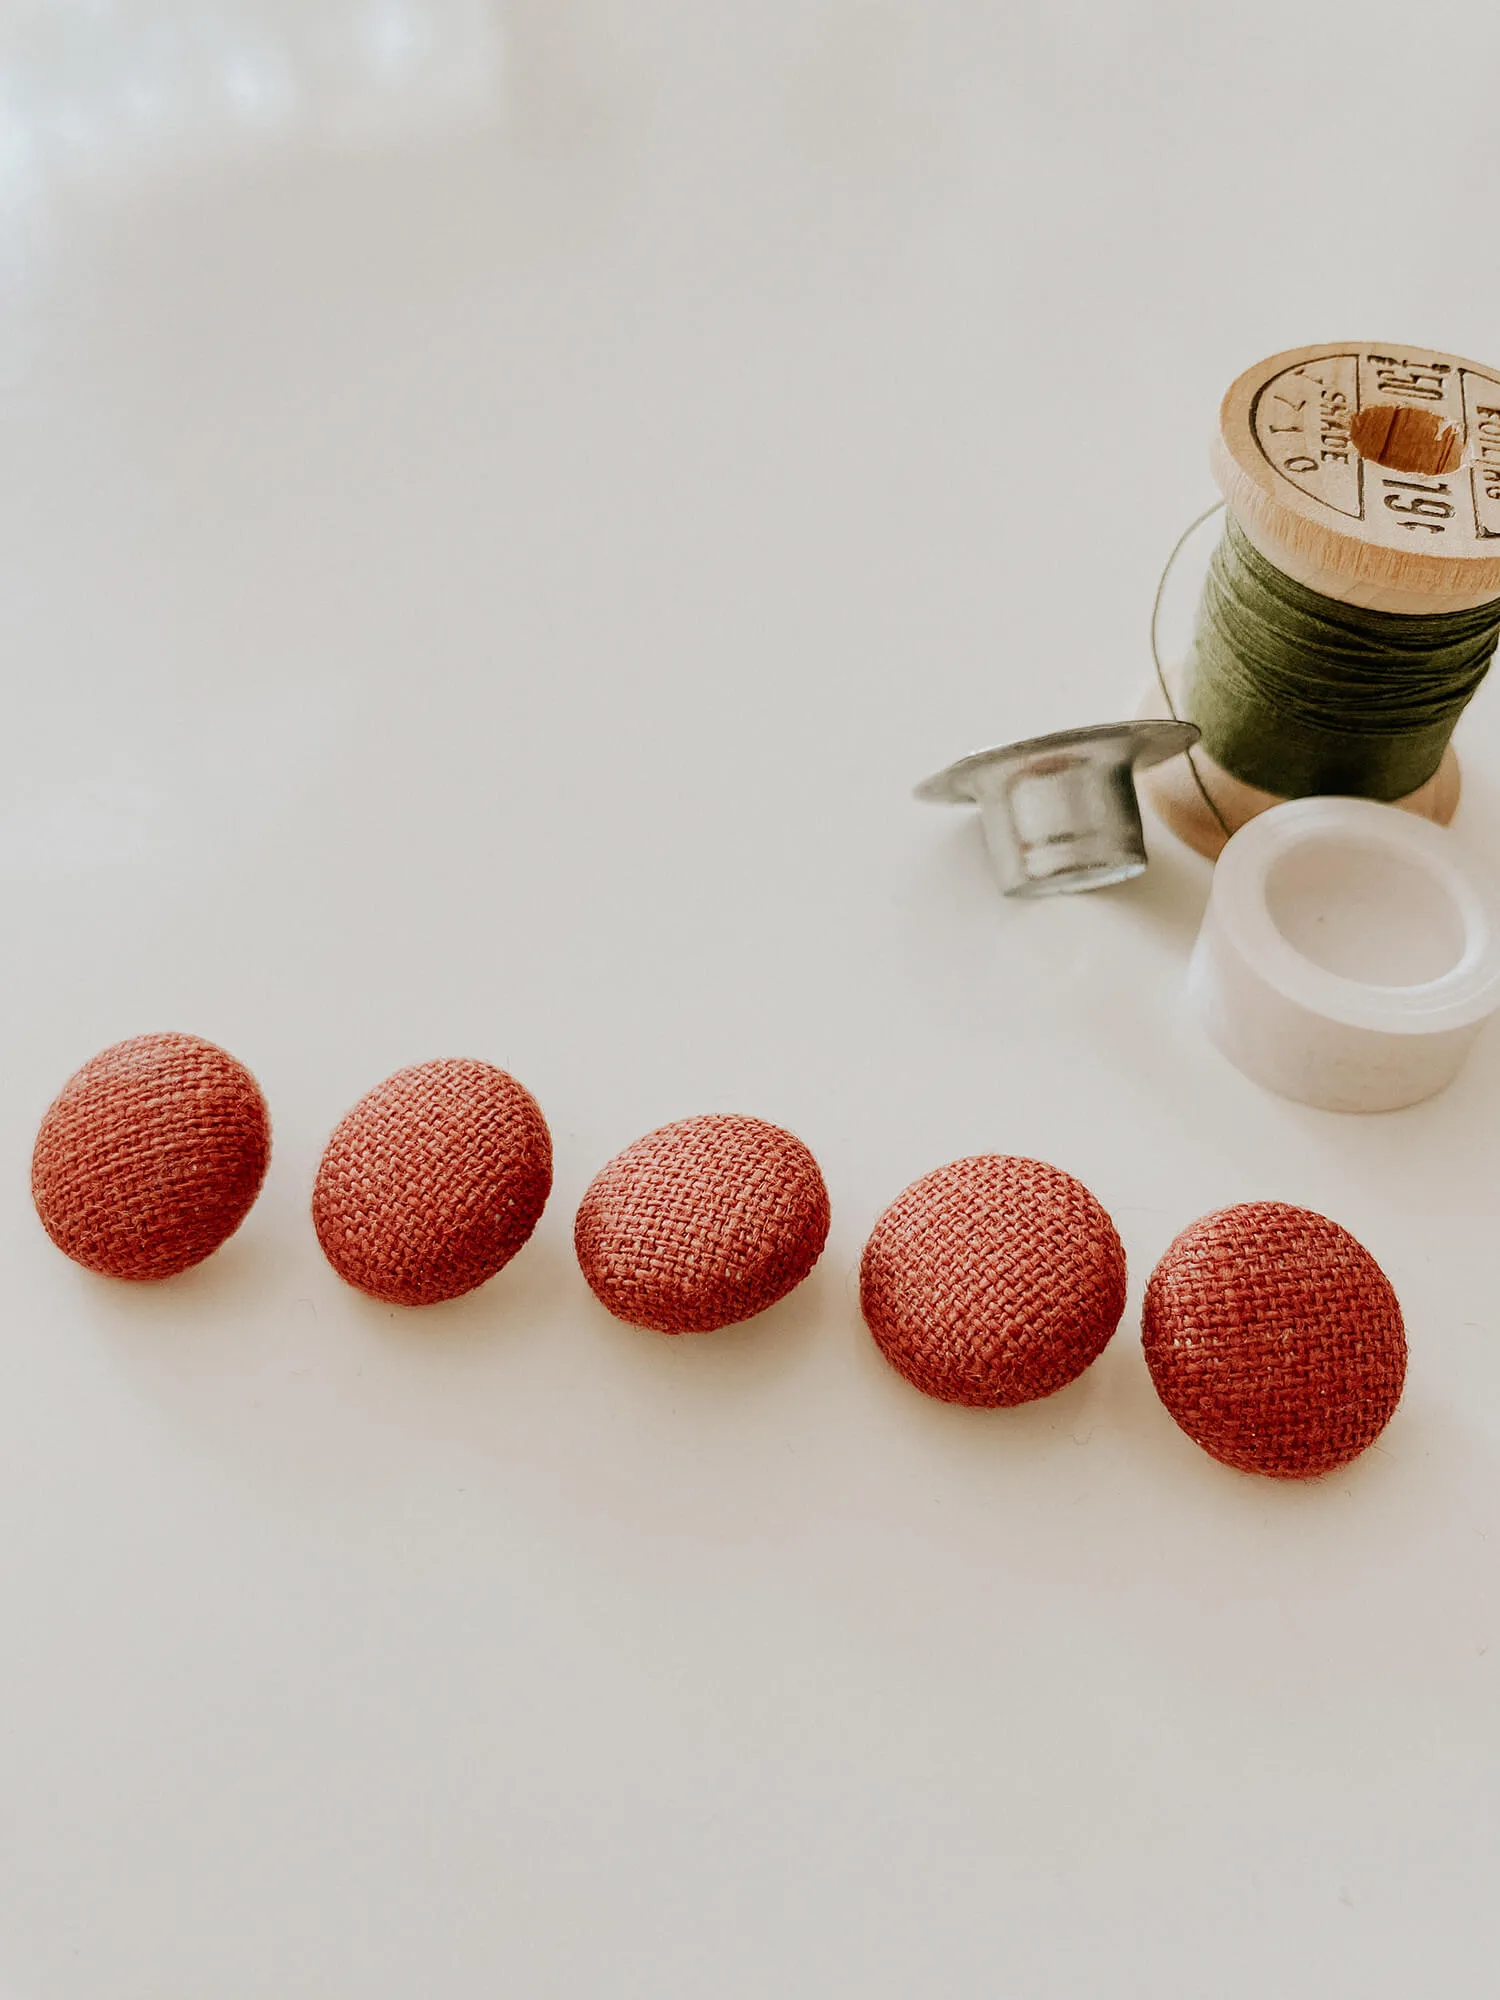
- Admire your handiwork: Step back and admire your beautiful handmade buttons. Aren’t they stunning!
 Fabric covered buttons arranged on fabric
Tips and Tricks for Perfect Fabric Covered Buttons:
-
Choose the right fabric: The beauty of this craft lies in its versatility. Lightweight fabrics like cotton and linen are excellent for beginners. For a touch of luxury, try velvet or silk. Remember, the fabric choice can completely transform the look of your buttons!
-
Pattern play: Experiment with different patterns and colors to complement your projects. I love how a tiny floral print or a whimsical polka dot can add a playful touch to a simple garment.
-
Get creative with embellishments: Want to take your buttons to the next level? Once your fabric buttons are assembled, consider adding beads, embroidery, or even tiny charms for a truly unique touch.
-
Storage is key: Keep your buttons organized and protected by storing them in a small box or jar. This prevents damage and keeps your collection at your fingertips for your next creation.
Conclusion
Creating your own fabric covered buttons is a wonderfully rewarding experience. It’s a chance to personalize your sewing projects with a handmade touch that reflects your unique style. And the best part? It’s easier than you think!
So why not gather your supplies and give it a try? You’ll be amazed at the beautiful buttons you can create. Don’t forget to share your creations with us at Robert Kline Art! We’d love to see what you come up with.
Looking for more handmade gift ideas? Explore our curated collection of unique craft supplies and one-of-a-kind pieces on Robert Kline Art. Happy crafting!
