Blog
Sew Your Own Charming Quilted Fabric Bookmarks: A Step-by-Step Guide
For the love of books! As a fellow bookworm, I know the struggle of misplaced bookmarks and dog-eared pages. That’s why I’m thrilled to share this easy tutorial on how to create your own unique and charming quilted fabric bookmarks. They’re perfect as personalized gifts for the readers in your life or a little treat for yourself.
These DIY bookmarks are beginner-friendly, and you can easily whip up a batch in an evening using fabric scraps. Let’s dive into the world of fabric, thread, and a touch of quilting magic to create bookmarks as delightful as the stories they mark.
Gathering Your Supplies
Before we begin our crafting adventure, let’s gather our trusty tools and materials:
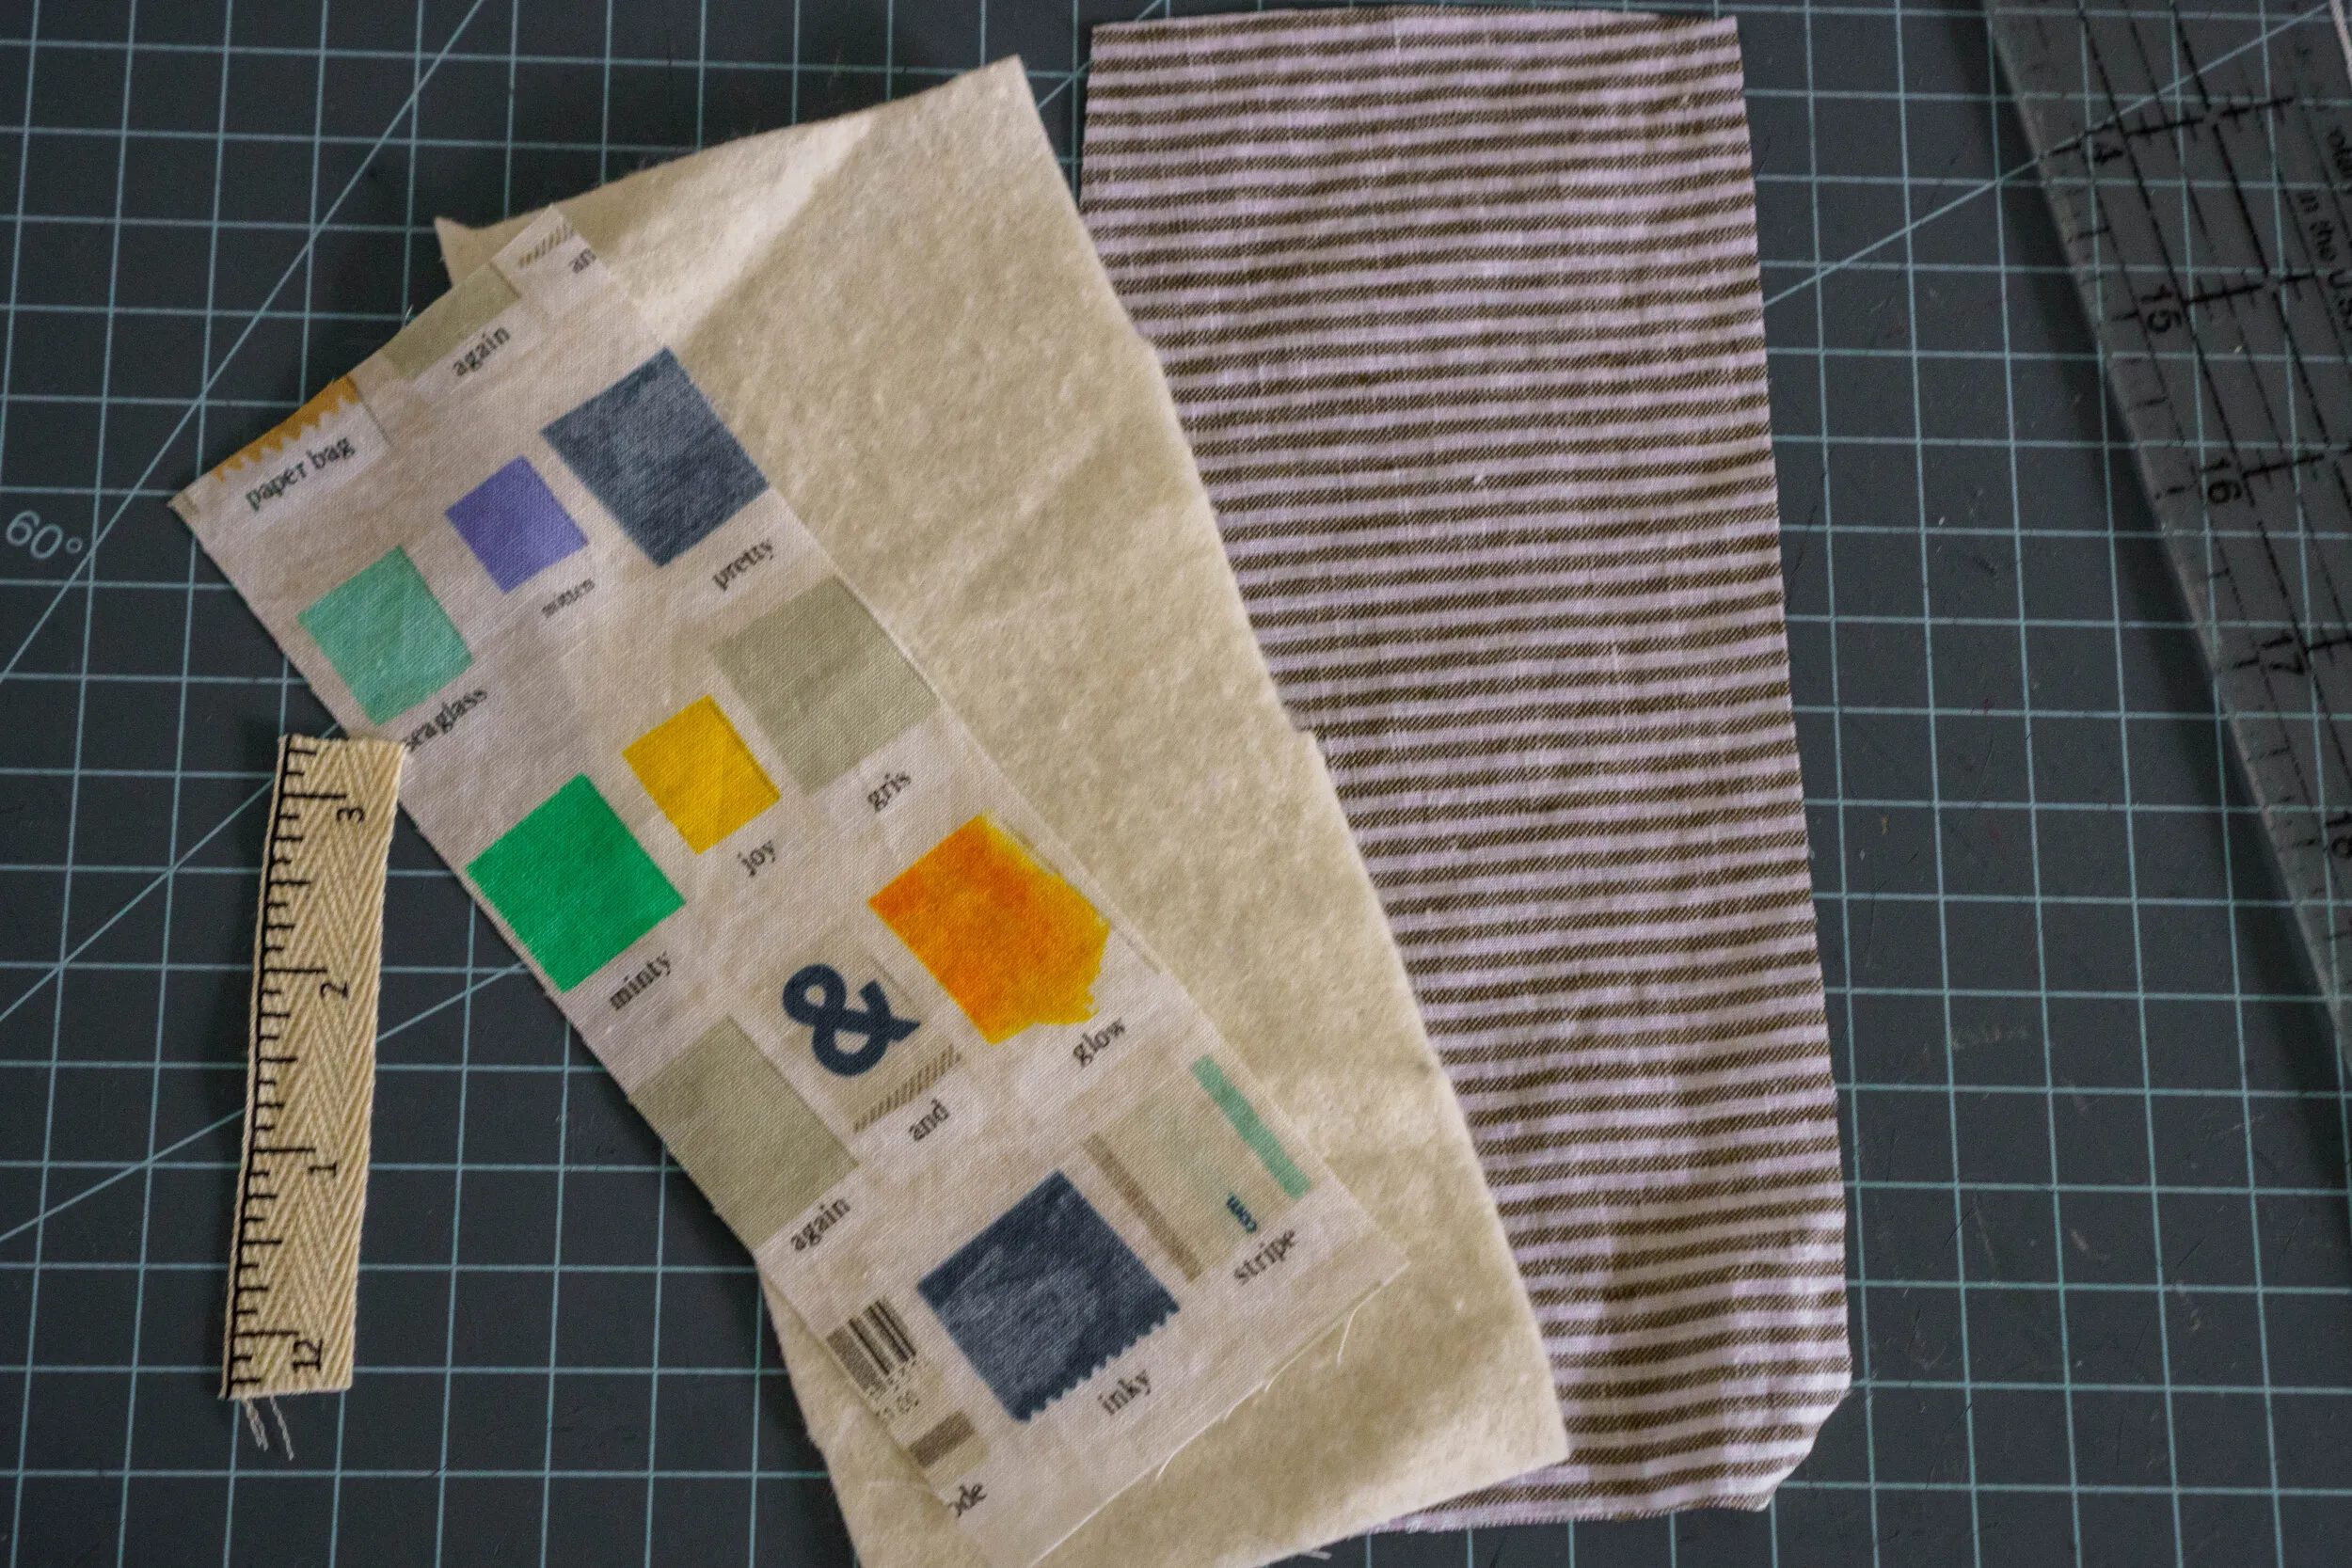
- Cotton Fabric Scraps: Choose a variety of your favorite cotton fabrics for the front and back of your bookmarks. You can use a single piece for a classic look or get creative with patchwork designs.
- Cotton Batting: Opt for thin cotton batting to avoid bulky bookmarks that make your books pop open. I recommend the warm and natural brand.
- Ribbon or Trim: Select a coordinating ribbon or trim for the bookmark tab, adding a touch of personality and flair.
- Basic Sewing Supplies: You’ll need a sewing machine, thread, scissors, pins, a ruler or measuring tape, and an iron.
- Optional but Helpful: A walking foot for your sewing machine can be handy for quilting, especially for beginners.
 Colorful quilted fabric bookmarks
Let’s Get Stitching: A Step-by-Step Guide
Step 1: Preparing the Pieces
- Cut the Bookmark Front: Using your ruler and rotary cutter or scissors, cut a rectangle measuring 2.5″ x 7″ for the bookmark front.
- Cut the Batting and Backing: For easier handling, cut the batting slightly larger than the front piece and the backing fabric slightly larger than the batting. We’ll trim the excess later.
Step 2: Adding the Ribbon Tab
- Center and Attach the Ribbon: Fold your chosen ribbon or trim in half and place it right side down along the top edge of the bookmark front, centering it as you go. Secure it with a pin or quickly sew it in place.
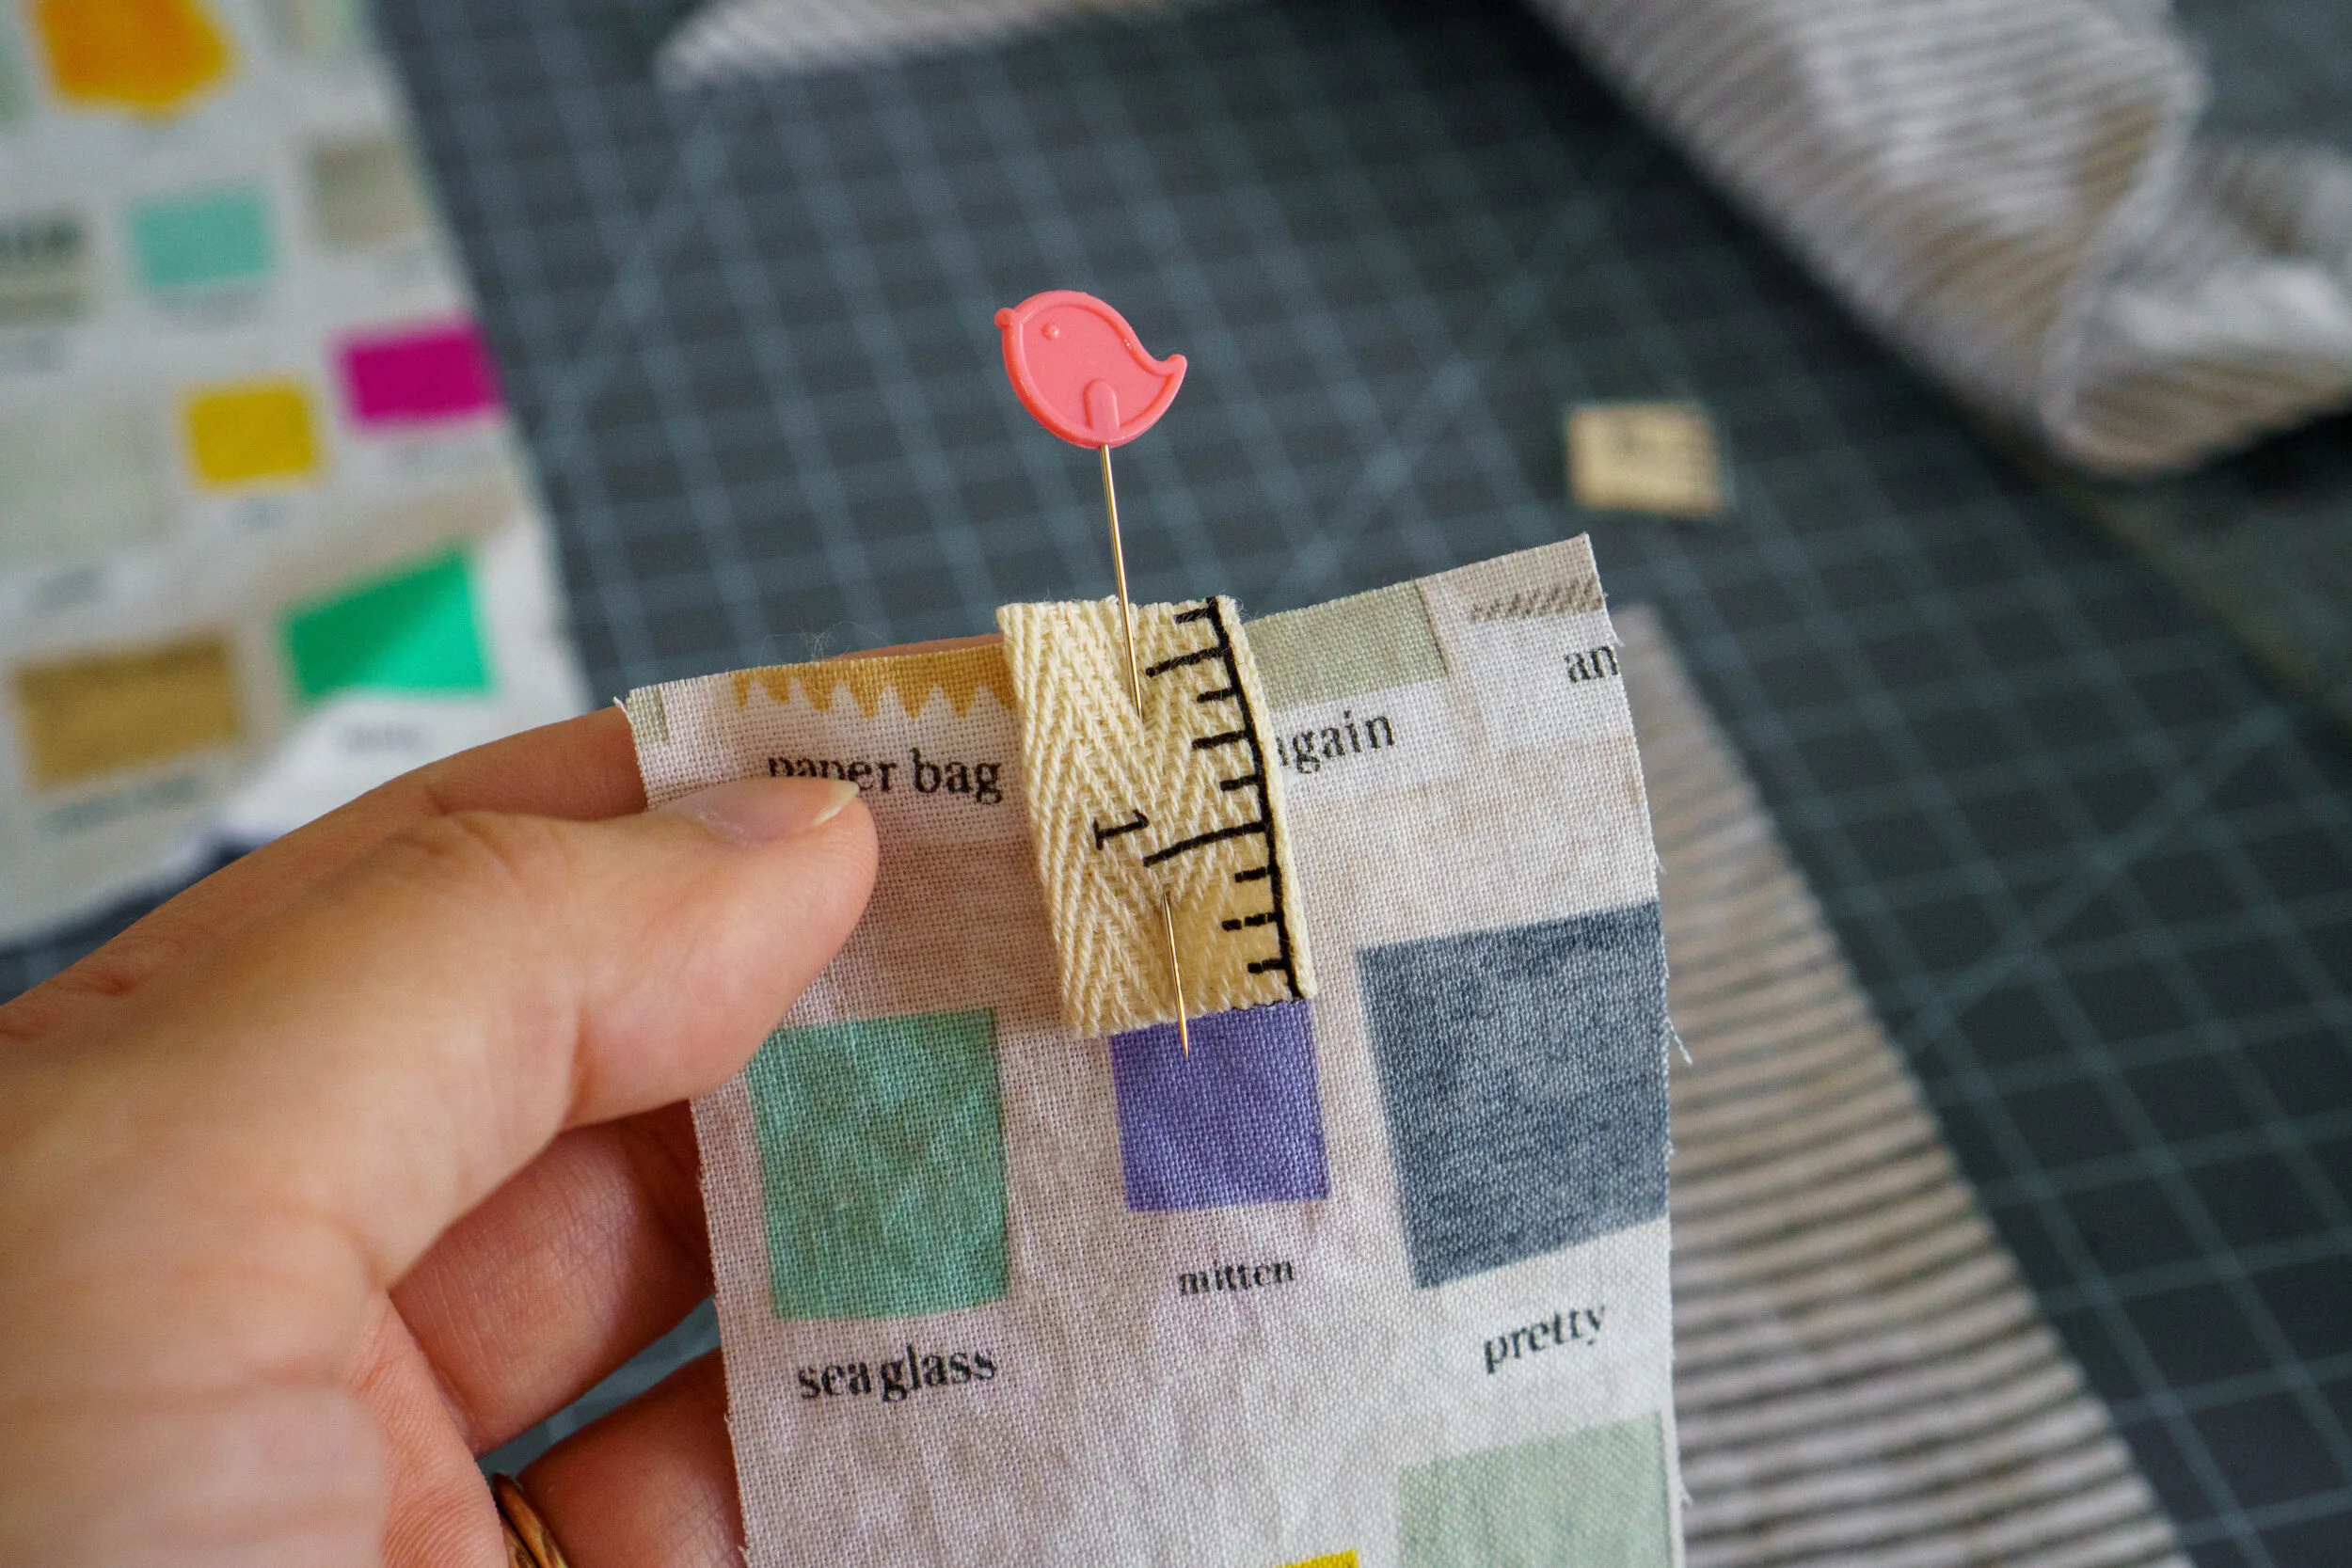 Attaching ribbon to a fabric bookmark
Step 3: Creating the Bookmark Sandwich
- Layer the Pieces: Lay down your batting piece first, followed by the backing fabric (right side facing up) and then the bookmark front (right side facing down). Ensure all layers are smooth and wrinkle-free.
- Pin It in Place: Secure the layers together using pins around the perimeter of the bookmark front.
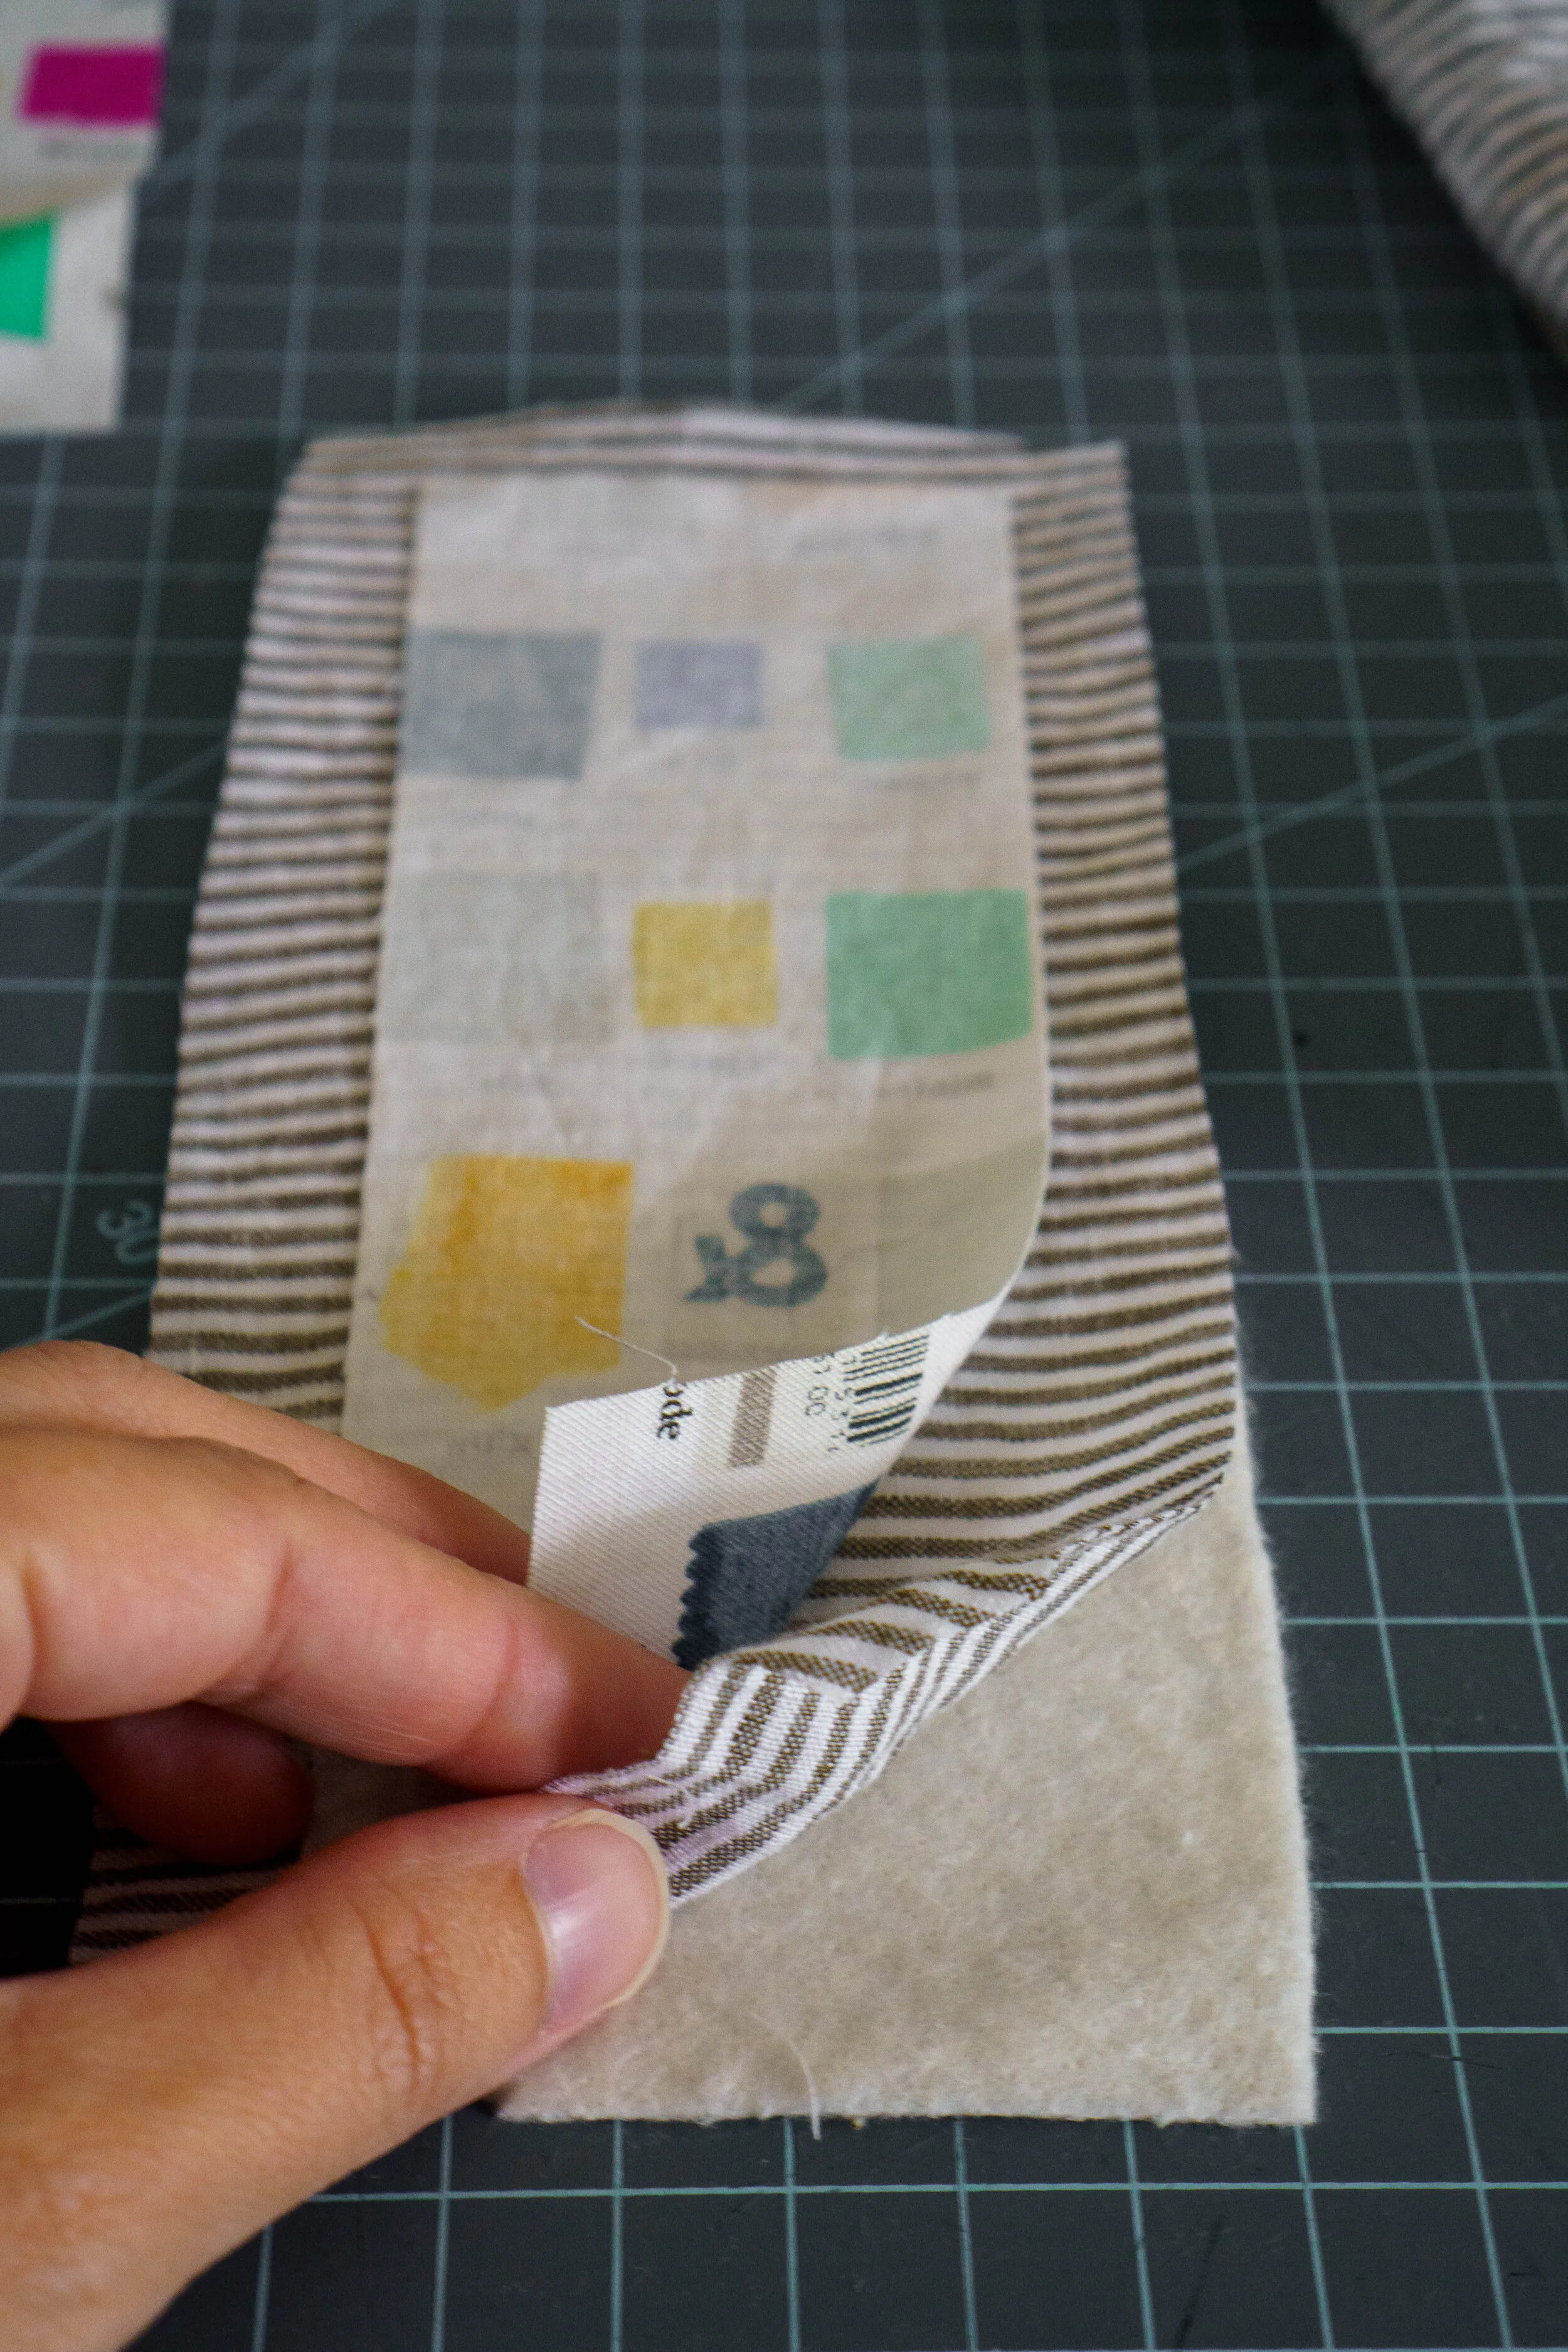 Sewing a quilted fabric bookmark
Step 4: Sewing Around the Perimeter
- Stitch with a 1/4″ Seam Allowance: Carefully stitch around all four sides of the bookmark front, maintaining a consistent 1/4″ seam allowance. Remember to leave a 2-3″ opening along one of the long sides for turning.
Step 5: Trimming, Clipping, and Turning
- Trim and Clip: Trim the excess batting and backing fabric close to the stitching line. Clip the corners diagonally, taking care not to snip the stitches.
- Turn Right Side Out: Carefully turn your bookmark right side out through the opening you left. Use a point turner or a chopstick to gently push out the corners for a crisp, defined shape.
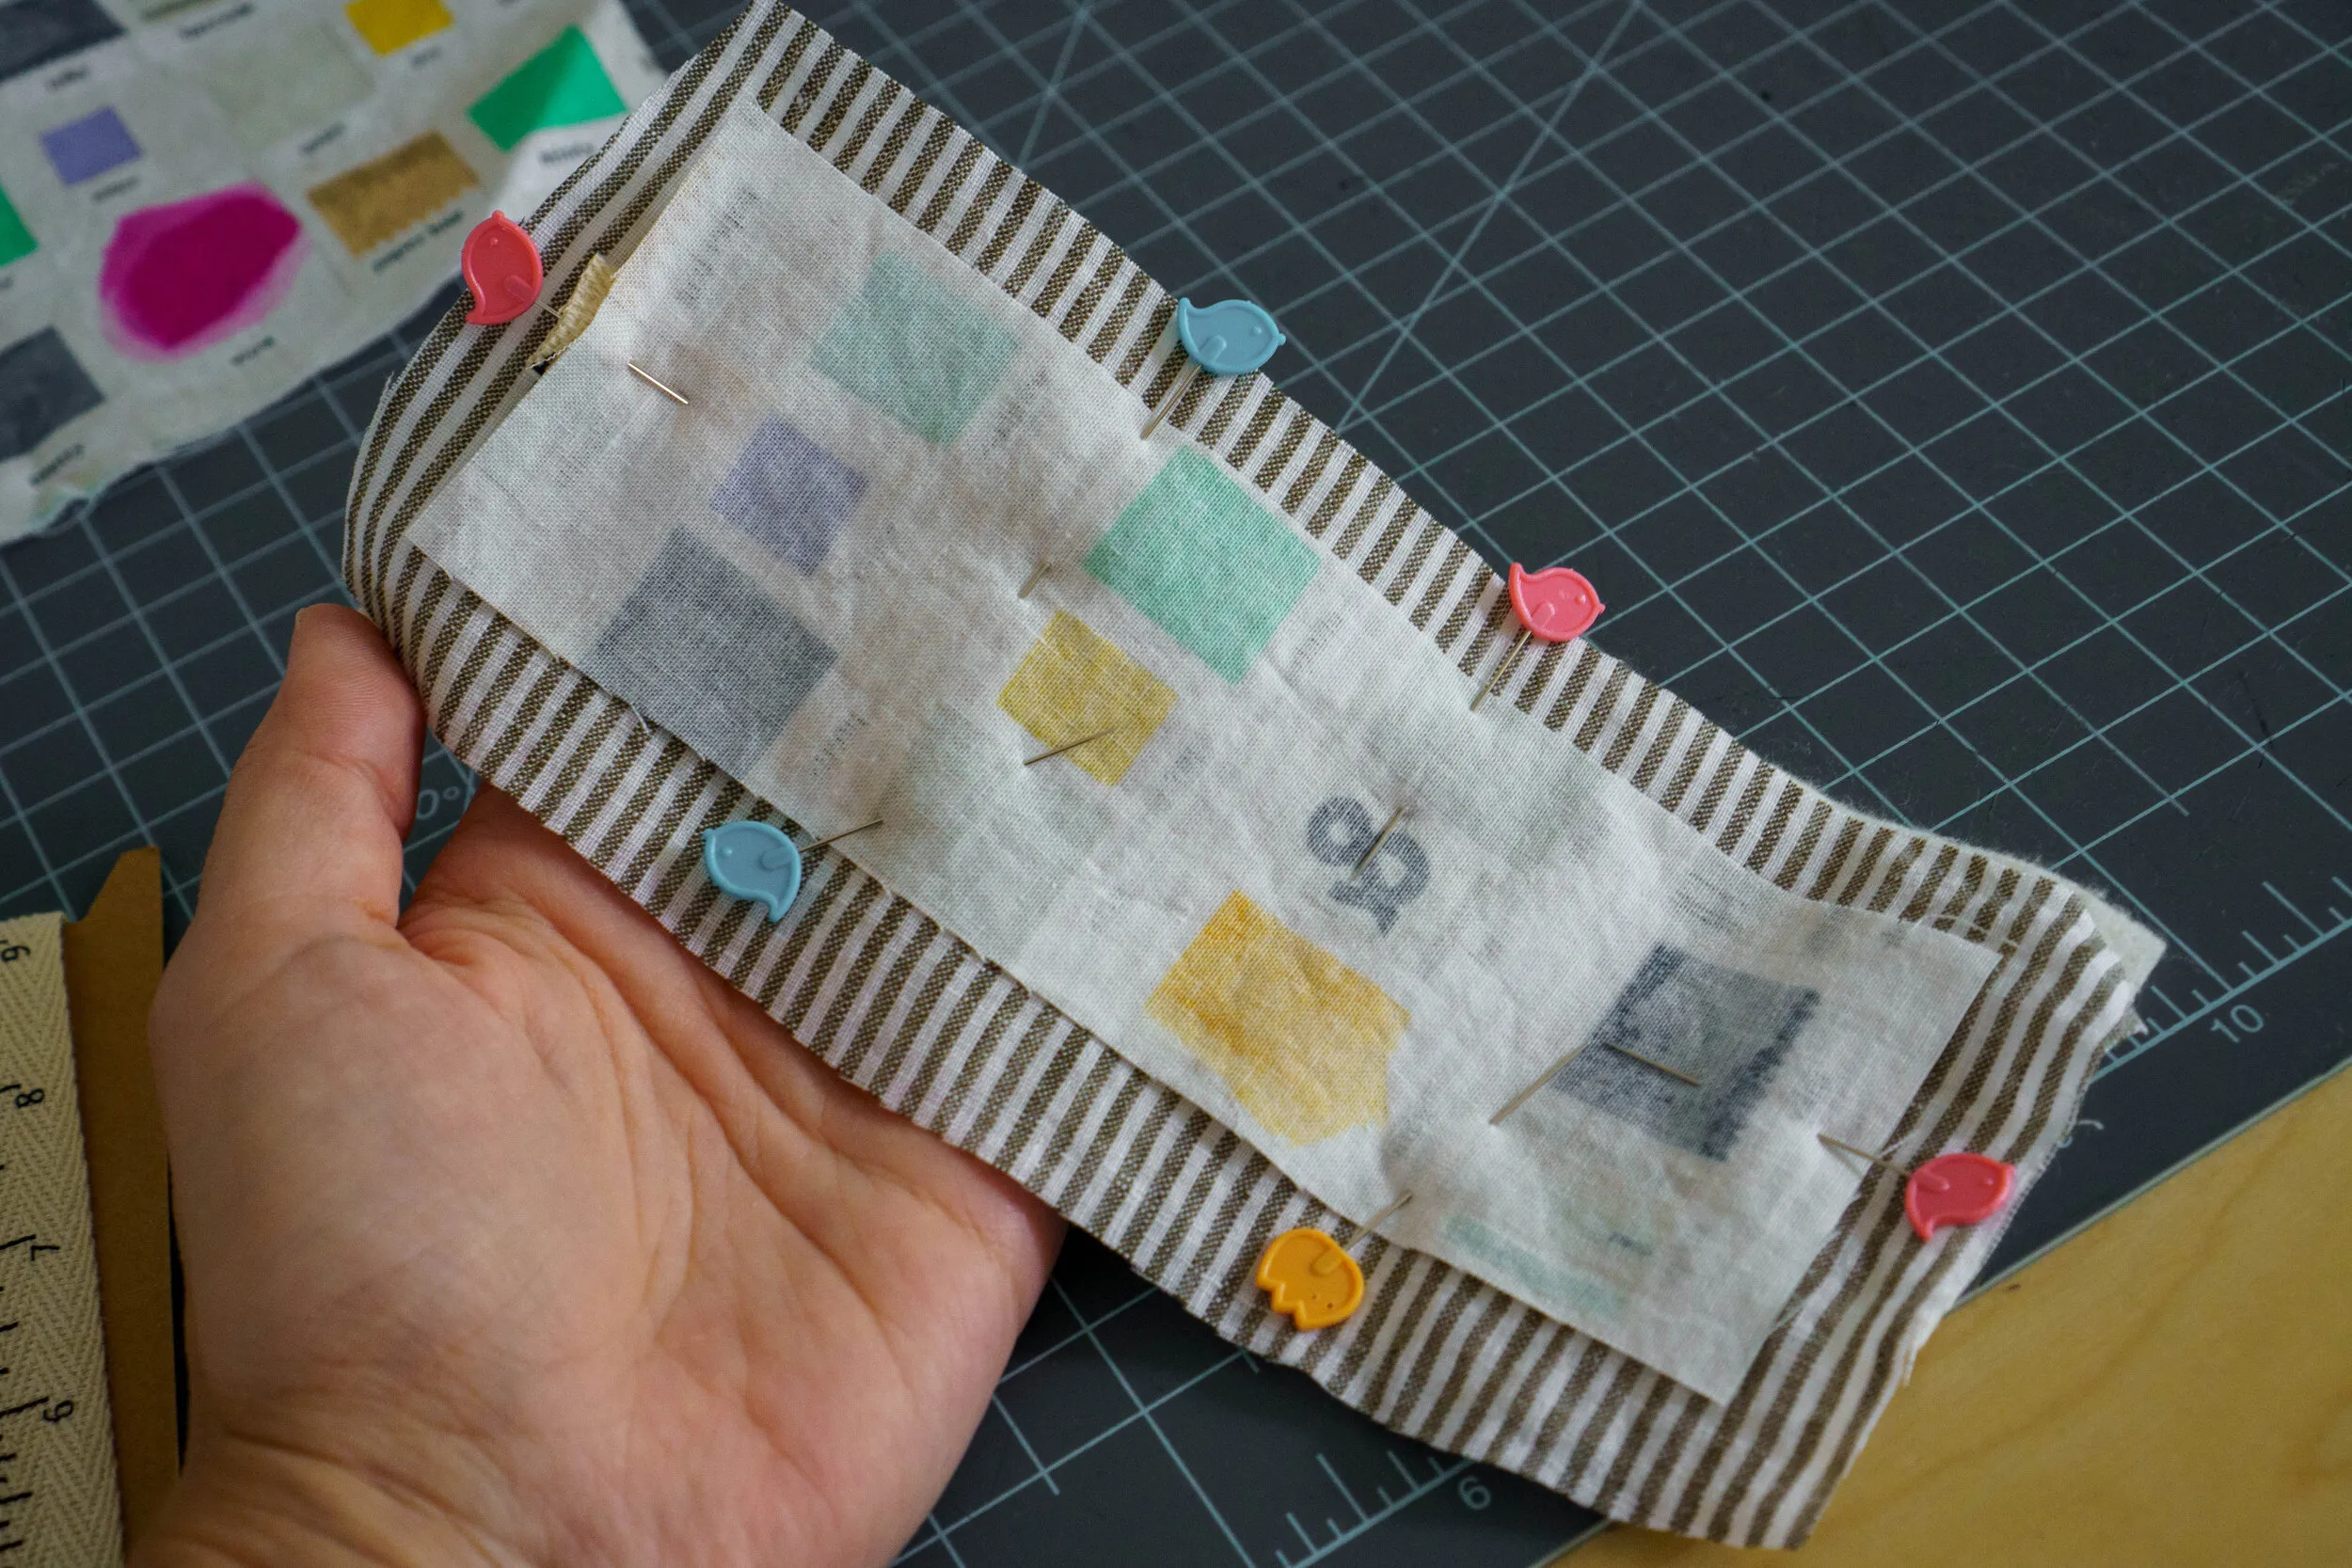 Handmade quilted fabric bookmarks
Step 6: Pressing and Top Stitching
- Press for a Polished Look: Press the bookmark with an iron, paying special attention to the seams and the opening. Use steam to create sharp edges and a professional finish.
- Top Stitch for Durability: Stitch 1/8″ from the edge around the entire bookmark, closing the opening as you sew. Top stitching adds a decorative element and strengthens the bookmark’s structure.
Step 7: Adding the Quilting Stitches
- Quilt for a Flatter Finish: Now for the quilting! These stitches prevent the bookmark from becoming too puffy. Create a grid pattern or concentric rectangles with your sewing machine, keeping the stitches evenly spaced.
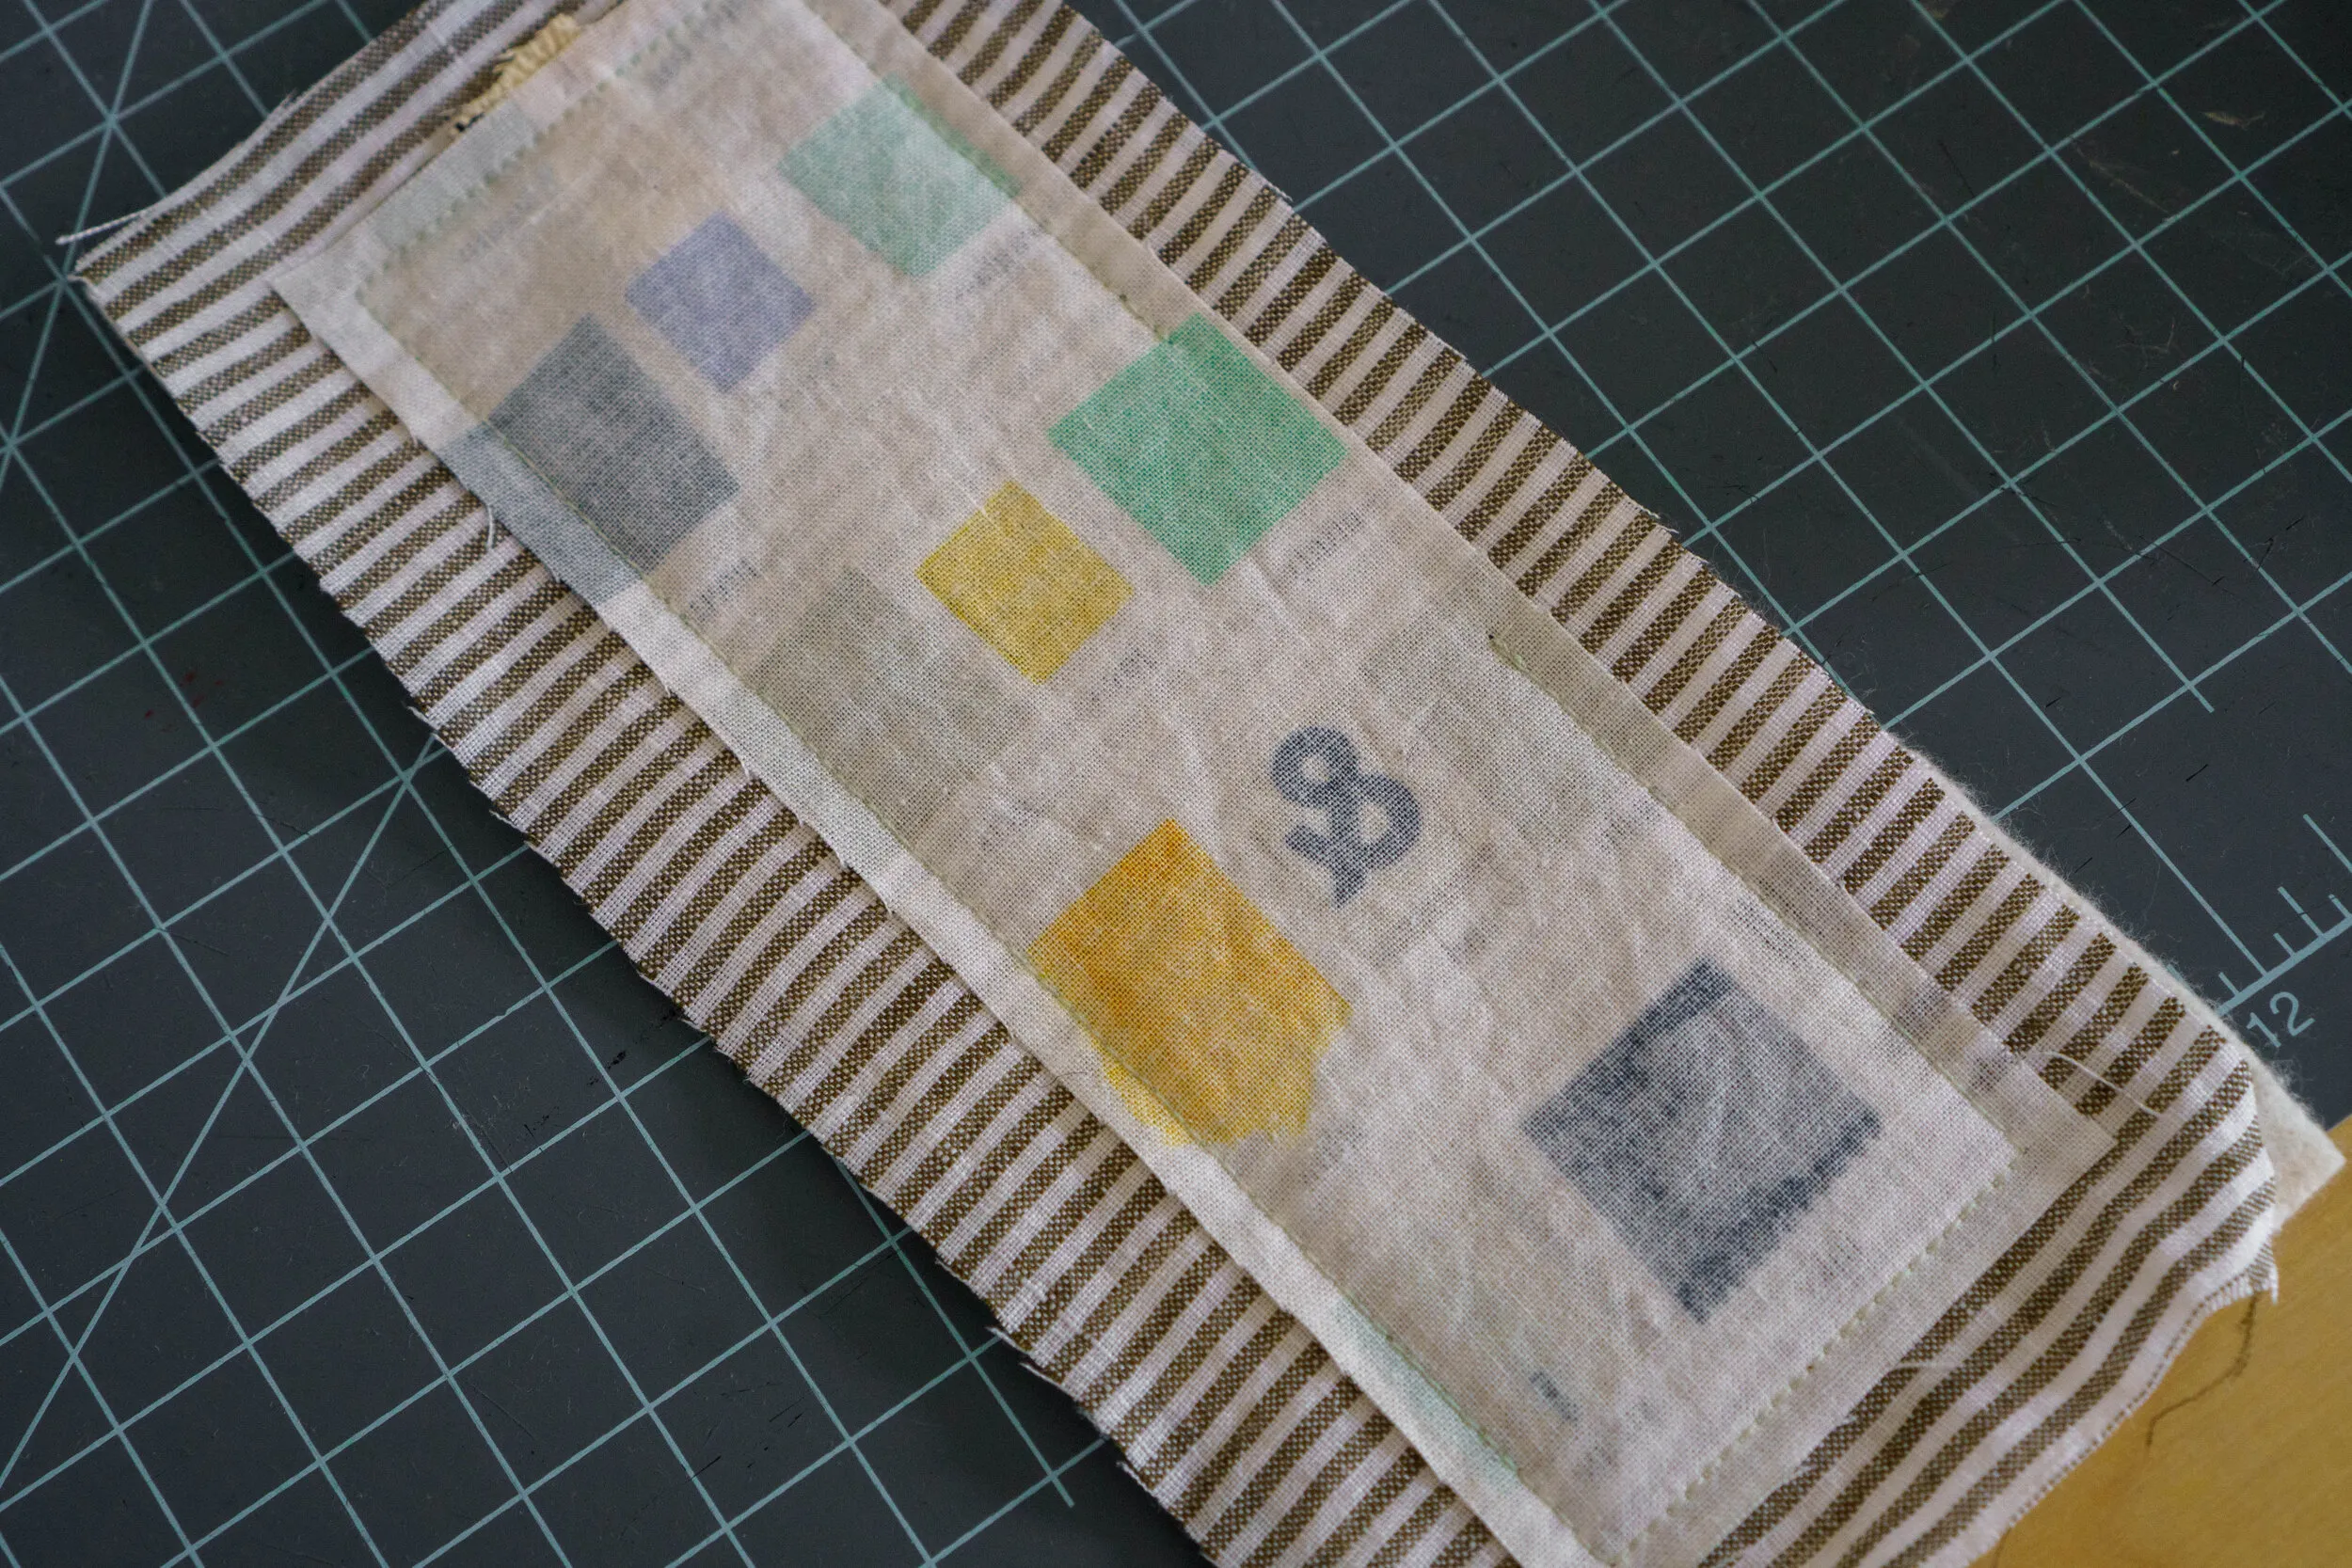 Fabric bookmark sewing tutorial
Tips and Tricks from a Crafting Enthusiast
- Explore Patchwork Designs: Before sewing the bookmark layers, experiment with piecing together smaller fabric scraps for a patchwork front. Let your creativity shine!
- Get Creative with Ribbon Choices: Try using various ribbons, twill tape, or decorative trims for a unique touch. You can even layer different ribbons for a bohemian vibe.
- Fray Check for Raw Edges: If you choose to leave ribbon ends long, prevent fraying by applying a bit of Fray Check to the edges.
- Practice Makes Perfect: If you’re new to quilting, don’t be afraid to practice your stitching on scrap fabric before working on your bookmarks.
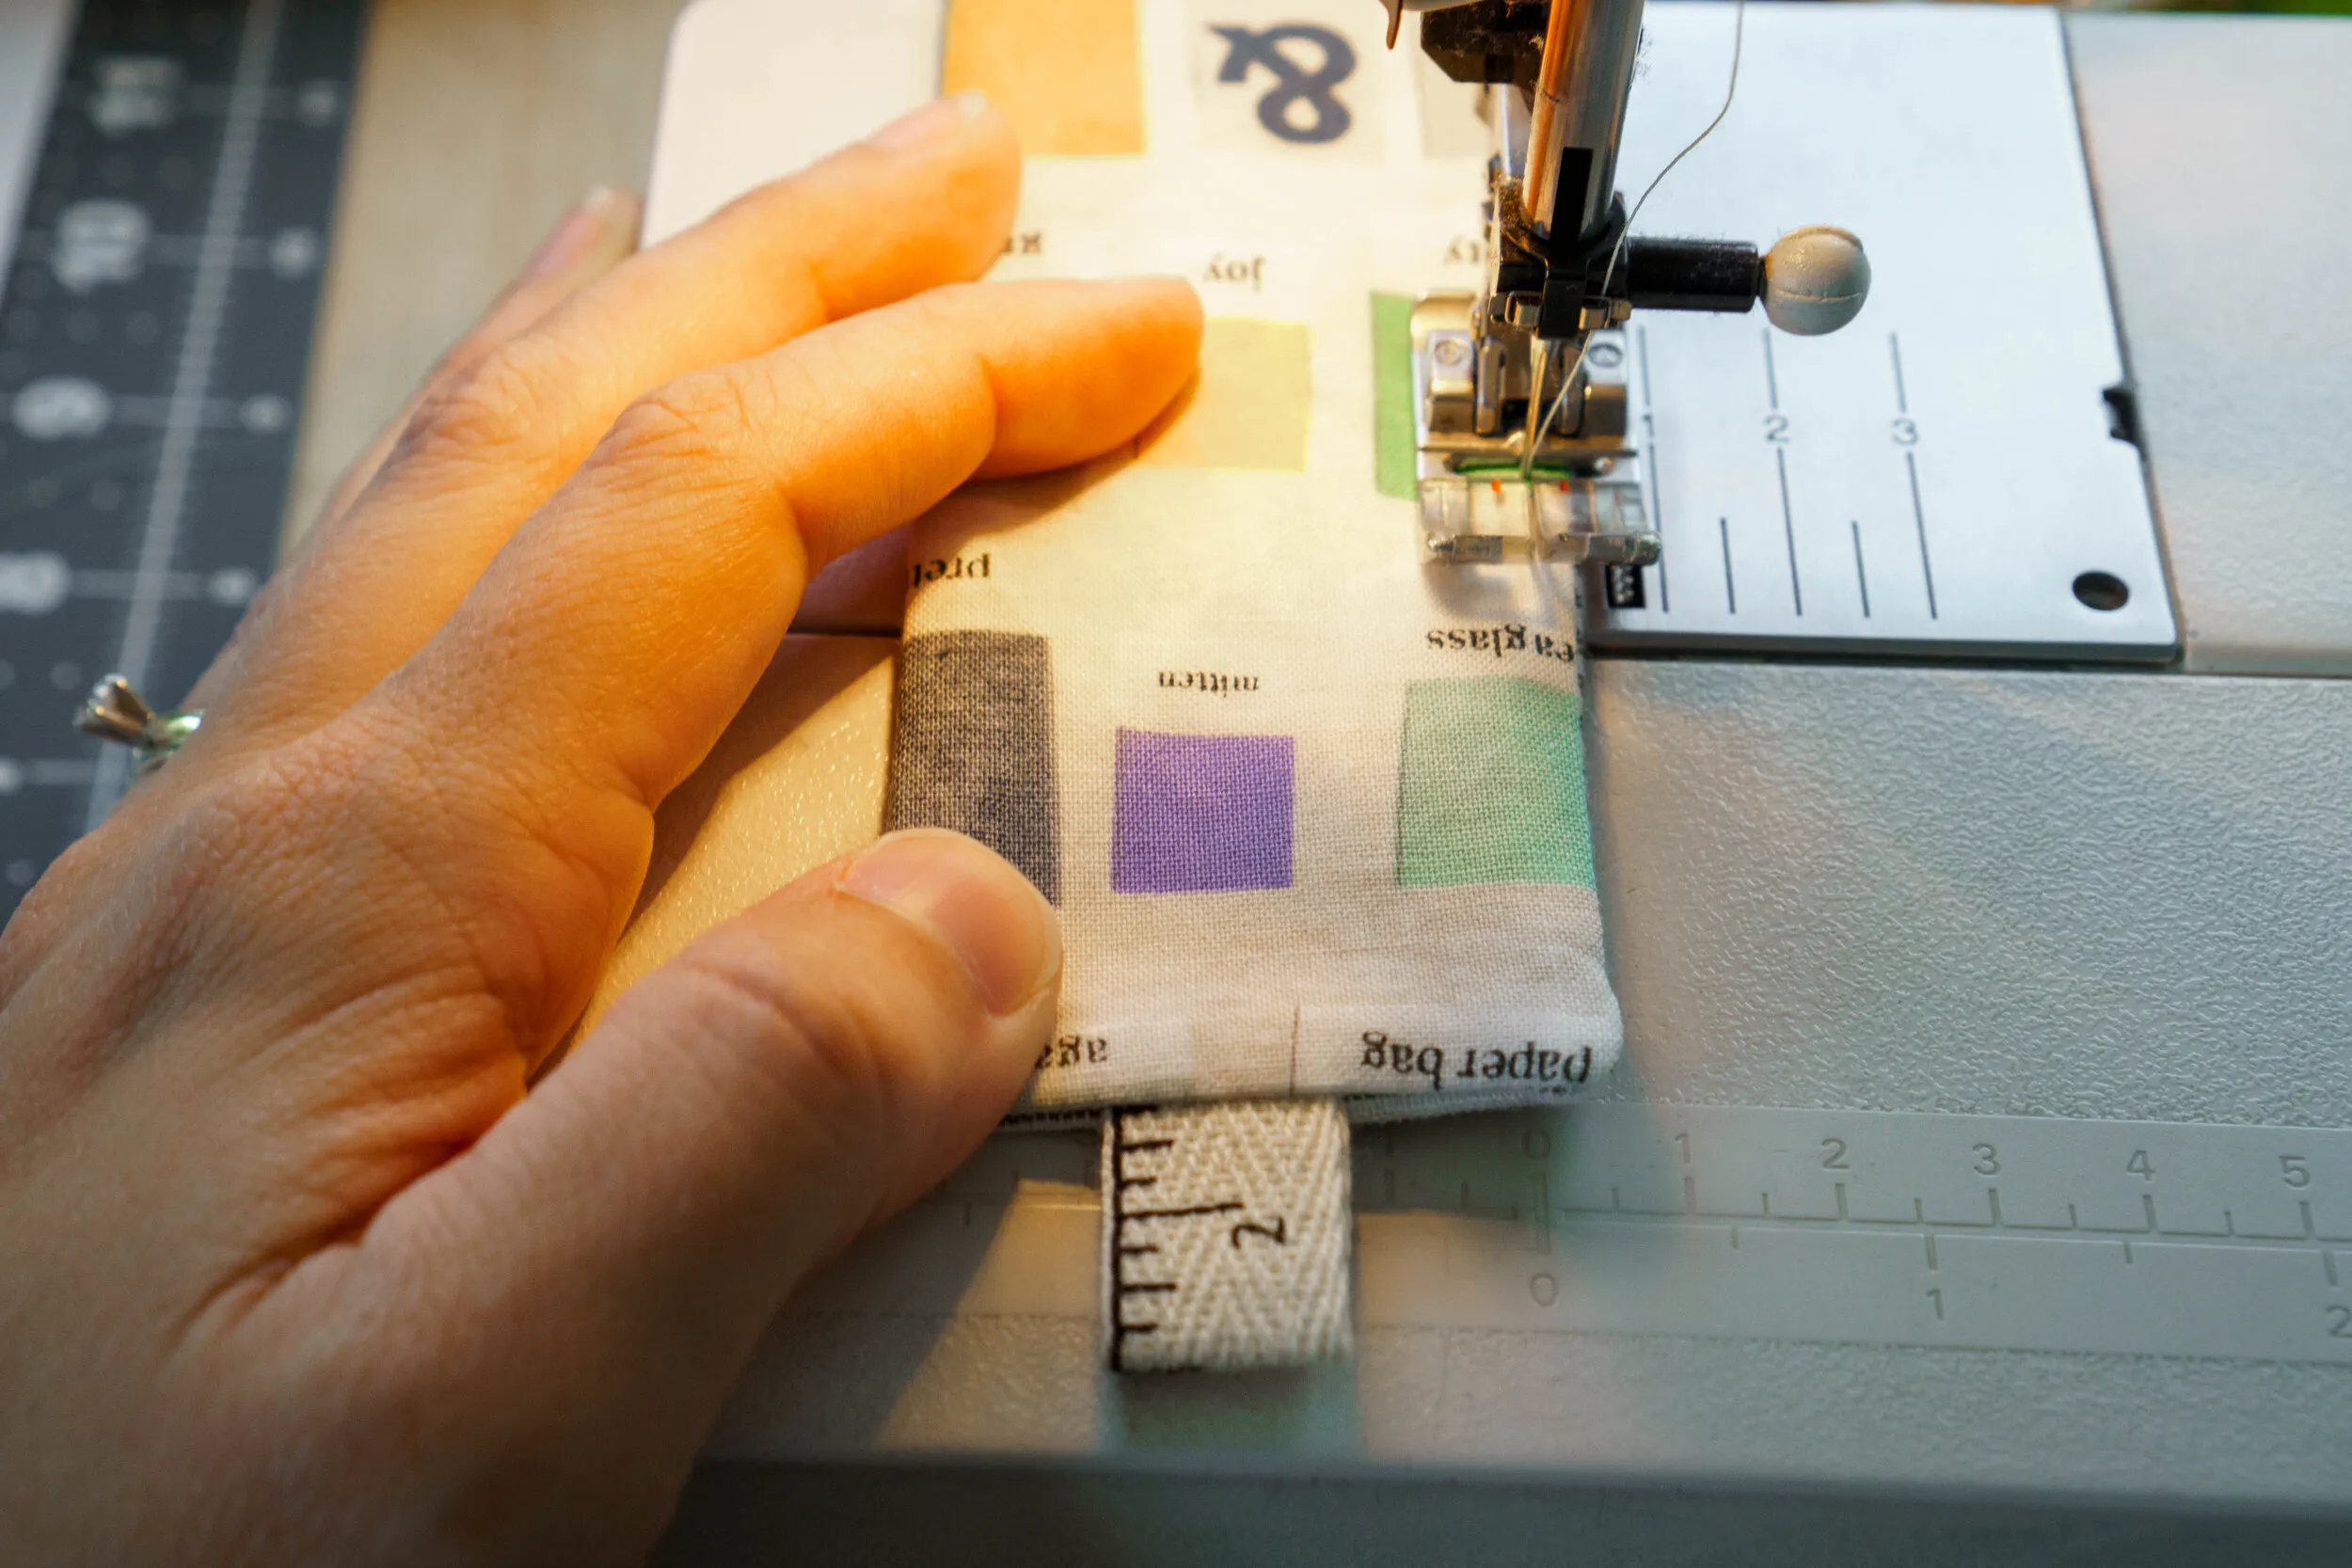 DIY fabric bookmark ideas
Conclusion: Embrace the Joy of Handmade Gifts
There you have it—an easy and enjoyable way to create personalized quilted fabric bookmarks! I encourage you to play with different fabrics, ribbons, and quilting designs to make each bookmark uniquely your own.
These handmade treasures are not only practical but also heartfelt gifts for book lovers. Imagine the delight of presenting a friend with a bookmark featuring their favorite colors or patterns.
I can’t wait to see your creative bookmark creations! Feel free to share your finished projects with me via email or tag me on Instagram.
And remember, for a printable PDF version of this tutorial, visit the pattern shop at Robert Kline Art. Happy stitching!
