Blog
How to Make a Unique Fabric Book Cover: A Step-by-Step Guide
Hey there, fellow craft enthusiasts! Looking for a fun and rewarding project that combines practicality with creativity? You’ve come to the right place. Today, I’m excited to share my passion for crafting with you by exploring the wonderful world of handmade fabric book covers.
As an artist who’s always had a soft spot for handcrafted treasures, I find immense joy in transforming ordinary objects into personalized works of art. A fabric book cover, my friends, is more than just a protective layer; it’s an expression of your personality, a thoughtful gift, and a delightful way to breathe new life into your cherished books.
Whether you’re a seasoned sewer or just starting your crafting adventure, this comprehensive guide will equip you with everything you need to know to create your very own fabric book covers. We’ll cover everything from choosing the perfect fabrics to mastering essential sewing techniques, all while keeping things light, engaging, and infused with my personal experiences along the way.
So, grab your favorite fabrics, gather your sewing supplies, and let’s embark on this creative journey together!
Gathering Your Materials: Setting the Stage for Crafting Success
Before we dive into the step-by-step process, let’s ensure you have all the necessary tools and materials at your fingertips. Having everything prepped and ready will allow for a smoother, more enjoyable crafting experience.
For this project, you will need:
- Fabric:
- One fat quarter (or yardage) of your main fabric for the outside of the cover. Feel free to choose a print that speaks to you!
- One fat quarter (or yardage) of a coordinating fabric for the lining. This will add a lovely pop of color and a touch of sophistication to your book cover.
- One fat quarter (or yardage) of a second coordinating fabric for the flaps. These will secure your book snugly in its new home.
- Interfacing:
- Pellon 987F fusible fleece (for added structure and a touch of padding)
- Pellon 911FF fusible featherweight interfacing (for stability and a professional finish on the flaps)
- Matching Thread: Select a thread color that complements your chosen fabrics beautifully.
- Basic Sewing Supplies: This includes your trusty sewing machine, fabric scissors, a measuring tape, pins, an iron, and a fabric marking tool.
Measuring Twice, Cutting Once: The Foundation of a Flawless Fit
Now that we have our materials assembled, it’s time to take accurate measurements of the book you wish to adorn with a beautiful, handmade cover. This step is crucial for ensuring a perfect fit and a polished final product.
- Wrap and Measure: Take your measuring tape and place it along the edge of the back book cover. Wrap it around the spine, across the front cover, and note down the measurement.
- Height Measurement: Next, measure the height of the book.
- Seam Allowances: Remember to add a ¼-inch seam allowance to all sides of your measurements. This extra allowance is essential for sewing the pieces together seamlessly.
- Book Thickness: Factor in the thickness of the book cover by adding an extra ⅛ inch for composition books or adjust accordingly for hardcovers.
- Calculate Fabric Cuts: Using the measurements you’ve taken, calculate the dimensions for your fabric pieces:
- Height: Book height + seam allowance + thickness allowance = fabric height
- Width: Book width + seam allowance + thickness allowance = fabric width
- Flaps: (Desired flap width x 2) + seam allowance + thickness allowance = flap size.
Pro Tip: When working with composition books, it’s always a good idea to double-check the measurements, even if you think you know the standard size. These books can sometimes vary slightly in dimensions.
Bringing Your Fabric Book Cover to Life: A Step-by-Step Sewing Guide
With our fabric cut to size, let’s transform those pieces into a stunning book cover. Follow these detailed steps, and you’ll have a finished masterpiece in no time!
Step 1: Preparing the Flaps
- Fold and Press: Fold each flap piece in half lengthwise, wrong sides together, and press along the fold to create a crisp edge.
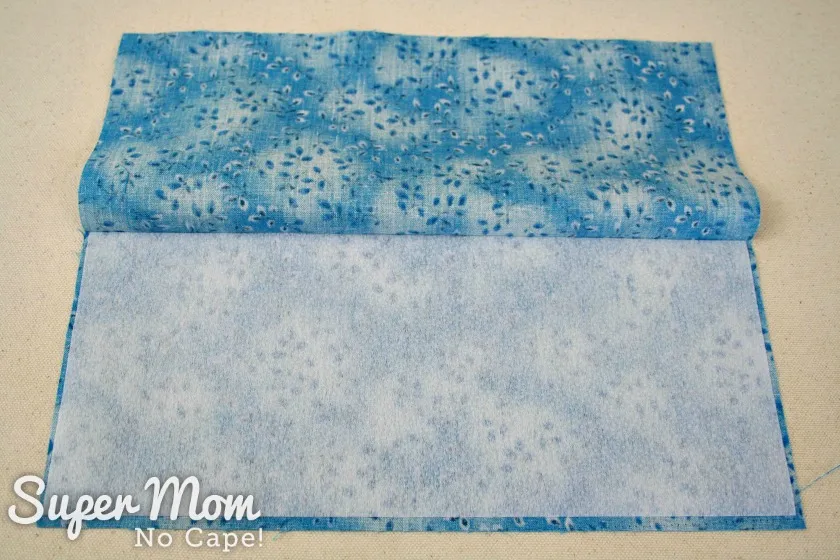
- Apply Interfacing: Open the flap and place the fusible interfacing on the wrong side of one of the flap pieces, aligning it with the raw edges.
- Fuse and Repeat: Fold the flap back in half, sandwiching the interfacing inside, and press with a hot iron to fuse the interfacing to the fabric. Repeat this process for the second flap.
 Flap for fabric book cover with interfacing inserted
Caption: Precisely fusing interfacing onto the flaps adds structure and durability, ensuring your book cover withstands the test of time.
Step 2: Creating the Outer Cover
- Fuse Fleece to Outer Fabric: Center the fusible fleece on the wrong side of the outer fabric piece. Flip the fabric and fleece over, and using a pressing cloth to protect your fabric, press with a hot iron to fuse the fleece to the fabric.
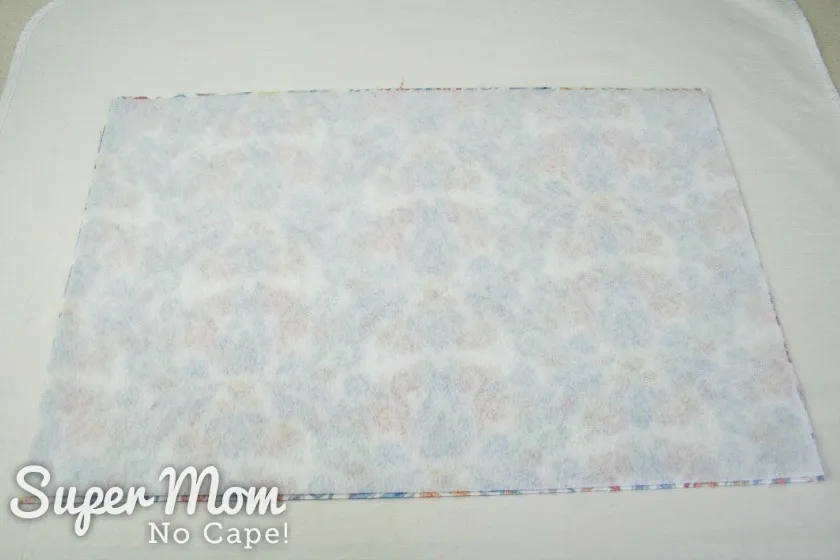 Fusible fleece centered on the wrong side of the outside of fabric book cover
Caption: A layer of fusible fleece provides a subtle padding and a touch of luxury to your fabric book cover.
Step 3: Attaching the Flaps
- Pin and Baste: Pin the flaps to the right side of the outer fabric, aligning the raw edges. The folded edge of the flap should face inward. Baste the flaps in place using a long stitch on your sewing machine.
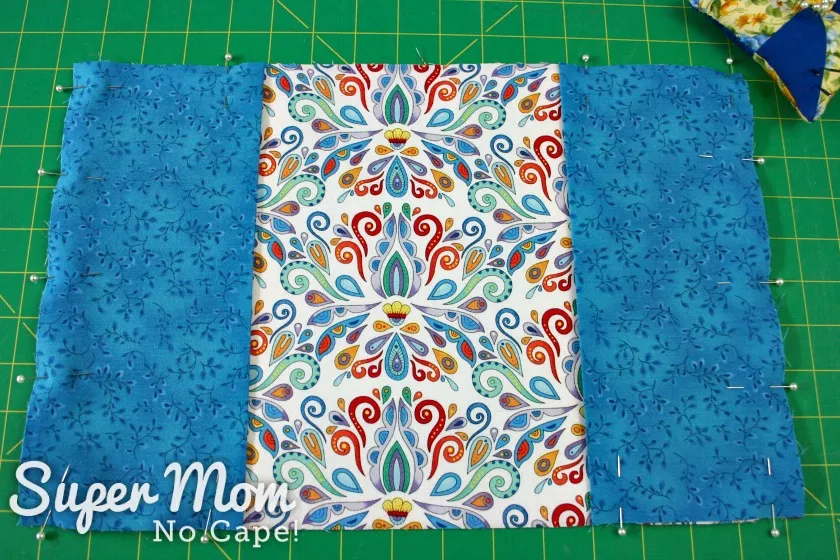 Flaps pinned to the outside of fabric book cover
Caption: Take your time to pin and baste the flaps accurately; this ensures they’re securely attached and sit beautifully when the book cover is finished.
Step 4: Sewing the Book Cover
- Pin and Sew: Place the lining fabric right sides together with the outer cover fabric and pin around the edges.
- Leave an Opening: Remember to leave a 4-5 inch opening along one of the straight edges for turning the book cover right side out. Backstitch at the beginning and end of the opening to secure your stitches.
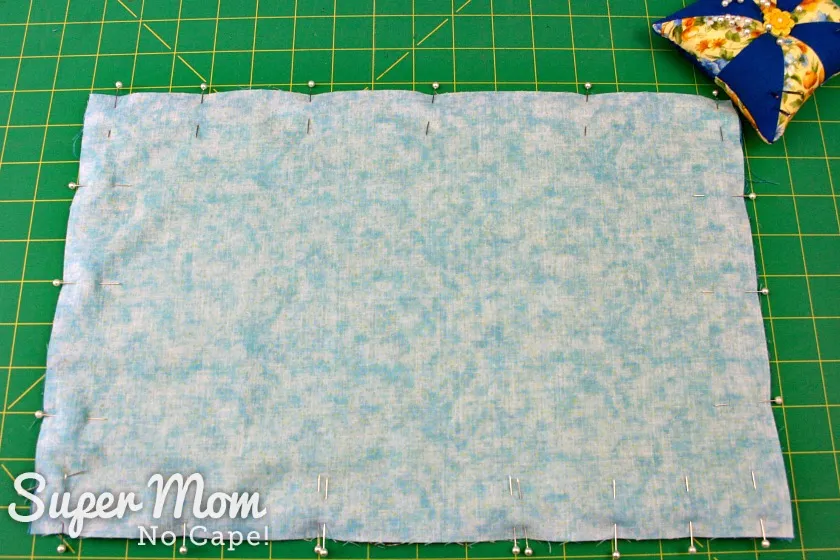 Lining of the fabric book cover pinned to outside
Caption: Pinning your fabric layers together before sewing is a fundamental step that prevents shifting and ensures clean, even seams.
Step 5: Finishing Touches
- Press and Turn: Clip the corners diagonally to reduce bulk, turn the book cover right side out, and press carefully, ensuring all seams are flat.
- Slipstitch Opening: Fold the raw edges of the opening inward and slipstitch it closed by hand.
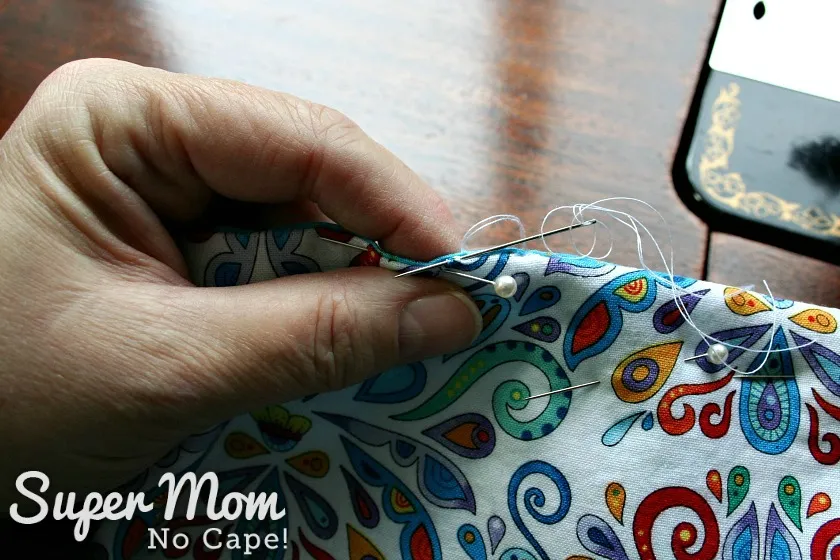 Close the opening of the fabric book cover using a ladder stitch
Caption: Use a ladder stitch for a nearly invisible closure, creating a seamless and professional finish for your book cover.
Personalize and Enjoy: Unleashing Your Creativity
Congratulations! You’ve just crafted a unique and beautiful fabric book cover. Now comes the fun part—personalizing it to reflect your unique style!
- Embroidery: Add a touch of elegance with embroidered initials, delicate floral motifs, or inspiring quotes.
- Appliqué: Let your creativity soar by incorporating appliqué techniques to add eye-catching designs, quirky characters, or meaningful symbols.
- Buttons and Beads: Incorporate vintage buttons, sparkling beads, or colorful ribbons for a touch of whimsy and texture.
- Fabric Choice: Experiment with different fabric textures, patterns, and colors to create a collection of book covers that reflect your personality and complement your favorite reads.
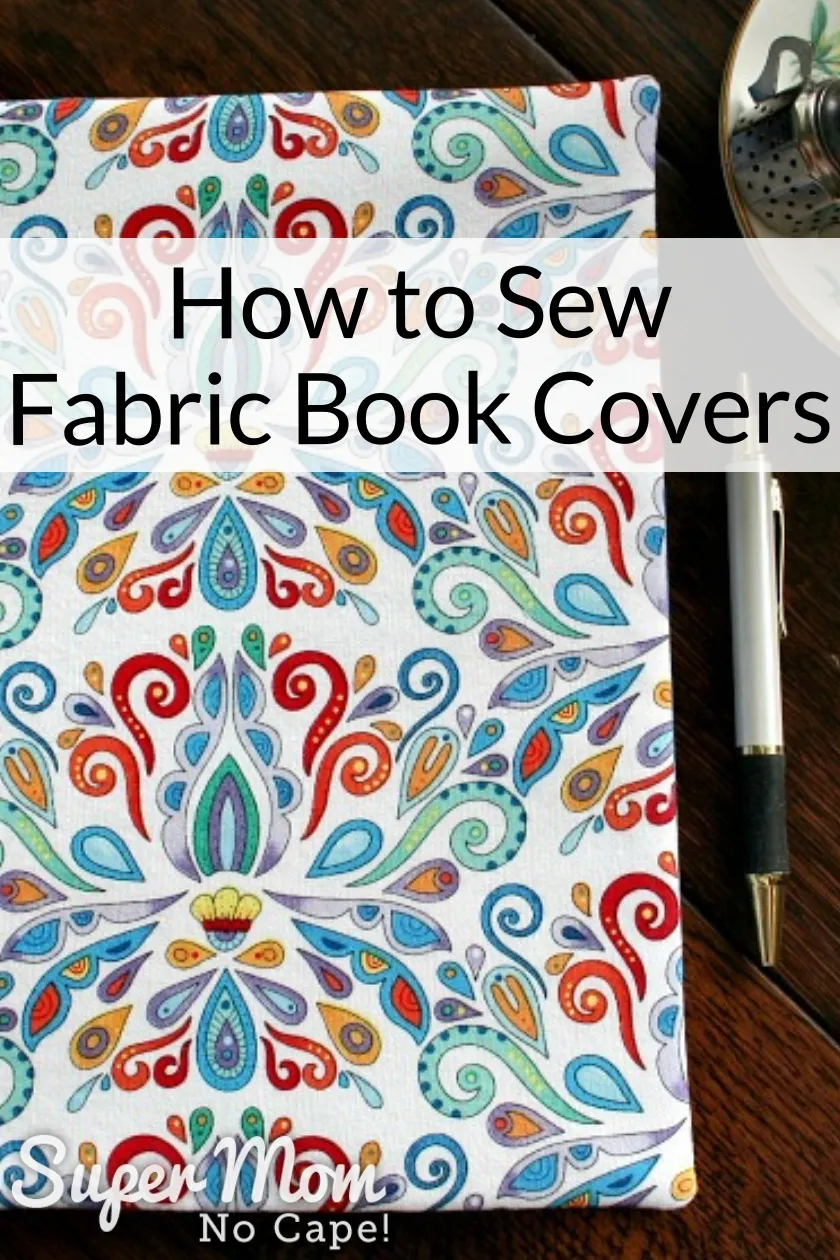 Pretty patterned Fabric Book Cover with pen beside it
Caption: Embrace the endless possibilities! Your fabric choices can transform your book cover into a bold statement piece or a subtly sophisticated accessory.
Beyond the Book: Exploring Creative Gift Ideas
These handcrafted book covers make incredibly thoughtful and personalized gifts for friends and family.
- Teacher Appreciation: Show appreciation for your child’s teacher with a personalized book cover featuring their name or a design related to their subject.
- Graduation Gift: Encourage a love for reading and note-taking with a stylish and practical book cover for a recent graduate.
- Book Club Exchange: Craft a themed book cover for your next book club meeting and exchange your creations for a fun and personalized touch.
Conclusion: The Joy of Handmade Creations
I hope this guide has inspired you to embark on your own fabric book cover crafting adventure. Remember, the true beauty of handmade creations lies in their imperfections and the unique stories they tell. Don’t be afraid to experiment, add your personal touch, and most importantly, have fun with the process!
I’d love to see your creations! Share your finished fabric book covers with me on social media. And be sure to explore the Robert Kline Art website for more inspiring DIY projects and unique handcrafted gifts! Happy crafting!
