Blog
Handcrafted Macrame Dog Leash Gifts: A Step-by-Step Kumihimo Cord Guide
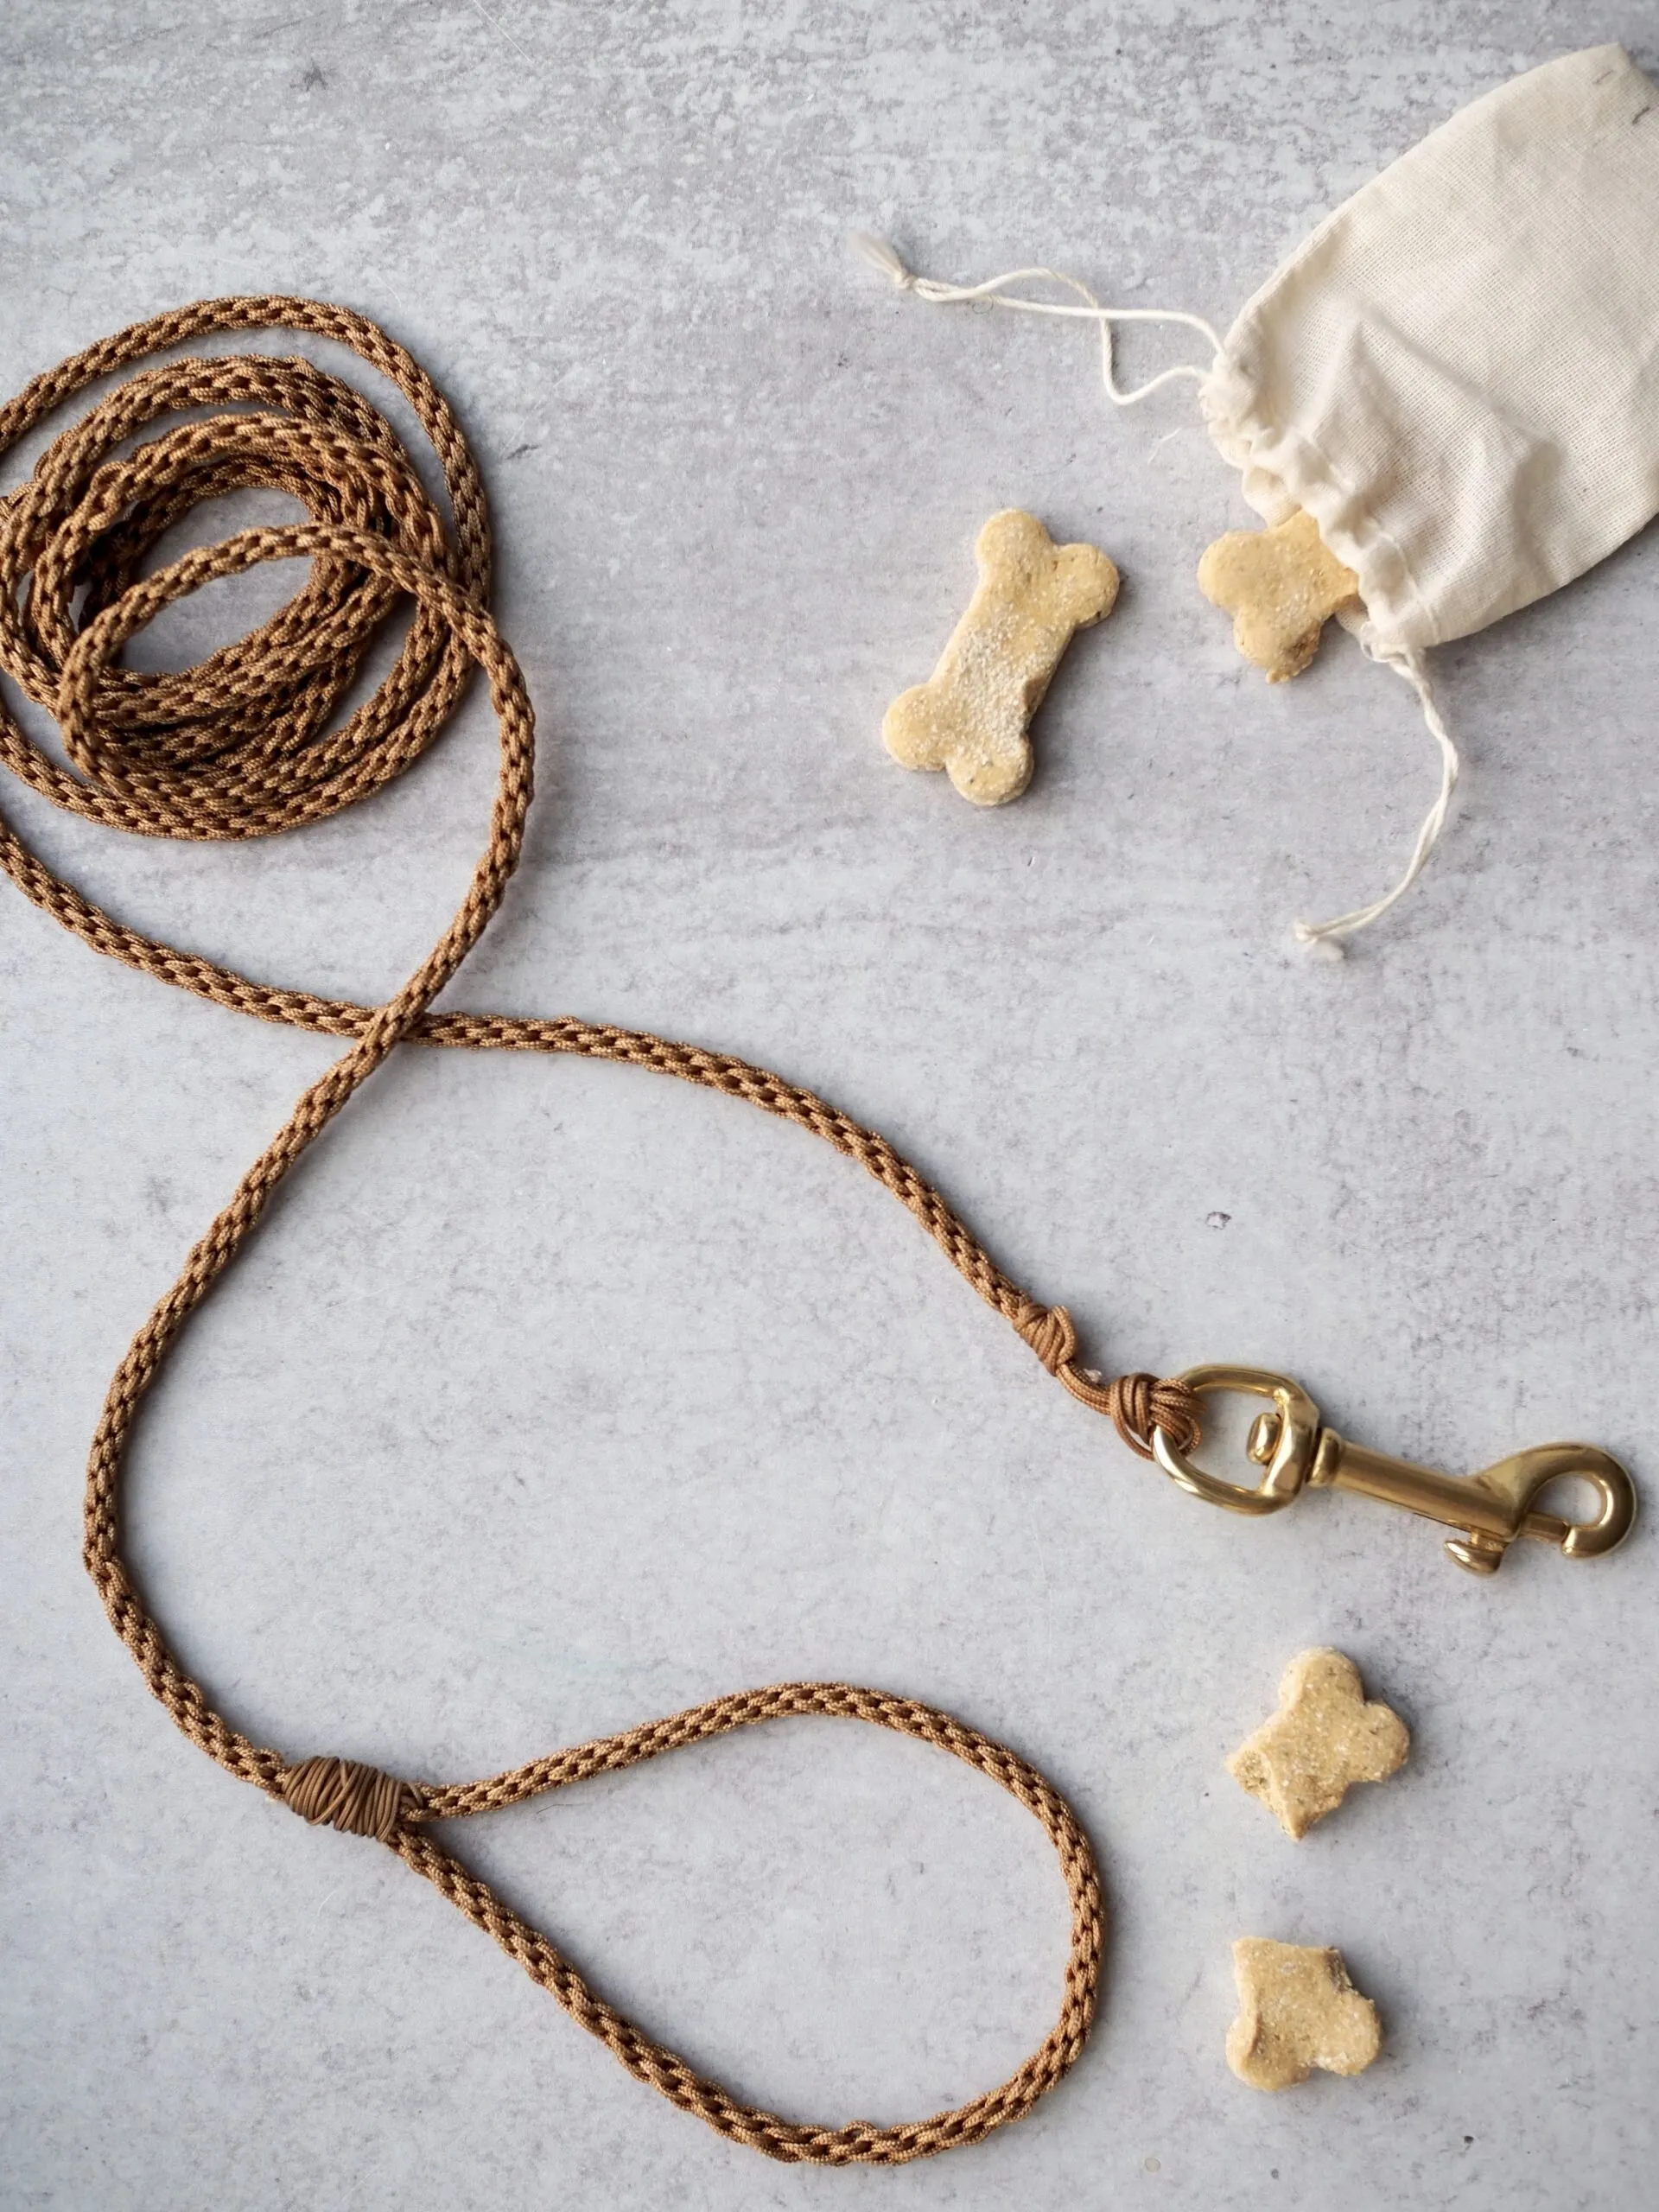
Hey there, fellow craft enthusiasts! Robert Kline here, ready to dive into another exciting handmade project with you. With the holidays around the corner, why not treat your furry friends (or their humans) to a unique and practical gift? Today, we’re going to learn how to create a beautiful and durable dog leash using the ancient Japanese art of Kumihimo.
Imagine the joy on your loved ones’ faces when they receive a handcrafted gift made with love and care. This project might seem daunting at first, but trust me, with a little patience and these easy-to-follow instructions, you’ll be weaving beautiful cords in no time.
Understanding Kumihimo: The Art of “Gathered Threads”
Kumihimo, literally translating to “gathered threads,” is a traditional Japanese braiding technique used to create intricate cords and braids. Dating back centuries, Kumihimo was used to craft everything from elaborate samurai armor ties to delicate decorative ornaments.
Today, we’re tapping into this beautiful art form to create a sturdy and stylish dog leash. Don’t be intimidated by the fancy name; the process is surprisingly approachable and incredibly satisfying!
Gathering Your Kumihimo Dog Leash Supplies
Before we embark on this crafting journey, let’s gather our supplies. Good news – you can find most of these materials at your local hardware store!
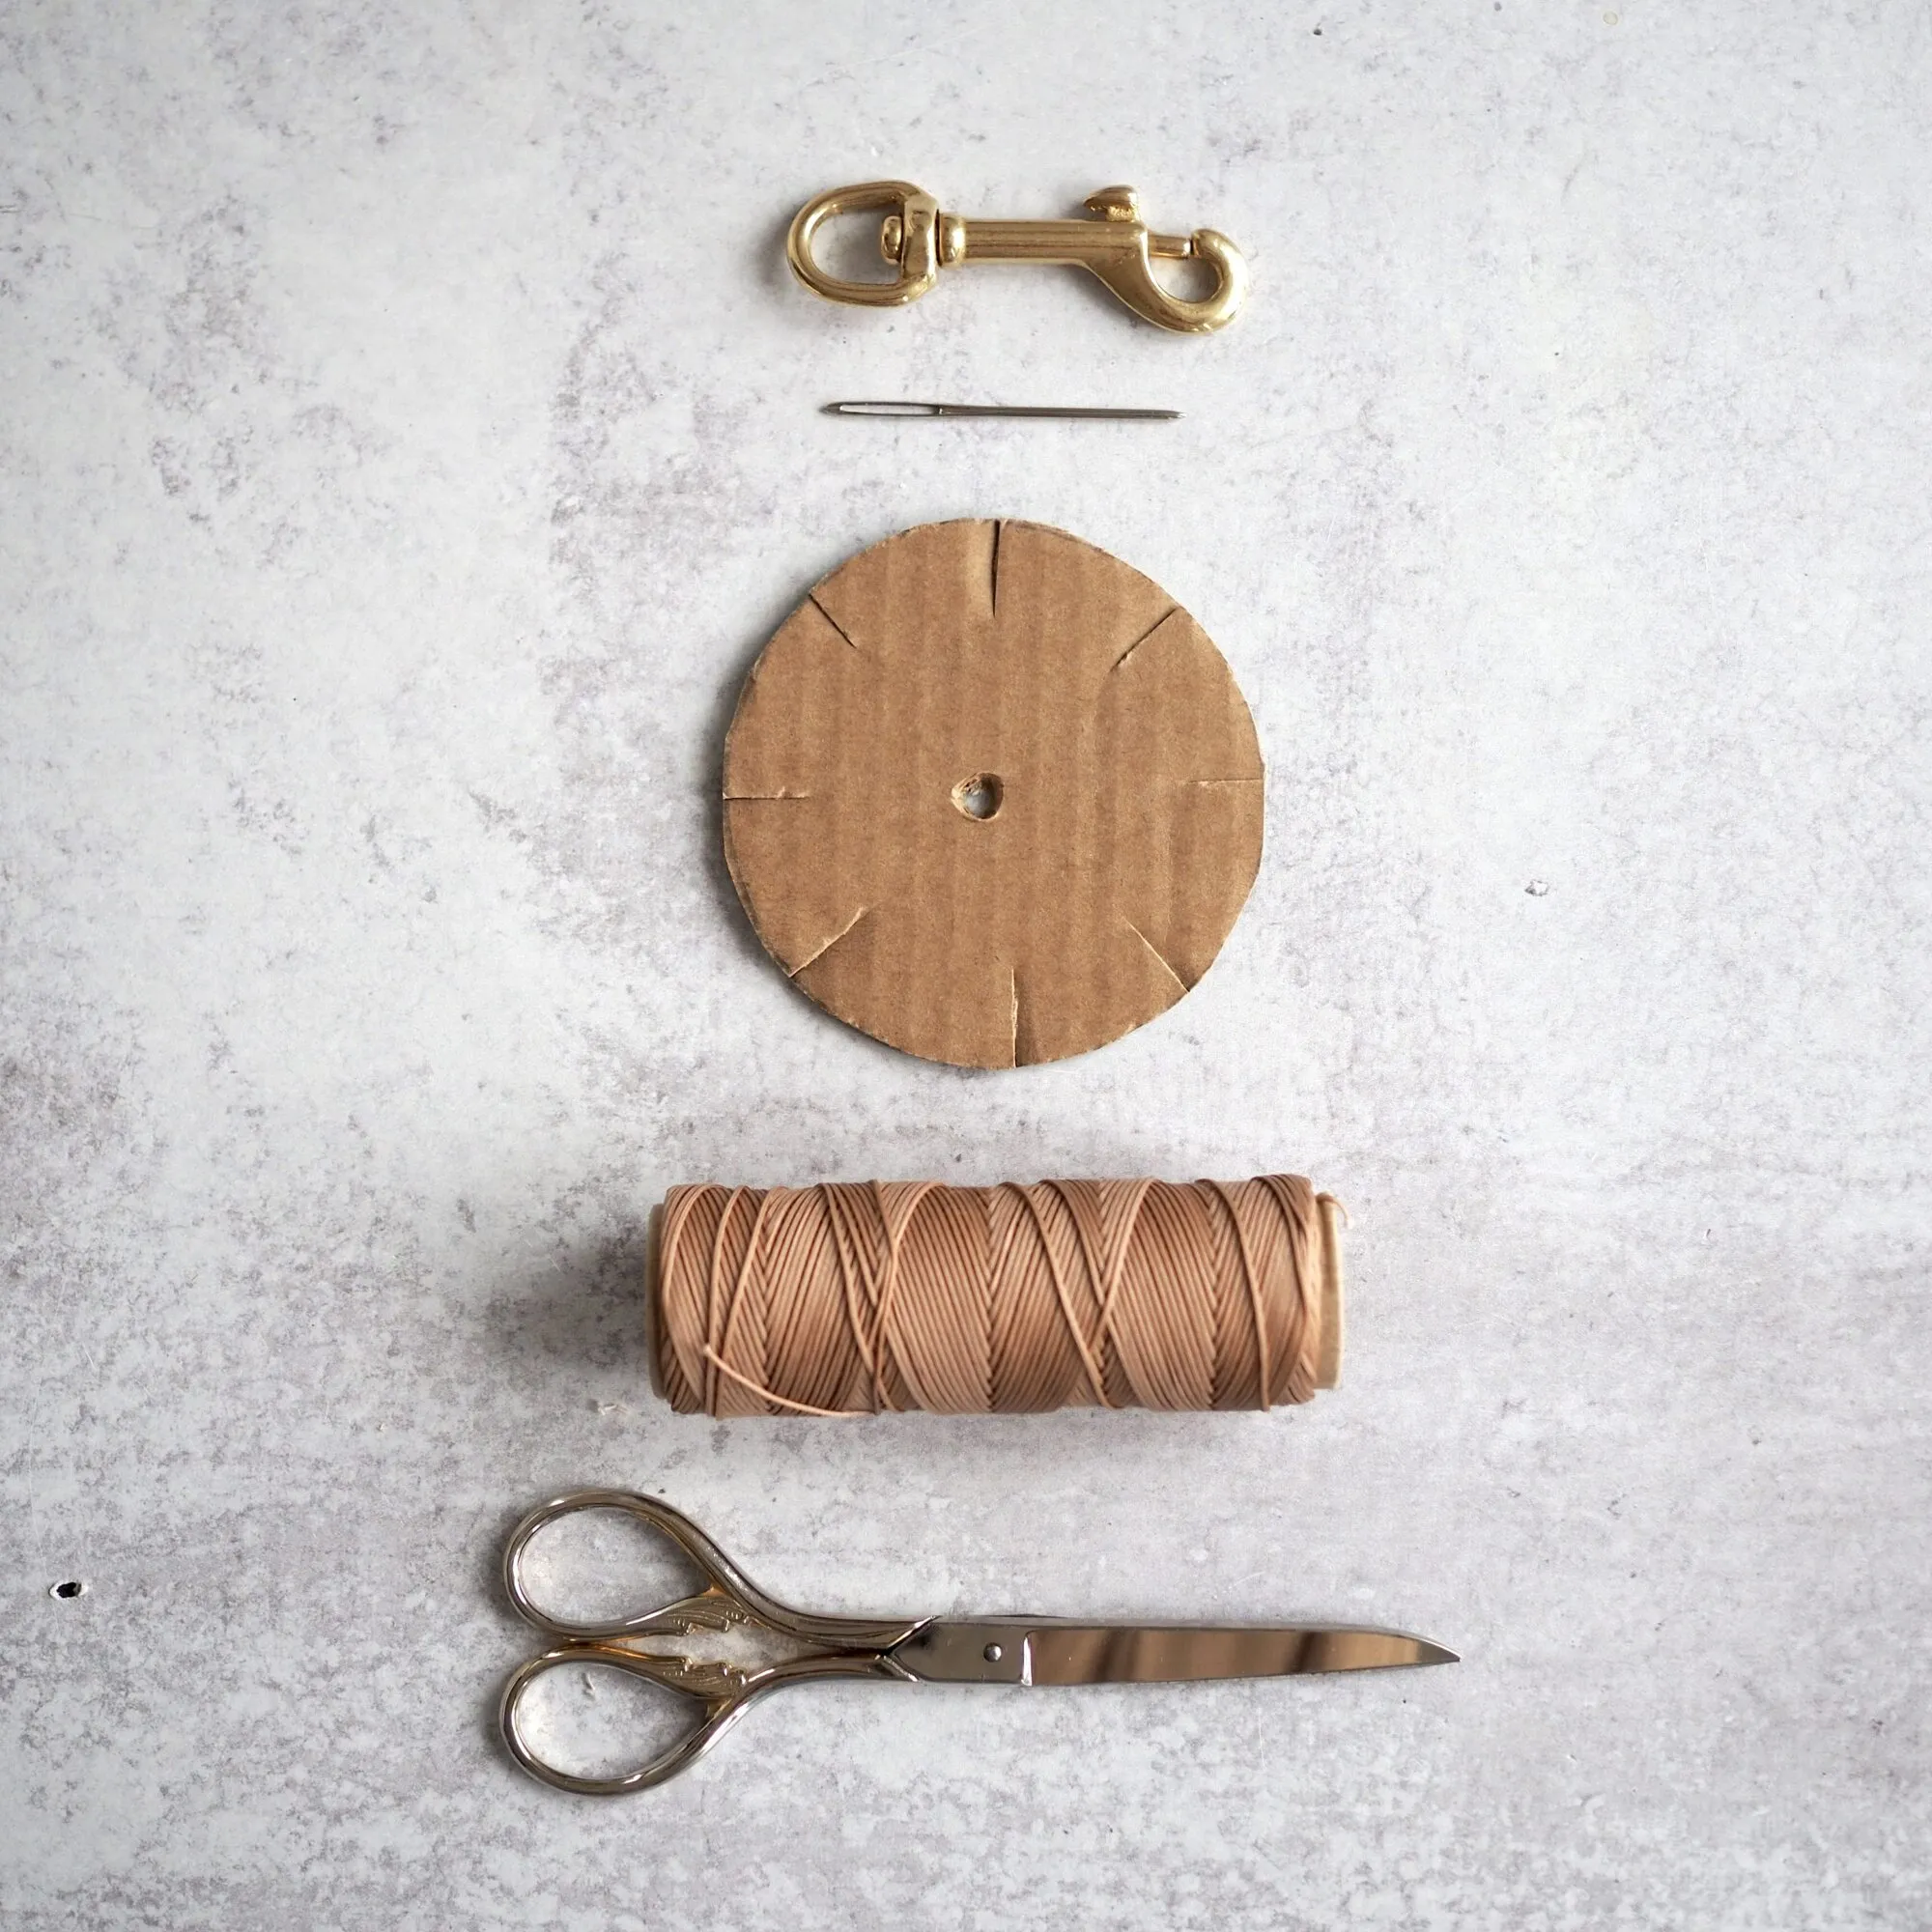
- A small piece of cardboard or cardstock: This will be the base for our Kumihimo disc.
- Sharp scissors: For precise cutting of both the cardboard and the cord.
- A 3-inch circular object (optional): Use this to trace a perfect circle onto your cardboard.
- Pencil: For marking and drawing on our Kumihimo disc.
- Ruler (optional): To ensure even spacing on your disc.
- 72 feet of nylon string: Opt for a strong, durable nylon cord. I recommend a fine nylon for a delicate look, but feel free to experiment with different thicknesses. You can adjust the length based on your desired leash size.
- A 3-inch brass or metal lobster clasp: To securely attach the leash to a collar.
- Awl, hole punch, or Exacto knife: For creating a center hole in our disc.
- Darning needle: For the finishing touches on our leash handle.
 "Braided dog leash attached to a metal leash clip" class=
Crafting Your Kumihimo Disc: The Heart of the Operation
Our Kumihimo disc acts as the loom for our braiding. Let’s create it:
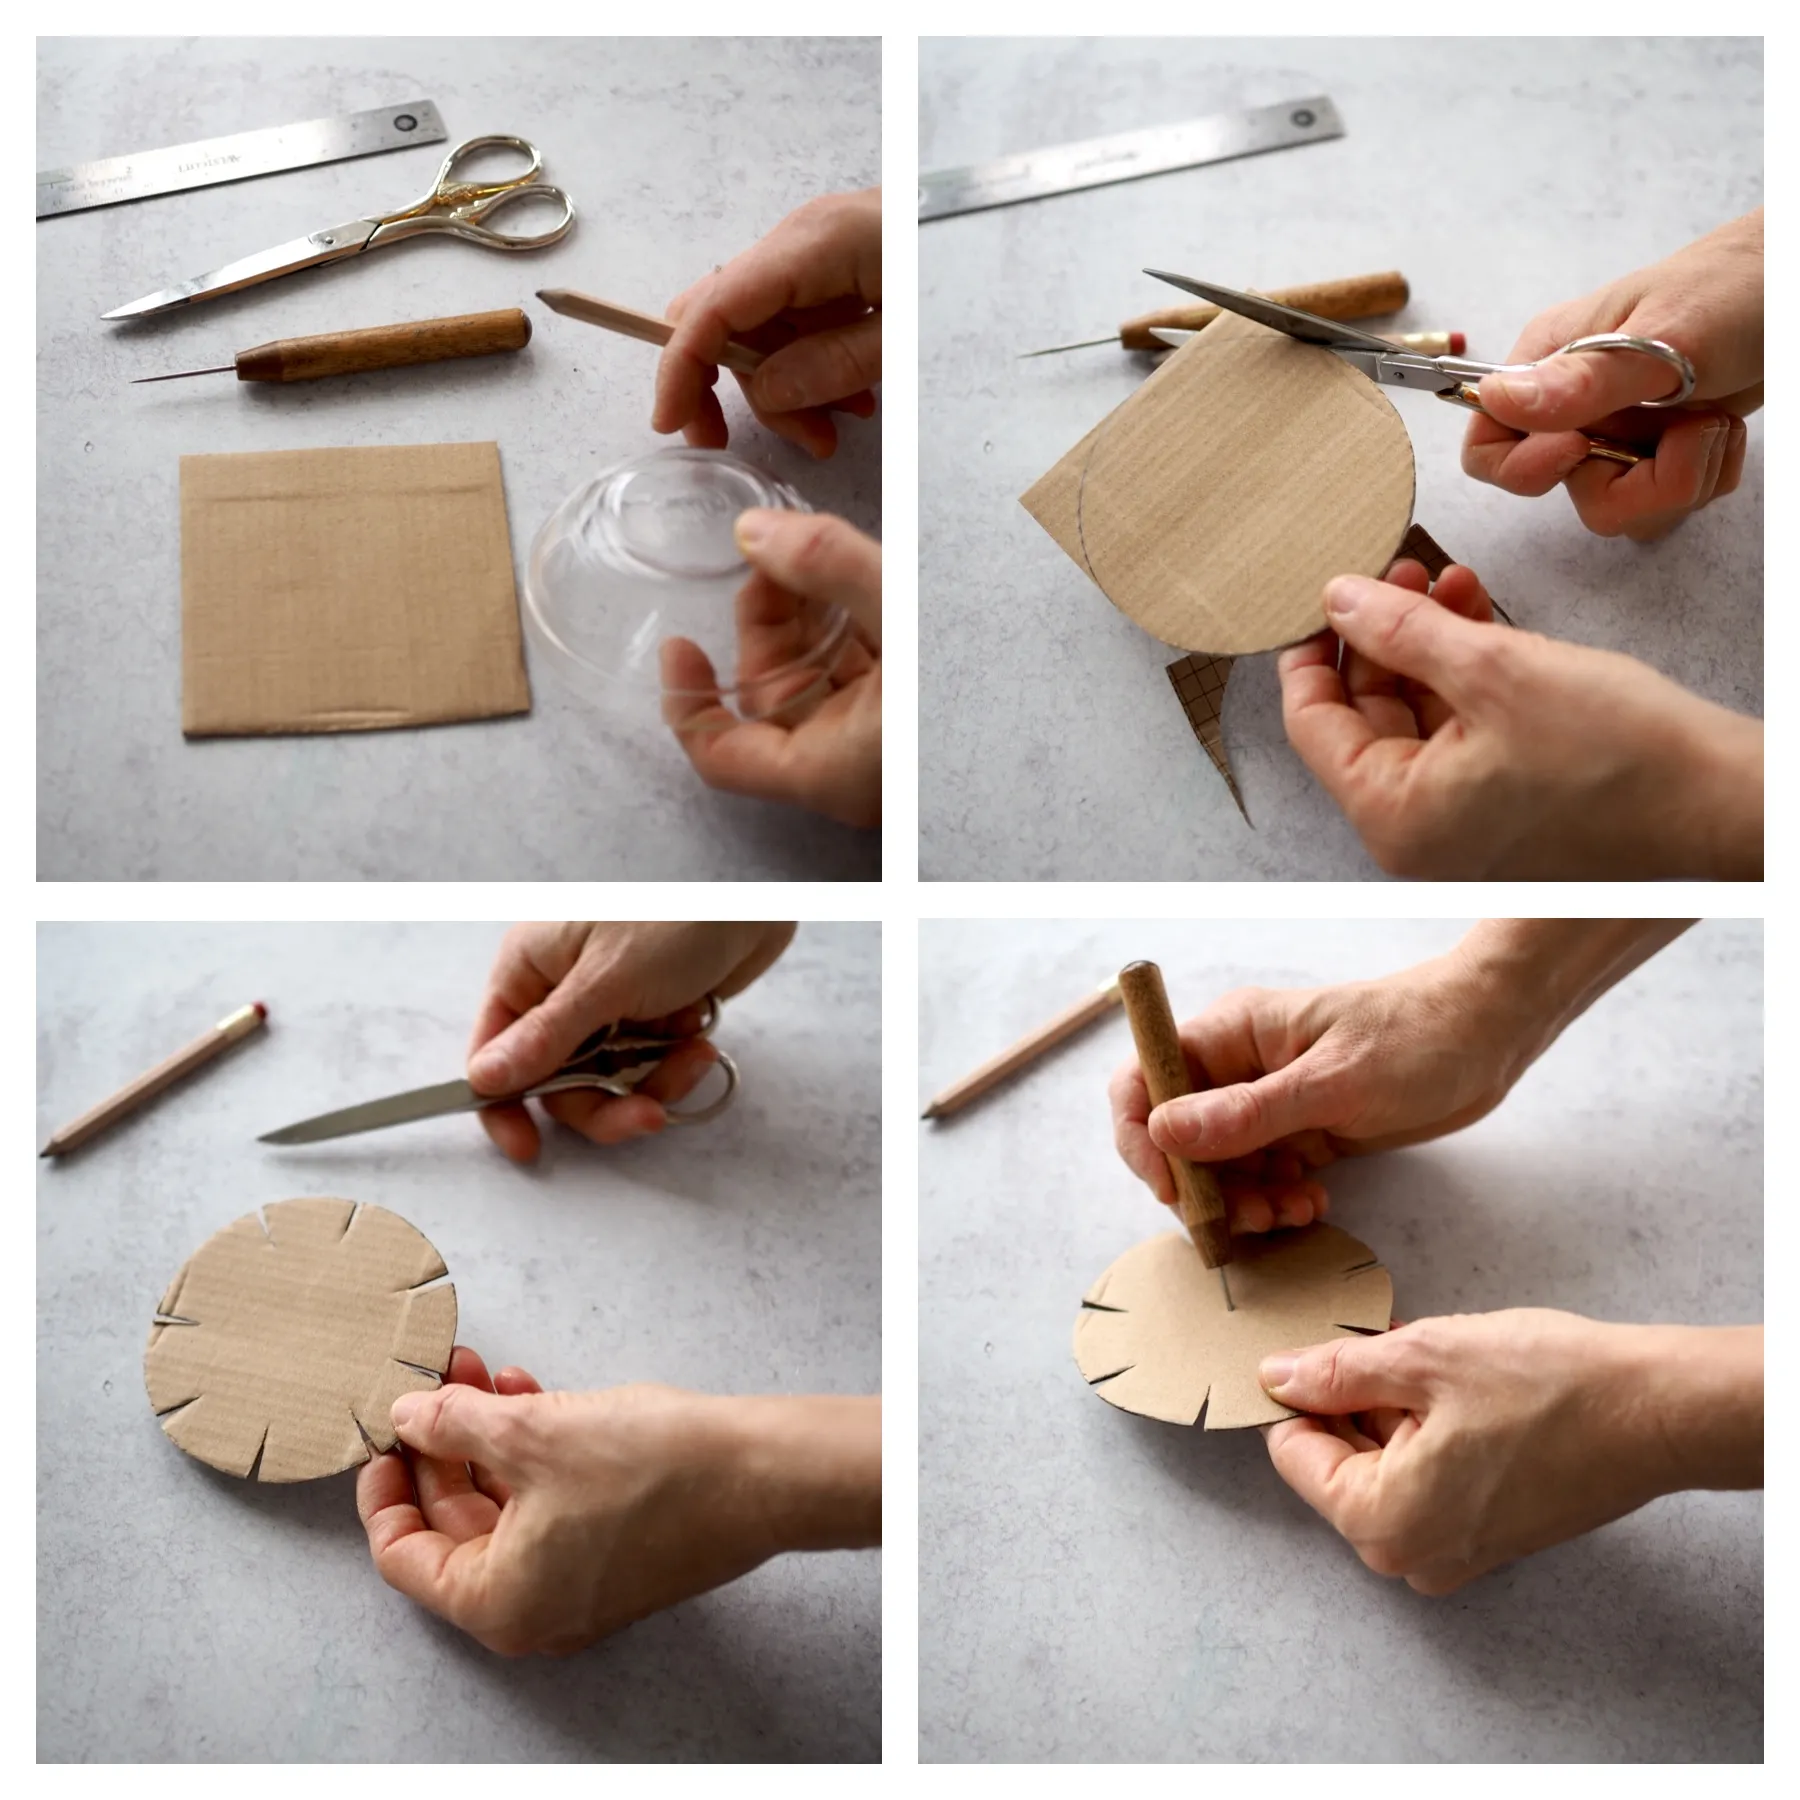
- Trace your circle: Place your circular object onto the cardboard and trace around it with a pencil.
- Cut it out: Carefully cut out the circle using sharp scissors.
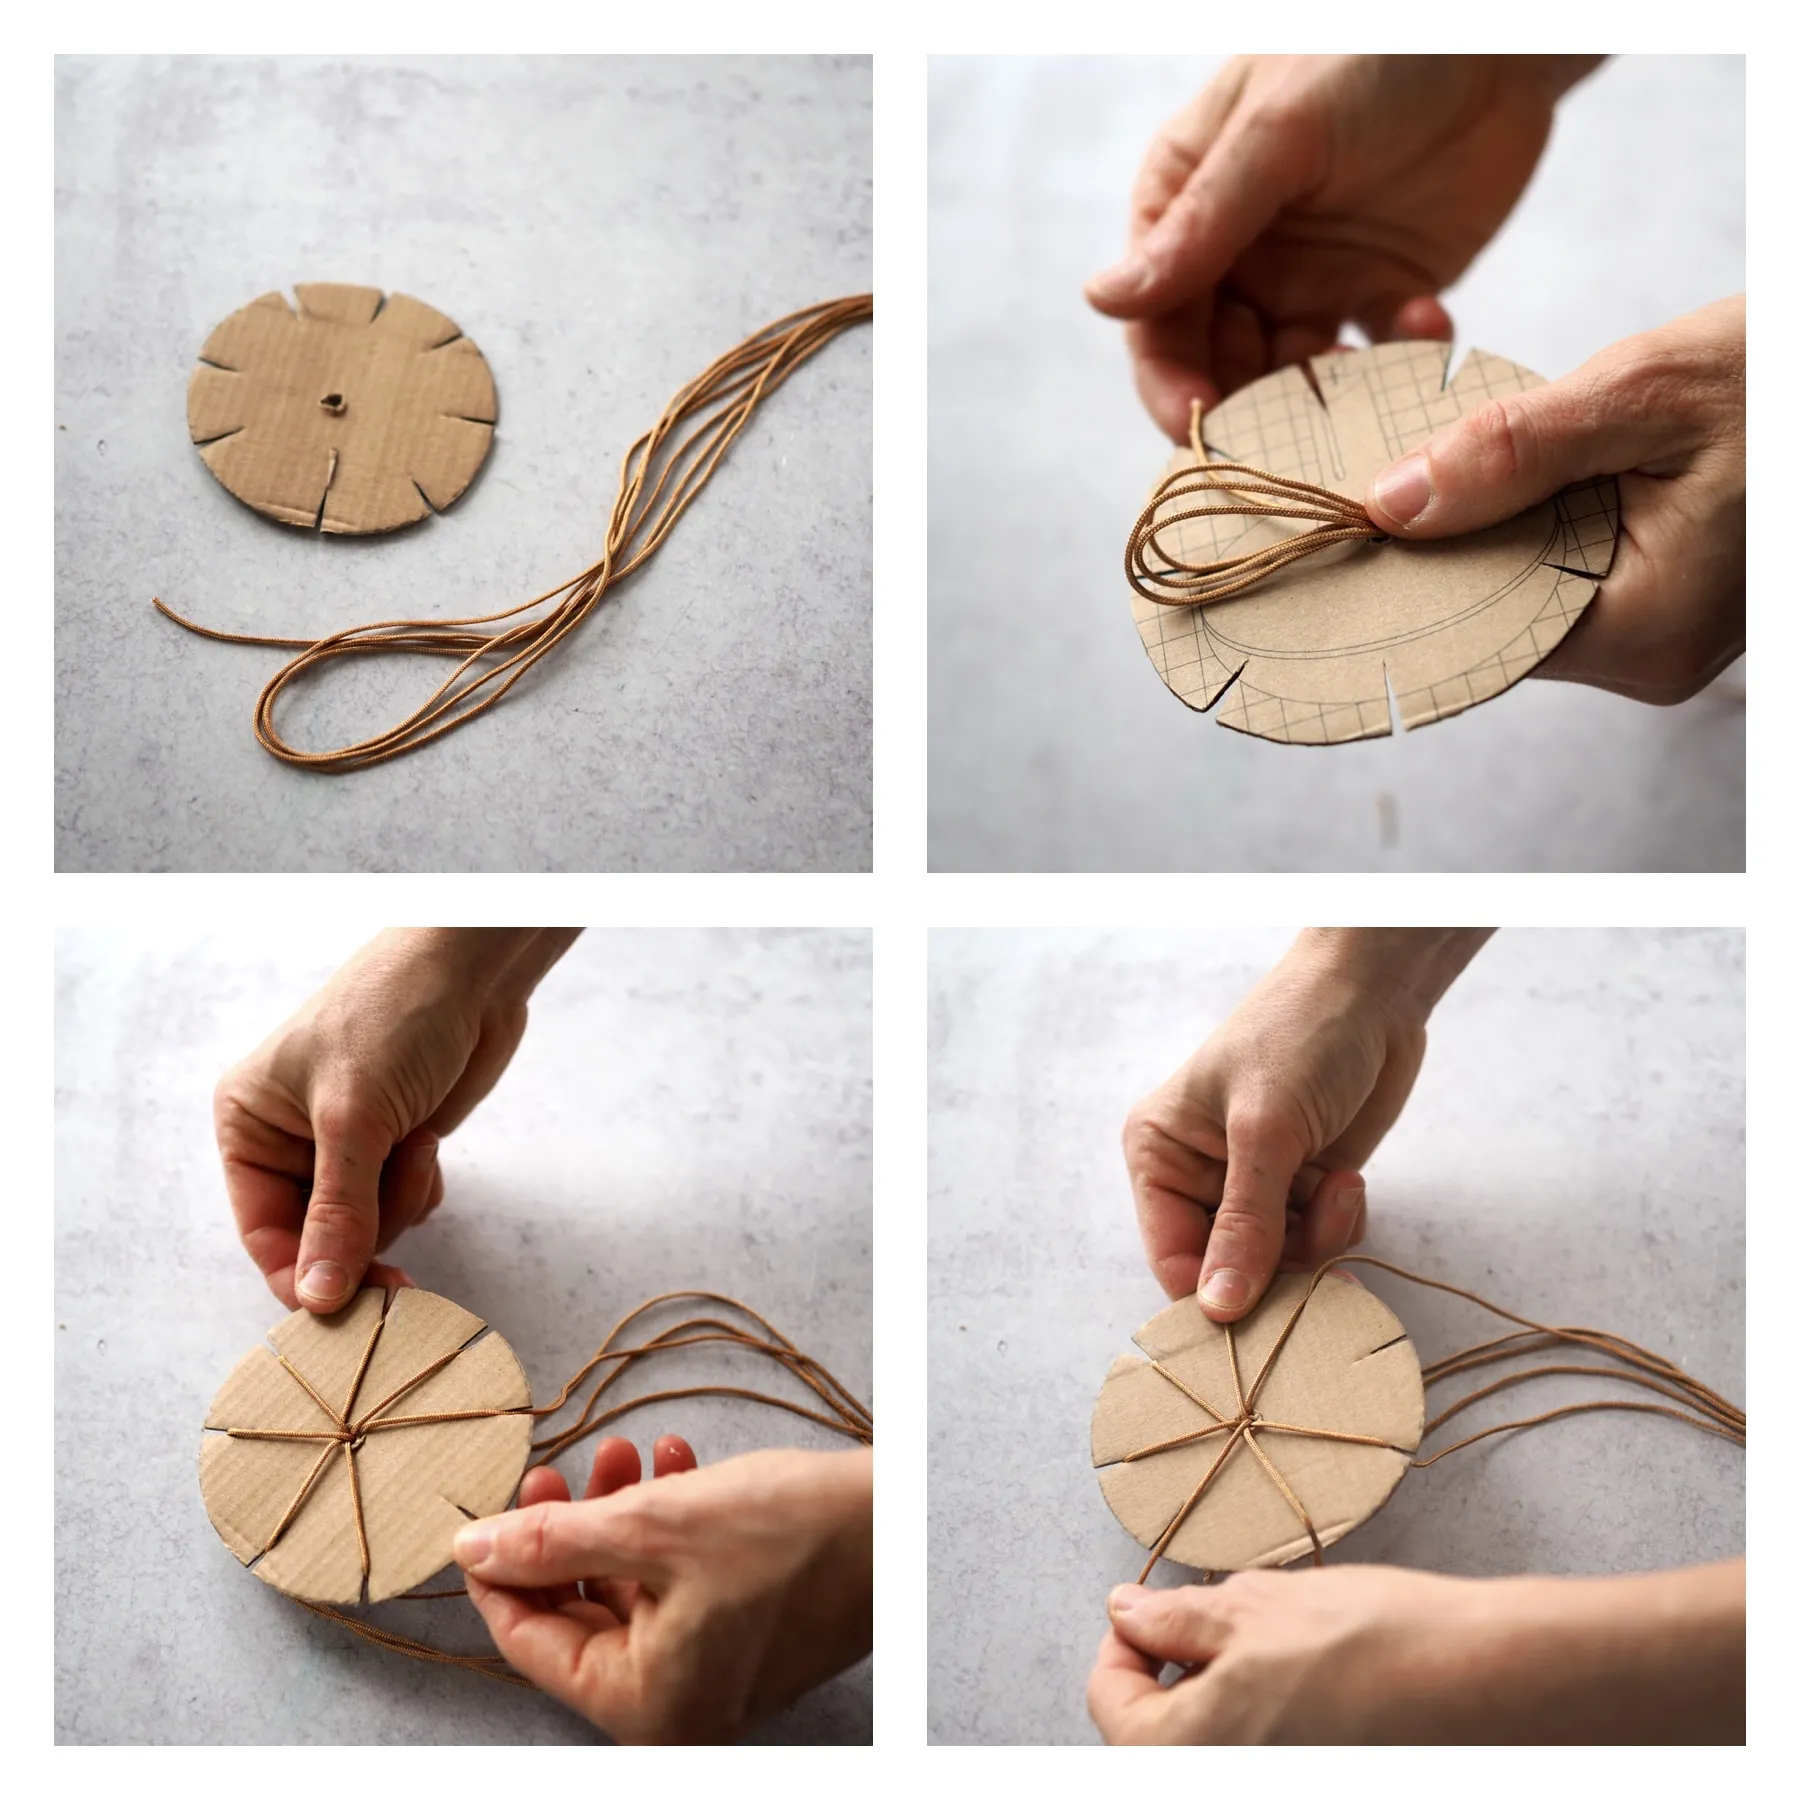
- Mark your slots: Draw 16 evenly spaced dashes around the edge of your circle, pointing inwards towards the center. Think of a clock face and mark every half hour.
- Cut the slots: Carefully cut along each dash towards the center, creating narrow “V” shapes about ¾-inch deep.
- Create the center hole: Using your awl, hole punch, or Exacto knife, carefully puncture a hole in the center of the circle. Gently widen the hole using the tip of your scissors.
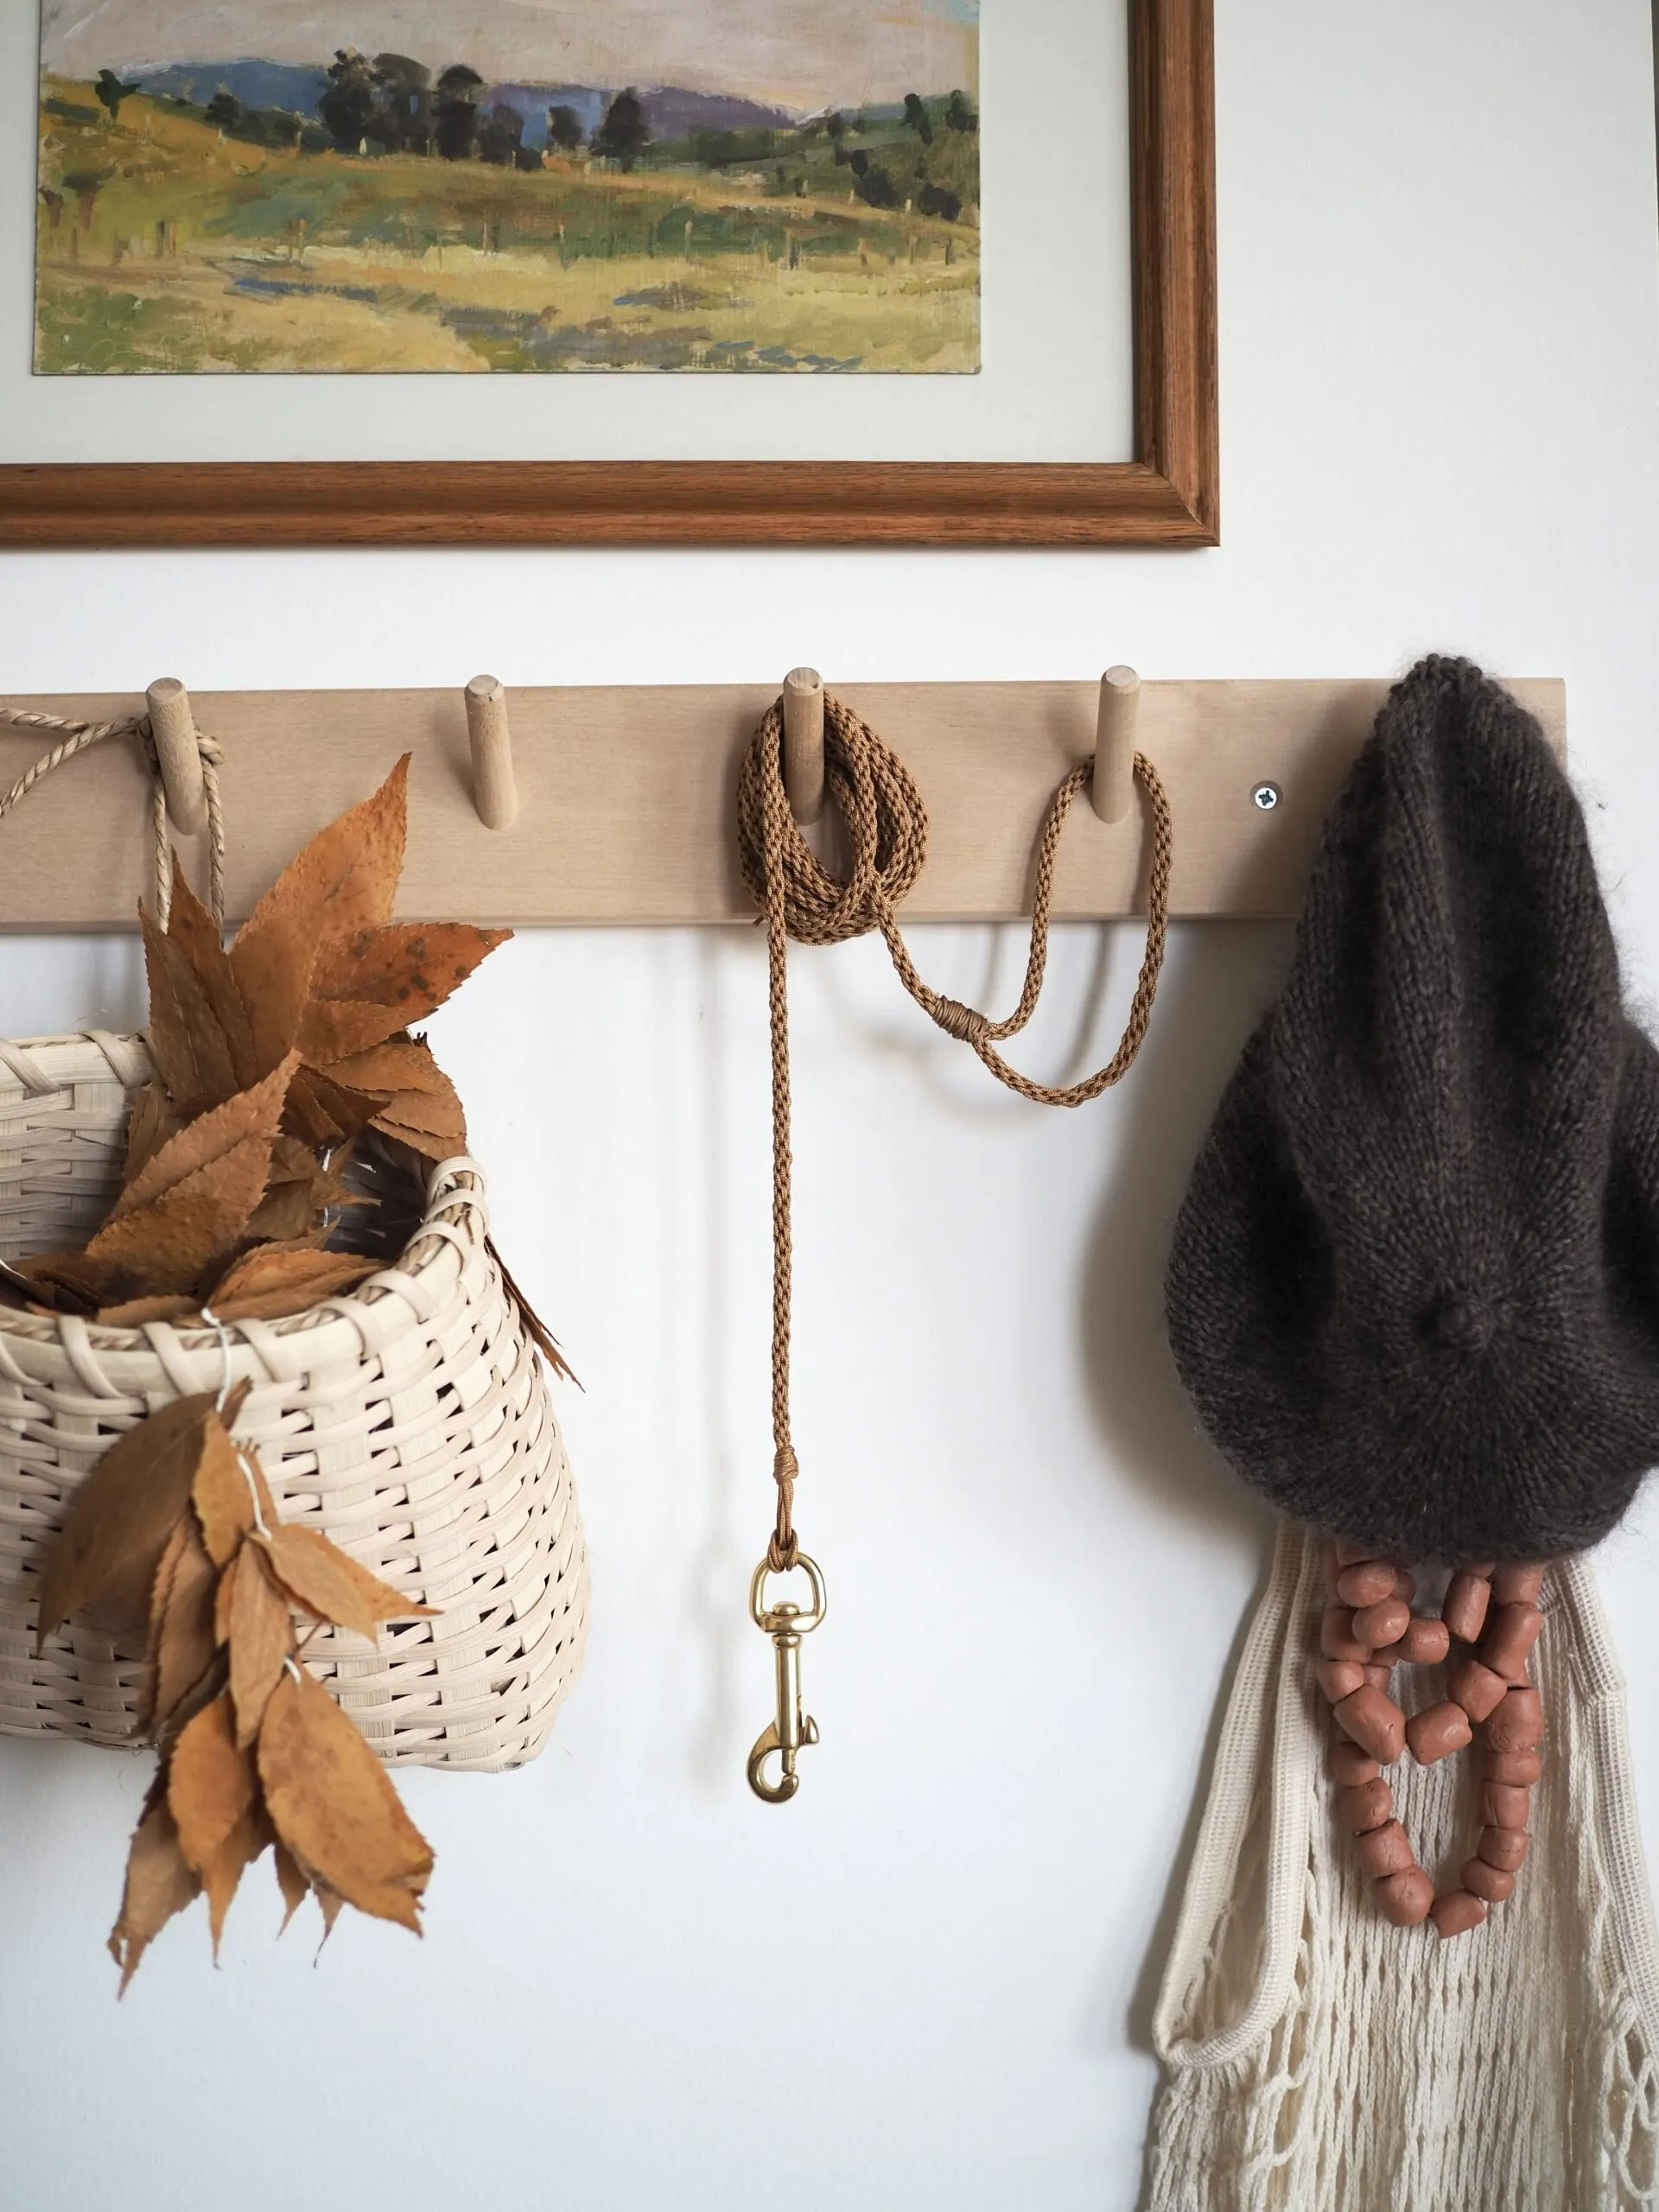 "Close up of braided dog leash" class=
Setting Up Your Kumihimo Loom: Preparing for the Braid
Now that our Kumihimo disc is ready, let’s string it up:
- Prepare your strings: Cut seven lengths of nylon string, each measuring 10 feet long. Leave three of the strings looped at one end, creating three loops and one cut end. The remaining four strings should have cut ends.
- Secure the looped strings: Thread the looped end of the strings through the front of your Kumihimo disc and out through the back. Tie a knot by wrapping the cut end around the loops to secure. Ensure those three loops remain intact!
- Fill the slots: Insert each of the remaining seven individual strings into a separate slot on the front side of your Kumihimo disc. You should have one empty slot remaining.
 "Person holding a braided dog leash during the braiding process" class=
Weaving Your Kumihimo Dog Leash: The Art of the Braid
Get ready, the magic of Kumihimo is about to unfold!
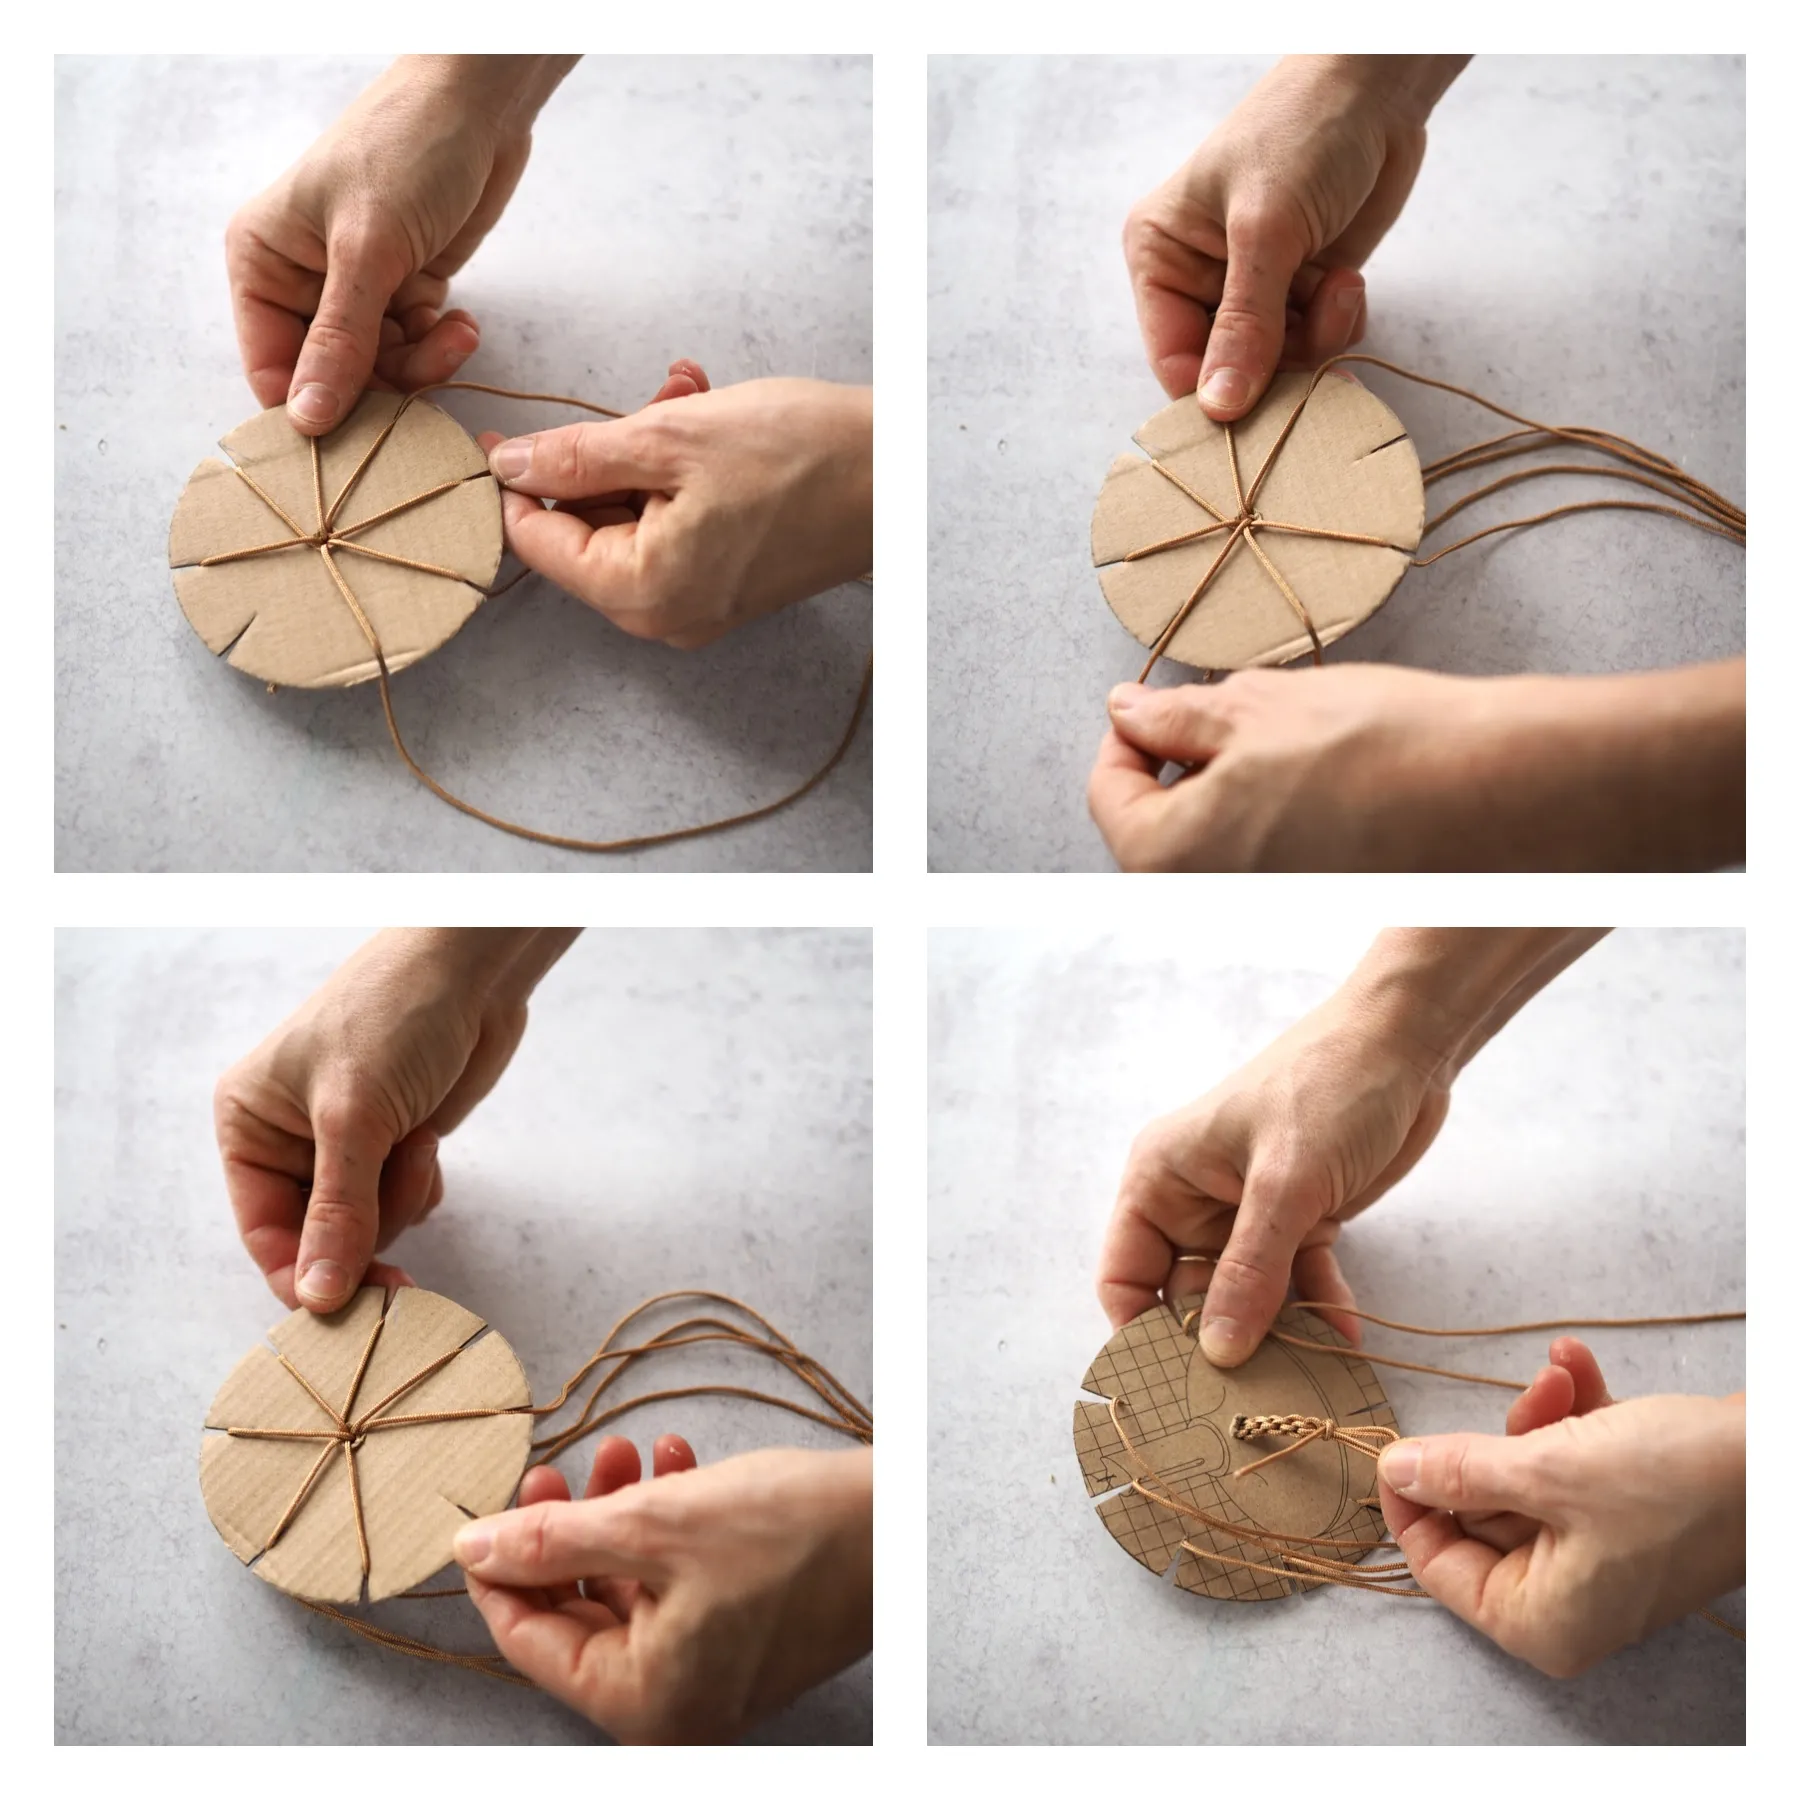
- Find your starting point: Hold your Kumihimo disc with the strings facing you. Identify the empty slot and visualize it as the 11 o’clock position on a clock face.
- Make your first move: Gently pull the string in the 6 o’clock position and bring it up to the empty slot at 11 o’clock, securing it in that slot. To prevent slipping, keep your thumb over the center hole as you move the strings.
- Turn and repeat: Rotate your Kumihimo disc clockwise, bringing the now-empty 6 o’clock slot to the 11 o’clock position. Repeat step 2, always bringing the string in the 6 o’clock position up to the empty 11 o’clock slot.
- Maintain tension: As you braid, gently pull on the cord forming on the backside of the disc to keep the braid tight and even.
- Continue braiding: Keep going! Rotate your disc clockwise and move the string in the 6 o’clock position to the 11 o’clock slot until your cord reaches your desired leash length. Remember, a typical dog leash is between 4 to 6 feet long.
 "Close up of a person braiding a dog leash" class=
Finishing Touches: Transforming Your Braid into a Leash
You’ve mastered the braid; now let’s add the finishing touches:
- Remove from the loom: Once you’ve reached your desired leash length, carefully remove all strings from the slots and gently pull the braided cord through the center hole of the disc. Tie a knot at the end to secure your braid.
- Attach the clasp: Take your lobster clasp and thread the braided cord through the opening, folding it back on itself to create a loop. Secure the loop by tightly sewing it to the main leash cord using your darning needle and a separate piece of nylon string.
- Craft the handle: Fold the opposite end of the leash to create a comfortable handle loop. Secure the loop by sewing it to the main leash cord using the same technique as the clasp attachment.
 "Braided dog leash laying on a table" class=
A Handmade Gift from the Heart
Congratulations! You’ve created a beautiful and unique Kumihimo dog leash. Not only is it a practical gift for furry friends, but it’s also a testament to your creativity and craftsmanship. Imagine the pride you’ll feel presenting this handmade gift to fellow dog lovers.
 "Person holding a braided dog leash with both hands" class=
Explore More Handmade Gifts with Robert Kline Art
Looking for more unique and heartfelt gift ideas? Head over to the Robert Kline Art website for a treasure trove of DIY projects, crafting inspiration, and one-of-a-kind handmade gifts. Let’s spread the joy of handcrafted creativity together!
Don’t forget to share your Kumihimo leash creations with us! Leave a comment below and tell us about your experience. Happy crafting!
