Blog
Handcrafted Leather Sunglass Case: A Step-by-Step Guide

Hey there, fellow craft enthusiasts! Robert Kline here, your guide to the captivating world of handcrafted artistry. Today, we’re diving deep into the realm of leatherwork, crafting a timeless piece that’s as practical as it is stylish – a handcrafted leather sunglass case.
This guide is perfect for those eager to dip their toes into leatherwork or seasoned artisans looking for a fulfilling project. Believe me, there’s nothing quite as satisfying as fashioning something beautiful and functional with your own two hands. Plus, imagine the look on your loved one’s face when you present them with a handcrafted gift!
Getting Started: Gathering Your Tools and Materials
Before we embark on our leatherworking adventure, let’s gather our trusty tools and materials. Don’t fret if you’re new to this – I’ll guide you through each step:
Materials:
- Leather: Opt for vegetable-tanned leather, around 4-5 oz thickness. It’s readily available and ages beautifully.
- Dye: Unleash your creativity with your favorite leather dyes. A multi-pack allows for endless possibilities!
- Satin Leather Finish: This protects your masterpiece and adds a touch of elegance.
- Gum Tragacanth: This magical substance helps achieve those polished, professional-looking edges.
- Snaps and Rivets: These secure our case and add a touch of personality.
- Wool Daubers and Sponges: These trusty sidekicks help with dye, finish, and gum tragacanth application.
Tools:
- Awl: A must-have for marking leather and creating those all-important stitching holes.
- Sharp X-acto Knife: Precision is key when cutting leather, and this tool delivers.
- Adjustable Groover (Optional): While not mandatory, this tool helps create those professional-looking recessed stitching lines.
- Beveler (Optional): Similar to the groover, this tool helps achieve beautifully finished edges.
- Hole Punches: These ensure perfectly sized holes for your snaps and rivets.
- Stitching Hole Punch (Optional): A handy tool for consistent stitching holes, but an awl works too.
- Wood Slicker: This helps burnish the edges, giving your case a polished look.
- Snap Setting Tools: These are essential for attaching snaps securely.
- Waxed Thread and Needle: The dynamic duo for stitching our leather masterpiece together.
Crafting Your Leather Sunglass Case: A Step-by-Step Journey
Now that we’ve assembled our tools and materials, let’s begin crafting our very own leather sunglass case:
1. Creating the Blueprint: The Pattern
Every masterpiece begins with a plan, and our leather sunglass case is no exception. You can either design your own pattern or find inspiration online. Remember, the pattern dictates the final shape and size, so choose wisely.
Pro Tip: Test your pattern with cardboard before cutting into your precious leather.
 Natalina
2. From Pattern to Leather: Cutting and Marking
Once you’re satisfied with your pattern, trace it onto your leather, carefully marking stitching lines, snap placements, and rivet holes. Use your trusty awl for precision marking.
Pro Tip: When cutting, always use a sharp X-acto knife and a steady hand.
3. Creating Dimension: Stitching Grooves and Holes
For a professional touch, use the adjustable groover to create a recessed line for your stitches. This ensures a polished look and helps the stitches lay flat. Next, use your awl or stitching hole punch to create evenly spaced holes along the stitching line.
4. Refining the Edges: Beveling for a Polished Look
Before we assemble our case, let’s give those edges a refined look. Using a beveler, gently shave down the edges to create a slightly rounded profile. This preps the leather for burnishing later on.
5. Personalizing Your Masterpiece: Embellishment Time!
This is where your creativity shines! Personalize your case with stamps, laser etching, or even hand-painted designs.
- Stamping: Dampen the leather slightly before stamping for a more pronounced impression.
- Laser Etching: If you have access to a laser cutter, the possibilities are endless! Experiment with different designs and settings to achieve unique effects.
 Phoenix Mask
6. Adding a Splash of Color: Dyeing Your Leather
Now, let’s infuse some life into our creation with leather dye. Experiment with different colors and application techniques to achieve your desired look.
Pro Tip: Remember to test your dyes on a scrap piece of leather first to ensure you achieve your desired shade.
7. Bringing it All Together: Attaching Snaps and Rivets
Secure your case with snaps and rivets using the appropriate setting tools. Remember, patience is key – take your time and ensure each element is perfectly placed.
8. The Art of Stitching: Joining the Pieces
With your needle and waxed thread in hand, it’s time to stitch the sides of your case together. A saddle stitch is a classic choice for leatherwork, but a simple back and forth stitch works equally well.
Pro Tip: Waxed thread is your friend – it helps create strong, durable stitches.
9. The Finishing Touches: Burnishing the Edges
Time to give those edges a professional sheen! Apply a thin layer of gum tragacanth to the edges and use your wood slicker to burnish them. The result? Beautifully polished and professional-looking edges.
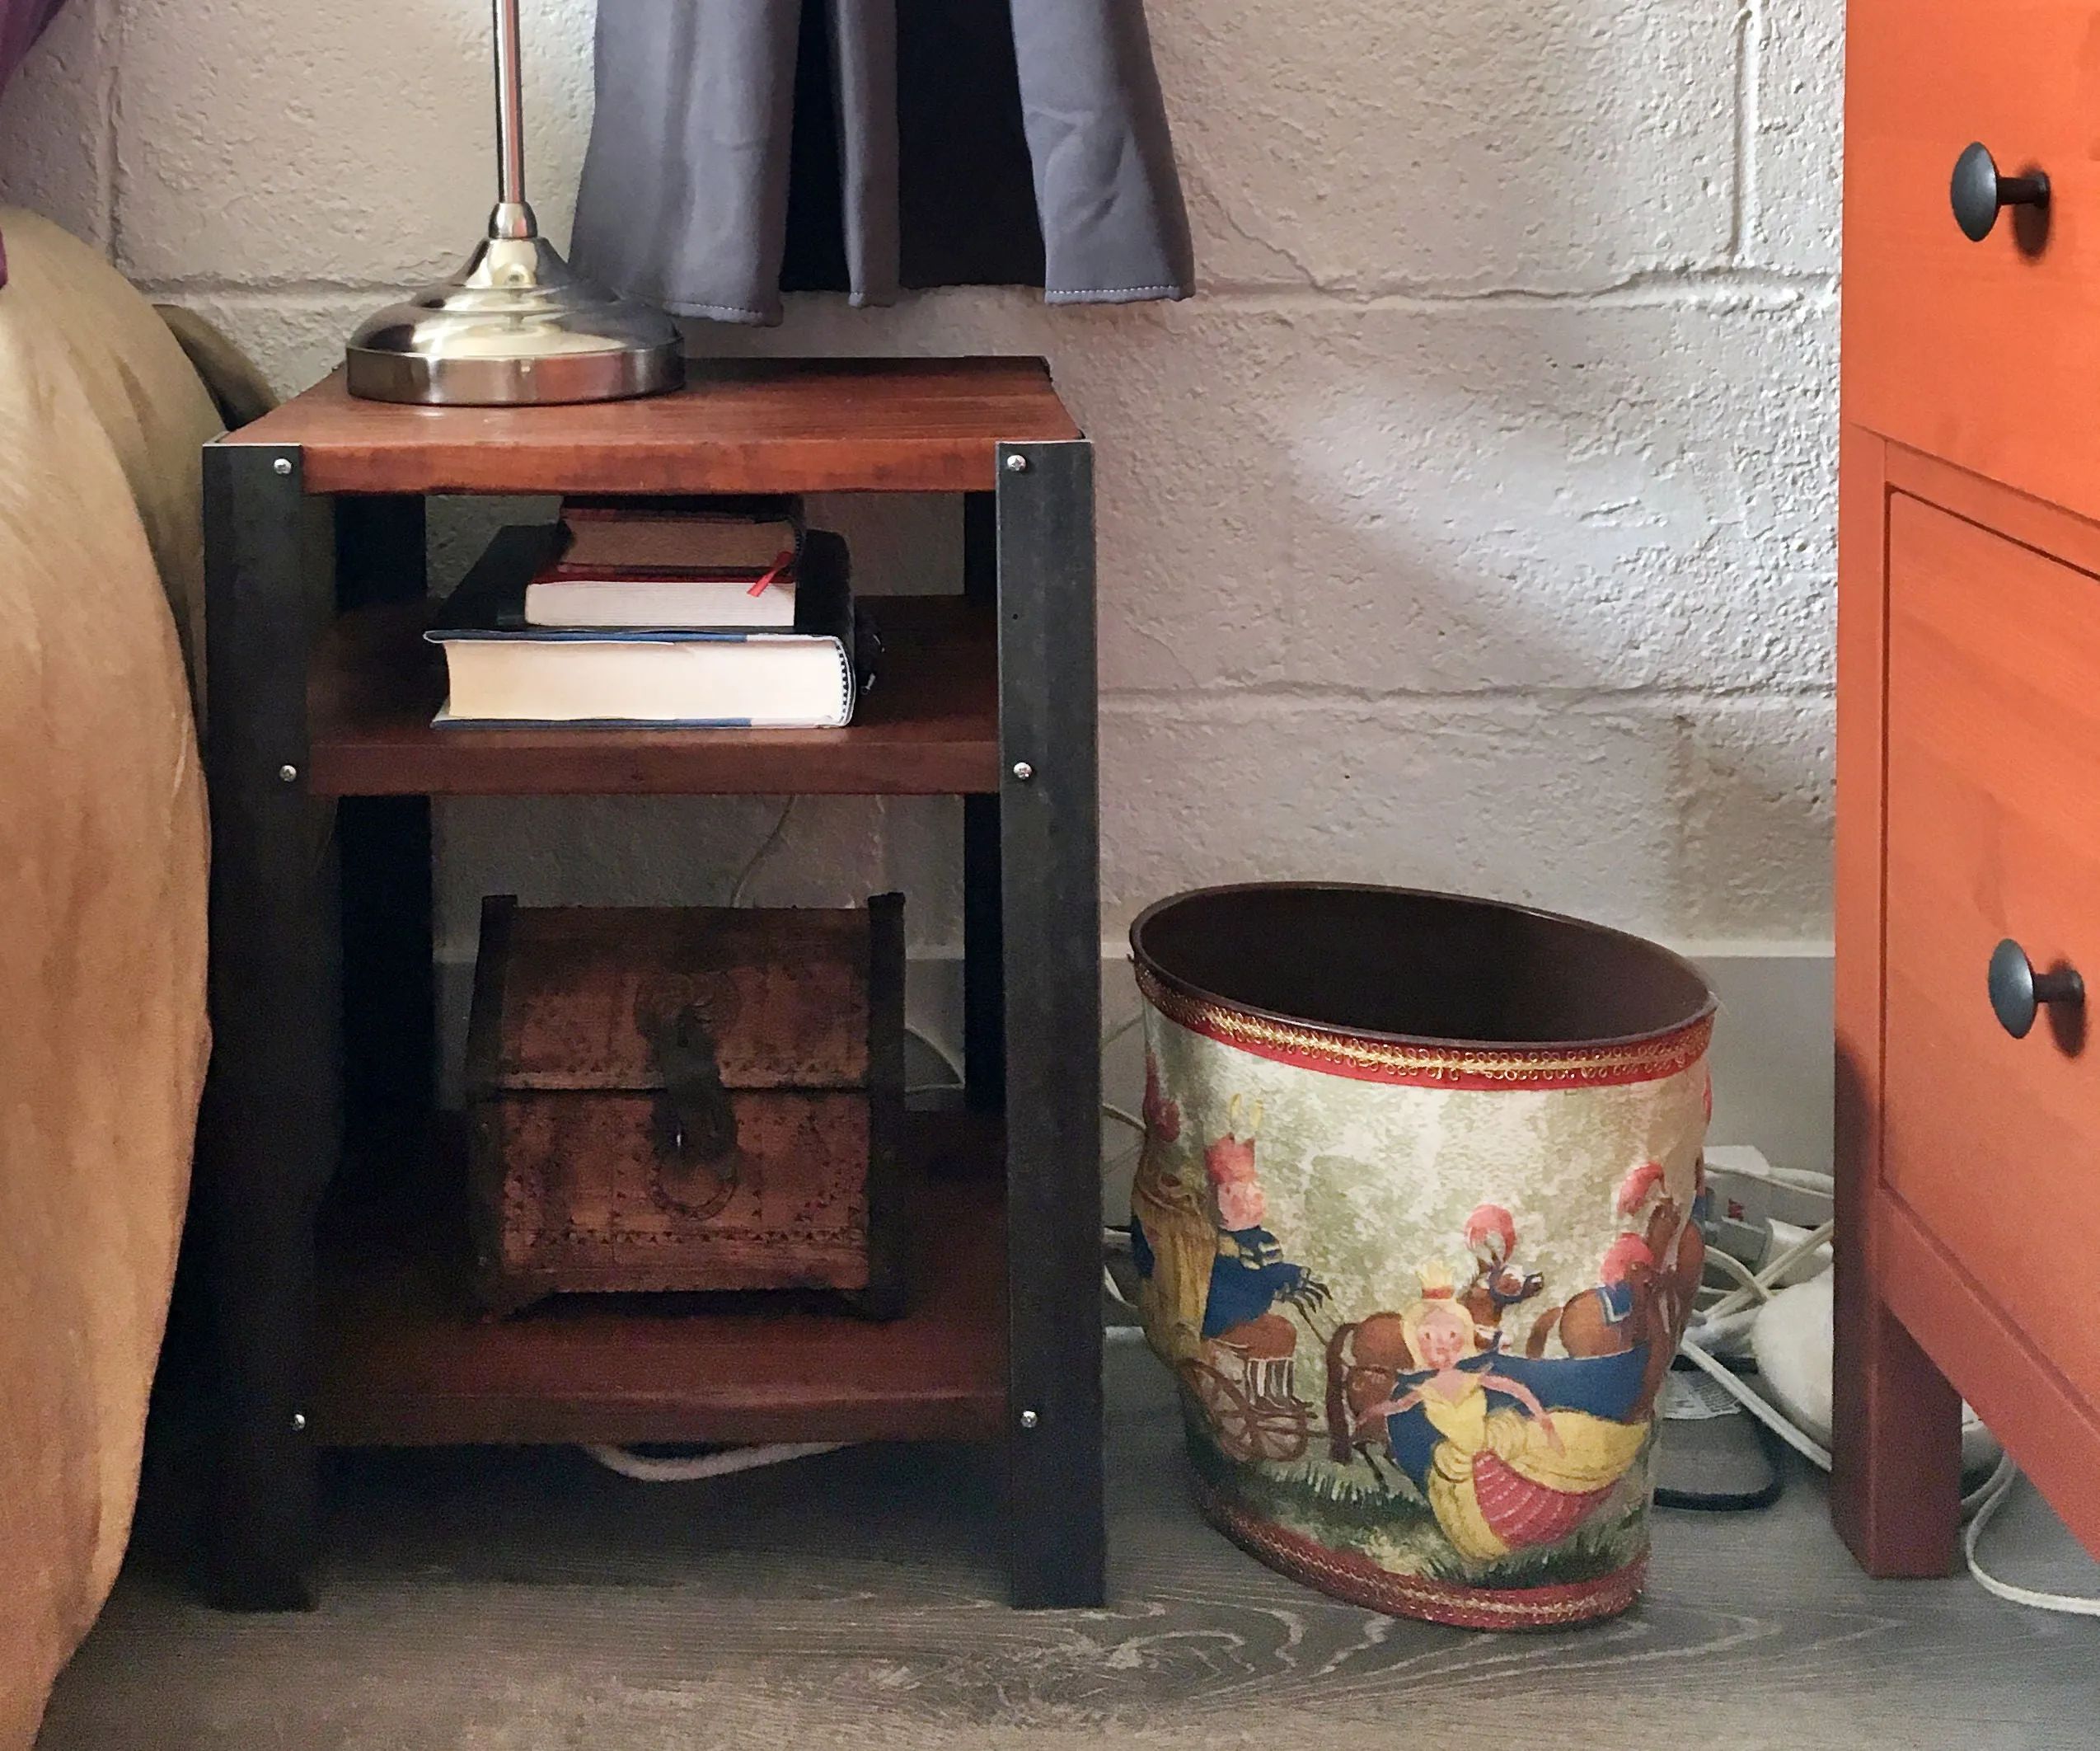
 Industrial End Tables
10. Sealing Your Masterpiece: Applying Leather Finish
To protect your handcrafted creation, apply a layer or two of leather finish. This not only adds a touch of luxury but also helps repel water and stains.
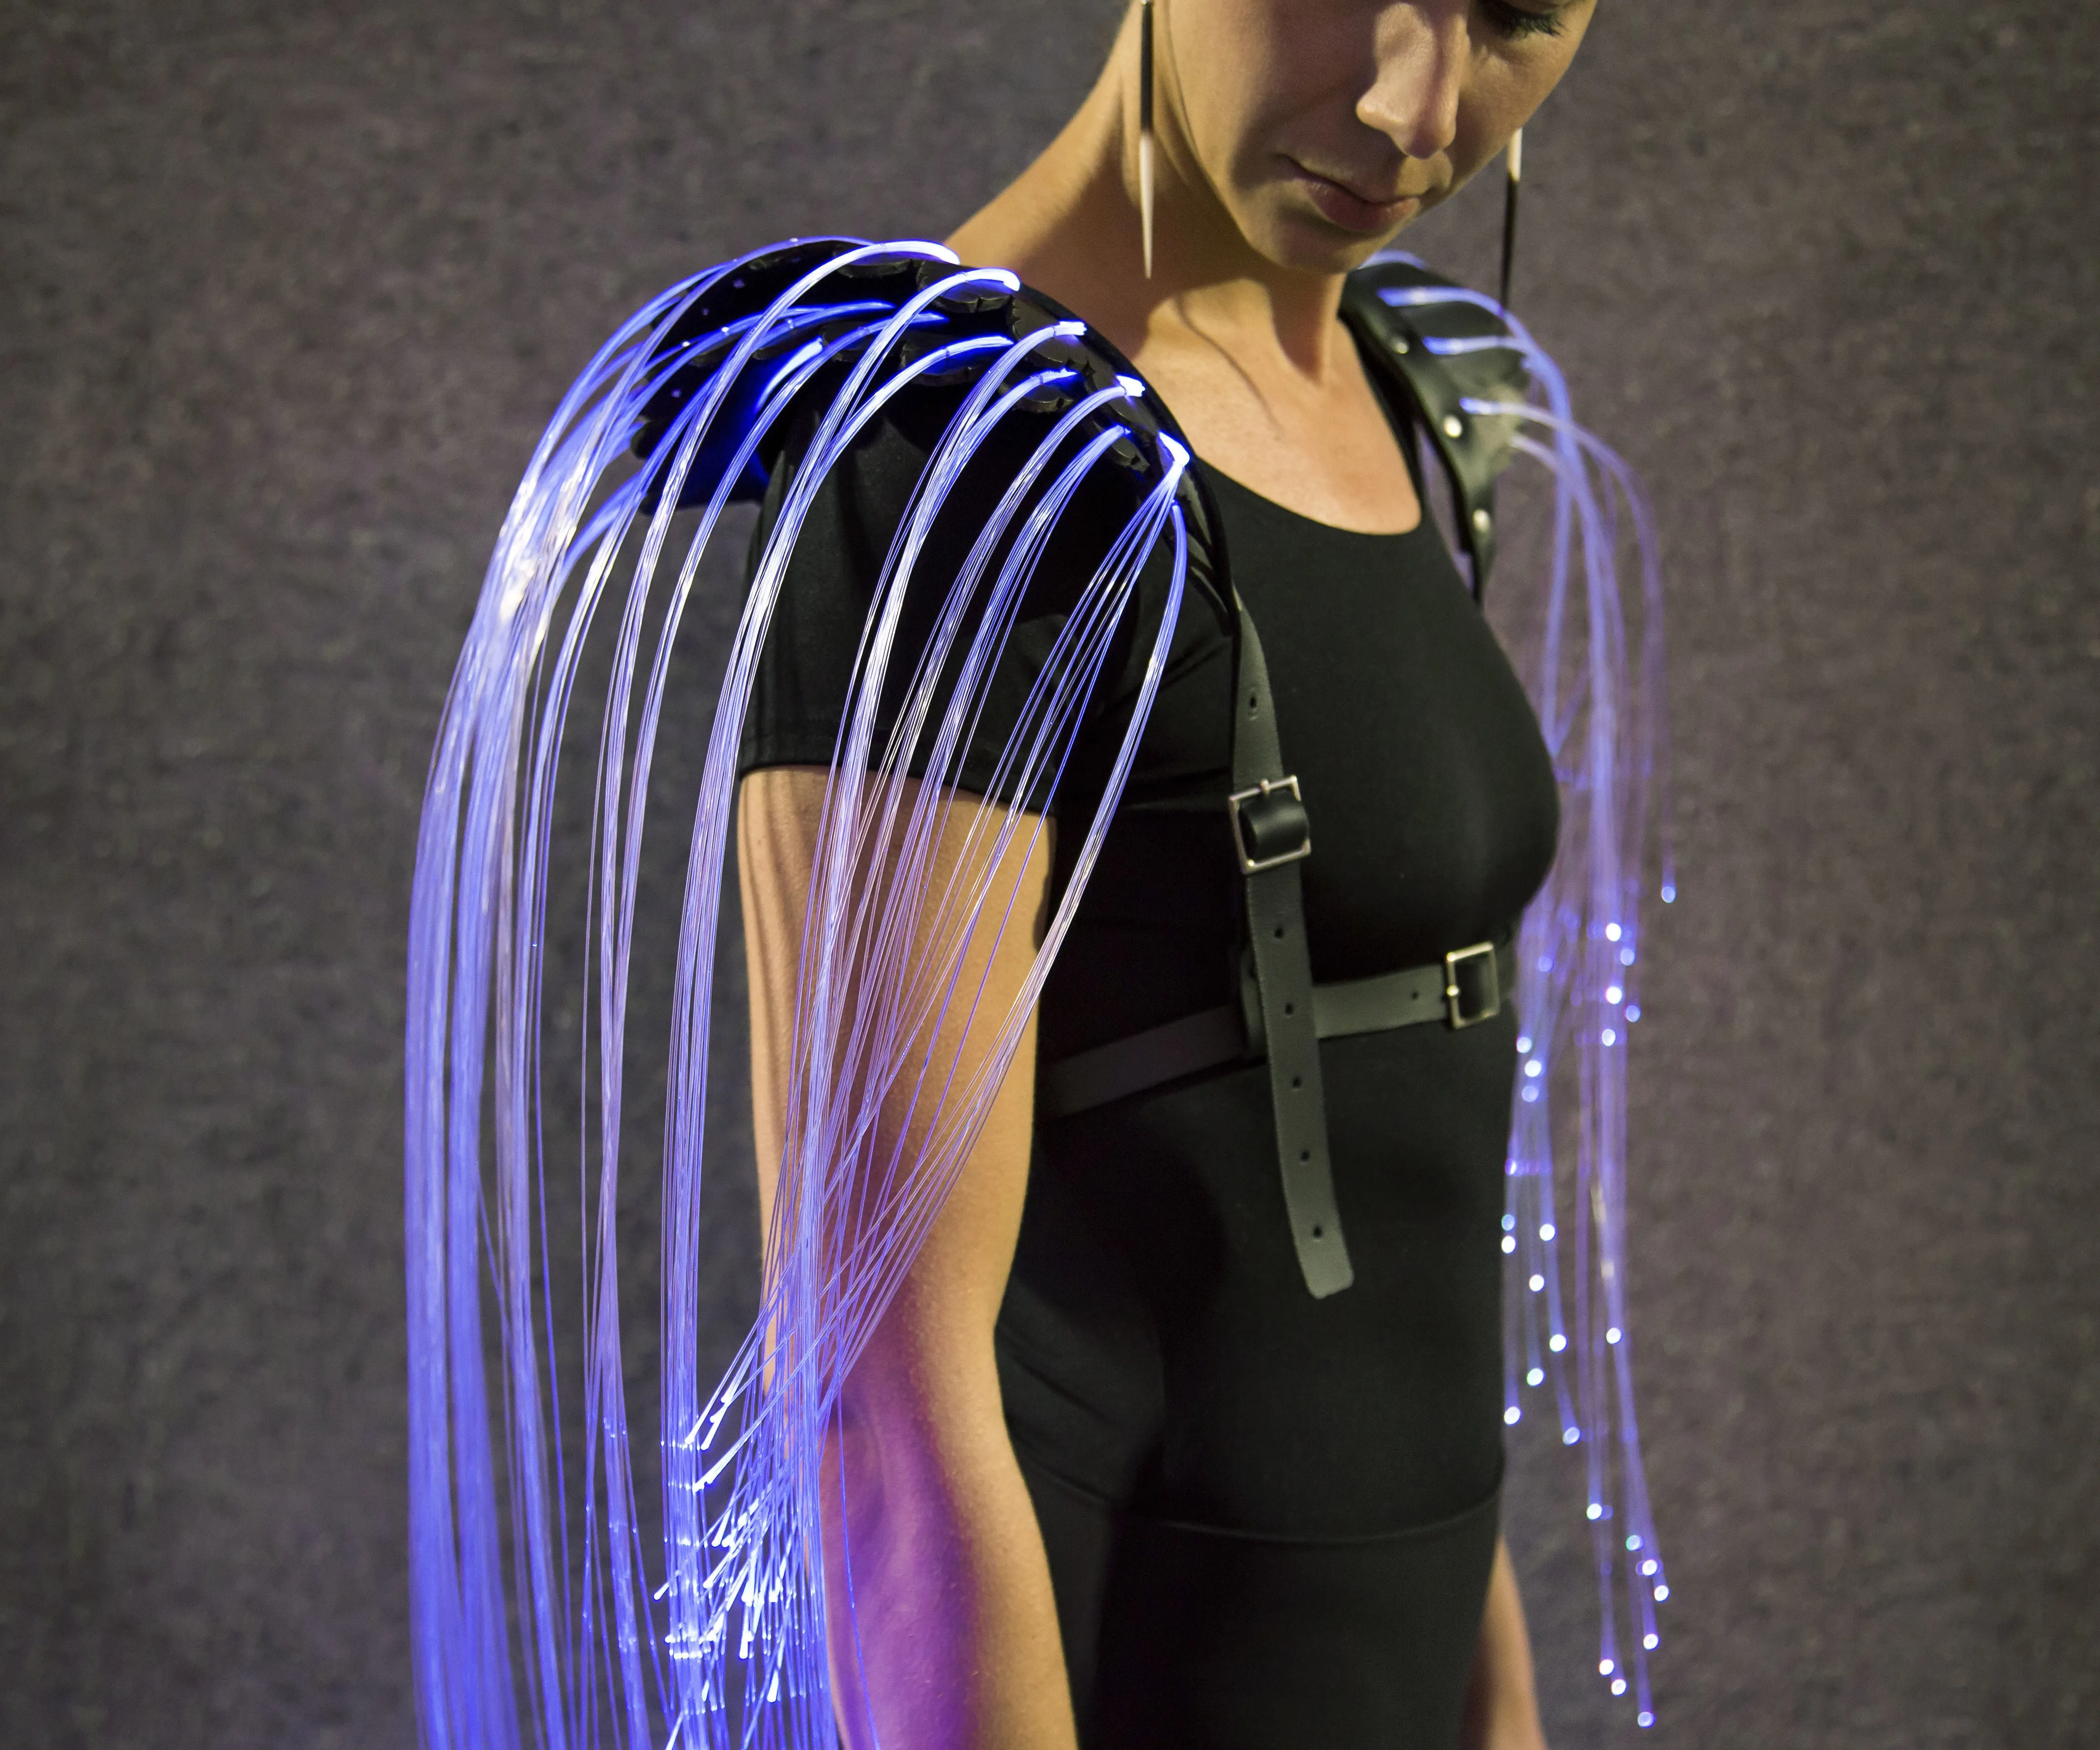
 Fiber Optic Wings
Conclusion: A Handcrafted Treasure
Congratulations! You’ve just crafted a beautiful and functional leather sunglass case. Remember, the true beauty of handmade lies in the imperfections. Embrace the journey, and allow your creativity to shine through every stitch and embellishment.
Now, go ahead and show off your handcrafted masterpiece! And while you’re at it, don’t forget to explore the other unique, handcrafted treasures available on Robert Kline Art – perfect gifts for your loved ones or a special treat for yourself. Happy crafting!
