Blog
Upcycled Christmas Card Bookmarks: A Festive and Sustainable Crafting Guide
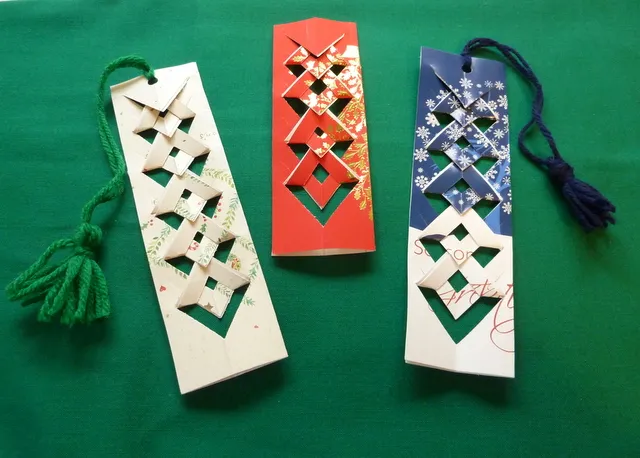
As the holidays come and go, we often find ourselves with an abundance of beautiful Christmas cards that we can’t bear to throw away. At Robert Kline Art, we believe in giving new life to old treasures, and what better way to do that than by transforming those cherished cards into unique and thoughtful gifts? Today, I’m excited to share a simple yet ingenious method for creating upcycled Christmas card bookmarks. These charming bookmarks are not only a practical way to mark your page, but they also make for heartfelt gifts that carry the spirit of the season. So, grab your card collection, let’s get crafting, and discover the joy of upcycling!
Gathering Your Materials: A Simple Start to Crafting
Before we embark on our creative journey, let’s gather the necessary materials. You’ll be surprised at how few items we need to transform simple cards into treasured bookmarks:
- Old Christmas Cards: The heart of our project! Choose cards with vibrant designs or sentimental value that you’d love to give a second life. Thinner cards tend to fold more easily, but don’t shy away from experimenting with different textures and thicknesses.
- Yarn or Thread: For an elegant finishing touch, select yarn or thread in colors that complement your chosen cards. This will be used to create a decorative tassel, adding a touch of whimsy to your bookmark.
- Tassel: If you prefer a ready-made option or want to explore different styles, pre-made tassels are a wonderful alternative.
- Scissors: A sharp pair of scissors will ensure clean, precise cuts for professional-looking bookmarks.
- Ruler: Accurate measurements are key to creating the intricate folds our bookmark requires.
- Pencil or Pen: Use a light pencil or pen for marking measurements on your cards without leaving behind noticeable marks.
 Upcycled bookmarks by Robert Kline Art
Crafting Your Upcycled Bookmark: A Step-by-Step Guide
Now that we have our crafting essentials assembled, let’s walk through the process of creating these charming bookmarks. Don’t worry if you’re new to crafting; the steps are easy to follow, and the result is well worth the effort.
Step 1: Preparing Your Card
- Selecting Your Design: Choose a Christmas card with a design you love. Look for images or patterns that will stand out beautifully on your bookmark.
- Measuring and Cutting: Using your ruler and pencil, carefully measure and mark a 4 x 7-inch rectangle on the card front, ensuring to capture the most appealing part of the design. Use your scissors to cut along the marked lines.
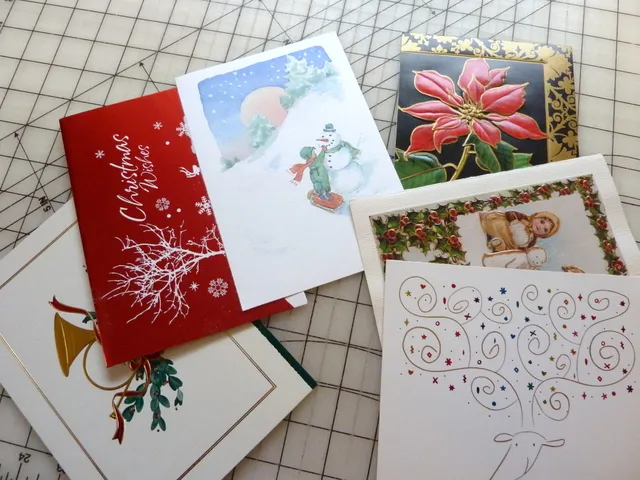 Cards for crafting
Step 2: Creating the Folds
- The Initial Fold: Fold your rectangular card piece in half lengthwise, with the design facing inwards. This creates a crisp crease down the center of your bookmark.
- The Second Fold: Fold the card in half again, reinforcing the crease. For a sharper fold, consider folding each side individually before pressing them together.
Step 3: Marking for Precision
- The Guiding Line: Open the card to its full length, leaving it folded in half (only one fold). On the single fold side, measure 1/4 inch down from the open edge and mark this point lightly with your pencil. This mark serves as a guide to prevent cutting too close to the edge later.
- Marking the Cuts: On the double-folded edge, starting from the bottom, make small marks at 1/2-inch intervals along the edge until you have 11 marks. Repeat this marking process on the opposite side of the double-folded edge, ensuring the marks are offset at an angle. This will create a visually appealing pattern when we make the cuts.
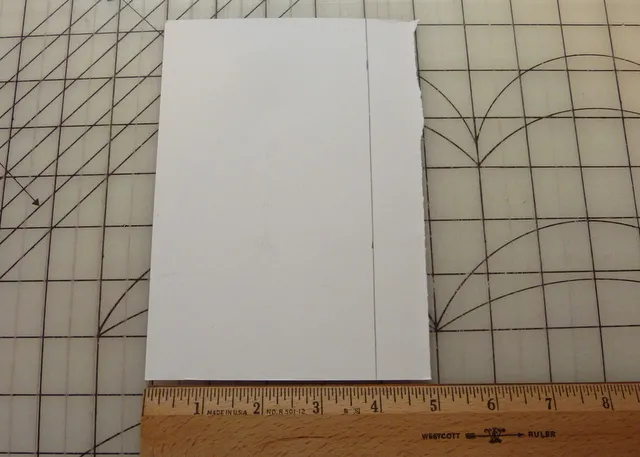 Marking the card
Step 4: Making the Cuts
- Careful Cutting: Carefully cut along each 1/2-inch mark you made on the double-folded edge. It’s crucial to stop your cut at the 1/4-inch guide mark you made earlier to prevent cutting through the entire card. Repeat this cutting process on the other marked side, creating a series of angled cuts.
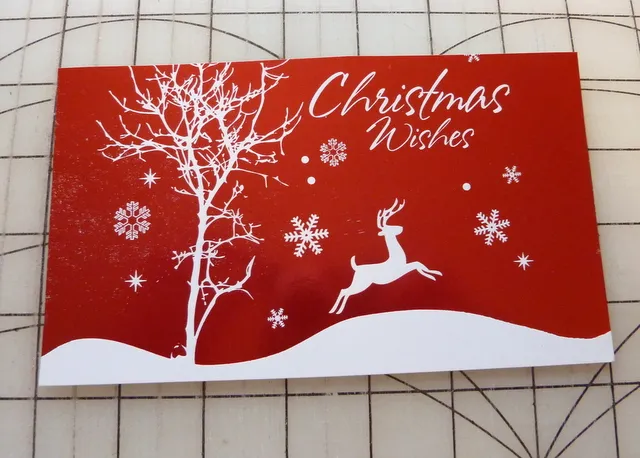 Making the cuts
Step 5: The Folding Magic
- Revealing the Pattern: Carefully unfold the card completely. You’ll notice that the cuts you made have created a series of “V” shapes along the center fold line.
- Folding the V Shapes: Fold the card in half again lengthwise, this time with the design facing outward. Starting from the bottom “V” shape, fold every other “V” upwards, tucking each folded section under the next “V” shape. Continue this folding and tucking process along the entire length of the bookmark.
- Securing the Fold: The final “V” shape at the top will tuck neatly under the previous fold, securing the entire pattern in place.
Step 6: Adding the Final Touch (Optional)
- Threading the Tassel: If you choose to add a tassel, use a hole punch to create a small hole at the top center of your bookmark. Thread your chosen yarn or thread through the hole and securely tie the ends together.
- Attaching the Tassel: For pre-made tassels, simply attach them to the top of the bookmark according to the package instructions.
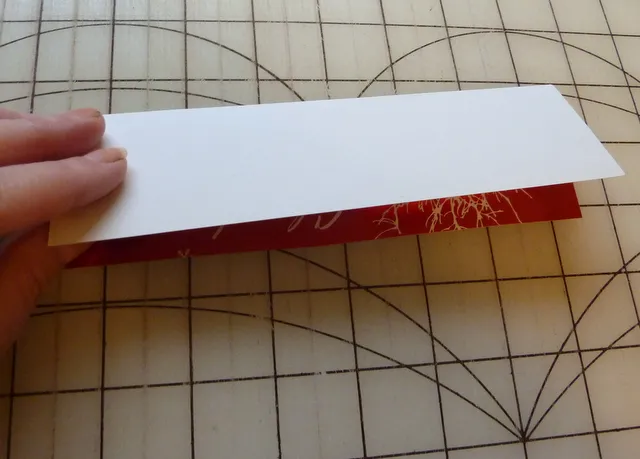 Finishing the bookmark
Tips and Tricks from the Crafting Table
- Card Selection: Experiment with different card thicknesses. Thinner cards fold more easily, while thicker cards may require a bit more care.
- Sharp Scissors: Invest in a good pair of scissors to ensure clean, precise cuts, which will elevate the overall look of your bookmarks.
- Practice Makes Perfect: Don’t be discouraged if your first few attempts aren’t perfect. Crafting is a journey of learning and refining your skills.
- Customizing Your Creations: Feel free to personalize your bookmarks with decorative elements like glitter, buttons, or beads. Let your imagination run wild!
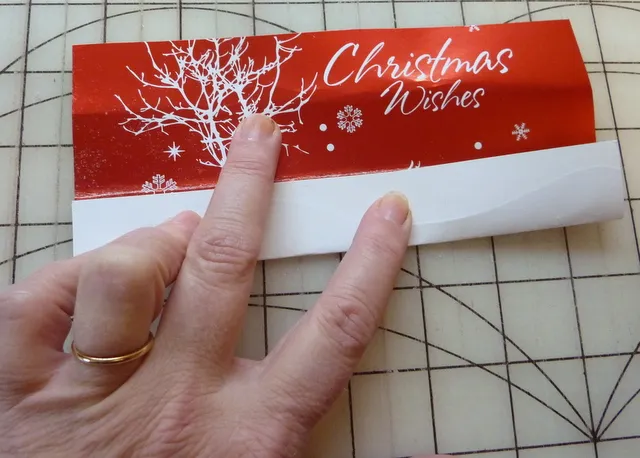 Bookmark Variations
Conclusion: Gifting Creativity and Sustainability
There you have it – a beautifully crafted bookmark from a Christmas card that might have otherwise been discarded! These upcycled bookmarks are not only visually appealing but also carry a sense of warmth and thoughtfulness, making them perfect gifts for bookworms, friends, and family alike.
At Robert Kline Art, we encourage you to embrace the art of upcycling and explore the endless possibilities of transforming everyday objects into unique and cherished creations. Remember, crafting is a journey, not a destination, so relax, enjoy the process, and allow your creativity to blossom!
