Blog
DIY Father’s Day Gift: Build Your Own Football Toss Game

Father’s Day is just around the corner, and what better way to show Dad you care than with a handmade gift that’s both fun and functional? At Robert Kline Art, we love projects that bring families together, and this DIY Football Toss game is sure to be a hit for years to come. It’s a fantastic way to add some excitement to backyard barbecues, family gatherings, or even just a lazy afternoon.
Why You’ll Love This Project
- It’s Beginner-Friendly: Even if you’re new to DIY, this project is easy to follow and requires only basic tools.
- Budget-Friendly: You can create this awesome game for a fraction of the cost of buying a pre-made one.
- Personalization: Get creative with paint colors and designs to make it extra special for Dad.
Gathering Your Materials
Here’s what you’ll need to get started:
- Wood: One sheet of plywood (we recommend ¾ inch thick) – have the friendly folks at your local hardware store cut it to the dimensions you need!
- Support Boards: Four 2×4 boards for the legs
- Bean Bags: You can purchase these pre-made or have a little extra fun sewing your own!
- Paint: Choose Dad’s favorite colors!
- Screws
- Saw (if you’re cutting the wood yourself)
- Drill
- Sandpaper
- Measuring Tape
- Pencil
- Optional: Stencils, painter’s tape, or freehand your design!
Building the Game
1. Preparing the Plywood:
- Cut: Decide on the size of your game board and have your plywood cut accordingly. A standard size is 2 feet by 4 feet.
- Sand: Smooth out the edges and surface of the plywood with sandpaper.
2. Creating the Target Holes:
- Design: Plan out the placement and size of your target holes. You can opt for classic round holes, squares, or get creative with different shapes!
- Cut: Carefully cut out the target holes using your saw. Remember, “measure twice, cut once!”
3. Building the Legs:
- Cut: Cut your 2x4s to the desired height for the legs. A comfortable height is around 2 feet.
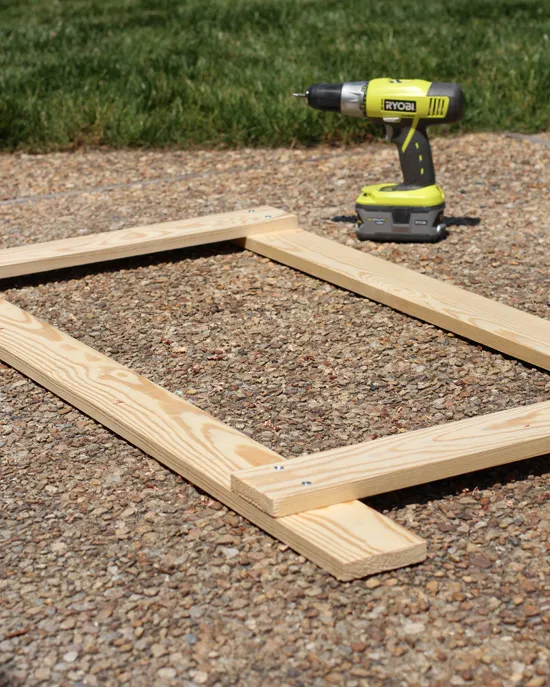
- Attach: Securely attach the legs to the underside of the game board using screws. Make sure the legs are evenly spaced for stability.
4. Adding the Finishing Touches:
- Paint: Now comes the fun part! Paint the game board and legs in your chosen colors.
- Personalize: Use stencils, painter’s tape, or freehand designs to personalize the game with Dad’s name, a fun message, or even his favorite team logo.
Game On!
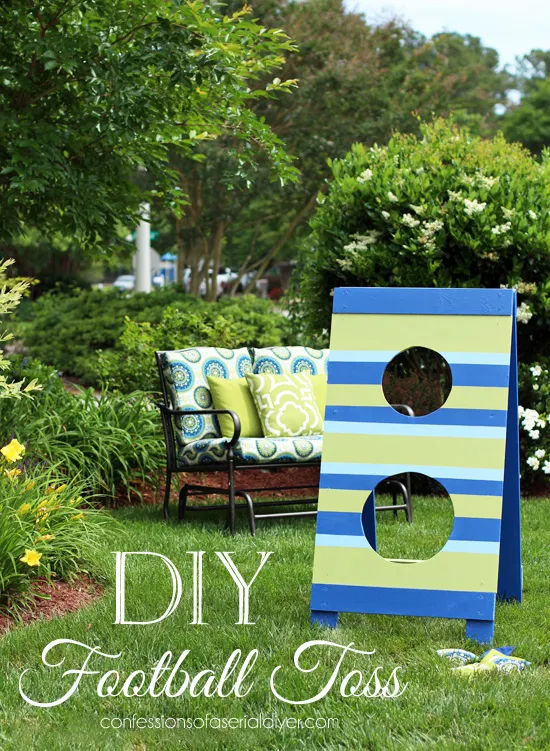
Let the paint dry completely, gather your bean bags, and get ready for some friendly competition! This DIY Football Toss game is sure to provide hours of fun for the whole family.
Beyond the Game
Looking for other creative Father’s Day gift ideas? Head over to the Robert Kline Art website for more DIY inspiration, unique handmade gifts, and crafting supplies to spark your imagination! Don’t forget to share pictures of your finished Football Toss game – we love seeing your creations!
 Father's Day Football Toss from Confessions of a Serial Do-it-Yourselfer and The Home Depot
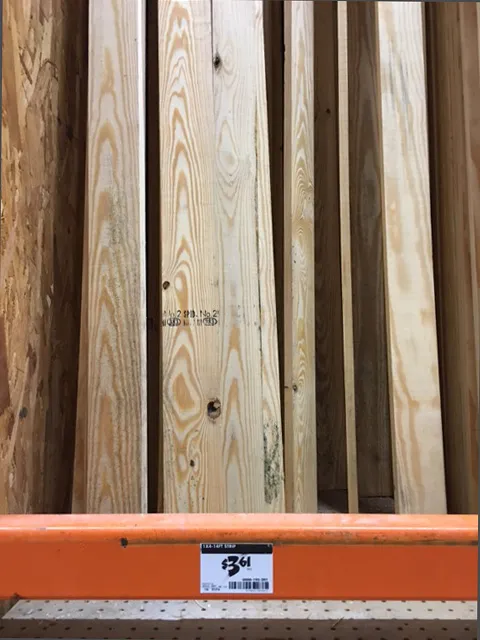
 Father's Day Football Toss game supplies
 Building a Football Toss game
