Blog
Unleash Your Inner Chef with Easy No-Bake Energy Balls

Hey there, fellow art enthusiasts! Robert Kline here, and today we’re diving into the delightful world of… edible art? Okay, maybe not exactly art, but trust me, these easy no-bake energy balls are a masterpiece in their own right.
These little bites are a staple in my studio. They’re packed with wholesome ingredients, bursting with flavor, and best of all, they require zero baking! Whether you’re searching for a quick and healthy snack to fuel your creative endeavors or a delicious treat to share with friends, this recipe is a guaranteed winner.
Let’s gather our supplies and get rolling!
Ingredients That Fuel Creativity
Before we embark on our no-bake adventure, let’s assemble our all-star lineup of ingredients:
- 1 cup old-fashioned oats: These rolled oats form the foundation of our energy balls, providing a hearty and satisfying base.
- 2/3 cup toasted shredded coconut: Toasting the coconut elevates its natural sweetness and adds a delightful crunch. Spread it on a baking sheet and toast in a preheated oven at 350°F (175°C) for 5-7 minutes, or until lightly golden brown.
- 1/2 cup creamy peanut butter: The creamy texture and nutty flavor of peanut butter act as the perfect binder and add a dose of healthy fats.
- 1/2 cup ground flaxseed: A nutritional powerhouse, flaxseed boosts the fiber and omega-3 content of our energy balls.
- 1/2 cup semisweet chocolate chips: Because every masterpiece deserves a touch of indulgence! Feel free to use mini chocolate chips for easier mixing.
- 1/3 cup honey: Nature’s liquid gold provides a touch of natural sweetness and helps bind the ingredients together.
- 1 tablespoon chia seeds (optional): Chia seeds are tiny nutritional giants, adding a boost of fiber and omega-3s.
- 1 teaspoon vanilla extract: A splash of vanilla enhances all the other flavors and adds a warm, comforting note.
Rolling into Action: The No-Bake Process
Now comes the fun part! This recipe is incredibly straightforward, making it perfect for even the busiest of artists:
- Combine All Ingredients: In a large mixing bowl, combine all the ingredients listed above. Use a sturdy spoon or spatula to mix everything thoroughly until a cohesive mixture forms.
- Chill for Enhanced Texture: Cover the bowl and refrigerate for at least 1-2 hours. Chilling helps the mixture firm up, making it easier to roll into balls.
- Shape into Bite-Sized Delights: Once chilled, use your hands to roll the mixture into approximately 1-inch balls. For a fun twist, you can also press the mixture into a square baking dish lined with parchment paper and cut it into bars once chilled.
- Serve and Savor: That’s it! Your no-bake energy balls are ready to be enjoyed.
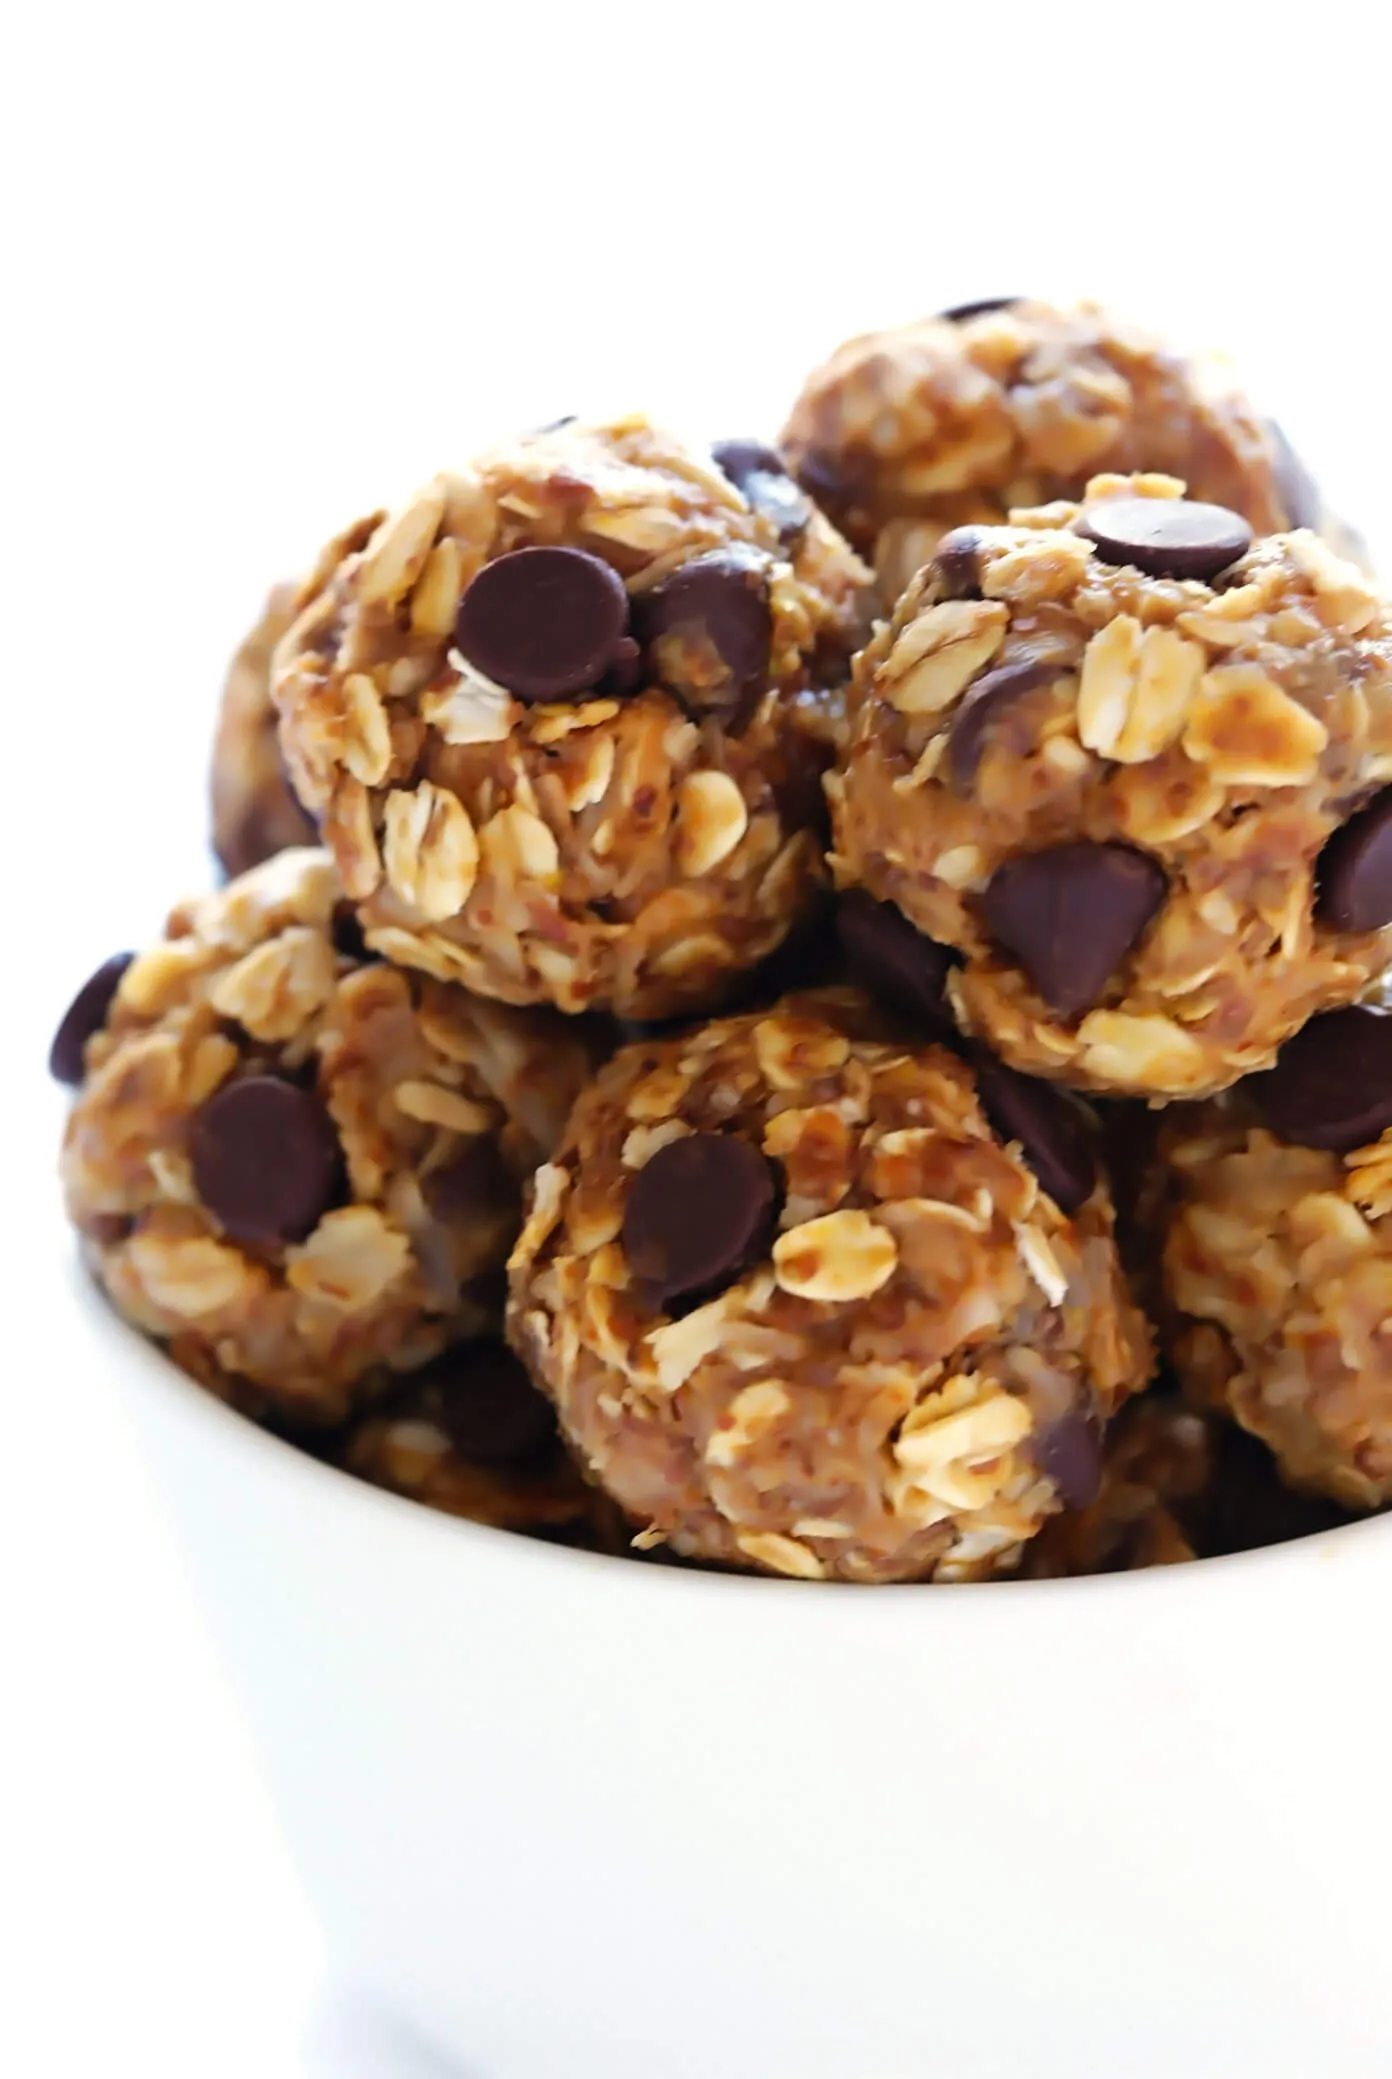
 Easy No Bake Energy Bites Recipe
Image: Delicious no-bake energy balls ready to be enjoyed
Tips from Robert Kline Art
Here are a few expert tips from my own artistic kitchen:
- Texture Troubles? If you find the mixture is a bit dry and crumbly, add an extra tablespoon or two of peanut butter to achieve the desired stickiness.
- Creative Customization: Feel free to unleash your inner artist and experiment with different flavor combinations. Try adding a pinch of cinnamon, a dash of pumpkin pie spice, or even a handful of your favorite dried fruits!
- Storage Secrets: Store your energy balls in an airtight container in the refrigerator for up to one week. You can also freeze them for up to three months – just thaw them overnight in the refrigerator before enjoying.
A Sweet Conclusion (and a Call to Action!)
So there you have it – a simple, healthy, and utterly delicious no-bake energy ball recipe that’s sure to become a favorite in your creative haven. I encourage you to give it a try and let me know what you think!
What are your favorite go-to snacks for fueling creativity? Share your thoughts and any fun variations you come up with in the comments section below! And if you’re looking for more unique and handmade gift ideas, be sure to explore the rest of the Robert Kline Art website. Happy crafting (and snacking)!
