Blog
Crafting a Meaningful Easter: A Guide to DIY Paschal Candles

For years, my family and I have been creating our own Easter Paschal Candles – a tradition that brings us closer to the spirit of the season and lights up our home with faith and love. It’s become a cherished ritual to light our candle on Easter Sunday and each night during dinner and our “Good Shepherd Garden Parties” throughout the 50 days of Easter.
Over the years, I’ve experimented with various methods, from liquid wax candle decorating pens to printable wraps for tall glass candles. Last year, I indulged in a gorgeous Paschal Candle Kit. While those were wonderful, this year, I felt inspired to utilize materials I already had on hand. After all, who doesn’t love a good crafting session with a touch of resourcefulness?
Gather Your Supplies
This year’s DIY Paschal candle is surprisingly easy and quick to assemble. Once I had my printable template ready and supplies gathered, it took me no more than 20 minutes – even with my little helper, Rascal, by my side!
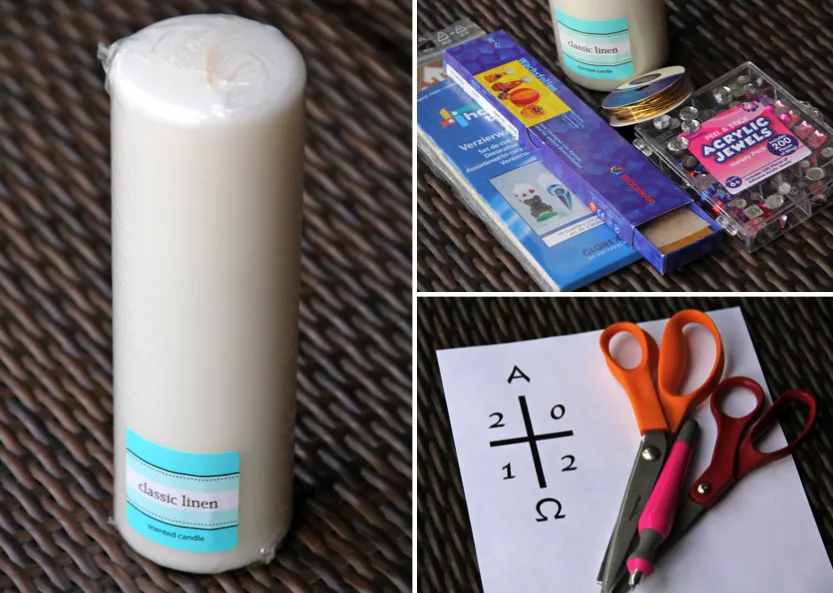
Here’s what you’ll need to create your own:
- Tall Pillar Candle (I found mine at Michaels)
- 1-2 Sheets of Stockmar Gold Decorating Beeswax
- Silver and Red Decorating Wax (Hobby Time has a great set – you can use your preferred colors)
- 5 Clear Acrylic Gems/Rhinestones
- Red and Blue Acrylic Gems
- Gold Metallic Cord
- Printable template for the wax embellishments
- Pinking Sheers, Scissors, and Xacto Knife
Easy Steps to Craft Your Candle
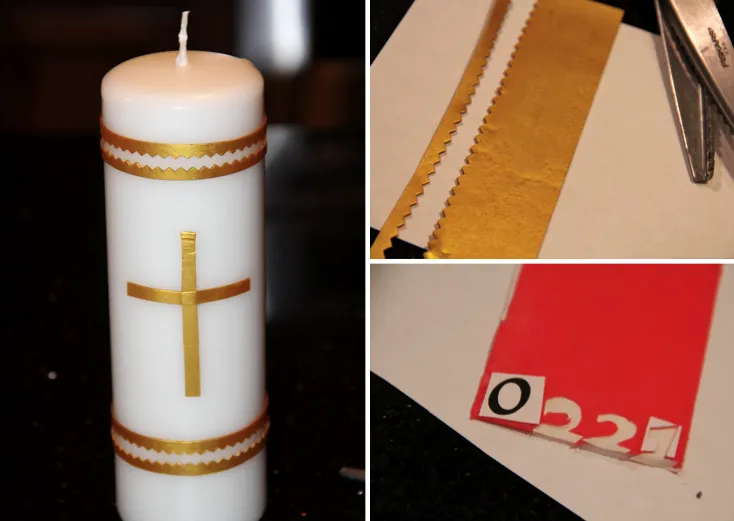
- Prepare the Wax Embellishments: Begin by cutting out all the wax embellishments using the printable template. For the top and bottom rings, I used a combination of pinking shears and regular scissors for a decorative edge. I easily extended the wax sheet length by adding an inch from an additional sheet.
 Wax sheet cutouts
Preparing the wax embellishments is the first step in creating your DIY Paschal Candle.
- Create the Cross: The cross, the central symbol of the Paschal candle, signifies Christ’s sacrifice and resurrection.
- The vertical bar symbolizes “Christ yesterday and today.”
- The horizontal bar signifies “the beginning and the end.”
- The Greek letters Alpha (above) and Omega (below) represent God as the beginning and the end.
 Cutout of a cross for a Paschal candle
This simple cross becomes a powerful symbol on your DIY Paschal candle
-
Adding the Year: Incorporate the current year (2023) around the cross, representing God’s presence:
- “All time belongs to him” (2, upper left)
- “And all the ages” (0, upper right)
- “To him be glory and power” (1, lower left)
- “Through every age forever. Amen.” (2, lower right)
-
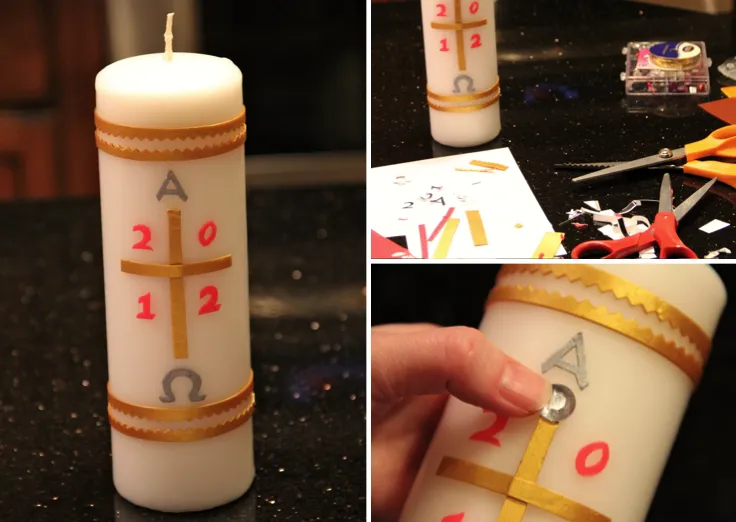
Apply the Rhinestones: Adorn your candle with five rhinestones, representing the five wounds of Christ:
- One for each hand
- One for each foot
- One for the spear thrust into His side
 Gold cross and numbers on a white candle
The completed embellishments, ready to be applied to your candle
As you apply each rhinestone, recite this prayer: “By his holy and glorious wounds may Christ our Lord guard us and keep us.”
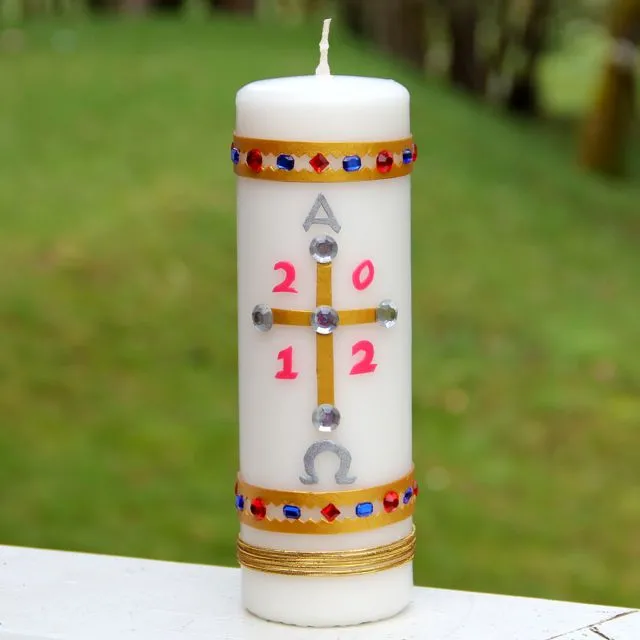
 Completed DIY Paschal Candle
Your beautiful, personalized Paschal candle, ready for Easter
Light Up Your Easter with Faith and Creativity
There you have it! A beautiful and meaningful Paschal candle, ready to illuminate your Easter celebrations. Crafting it yourself adds a personal touch and allows you to reflect on the deeper significance of the season.
Remember, even if you don’t have the time or materials to create your own, you can find printable versions online (Family in Feast and Feria is a great resource).
“May the light of Christ, rising in glory, dispel the darkness of our hearts and minds.”
Let me know if you try this DIY project! I’d love to see your creations. And for more unique handmade gifts and decorations, visit my website, Robert Kline Art.
