Blog
Crafting a Charming Wood Bead Garland with Tassels: A Budget-Friendly DIY Project

Hey there, fellow craft enthusiasts! I’m Robert Kline, and I have a confession: I’m obsessed with charming, rustic decor that doesn’t break the bank. That’s why I’m so excited to share this easy and affordable DIY project with you today – a delightful wood bead garland with tassels.
Trust me, this craft is so simple, anyone can do it! You only need a few basic supplies, and the whole thing can be whipped up in under 10 minutes. Plus, it’s incredibly versatile – drape it on mantels, hang it on walls, or use it to add a touch of farmhouse chic to your tablescapes. Are you ready to get crafting? Let’s dive right in!
Gathering Your Supplies
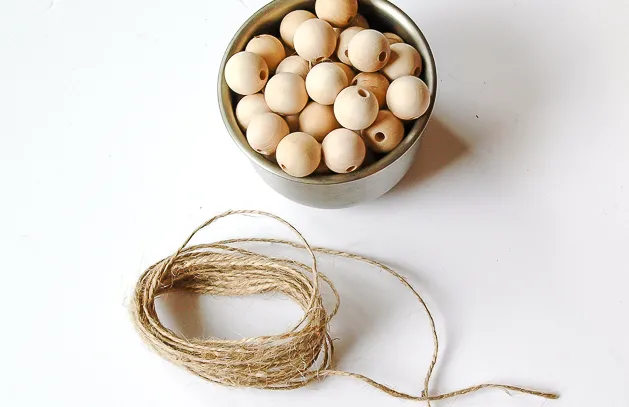
Before we begin our creative journey, let’s round up everything we need. Thankfully, this project doesn’t require a shopping spree!
Here’s your supply list:
- Round wood beads: I used approximately 60 beads for my garland, but feel free to adjust the quantity based on your desired length.
- Jute: You can find this sturdy twine at most craft stores or even dollar stores.
- Scissors: A sharp pair will make clean cuts for our tassels.
That’s it! Told you it was simple.
 Supplies for wood bead garland
Crafting Your Wood Bead Garland
Step 1: Creating the Jute Tassels
First things first, let’s fashion those charming jute tassels!
- Wrap the jute twine around your palm about 15 times. The number of wraps will determine the thickness of your tassel, so feel free to adjust accordingly.
- Once you’re happy with the thickness, cut a separate piece of jute and tie it securely around the top of the wrapped loops, about a quarter inch from the top. Double knot it for extra security.
- Now, snip through the bottom loops of the tassel, opposite the tied end. Trim the ends to create a neat and even tassel.
 Tying off tassel for wood bead garland
Step 2: Stringing the Beads
Now comes the fun part – adding the beads!
- Cut a long piece of jute – a bit longer than your desired garland length.
- Thread the jute through the top loop of your first tassel, securing it with a knot.
- Now, simply start stringing your beads onto the jute, one after another.
 Add beads to jute tassel
Step 3: Completing the Garland
- Continue stringing beads until your garland reaches your preferred length.
- Create another tassel using the same technique as before.
- Attach the second tassel to the end of your bead strand by threading the jute through the tassel loop and securing it with a knot.
 Adding tassel to jute bead garland
Styling Your Wood Bead Garland
Congratulations! You’ve now created a charming wood bead garland with a rustic touch. But the fun doesn’t stop there!
Here are a few ideas for styling your new garland:
- Embrace the farmhouse aesthetic: Drape it across a mantelpiece adorned with candles and vintage finds.
- Add a bohemian flair: Incorporate it into a gallery wall with macrame hangings and botanical prints.
- Create a cozy centerpiece: Lay it across a table runner, accompanied by lanterns, vases, or other decorative elements.
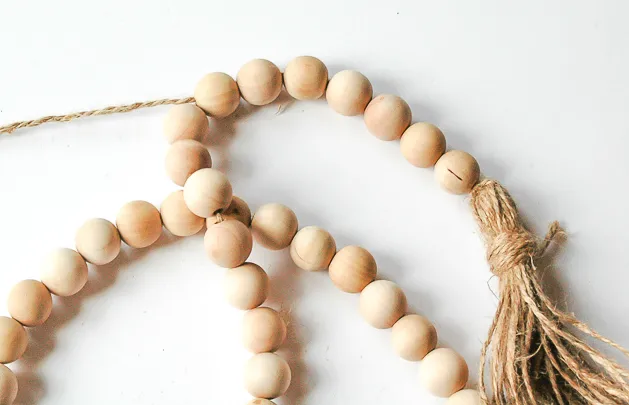 finished wood bead garland with tassels
Conclusion
And there you have it! A simple, affordable, and utterly charming DIY wood bead garland that will add a touch of rustic elegance to any space. This project is a testament to the fact that you don’t need to spend a fortune or be a crafting expert to create beautiful things for your home.
So gather your supplies, unleash your creativity, and enjoy the process. Don’t forget to share pictures of your creations – I can’t wait to see what you come up with!
And remember, at Robert Kline Art, we believe that everyone has a creative spark waiting to be ignited. So go forth and craft something beautiful today!
 how to make a wood bead garland with tassels
P.S. Looking for more unique and handcrafted treasures? Be sure to browse the Robert Kline Art website for one-of-a-kind gifts for your loved ones (or yourself!).
