Blog
DIY Wire Wrapped Sea Glass Pendant: Create Your Own Ocean Treasure
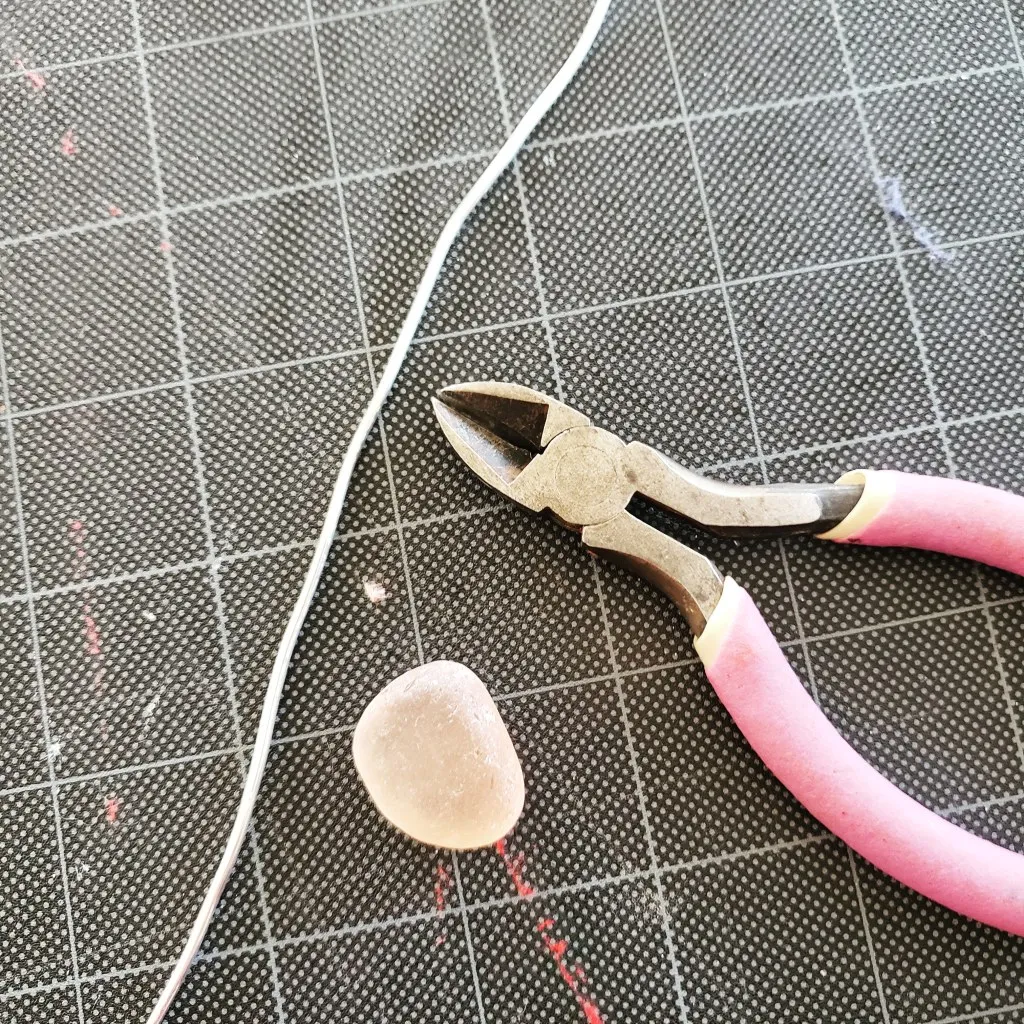
Have you ever strolled along the beach, the sun warming your face, and stumbled upon a piece of sea glass, shimmering like a mermaid’s teardrop? Those little treasures from the sea hold a unique magic, and with a little creativity, we can turn them into wearable art!
In this step-by-step guide, we’ll dive into the world of wire wrapping and learn to create a stunning sea glass pendant. Whether it’s a gift for a loved one or a treat for yourself, this DIY project is a beautiful way to carry a piece of the ocean with you.
Gathering Your Supplies
Before we embark on our crafting adventure, let’s gather everything we need. Having your tools and materials ready will make the process smoother and more enjoyable.
- Sea Glass: The star of the show! You can use sea glass you’ve found yourself, or find beautiful pieces at most craft stores.
- Wire: 14 gauge aluminum wire is my go-to. It’s easy to shape, holds its form well, and doesn’t tarnish. Aluminum sculpture wire is a great option.
- Pliers: Having a trio of round tip pliers, needle nose pliers, and wire cutters will give you the best control. However, you can make do with just needle nose pliers and a wire cutter if you have a substitute for round pliers:
- Wooden or metal skewer
- Thin knitting needle
- Jewelry mandrel
- Necklace Material: Choose your favorite! Cord, leather, or a chain – the choice is yours. I’ll be using 3/16″ leather lace, about 16″ long.
- Jewelry Findings (for cord necklace):
- Clasp
- Two jump rings
- Two fold over end caps
Creating the Wire Base
Now that we have our tools and materials, let’s lay the groundwork for our pendant.
-
Cut the Wire: Begin by cutting a length of wire. I typically start with 10″ to 16″, depending on the sea glass size. It’s better to have extra wire we can trim later.
 "Wire cut for sea glass pendant" class=
 -
Form the Loop: Using round pliers, pinch the wire at its center and bend it around to create a loop. This loop will be the top of your pendant.
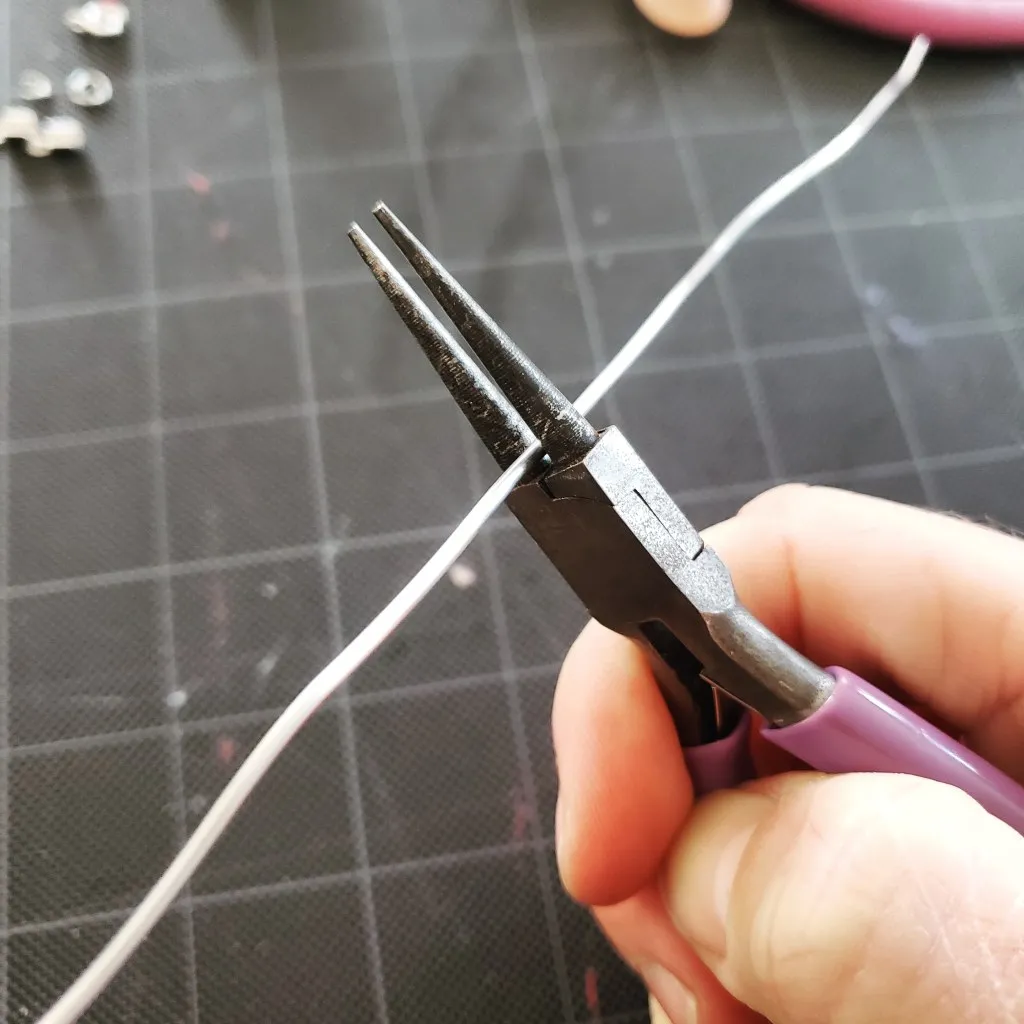 "Forming the top loop with round nose pliers" class=
- No round pliers? No problem! Use a skewer, thin knitting needle, or a jewelry mandrel to achieve the same result.
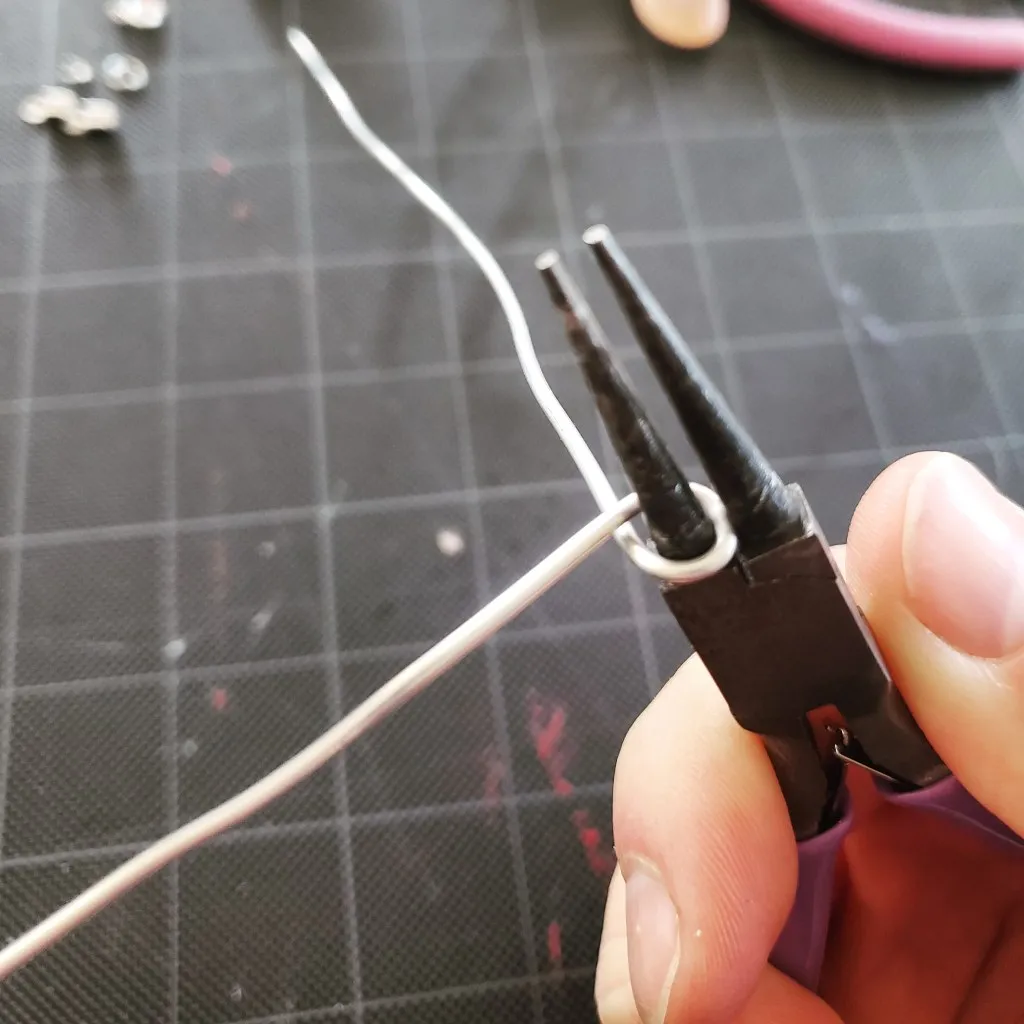 "Forming a loop with a skewer" class=
 -
Secure the Loop: Twist the wire two or three times just below the loop, like a twist tie, to secure it. You can use needle nose pliers for better grip.
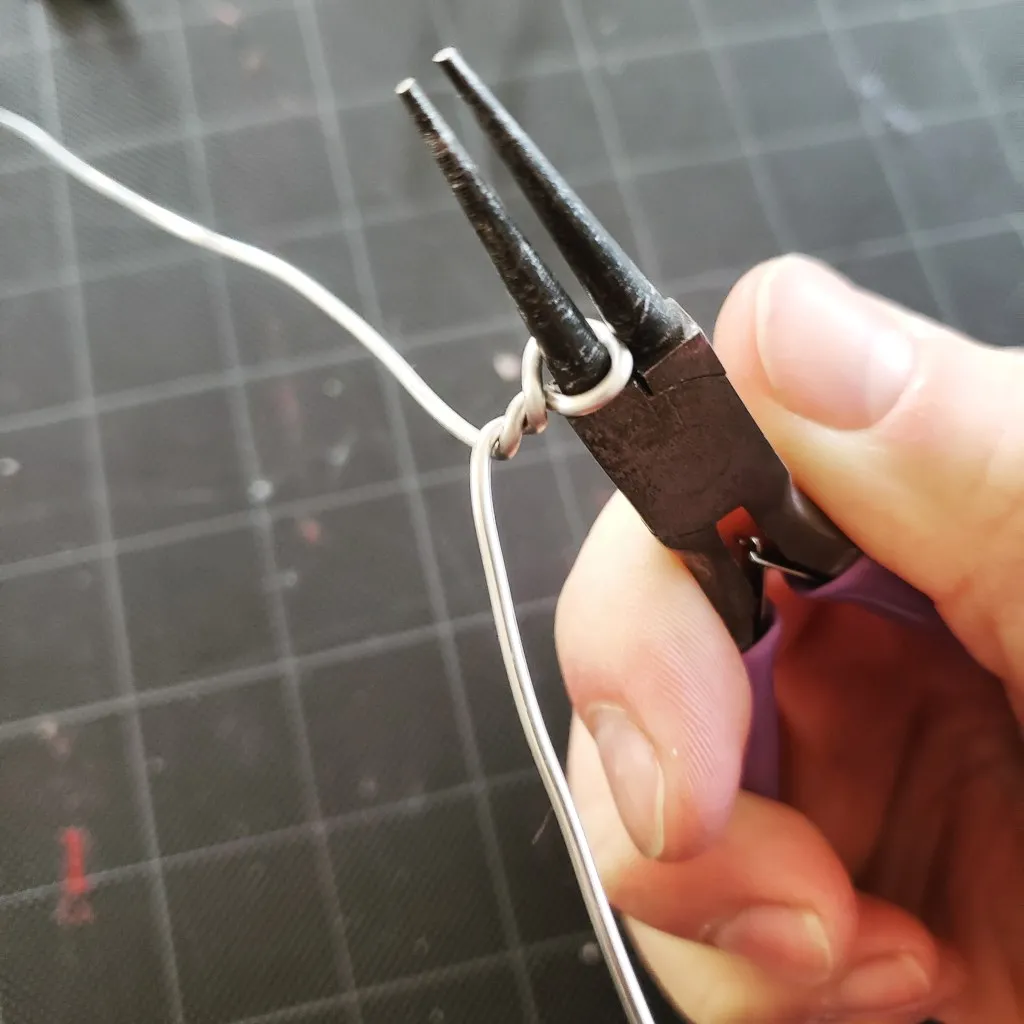 "Twisting the wire to secure the loop" class=
 -
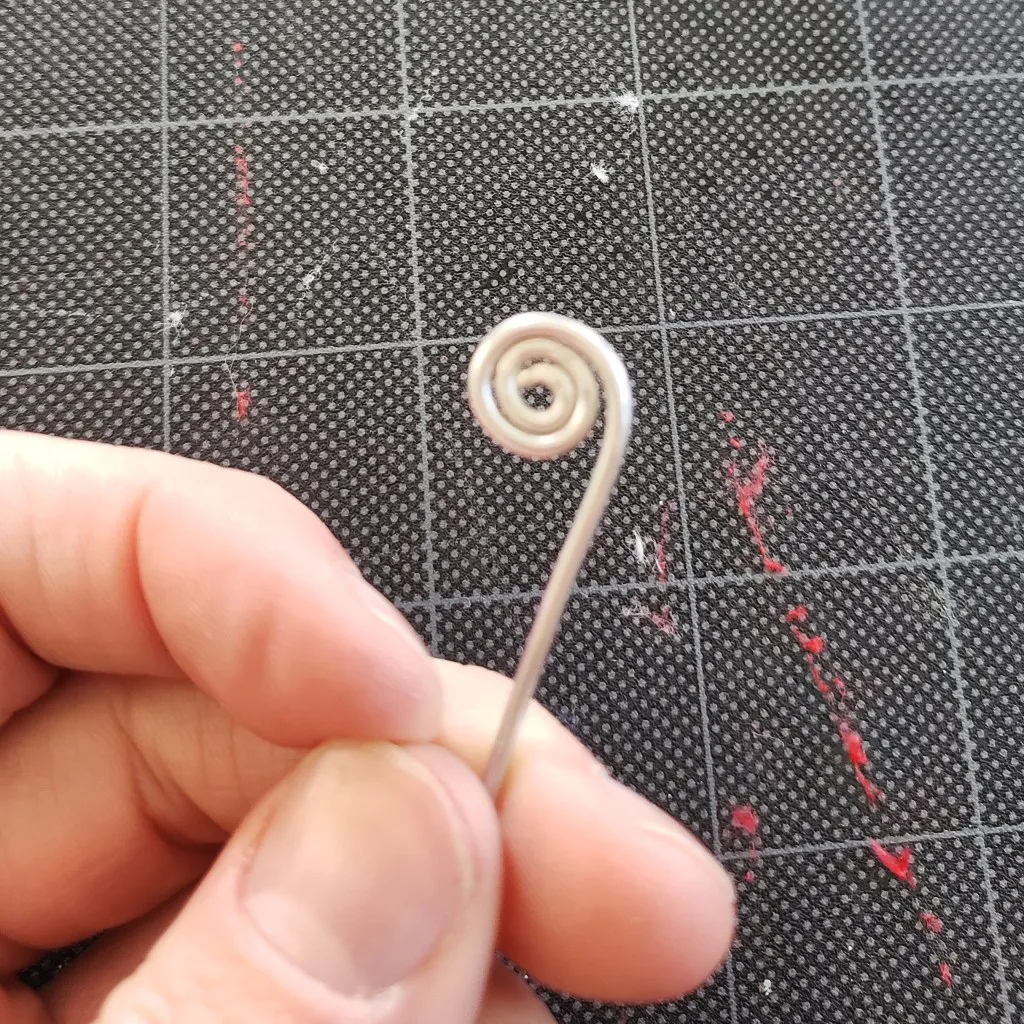
Create Coils: Now, let’s add some decorative elements to our pendant. Pinch and twist the end of the wire with round pliers (or needle nose pliers) to start a coil.
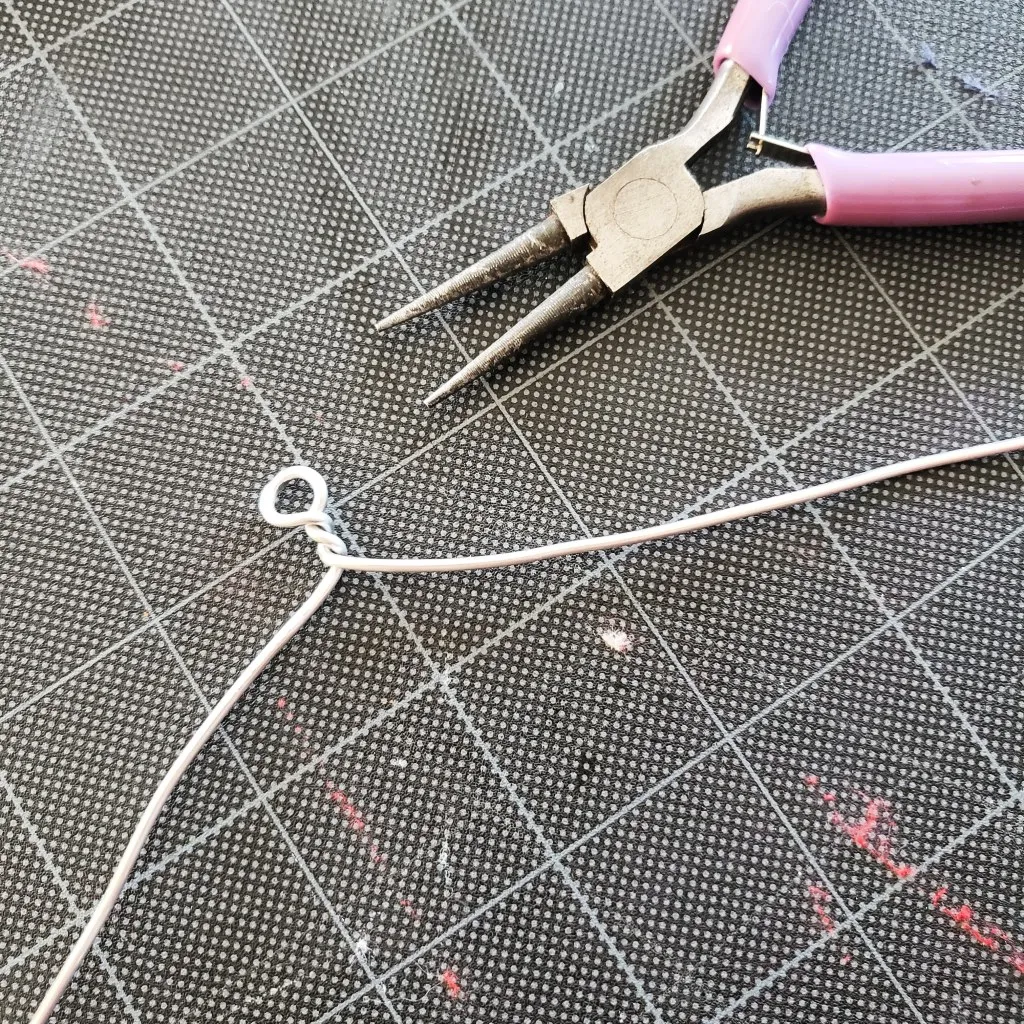 "Starting a coil with round nose pliers" class=
 -
Continue Coiling: Continue twisting the wire to create a loop, then coil the wire around this center loop 3-5 times. Aim for a flat coil, not a spring.
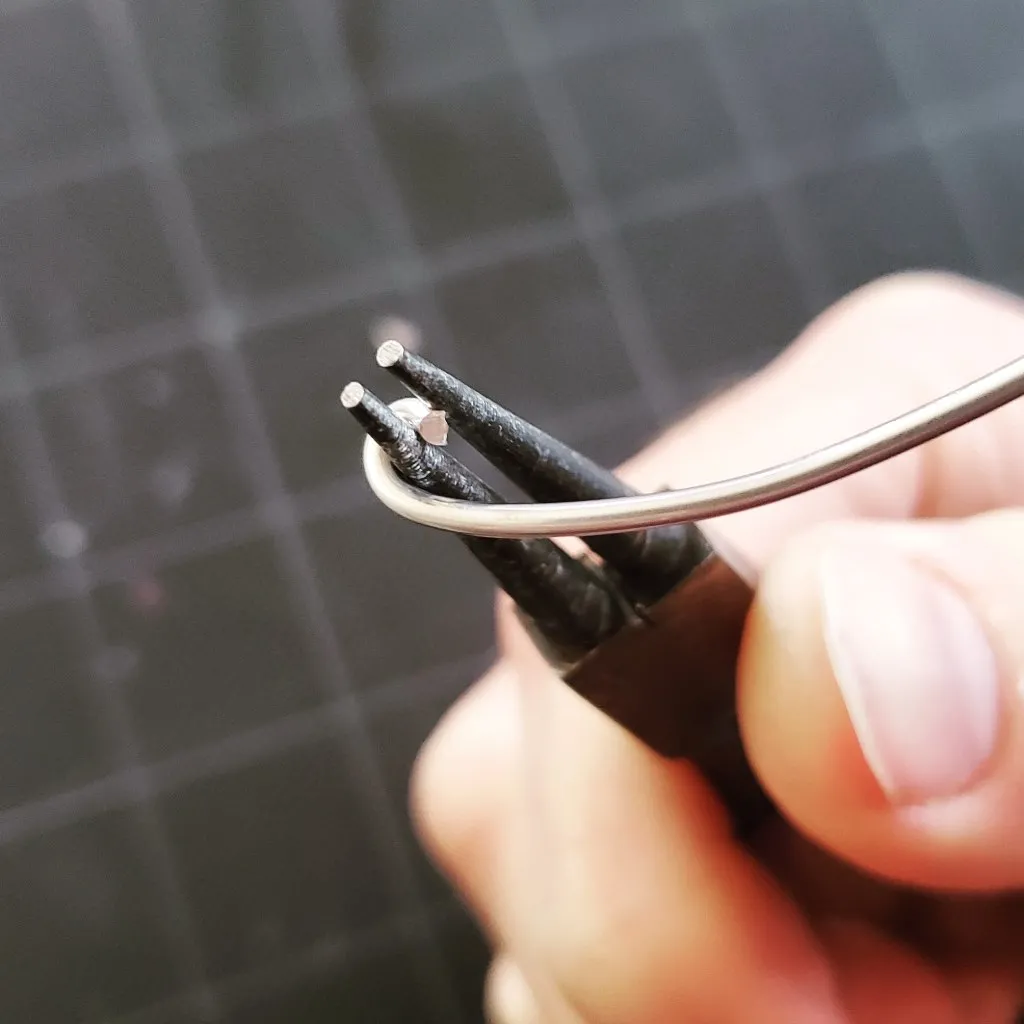 "Creating a flat coil around the center loop" class=
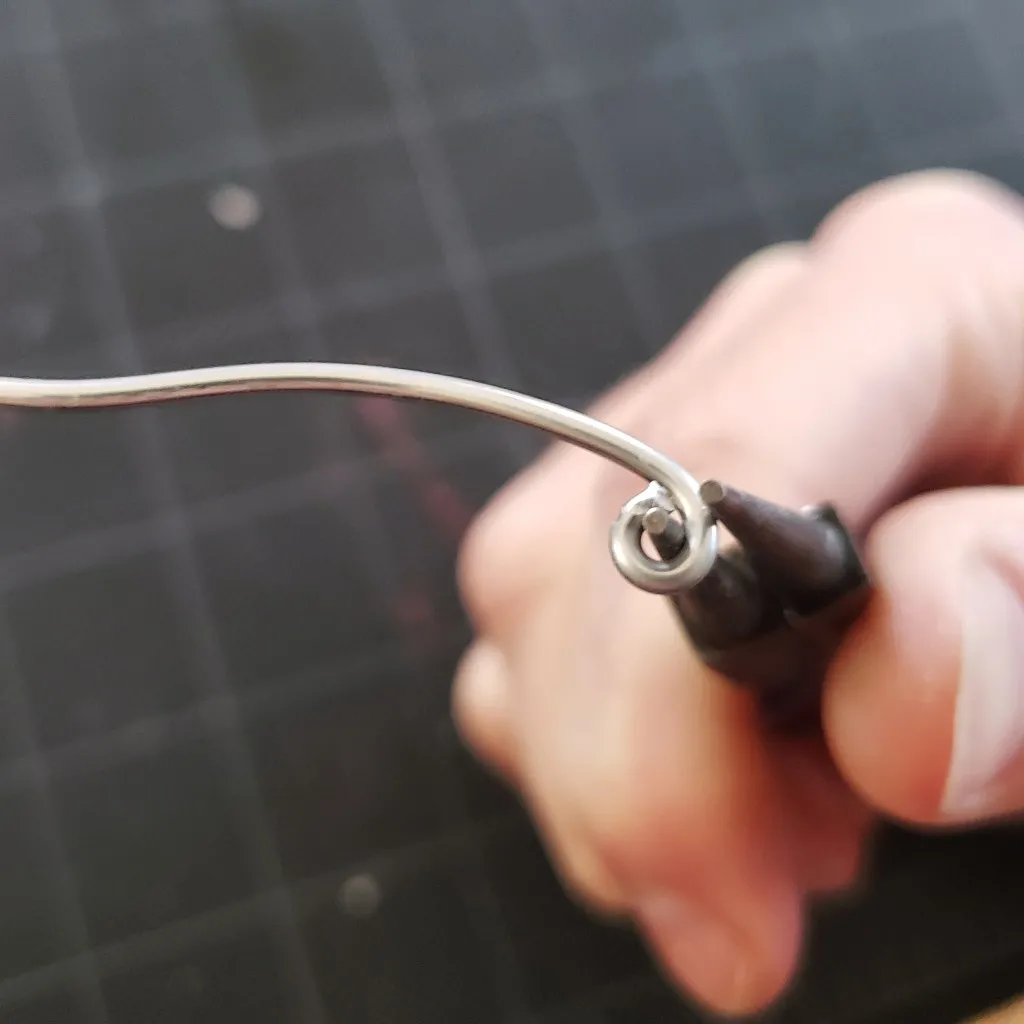 "Completed coil on one side of the pendant" class=
 -
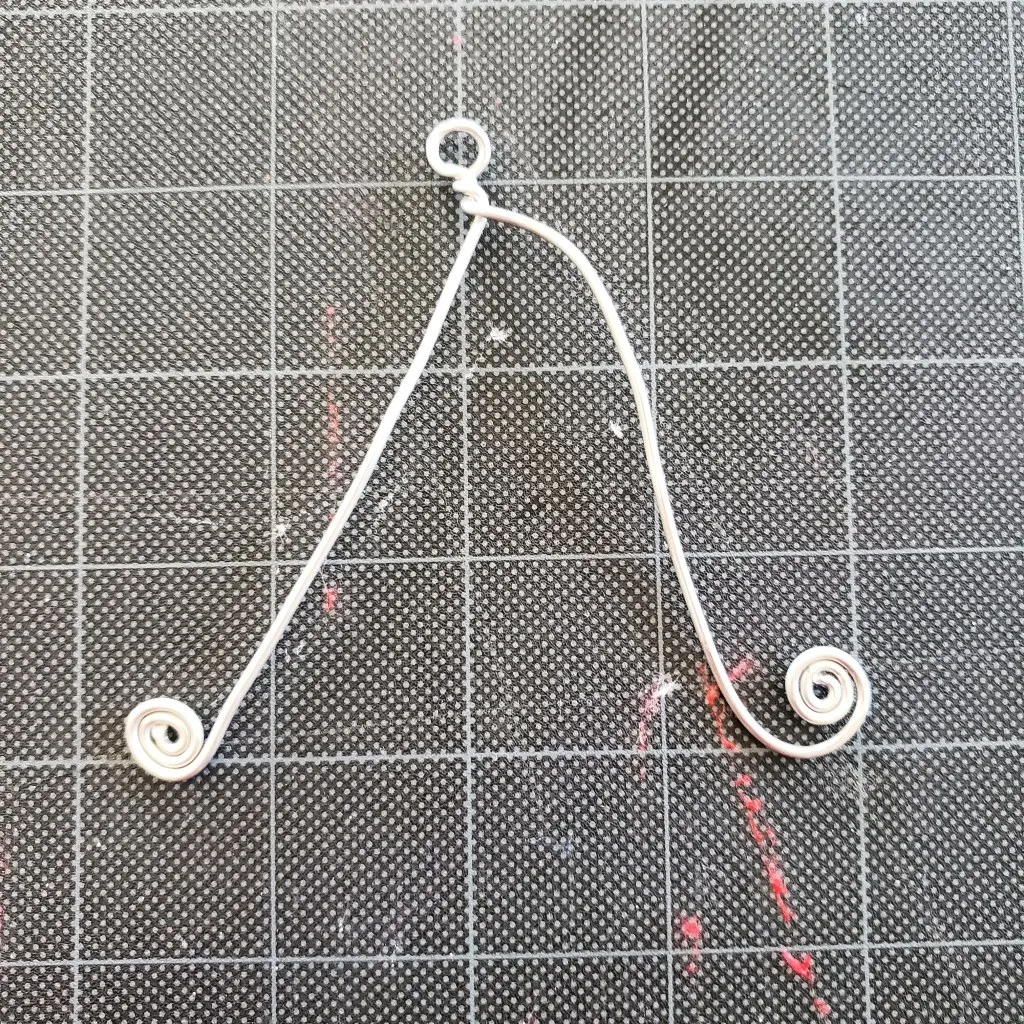
Repeat on the Other Side: Repeat steps 4 and 5 on the other end of the wire to create a symmetrical look.
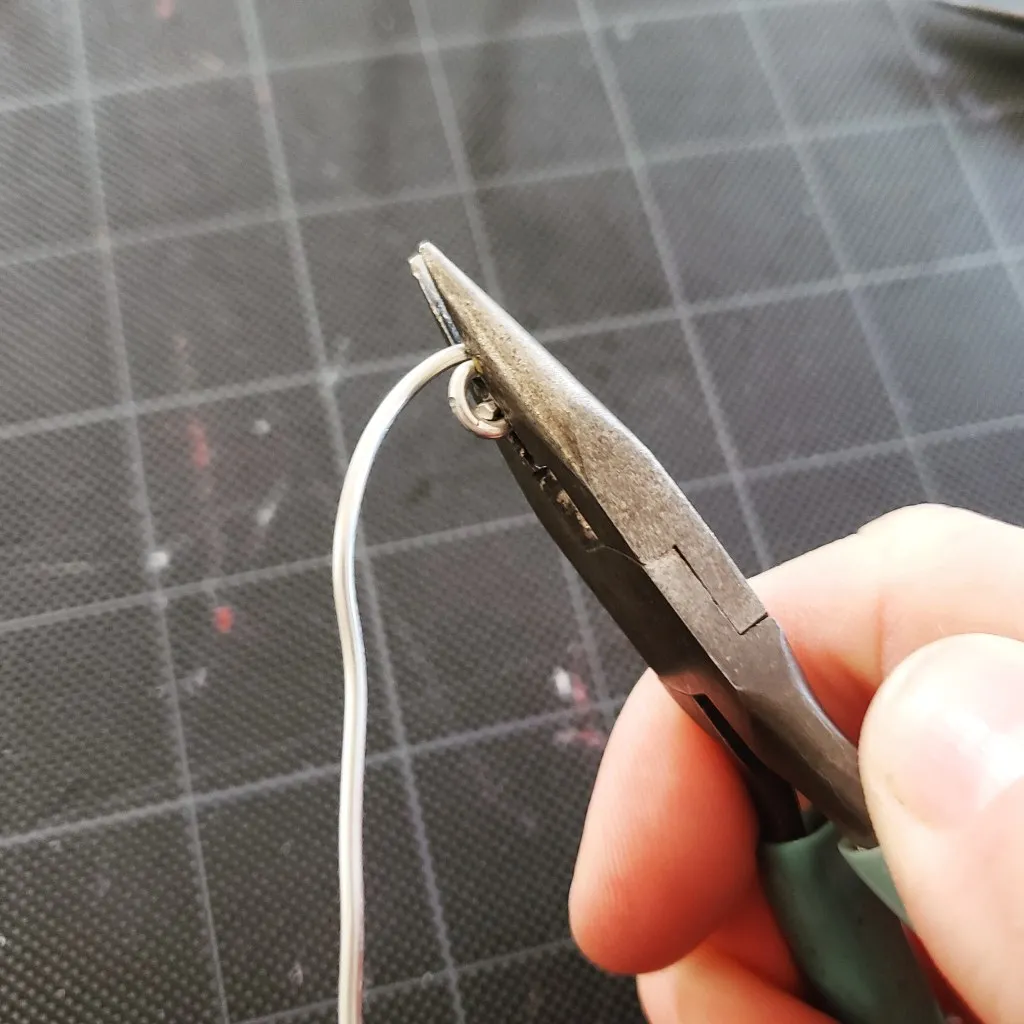 "Coiling the wire on the other side of the pendant" class=
Now you have the basic wire structure for your sea glass pendant!
Embracing the Sea Glass
This is where the magic happens, where we combine the raw beauty of the sea glass with the elegance of the wire.
-
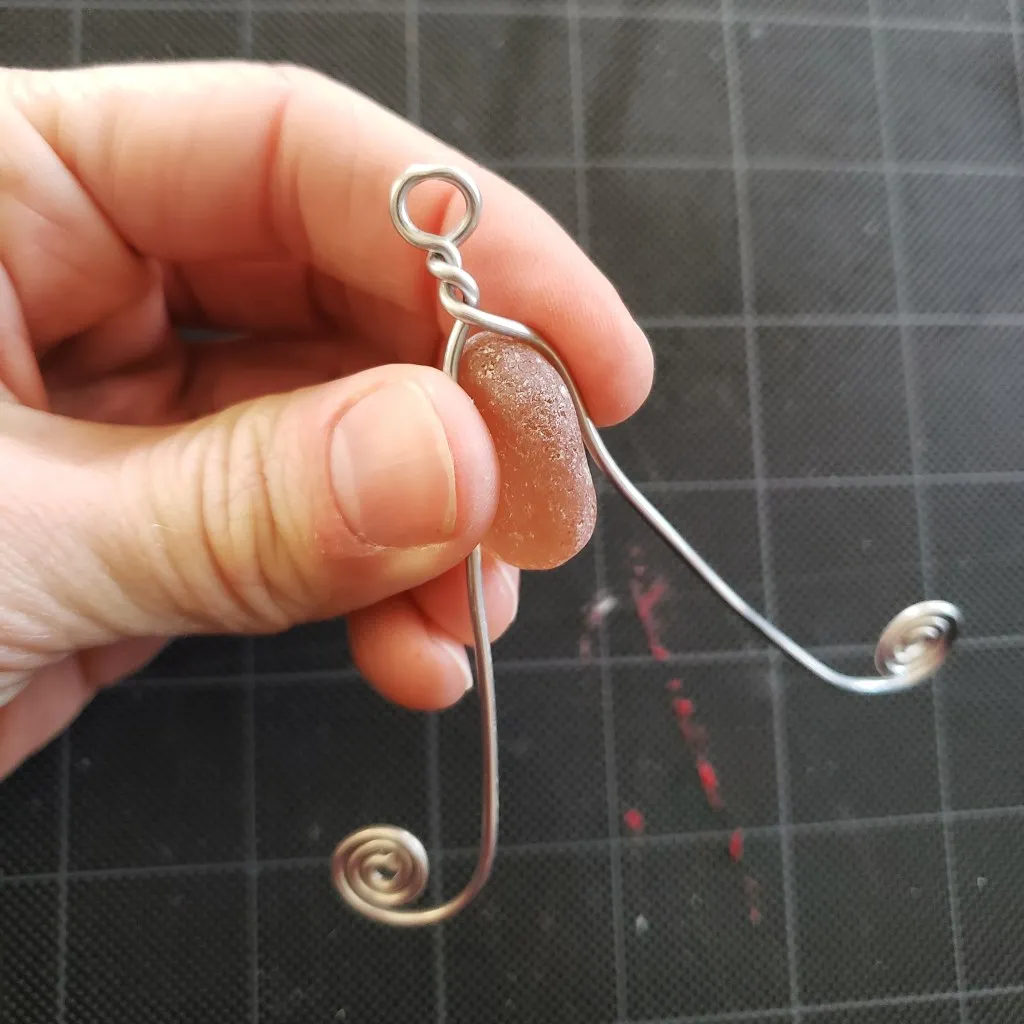
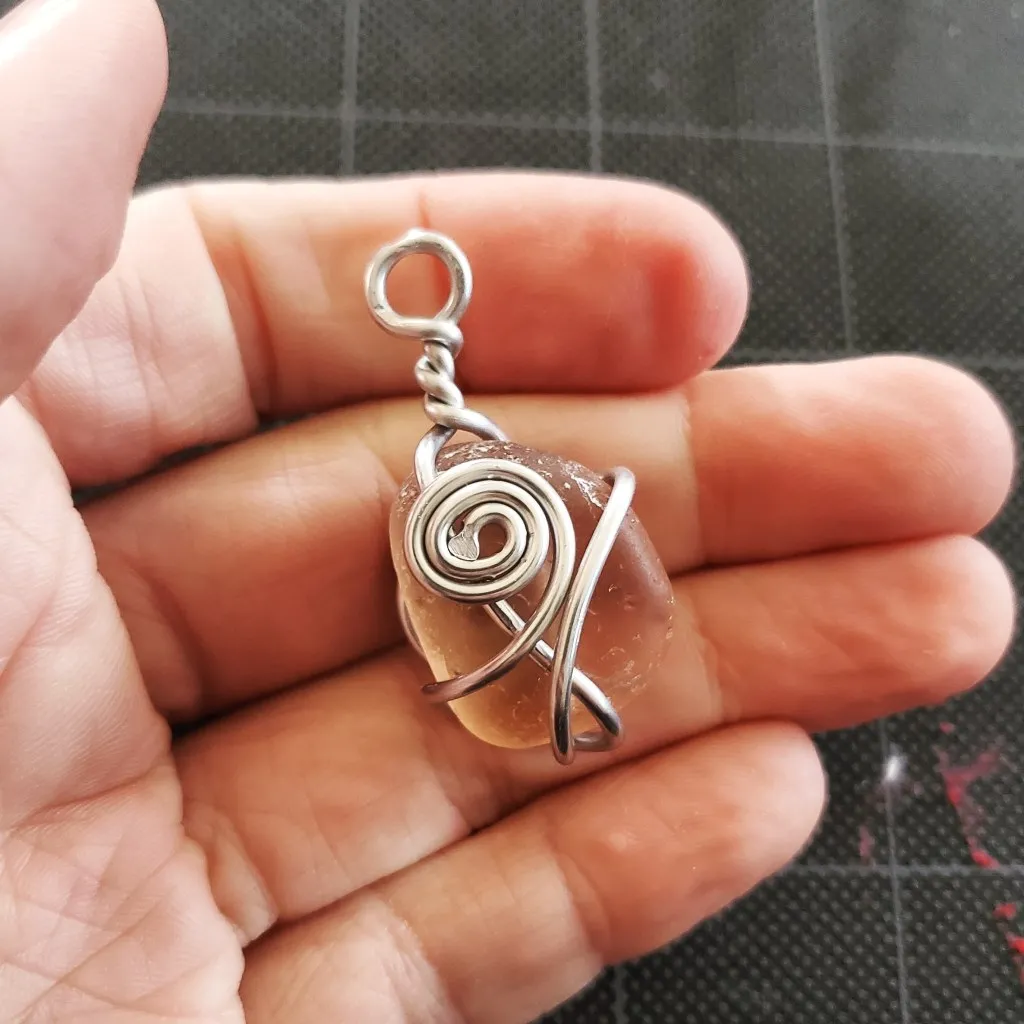
Positioning the Sea Glass: Place your chosen piece of sea glass between the wire coils. Make sure it sits snugly where the wire naturally curves.
 "Positioning the sea glass between the wire coils" class=
 -
Wrapping the Sea Glass: Carefully bend and wrap the wire around your sea glass. Try to encase the edges as much as possible. It’s perfectly fine to overlap and cross the wire for added security and visual interest.
 "Wrapping the wire tightly around the sea glass" class=
- Need More Wire? If you find yourself short on wire, simply uncoil a little bit from the ends to give yourself more slack.
-
Securing the Wrap: Press the coils down firmly against the sea glass, ensuring it’s secure and won’t fall out. Remember, it’s okay if both coils end up on one side of the pendant – let your creativity flow!
 "Pressing the coils down to secure the sea glass" class=
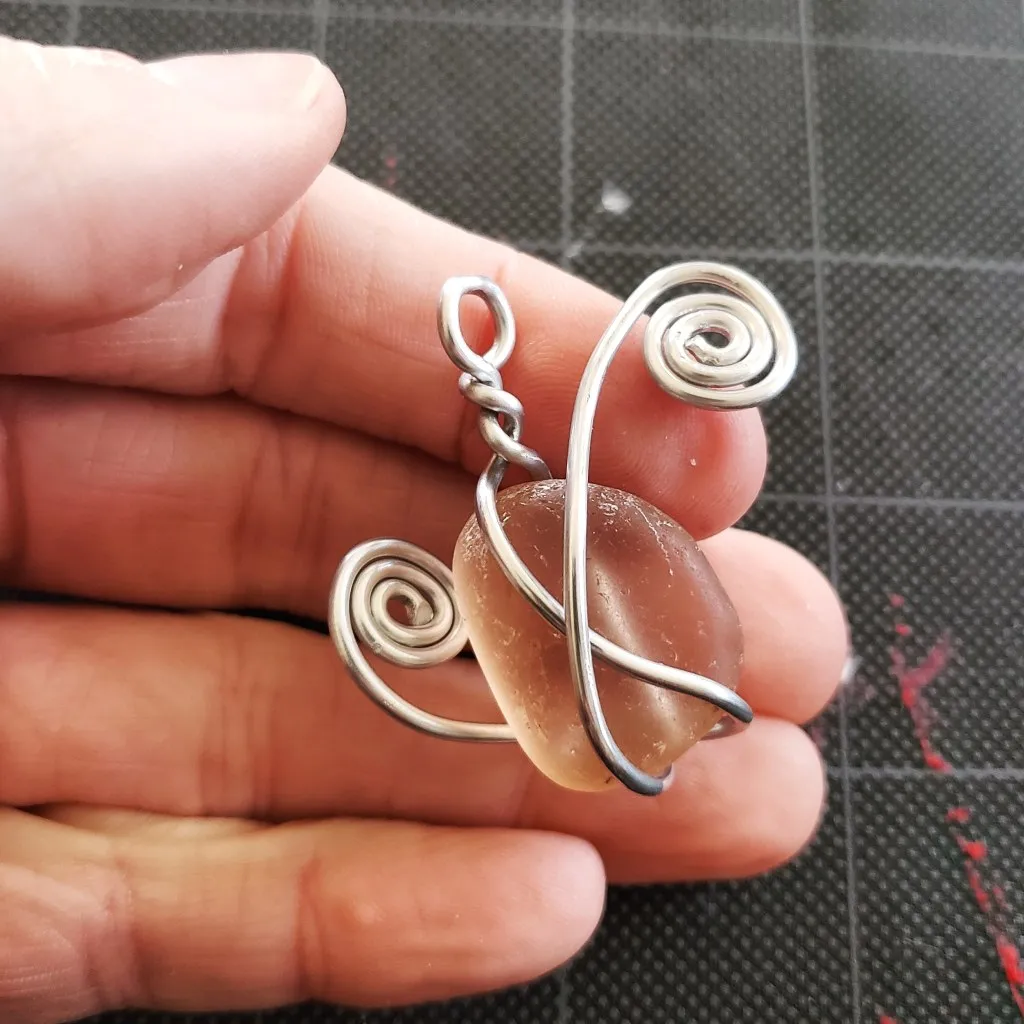 "Making sure the sea glass is securely wrapped" class=
Adding the Finishing Touch: Necklace Assembly
Now that your sea glass is lovingly embraced by the wire, it’s time to turn it into a wearable piece of art!
For Cord Necklaces:
-
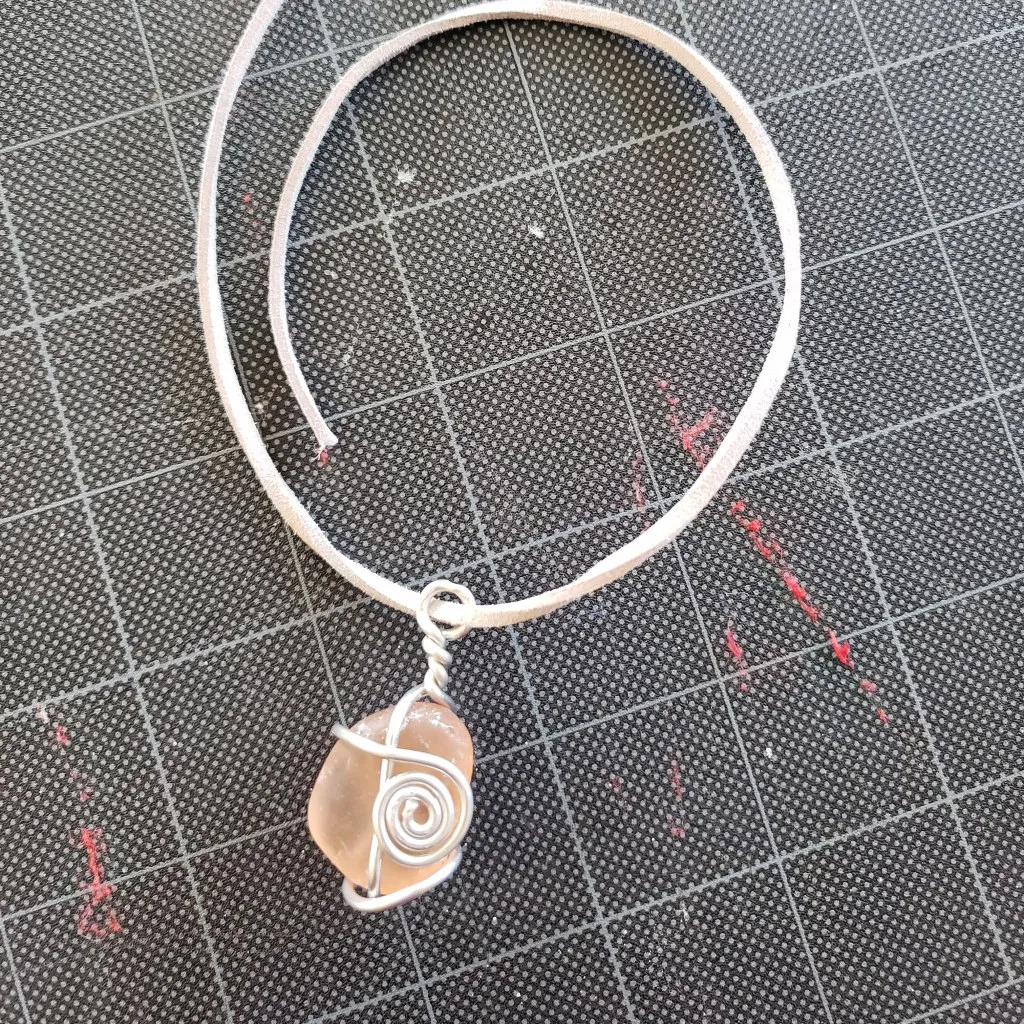
Prepare the Cord: Cut your cord to your desired length (I like mine around 16″) and thread it through the pendant loop.
 "Threading the leather cord through the pendant loop" class=
 -
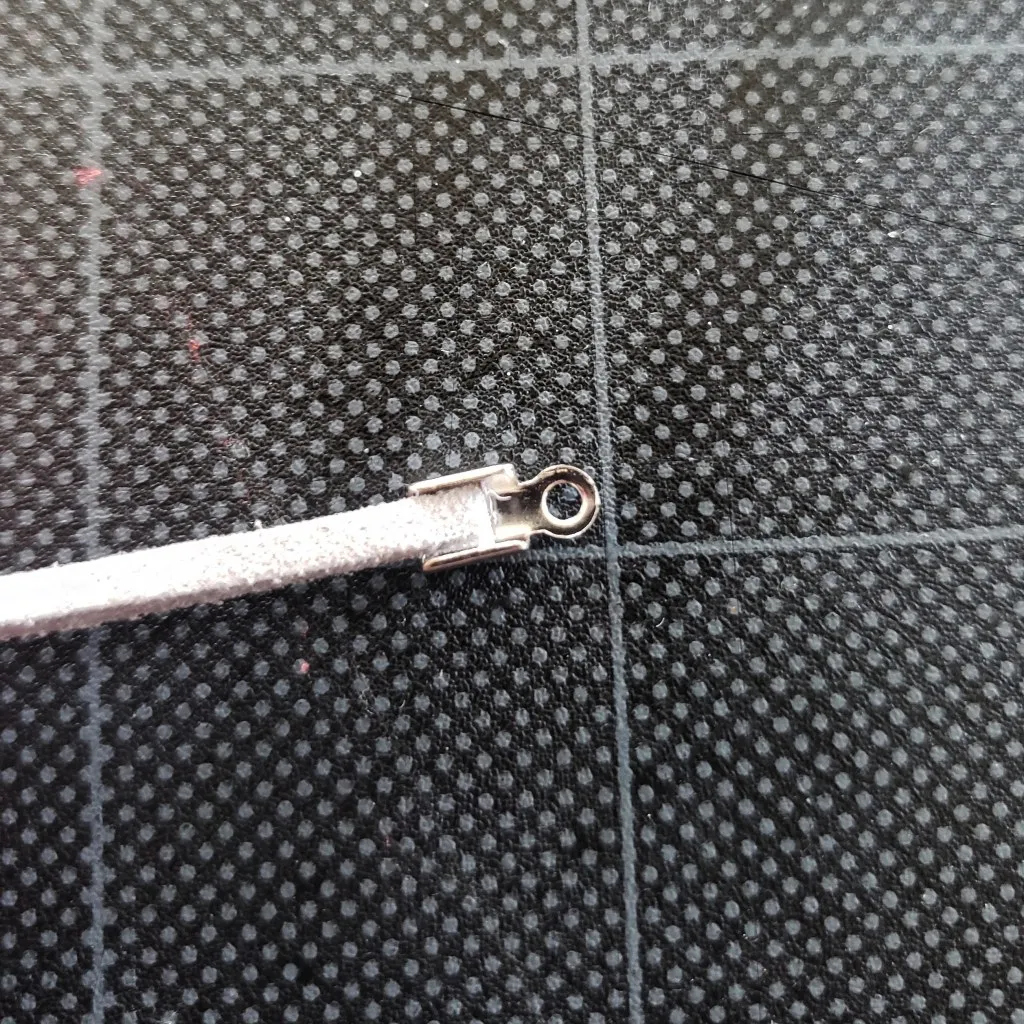
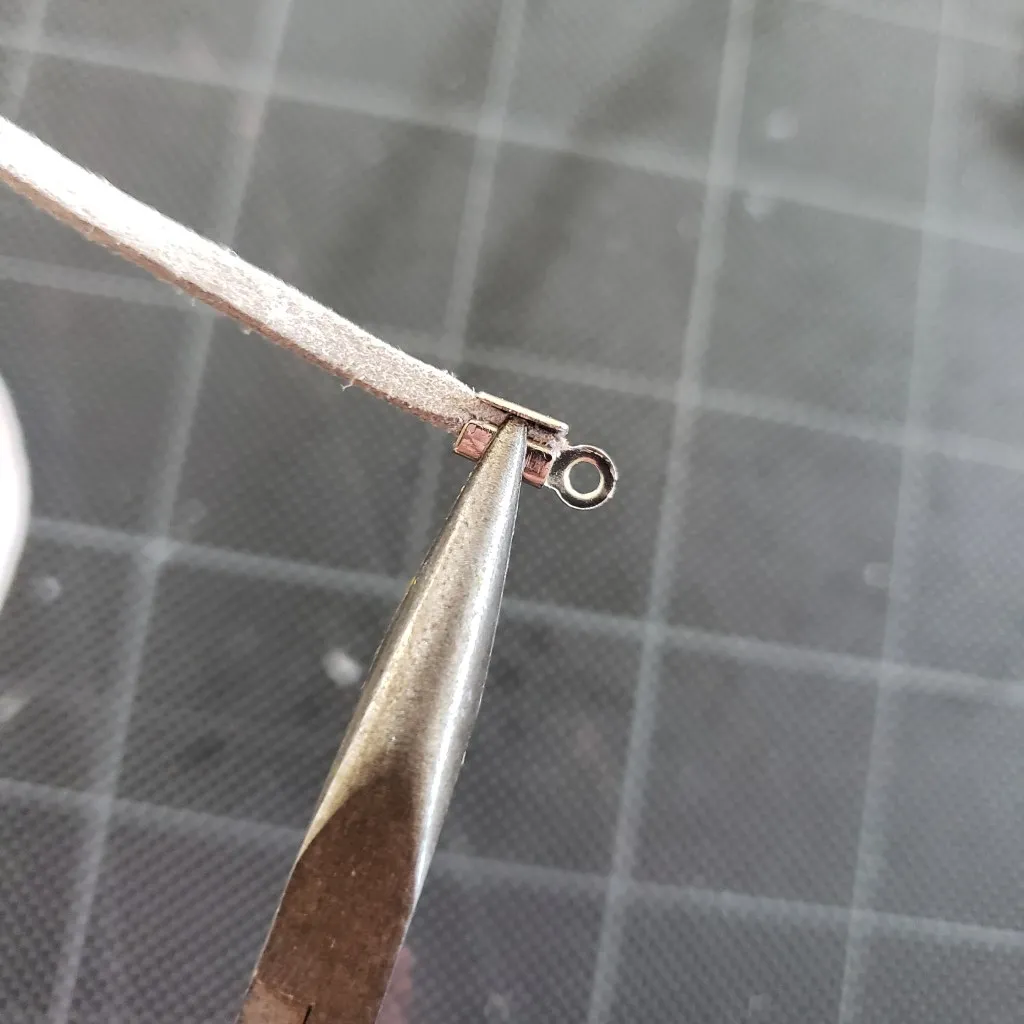
Attach End Caps: Secure the ends of the cord using fold-over end caps. Place the cord inside the cap, then pinch one side of the cap down to sandwich the cord. Repeat on the other side, squeezing tightly to secure.
 "Attaching fold-over end caps to the cord" class=
 -
Connect the Clasp: Attach a jump ring to one of the end caps, then attach your clasp to the jump ring.
 "Attaching a jump ring and clasp to one end of the cord" class=
 -
Final Touches: Add a jump ring to the other end cap for the clasp to hook onto. And there you have it – a beautiful, handcrafted necklace!
 "Completed sea glass pendant on a leather cord" class=
For Chain Necklaces:
Simply attach a jump ring to the loop of your pendant and then to your desired chain!
Unleash Your Creativity
Congratulations on creating your own stunning sea glass pendant! Remember, this is just a starting point. Let your creativity guide you – experiment with different:
- Wire Types and Gauges: Explore the world of copper, brass, or even gold-filled wire. Play with different thicknesses to create unique effects.
- Multiple Wire Wraps: Try wrapping your sea glass with more than one piece of wire for a bolder, layered look.
- Coiling Variations: Experiment with different coil sizes and placements for added texture and visual interest.
Don’t limit yourself to sea glass! Smooth stones, colorful pebbles, and even marbles can be transformed into eye-catching pendants using this technique.
Share your creations and inspire others! Tag #RobertKlineArt on social media – I’d love to see your unique take on this craft!
Looking for more handcrafted gift ideas and DIY projects? Explore a world of artistic inspiration on our website! [Link to Robert Kline Art website]
