Blog
DIY Vintage Button Jewelry: Crafting Unique and Nostalgic Pieces
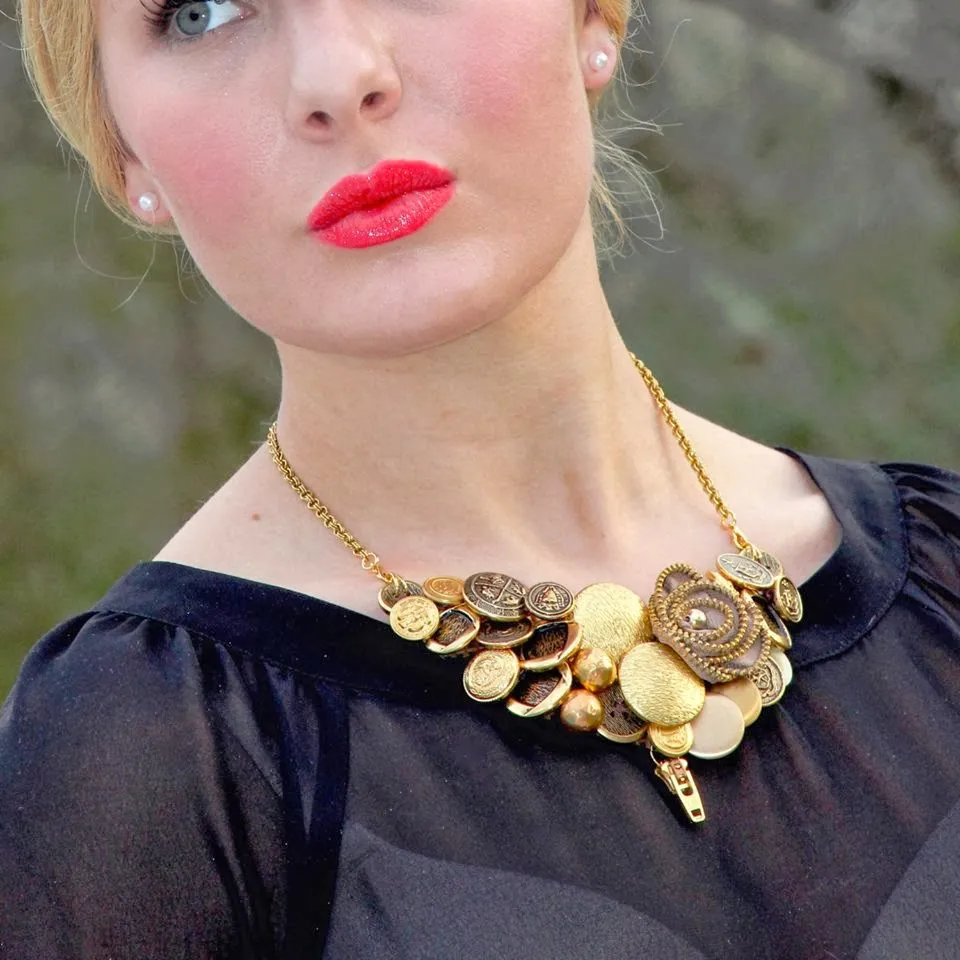
I’ve always been drawn to the charm of vintage buttons. Those colorful, textured little treasures hold a certain magic – whispers of bygone eras and forgotten stories. Recently, I rediscovered my own stash of vintage buttons, and it sparked a wave of inspiration. I knew just what I had to do: transform them into unique, wearable art!
This experience reminded me of the time my friend Abby, a true “Vintage Inspired Passionista,” gifted me a collection of her grandmother’s buttons. She requested a custom necklace for her birthday, and I couldn’t wait to bring her vision to life.
Let me tell you, crafting with vintage buttons is an incredibly rewarding experience. It’s a beautiful way to give these little gems a new life and create something truly special. And the best part? It’s easier than you might think!
Making a Statement: The Vintage Button Necklace
 button necklace
Here’s what you’ll need to create your own vintage button necklace:
- Vintage buttons: The heart and soul of your creation! Choose a variety of sizes, colors, and textures for a visually dynamic piece.
- Plastic needlepoint canvas: Available in various colors at craft stores. I prefer light brown as it blends seamlessly when worn.
- Super heavy-duty polyester thread: For durability and a professional finish.
- Jump rings and a chain: To wear your stunning creation.
- Optional embellishments: A zipper flower, vintage jewelry pieces, or anything else that speaks to your creative spirit.
Step-by-Step Guide:
- Design and Arrange: Lay out your buttons on the canvas, experimenting with different arrangements until you achieve a design you love.
- Create a Template: Cut a paper template slightly larger than your desired necklace shape. Use it to cut the plastic canvas.
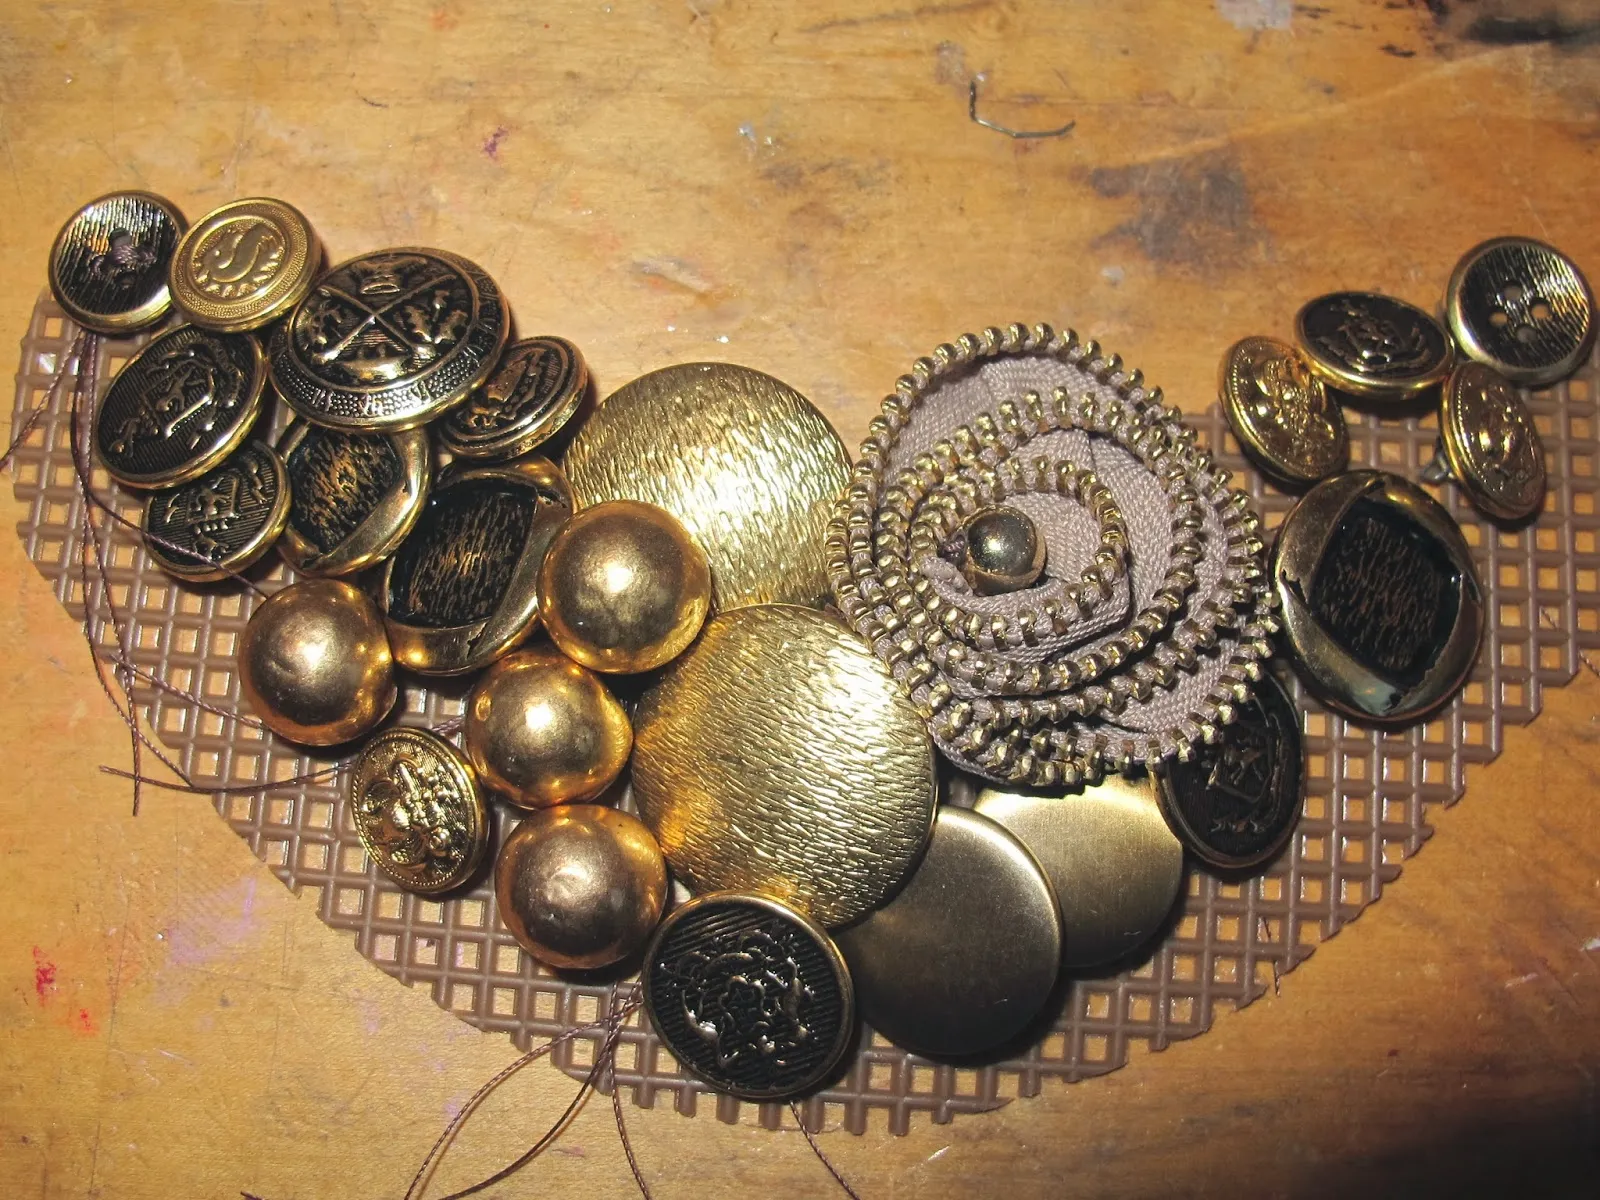 DIY button necklace
 - Sewing Time: Thread your needle and start sewing your buttons onto the canvas, securing each with a knot. Begin with a focal point, like a large button or a cluster of your favorites.
- Secure and Seal: Knot the thread after each button to prevent unraveling. Seal the knots with clear nail polish for added durability. Keep all knots and threads on the inside for a clean finish.
- Finishing Touches: Trim any excess canvas around the edges. Attach jump rings to sturdy buttons at each end of the necklace and thread your chain through.
Pro Tips:
- Embrace Imperfection: Don’t be afraid to experiment! The beauty of handmade lies in its unique imperfections.
- Theme It Up: Choose buttons that follow a specific theme – like floral patterns, nautical motifs, or geometric designs.
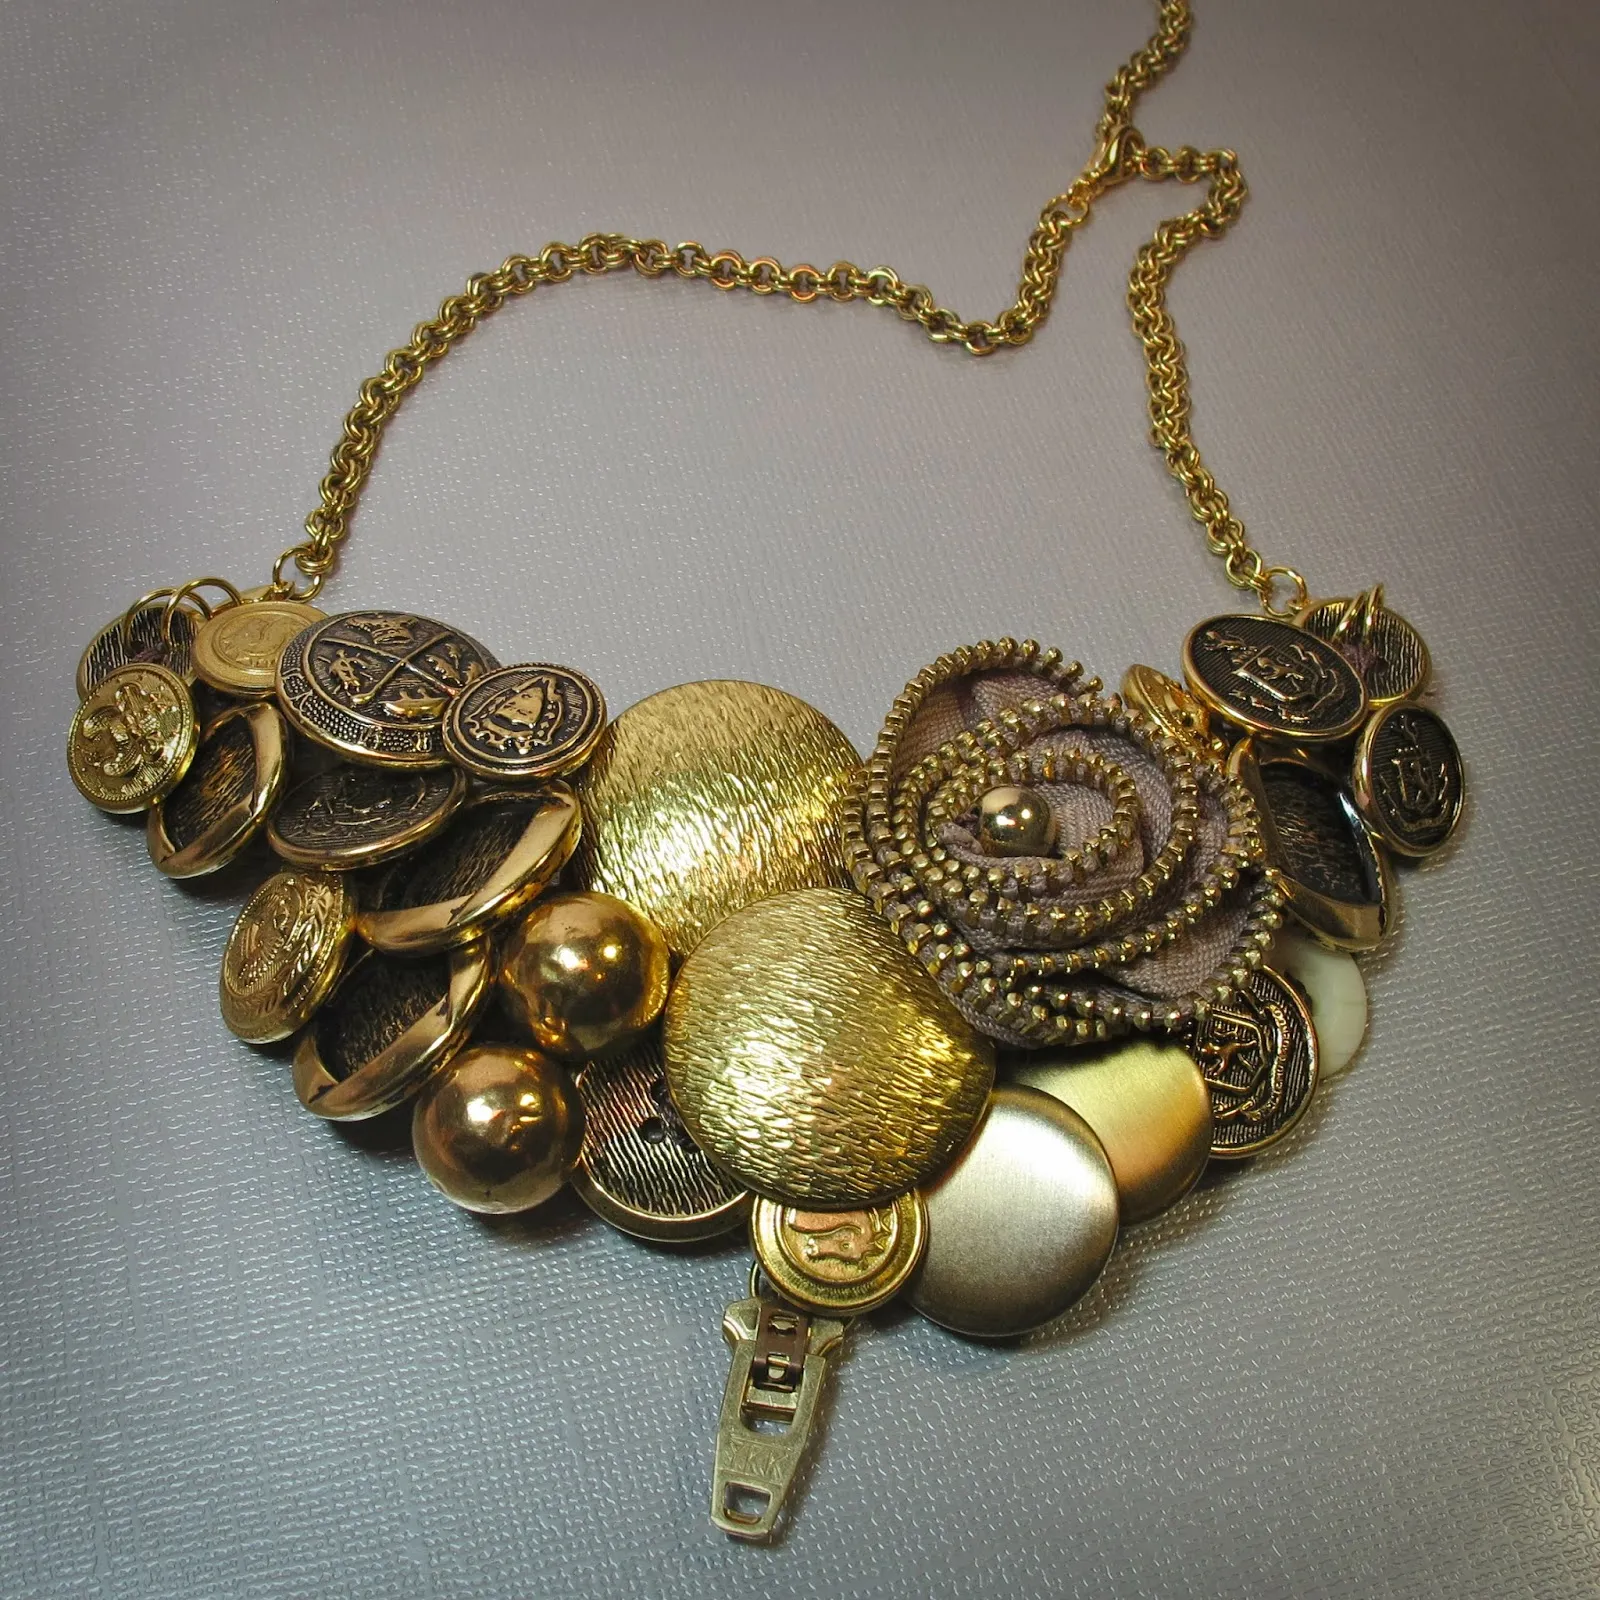 repurposed buttons
 - Mix and Match: Combine different types of buttons for a playful and eclectic feel.
Beyond the Necklace: Exploring Button Jewelry Possibilities
Vintage buttons aren’t just for necklaces! Here are a few other creative ways to incorporate them into your jewelry designs:
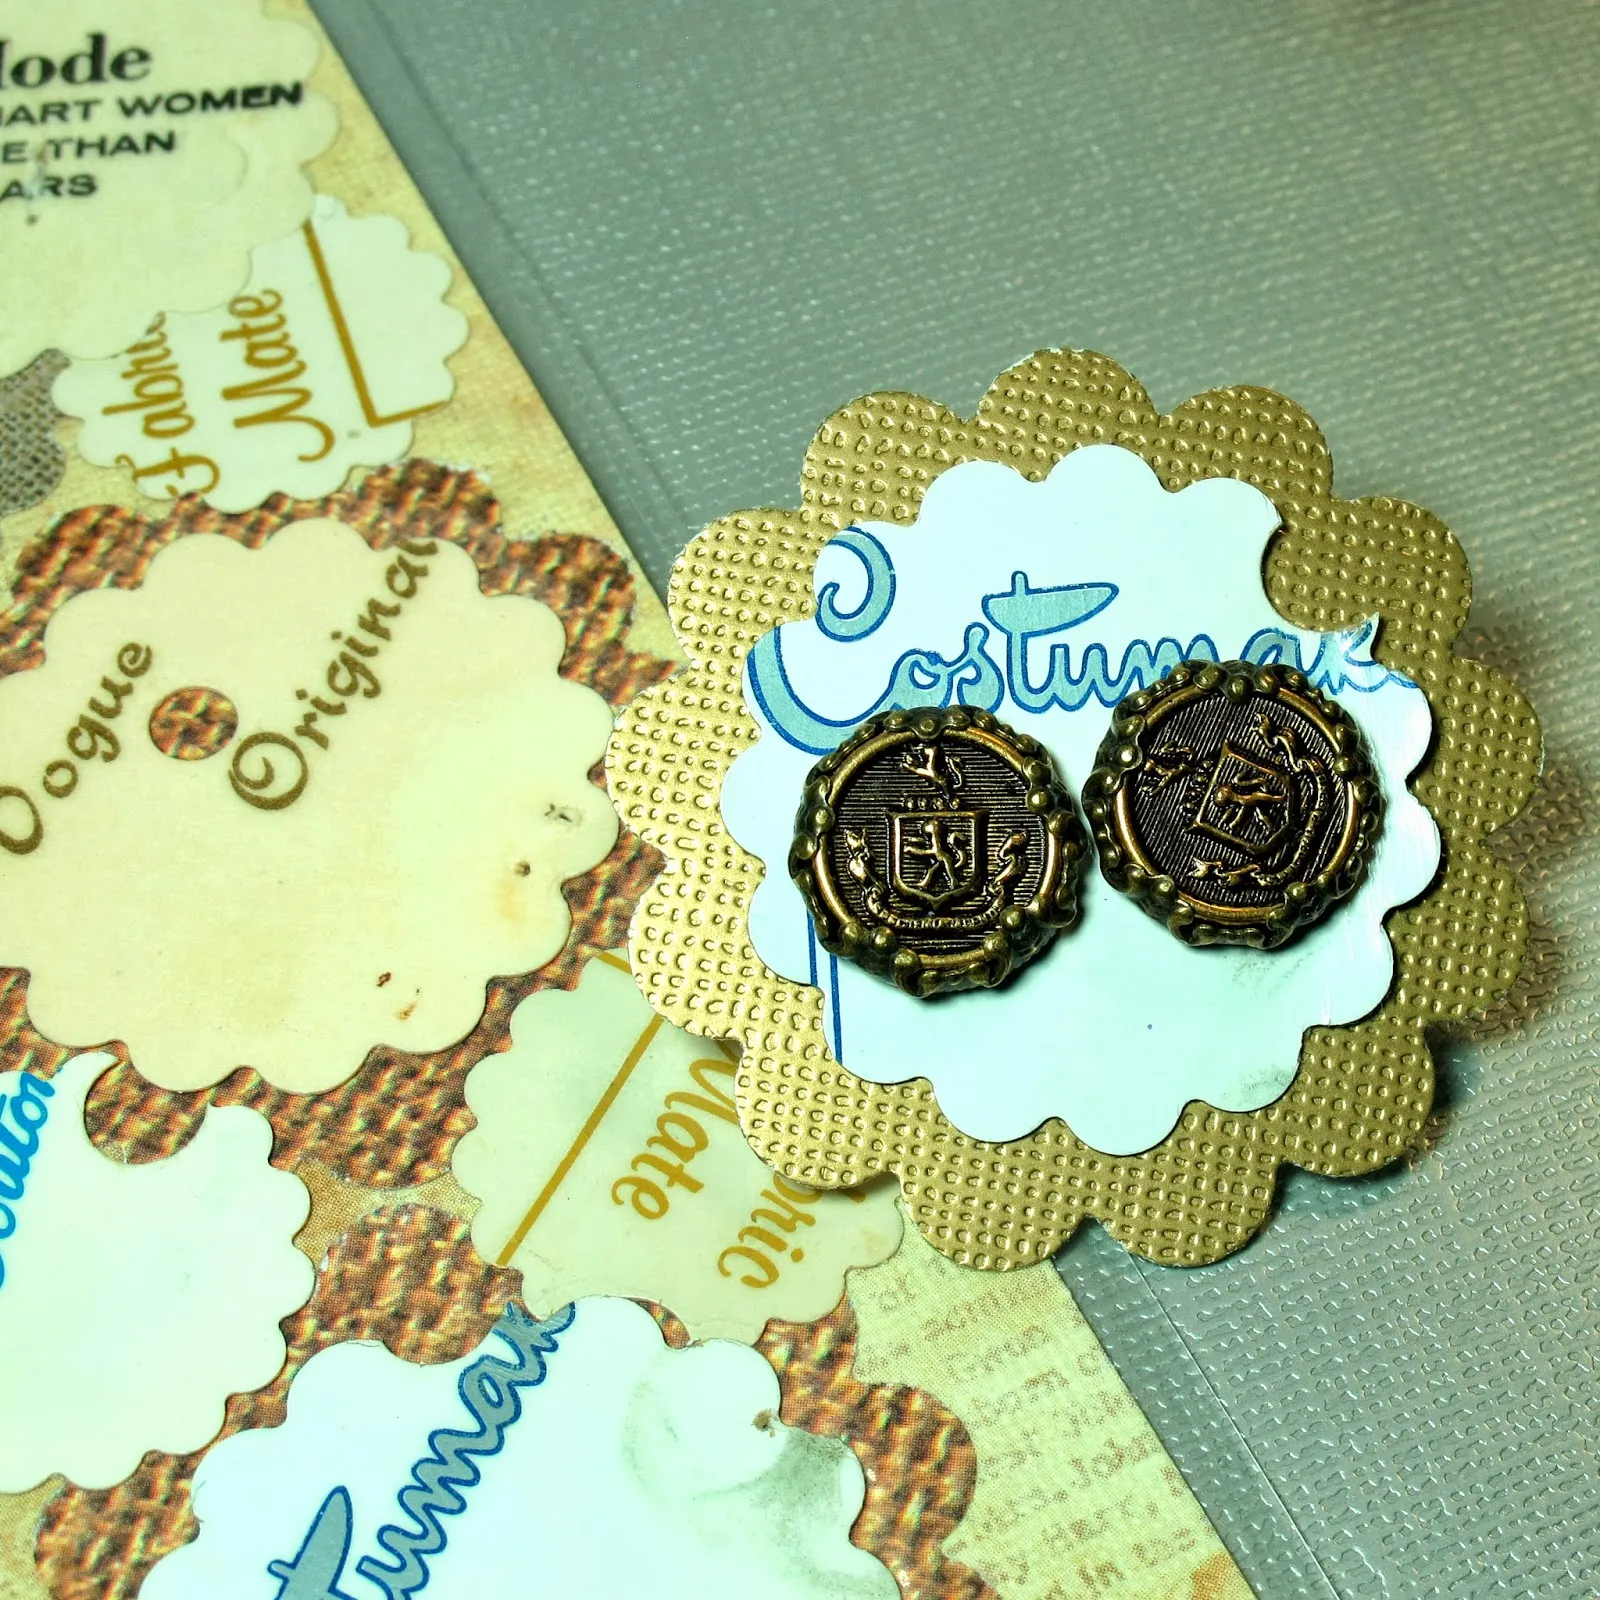
Button Stud Earrings:
 handmade bookmark
Choose small to medium-sized buttons and attach them to earring posts for a touch of vintage charm.
Button Bookmarks:
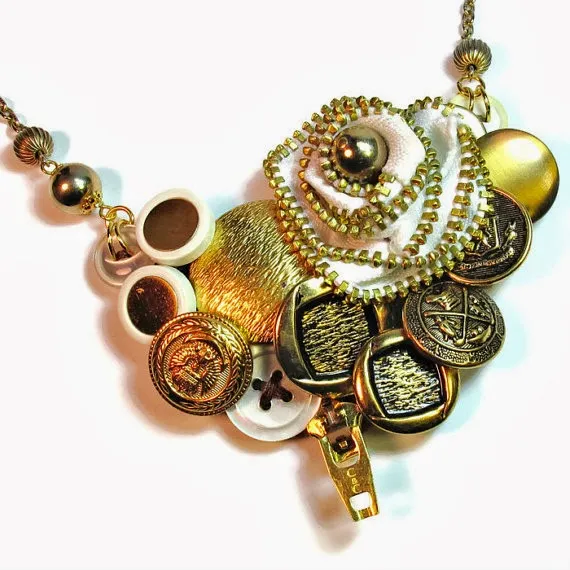 repurposed vintage necklace
Create unique bookmarks by attaching vintage buttons to cardstock or fabric scraps. Laminate them for durability or add decorative stitching for extra flair.
Button Dangle Earrings and Hoop Earrings:
For a modern twist, try making button cluster dangles or attaching buttons to hoop earring findings.
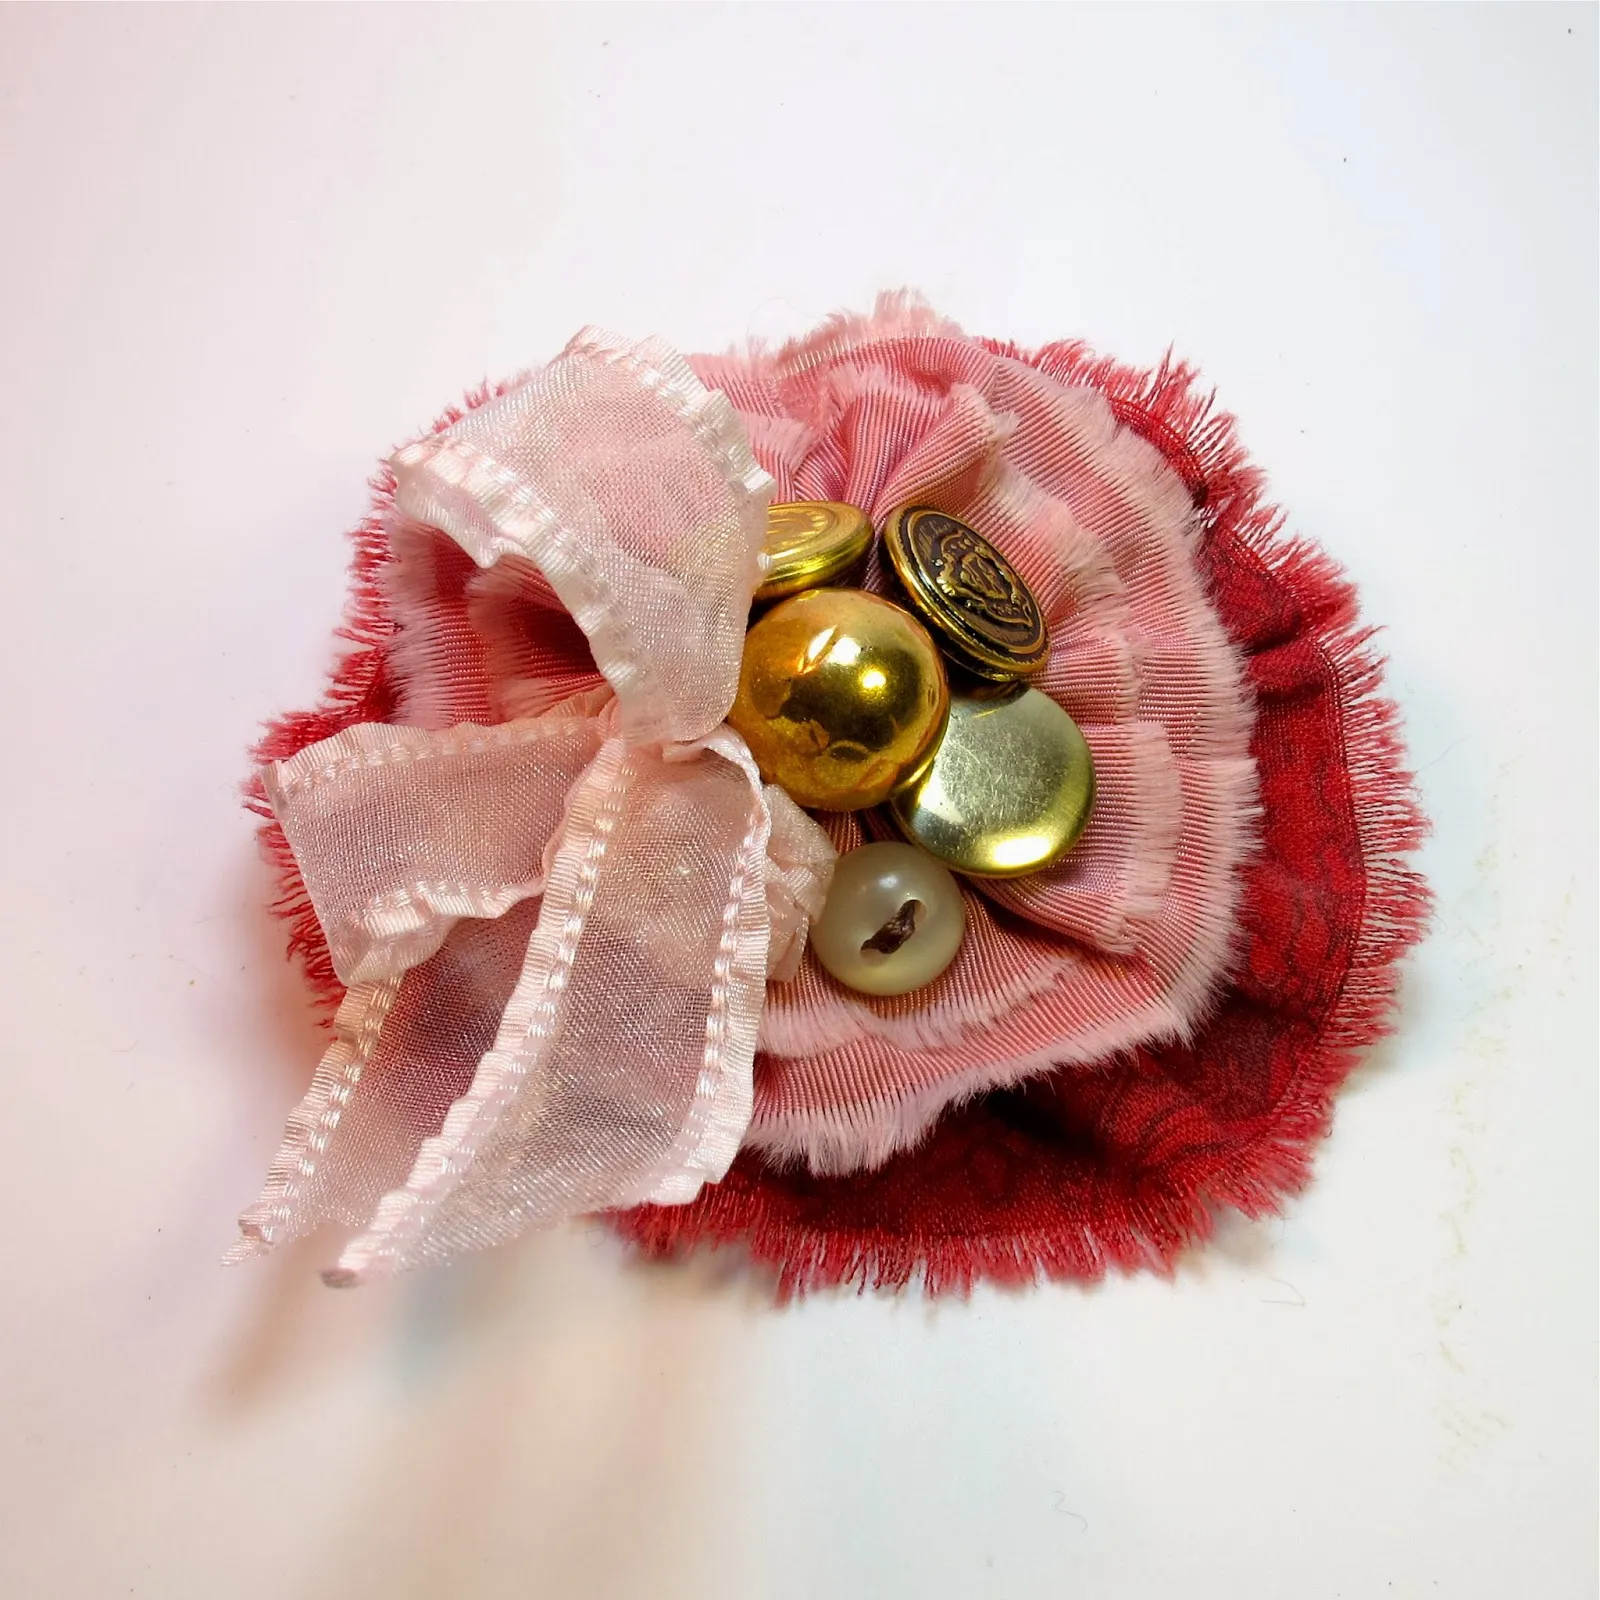 button dangle earrings
Embrace the Joy of Crafting with Vintage Buttons
Working with vintage buttons is a journey of discovery and creativity. It’s about giving new life to forgotten treasures and creating something uniquely you. I encourage you to explore the possibilities and see what incredible pieces you can craft.
And if you’re looking for more inspiration, be sure to explore the collection of handcrafted button jewelry at Robert Kline Art – perfect for adding a touch of vintage charm to your wardrobe or finding one-of-a-kind gifts for your loved ones.
Happy crafting!
