Blog
The Gift That Keeps on Growing: DIY Terrarium Gift Tutorial

Hey there, fellow craft enthusiasts! Robert Kline here, and I’m thrilled to share a charming and easy DIY gift idea that’s perfect for friends, coworkers, or anyone who appreciates a touch of greenery. Let’s dive into the wonderful world of creating your own terrarium gifts!
Why Terrariums Make the Perfect Gift
Terrariums are like miniature gardens encased in glass, bringing a touch of nature’s tranquility indoors. They’re not just beautiful to look at but also incredibly easy to care for, making them an ideal gift for even the busiest of friends. Plus, a handmade gift shows you put thought and effort into it, making it extra special.
Gathering Your Terrarium Supplies
Before we begin, let’s gather our materials. For this project, you’ll need:
- Clear glass containers: Get creative! Mason jars, old vases, or even geometric terrariums all work well.
- Pea gravel: For drainage.
- Activated carbon: Prevents any unwanted odors and keeps your terrarium fresh.
- Potting soil: Choose a soil mix suitable for the type of plant you’ll be using.
- Small plants: Succulents, air plants, or small ferns are excellent choices for terrariums.
- Decorative elements: Pebbles, moss, small figurines—let your creativity bloom!
- Gift tags: Add a personal touch with a handwritten note.
Creating Your Terrarium Masterpiece
Now, let’s get our hands dirty!
Step 1: Drainage Layer
Start by adding a layer of pea gravel to the bottom of your container. This will allow for proper drainage and prevent your plants from becoming waterlogged.
Step 2: Activated Carbon Power
Sprinkle a thin layer of activated carbon on top of the pea gravel. This will help keep your terrarium clean and odor-free.
Step 3: Soil Time!
Fill the container with potting soil, leaving enough space for your plants and any decorative elements.
Step 4: Planting Your Green Friends
Gently remove your chosen plants from their pots and loosen their roots. Plant them in the soil, ensuring they have enough space to thrive.
Step 5: Decorating Your Mini Oasis
This is where your creativity shines! Add pebbles, moss, or any other decorative elements to create a visually appealing landscape within your terrarium.
The Finishing Touches
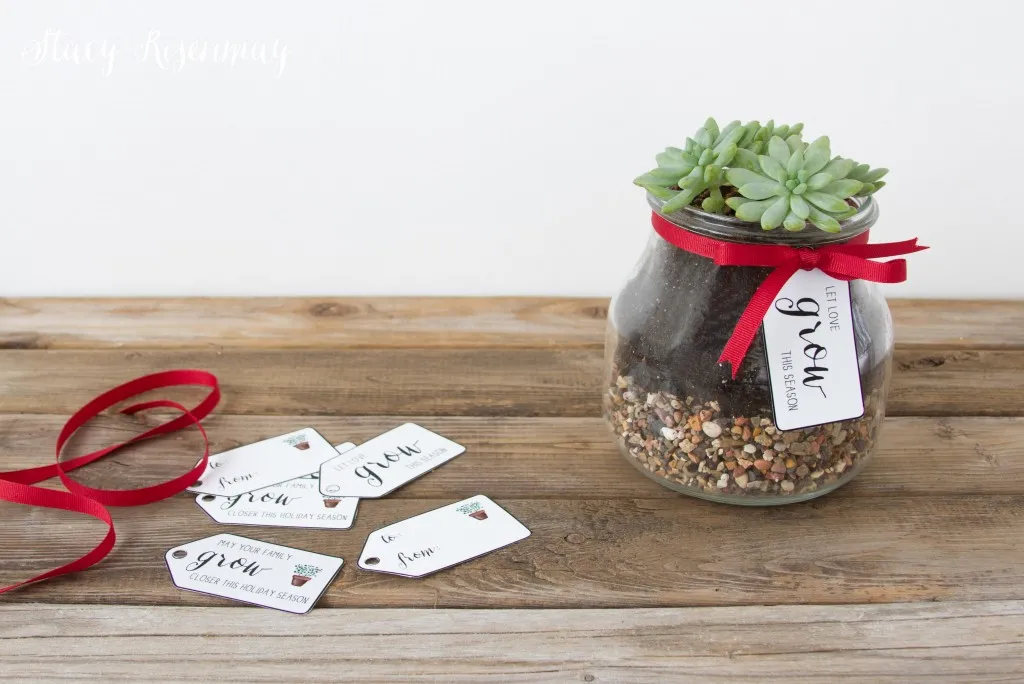
Once you’re happy with your terrarium design, water it lightly. A spray bottle works best for this, as it prevents overwatering. Finally, tie on a personalized gift tag—a simple gesture that adds a heartfelt touch.
 friend and neighbor gift – plants
Terrarium Tips and Tricks
- Sunlight: Choose plants that suit the amount of sunlight your recipient’s space receives.
- Watering: Terrariums require less frequent watering than traditional potted plants. Overwatering can be harmful.
- Maintenance: Occasionally trim any overgrown plants to maintain the terrarium’s shape and beauty.
Gifting Your Green Creation
These DIY terrariums make wonderful gifts for a variety of occasions, from birthdays and holidays to housewarmings and thank-yous. They’re a thoughtful way to brighten someone’s day and bring a touch of nature indoors.
So there you have it—a simple and enjoyable DIY terrarium gift tutorial! Remember, the best part of crafting is adding your personal flair. Don’t be afraid to experiment and let your creativity blossom!
Want more inspiring DIY gift ideas? Explore the unique handmade treasures on Robert Kline Art for the perfect present!
Let me know in the comments below if you give this project a try. I’d love to see your creations! And for more crafting inspiration, browse the incredible DIY projects on Robert Kline Art.
