Blog
Creating Rustic DIY Wood Signs: A Budget-Friendly Guide
Hey there, fellow craft enthusiasts! Robert Kline here, and if there’s one thing I love, it’s transforming simple materials into personalized works of art. Today, we’re diving into the world of DIY rustic wood signs—a fantastic way to infuse your home with warmth, character, and a touch of that sought-after farmhouse charm.
You’ve probably seen those gorgeous wooden signs online, but let’s be honest, the price tags can be a bit daunting. Fear not! I’m here to share my tried-and-true method for creating stunning signs without breaking the bank. No fancy silhouette machines required, just simple techniques and a dash of creativity.
Gathering Your Supplies
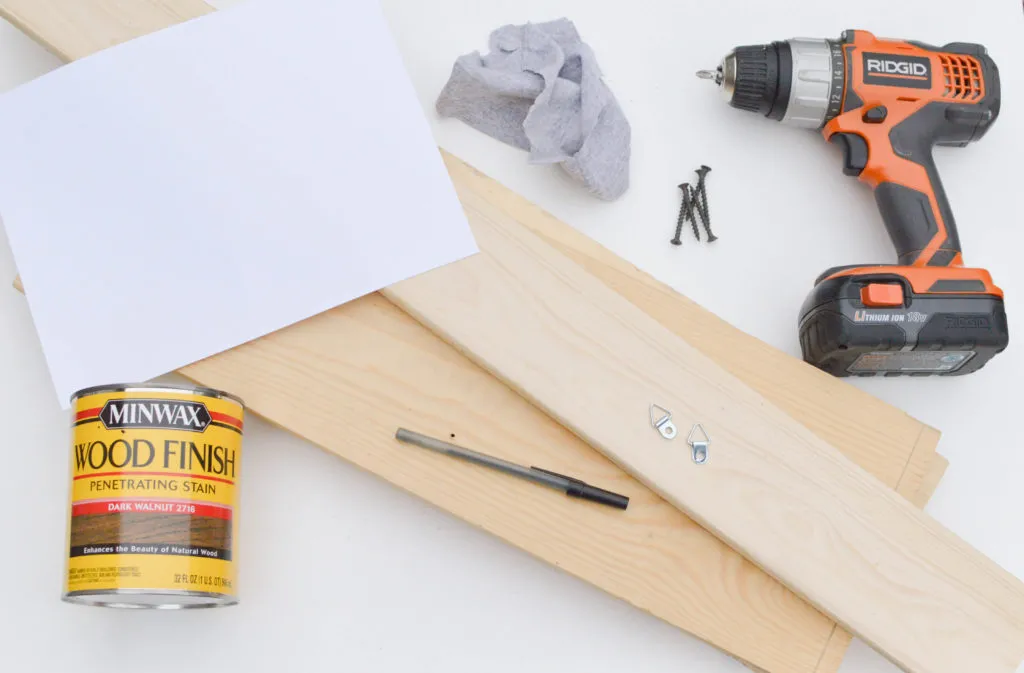
Before we embark on our crafting adventure, let’s gather our trusty tools and materials:
For the Sign:
- Scrap 1x wood boards (I recommend 1x8s for a classic look)
- 1×3 wood boards for backer support
- Screws (1 1/4″ should do the trick)
- Drill
- Orbital sander or 180 grit sandpaper
- Scrap t-shirt fabric
- Wood stain (Minwax Dark Walnut is my go-to)
- Disposable gloves
For the Lettering:
- Printer
- Printer Paper
- Ballpoint Pen
- Acrylic Paint
- Fine Tip Paintbrush
For Hanging:
- D-ring hooks
And, of course:
- A healthy dose of patience and your favorite show to binge-watch!
 Rustic wood sign leaning against a brick wall
Step-by-Step Guide: Bringing Your Vision to Life
Now, let’s break down the process into manageable steps:
1. Prepping the Wood Canvas
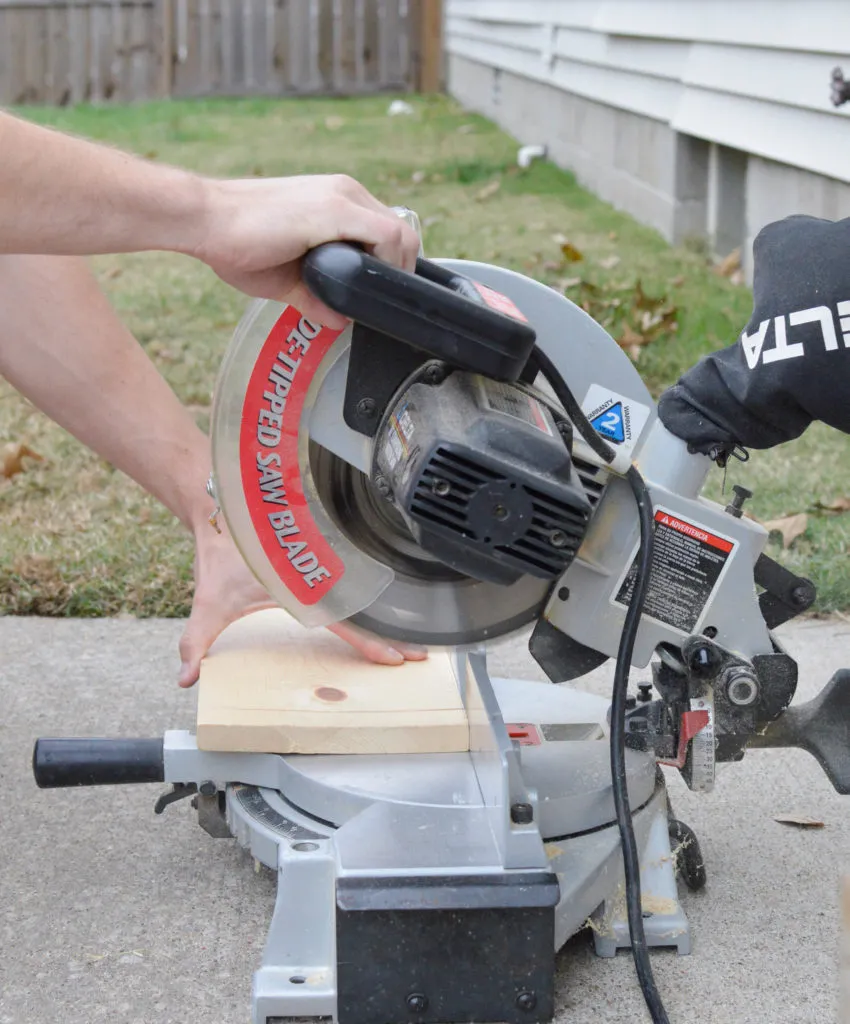
- Cut to Size: Begin by cutting your 1×8 boards to your desired length. For a more rustic, eclectic vibe, feel free to vary the lengths.
- Backer Support: Measure and mark your 1×3 boards to match the length of your sign. These will provide crucial support and make hanging a breeze.
2. Assembling the Sign Base
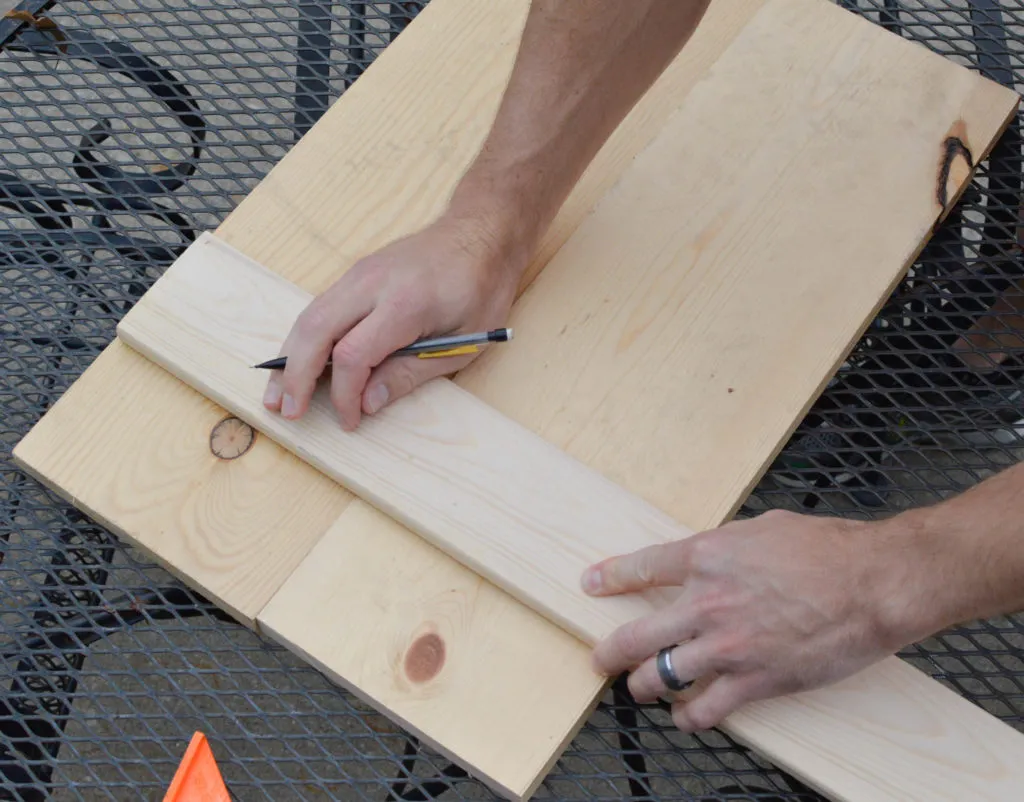
- Spacing is Key: Measure and mark the placement of your 1×3 backer boards. To ensure your sign hangs securely, space the center of the boards 16 inches apart. This will align perfectly with standard wall studs.
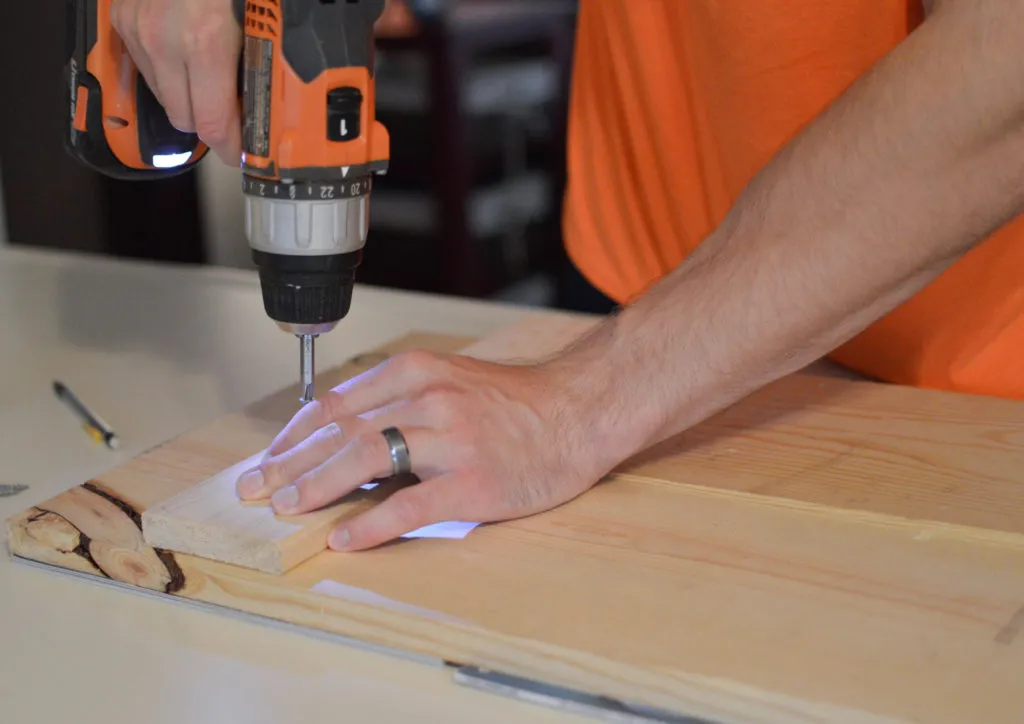
- Secure the Support: Use your trusty drill and 1 1/4″ screws to attach the backer boards to the sign. Three to four screws per board should do the trick. Give it a little wiggle—if it budges, add another screw for good measure.
 Close up of a rustic wood sign
3. Smoothing Out the Rough Edges
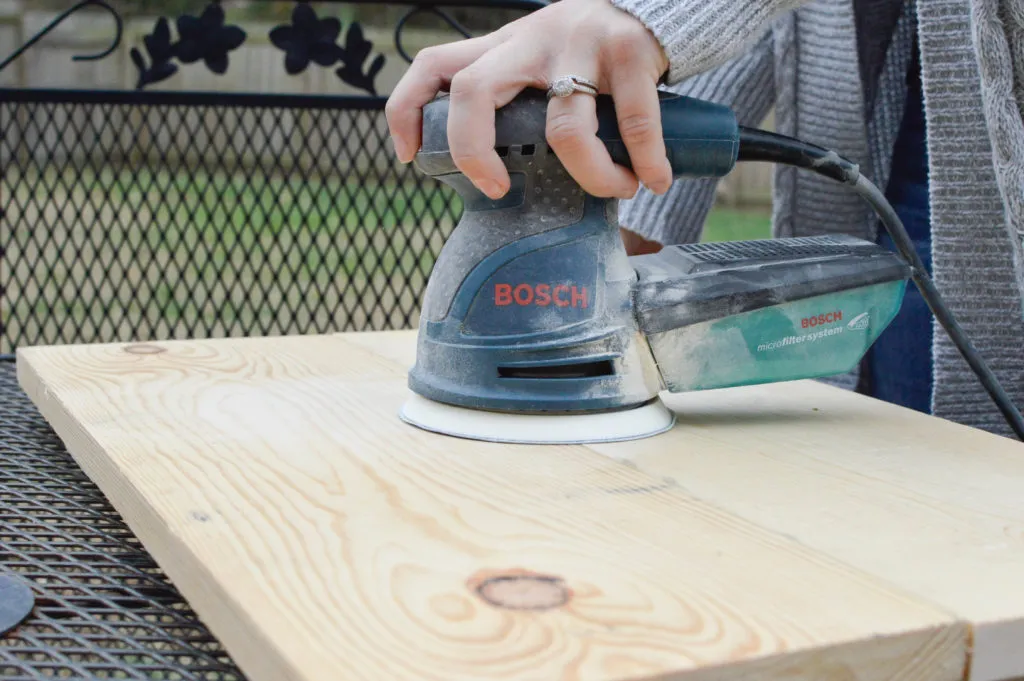
- Sanding for Smoothness: Now it’s time to give our sign that signature rustic smoothness. Use an orbital sander or good old-fashioned 180 grit sandpaper to smooth out the front and all four edges. The level of smoothness is entirely up to you. If you’re aiming for a more weathered look, consider lightly distressing the wood before sanding.
4. Infusing Character with Stain
- Staining Tips: For this project, I opted for Minwax Dark Walnut stain, a classic choice for rustic charm. Apply the stain to the front, sides, and a portion of the back of the sign (the sides will be visible when hung).
- Getting into the Grooves: Pay close attention to the crevices between the boards and around the edges. It’s better to have too much stain than to discover an unstained spot after it’s hanging on your wall (trust me, I’ve been there!).
- Work with the Grain: Remember to apply the stain in the direction of the wood grain, and avoid letting it pool in one spot for too long. This will ensure an even, natural-looking finish.
- Drying Time: Allow the stain to dry completely for at least 24 hours. Patience, my friend, is key to a flawless finish.
 Rustic wood sign with the word "gather" painted on it
5. Designing Your Message
- Font Selection: Choose a font that speaks to you and complements the rustic aesthetic. I often find myself drawn to a combination of elegant script and bold block fonts for a balanced look. For this particular sign, I used Playfair Display SC and Playlist.
- Sizing and Layout: Print out your chosen words or quote, experimenting with different sizes and arrangements until you achieve the perfect composition for your sign. Pro-tip: Print your letters in a light gray or muted color to avoid distractions during the transfer process.
6. Transferring Your Design
- Straight and Centered: Use a level or ruler to ensure your words are perfectly aligned on the sign. Secure the edges of the paper with painter’s tape to prevent any unwanted shifting.
7. Creating the Lettering Guide
- The Ballpoint Pen Method: Here’s where the magic happens! Using a standard ballpoint pen, firmly trace around each letter, pressing just enough to create a slight indentation in the wood. This groove will act as a guide for your paint.
- Time for Entertainment: This step can be a bit time-consuming, so queue up your favorite show, pour yourself a cup of tea, and settle in.
 A close up of a rustic wood sign with the word "joy" on it
8. Bringing the Letters to Life
- Filling the Grooves: With your lettering guide in place, it’s time to add a pop of contrast. Using acrylic paint and a fine-tip paintbrush, carefully fill in the grooves within each letter. The paint will naturally settle into the indentations, creating crisp, clean lines.
- Steady Does It: This step requires a steady hand and a bit of focus. Remember, two thin coats are always better than one thick, gloppy coat. Allow the first coat to dry for about 24 hours before applying the second.
9. Prepping for Hanging
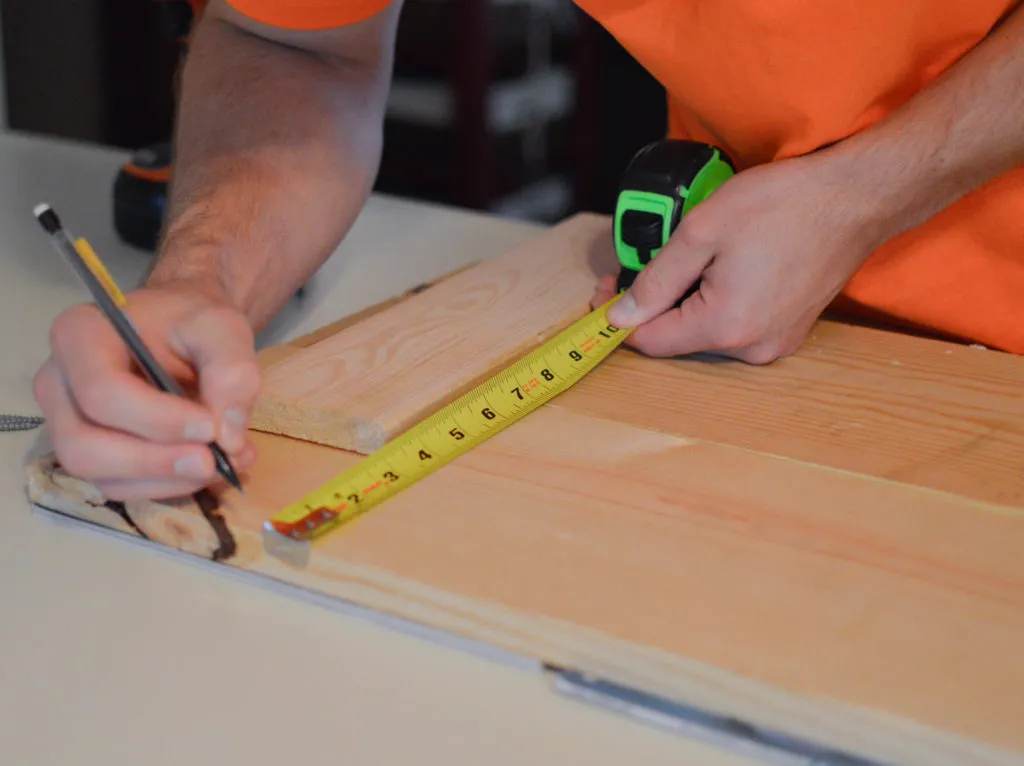
- Bracket Placement: Flip your sign over and locate the 1×3 backer boards. Measure down from the top of each board, marking the same distance on both to ensure your brackets are level.
- Stud Spacing: To ensure your sign hangs securely, measure and mark 16 inches apart on your backer boards, aligning with standard wall stud spacing.
- Marking with Precision: Use a fine-tip pencil to mark the intersection of your measurements on each backer board. Remember the age-old adage: “Measure twice, cut once” (or in this case, drill once!).
- Attaching the Brackets: With your marks in place, securely screw in your D-ring hooks using your drill. Double-check with a level to guarantee they are perfectly aligned.
 A rustic wood sign that says "This is us" on it
10. The Grand Reveal
- Locating the Studs: Using a stud finder, pinpoint the location of wall studs in your desired hanging spot.
- Securing the Sign: Gently hang your masterpiece on the screws.
And there you have it—a beautiful, rustic DIY wood sign ready to elevate your home décor.
 A rustic wood sign on a shiplap wall
Tips for Crafting Success
- Embrace Imperfection: Remember, rustic charm often lies in the imperfections. Don’t be afraid to experiment with distressing techniques or embrace the natural knots and grains of the wood.
- Personalized Touches: Add your unique flair by incorporating stencils, hand-painted designs, or even embellishments like twine or small metal accents.
Conclusion: Unleashing Your Inner Artist
Creating your own DIY rustic wood signs is a rewarding and budget-friendly way to personalize your space. I encourage you to give this project a try and discover the joy of crafting something truly unique. And remember, the most important ingredient in any creative endeavor is to have fun and let your personality shine through.
Now, I’d love to hear from you! Have you tackled any DIY projects lately? Share your experiences and photos in the comments below. And if you’re looking for more handmade treasures and inspiration, be sure to explore the unique offerings on the Robert Kline Art website. Happy crafting!
