Blog
DIY Wire Wind Spinner: A Whimsical Addition to Your Garden Decor

Hey there, fellow craft enthusiasts! Robert Kline, your trusted guide in the world of handmade art, here. Today, we’re diving into a delightful project that merges simplicity with stunning visual appeal: crafting your very own wire wind spinner!
This project is inspired by a recent challenge from the International Bloggers Club (IBC), a fantastic group of creatives from around the globe. The theme was “Wired,” and I couldn’t resist the opportunity to fashion a piece that dances with the wind. This DIY wire wind spinner is incredibly easy to make, a perfect project for beginners, and it brings a touch of whimsy to your outdoor space. So, let’s gather our supplies and let the crafting begin!
Gathering Your Materials: Embracing the Upcycling Spirit
One of the things I love most about crafting is the potential for giving new life to old objects. For this wind spinner, I encourage you to embrace the spirit of upcycling! Here’s what we’ll be using:
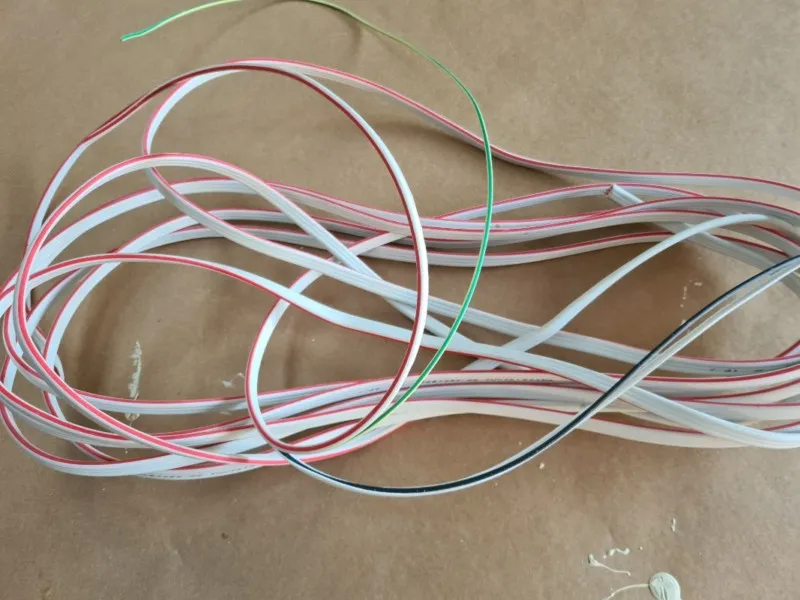
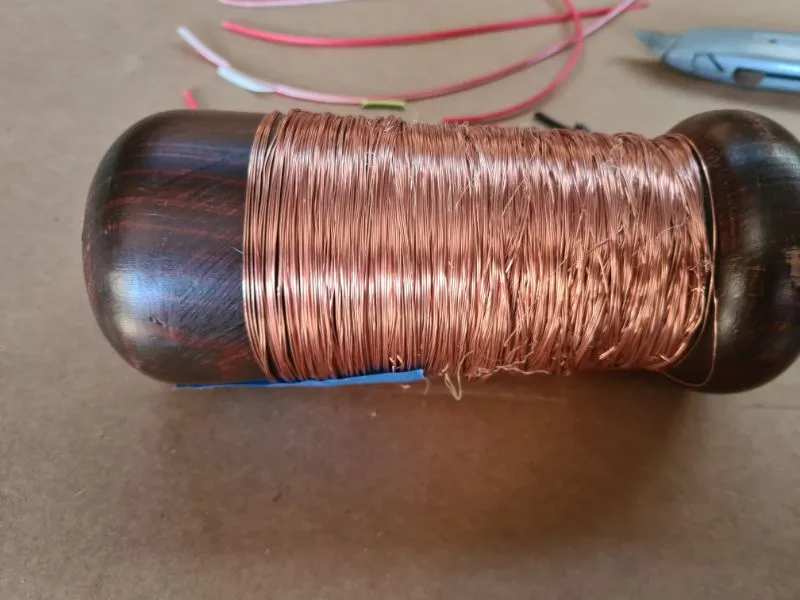
- Wire: Look for any spare wire you might have lying around. I stripped the plastic coating off some old electrical wire and wound it around a piece of wood to keep it from tangling.
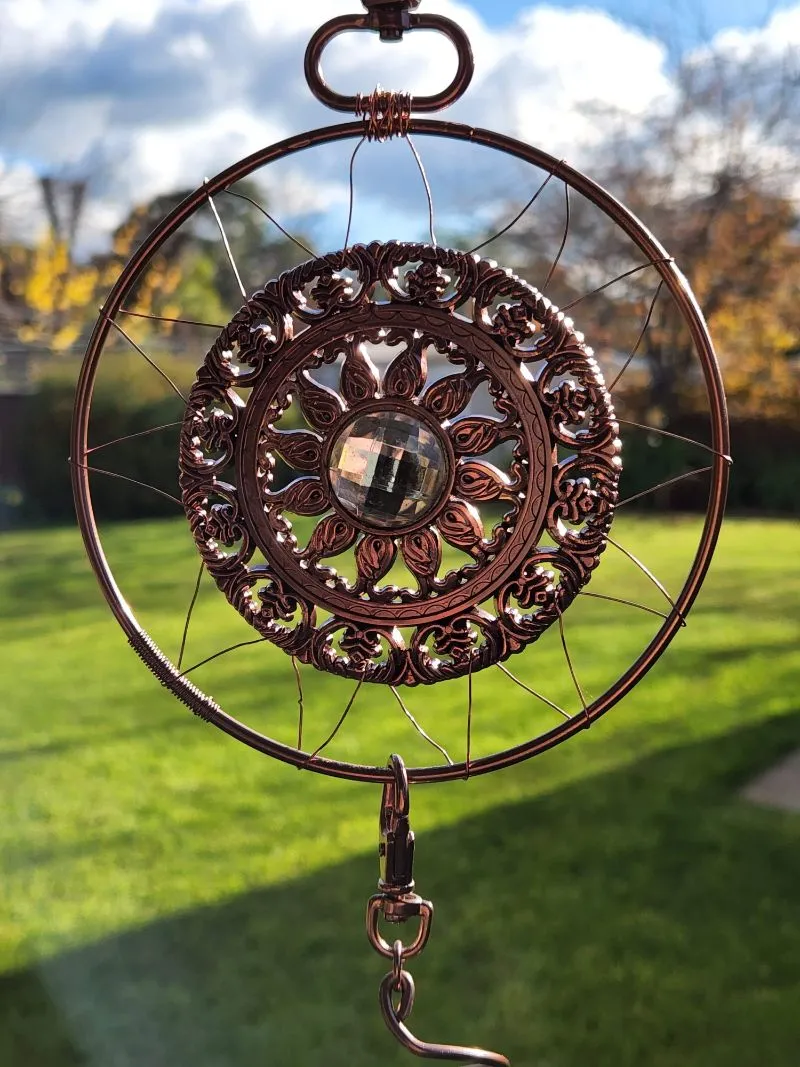
- Decorative Disc: Keep an eye out for interesting pieces from old handbags or jewelry. I used a beautiful disc that was once attached to a handbag for the center of my wind spinner.
- Wire Hoop: You can find inexpensive wire hoops in the craft section of most stores. They are typically used for making wreaths, but they work perfectly for our wind spinner’s top.
- Coiling Wire: A flexible aluminum jewelry wire (around 2.5mm thick) is perfect for creating the coil.
- Small Wire Basket: An old necklace with a small wire basket pendant adds a charming touch and helps weigh down the bottom of the spinner.
- Glass Ball: A 40mm glass ball nestled within the coil adds a touch of elegance.
Additional Supplies:
- Wire cutters
- Long nose pliers
- Spray paint (I used a copper color)
- A small table leg (or similar object) for shaping the coil
Crafting Your Wind Spinner: A Step-by-Step Guide
Preparing the Wire
If you’re using recycled wire like I did, start by carefully stripping off any insulation. Remember, safety first! Always wear appropriate safety glasses when working with wire.
Creating the Top
- Take your wire hoop and attach your decorative disc to it using the copper wire. Weave it securely to ensure it stays in place.
Shaping the Coil
- Wrap your aluminum wire tightly around your table leg (or a similar round object).
- As you wrap, push the coils together to create a tightly wound spiral.
- Once you’ve reached your desired coil length, carefully slide it off the table leg.
- Use your pliers to create small hoops on both ends of the coil. These loops will be used for attaching it to the top section and the basket.
Assembling the Wind Spinner
- Attach the coil to the wire hoop by hooking the top loop onto the hoop.
- Attach the small wire basket to the bottom loop of the coil.
Adding a Touch of Color
- To unify the look of the wind spinner, I spray-painted it with a copper-colored paint.
The Finishing Touch: Nestling the Glass Ball
- Gently push the glass ball into the coils of the wire. The coils should hold it securely in place.
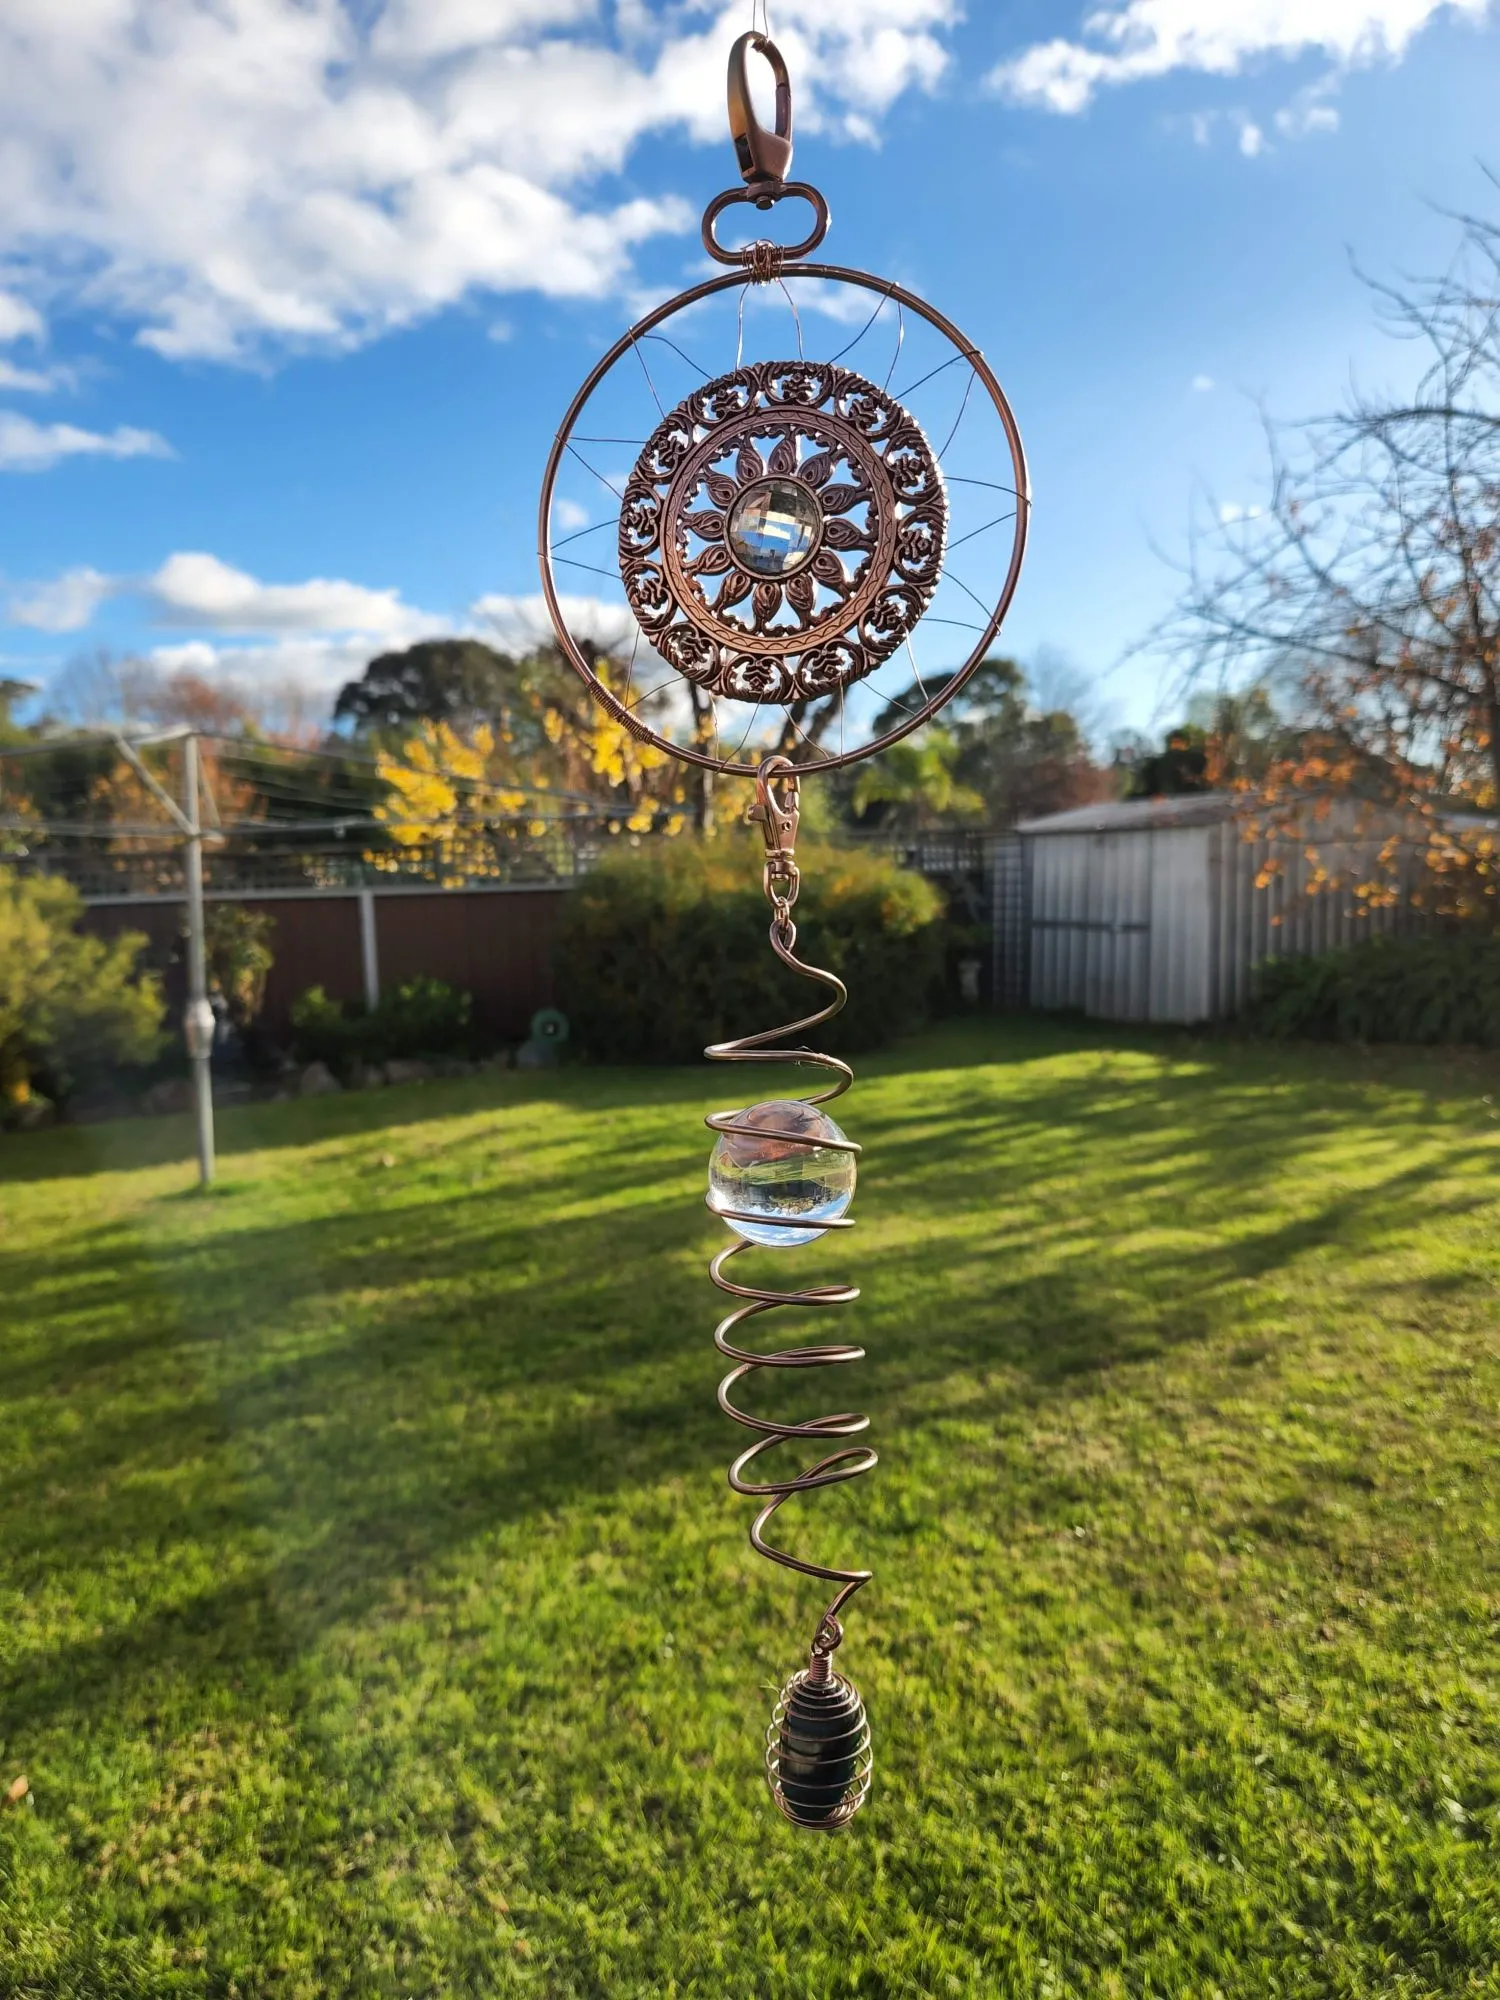
 "A finished wind spinner hanging from a tree branch." width=
Displaying Your Creation: Letting it Dance in the Wind
Your wire wind spinner is complete! Now it’s time to find the perfect spot for it to shine. I like to hang mine from tree branches in my garden, where it can twirl freely in the breeze.
 "A close-up of the wire wind spinner, showing the copper-colored paint and the decorative disc." width=
Tips and Variations
- Get creative with your materials! Use beads, buttons, or other found objects to personalize your wind spinner.
- Experiment with different colors of spray paint. A pop of bright color can add a fun, vibrant touch.
- Try different wire gauges and textures. Thicker wire will create a sturdier spinner, while thinner wire will result in a more delicate look.
- Add some jingle! Attach small bells or chimes to your wind spinner to create a gentle, musical sound.
 "A pair of hands working on the wire wind spinner." width=
More Than Just a Craft: The Joy of Handmade
This DIY wire wind spinner is more than just a decorative piece; it’s a testament to the joy of creating something beautiful with your own two hands. As you watch your creation spin gracefully in the wind, remember the satisfaction that comes from transforming simple materials into something unique and visually appealing.
“Crafting allows us to tap into our innate creativity,” says renowned art therapist, Dr. Emily Carter. “The act of making something with our hands can be incredibly therapeutic and empowering.”
 "A close-up of the wire wind spinner, showing the coil and the glass ball." width=
Share Your Creations and Explore More at Robert Kline Art
I encourage you to give this project a try and share photos of your finished wind spinners in the comments below! And don’t forget to explore the Robert Kline Art website for more inspiring DIY craft ideas, gift recommendations, and artistic insights. Happy crafting!
