Blog
DIY Painted Wooden Wall Organizer: A Simple Guide
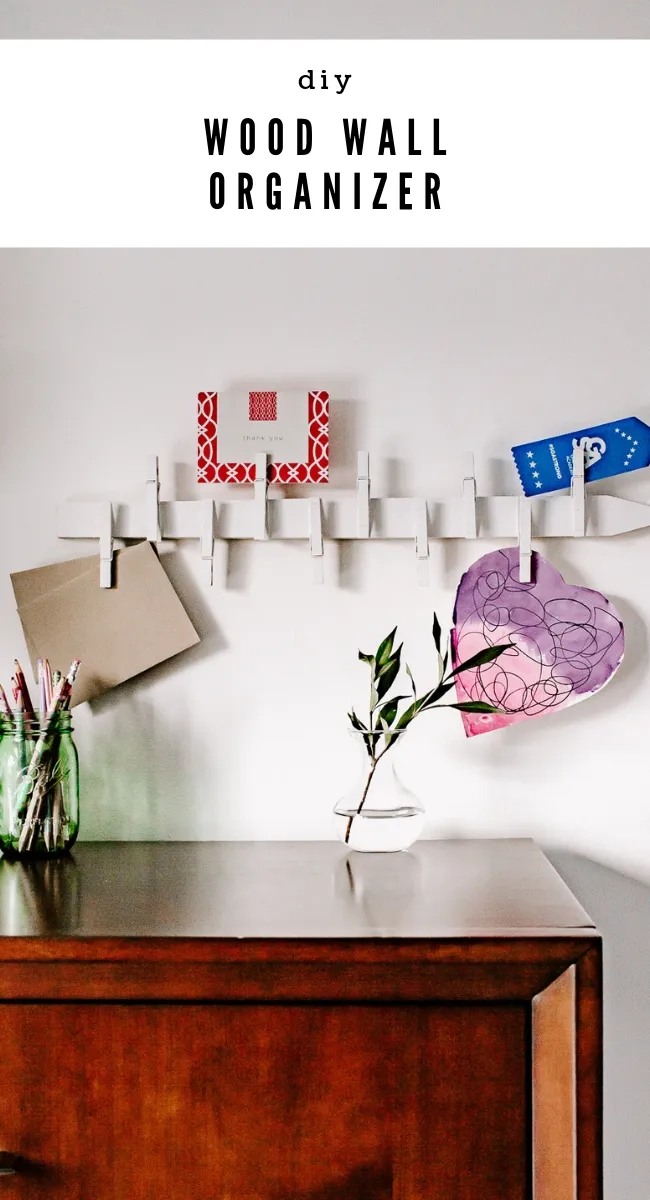
Welcome back to Robert Kline Art, your hub for all things creative and crafty! Are you tired of cluttered spaces and endless piles of paperwork? Do you crave a touch of rustic charm with a dash of personalized flair in your home décor? Well, you’ve come to the right place! Today, we’re diving into a simple yet stylish DIY project: a painted wooden wall organizer. This versatile piece is not just practical but also adds a touch of handmade warmth to any room.
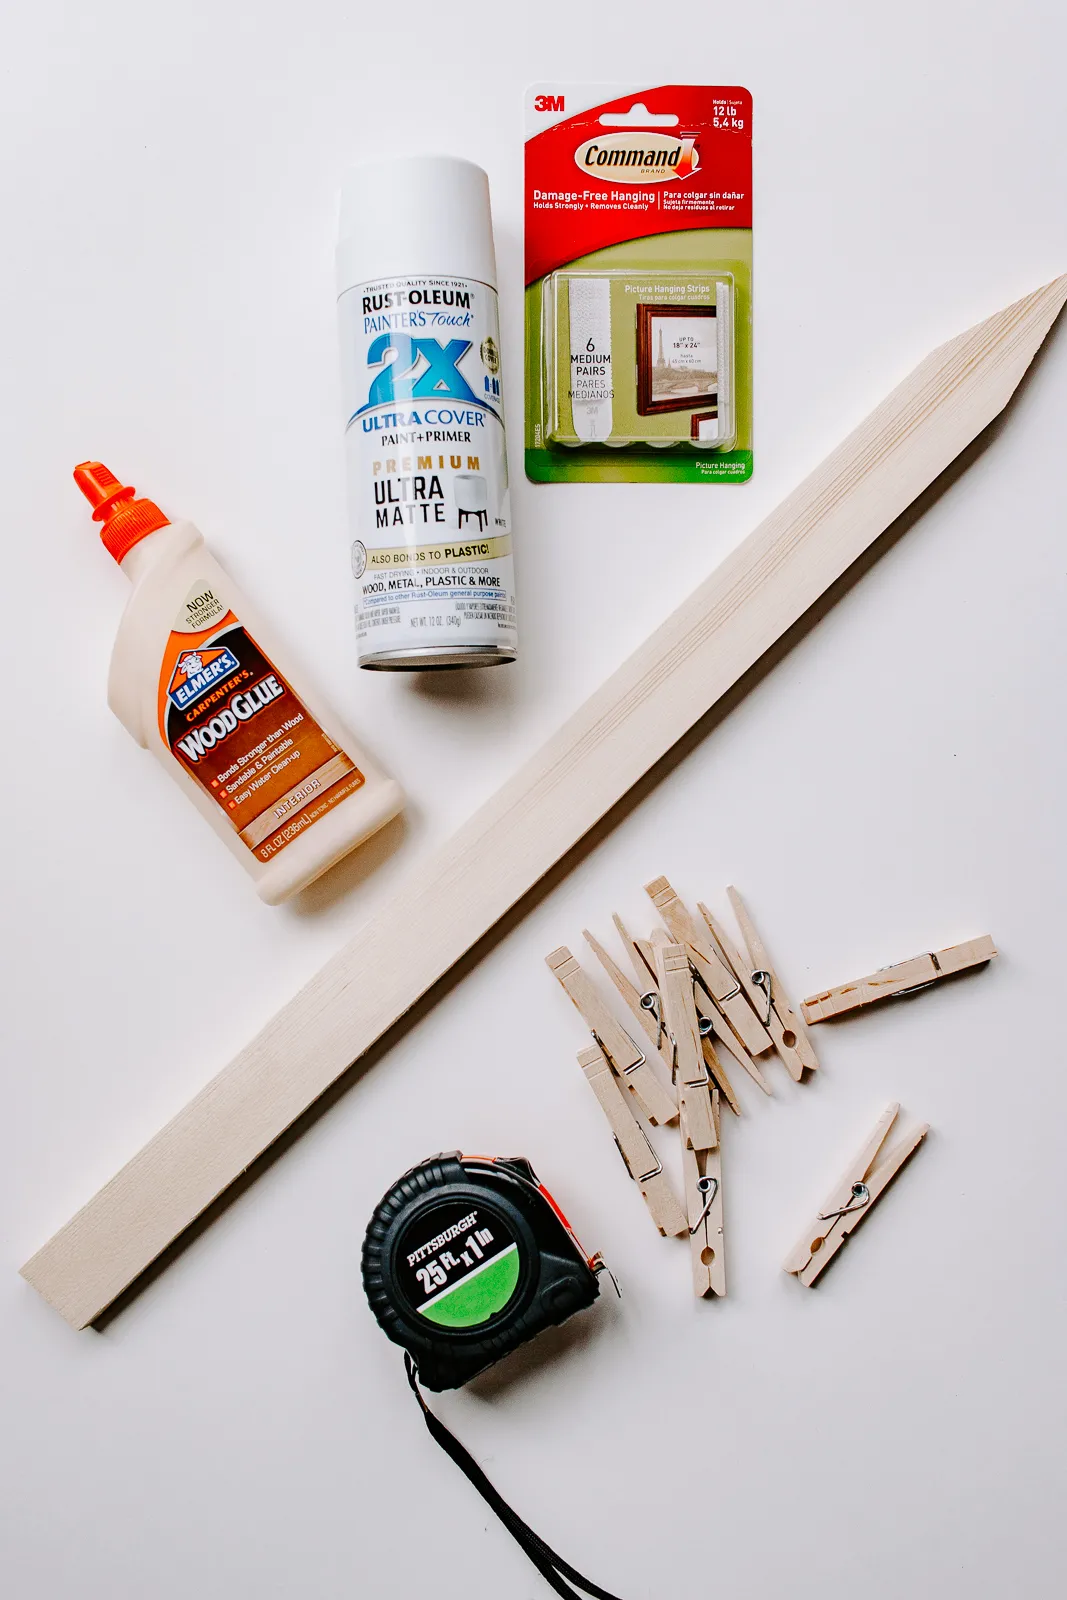
Gathering Your Supplies
Every masterpiece begins with the right tools, and our wall organizer is no different. Here’s what you’ll need:
- A Wooden Garden Stake: These are usually easy on the wallet and available at your local hardware store. I found mine for just a dollar! Of course, you can use any scrap wood piece cut to the desired size. (Mine was 2 inches wide and 24 inches long.)
- Wood Glue: The adhesive hero of our project!
- Wooden Clothespins: Choose the classic spring-loaded kind for that rustic charm.
- A Q-Tip: For those tiny glue touch-ups.
- Tape Measure: Because precision matters!
- Spray Paint: Optional, but a great way to add a splash of personality.
 Wood and clothespins on a table ready to assemble wall organizer
Let’s Get Crafting!
Now that we have our artistic arsenal ready, let’s transform these simple materials into a charming wall organizer.
Step 1: Planning Makes Perfect
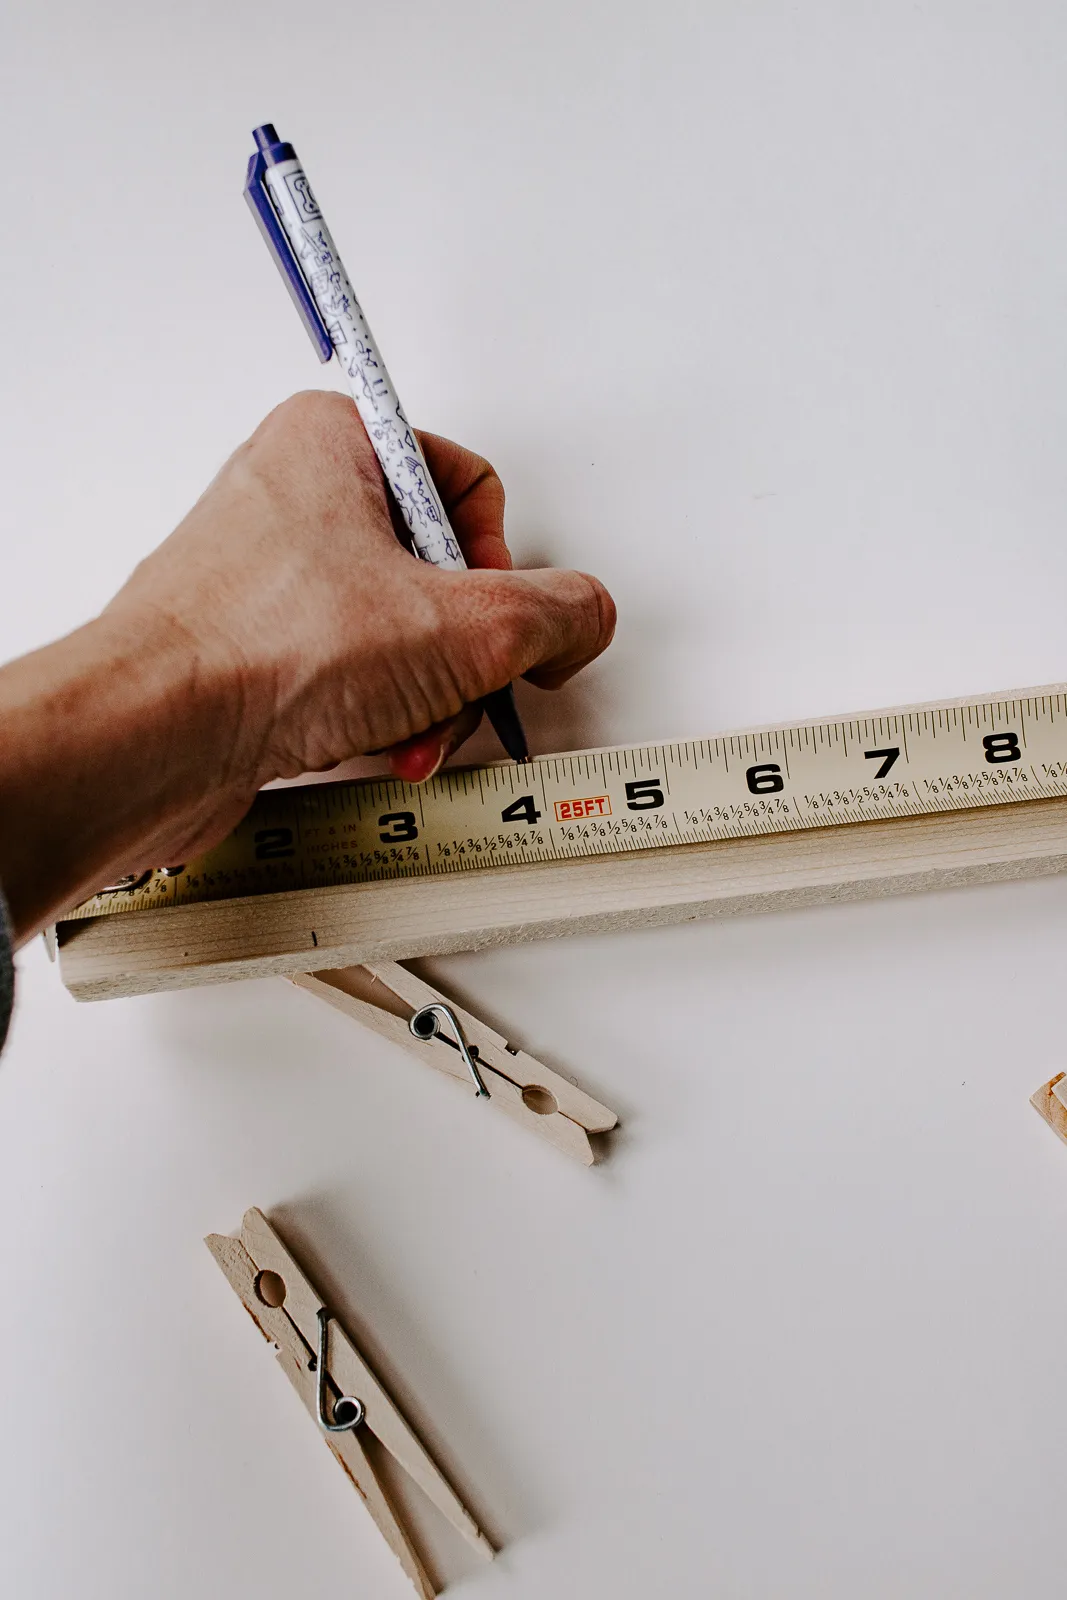
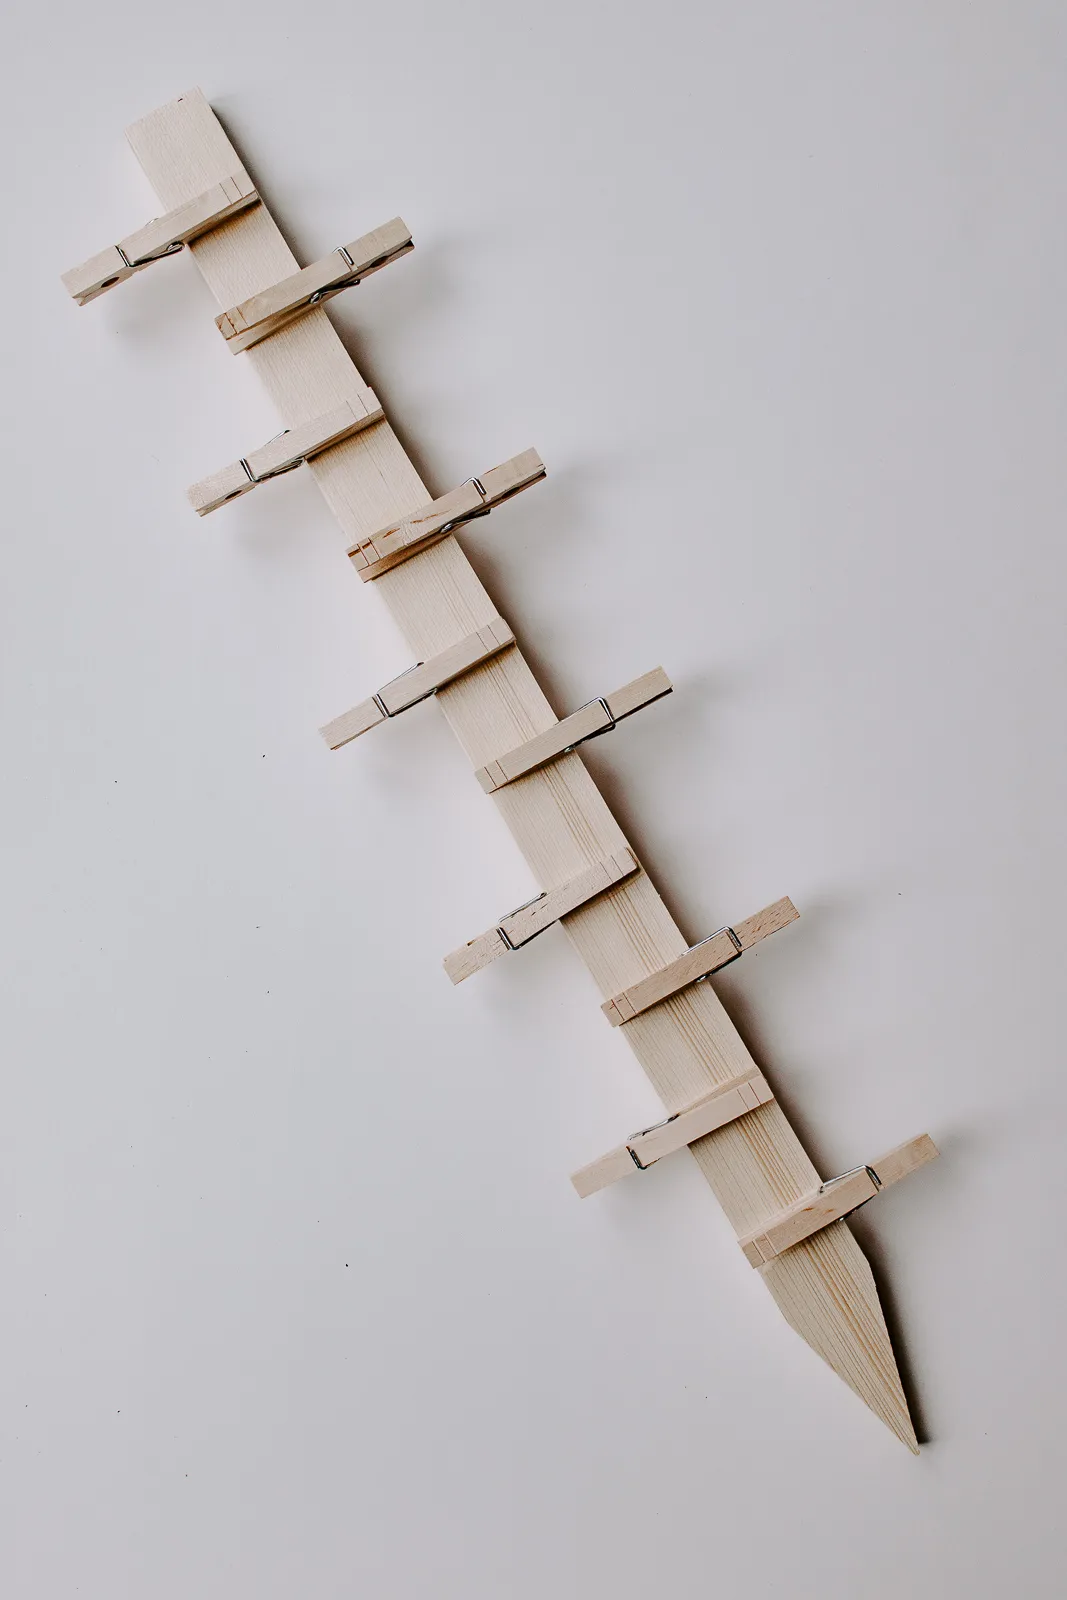
Using your tape measure, mark the desired clothespin positions on your wood piece. I recommend placing them about two inches apart, alternating between the top and bottom edges for a visually appealing pattern.
 Marking wood for clothespins with a pencil
Step 2: Clothespin Connection
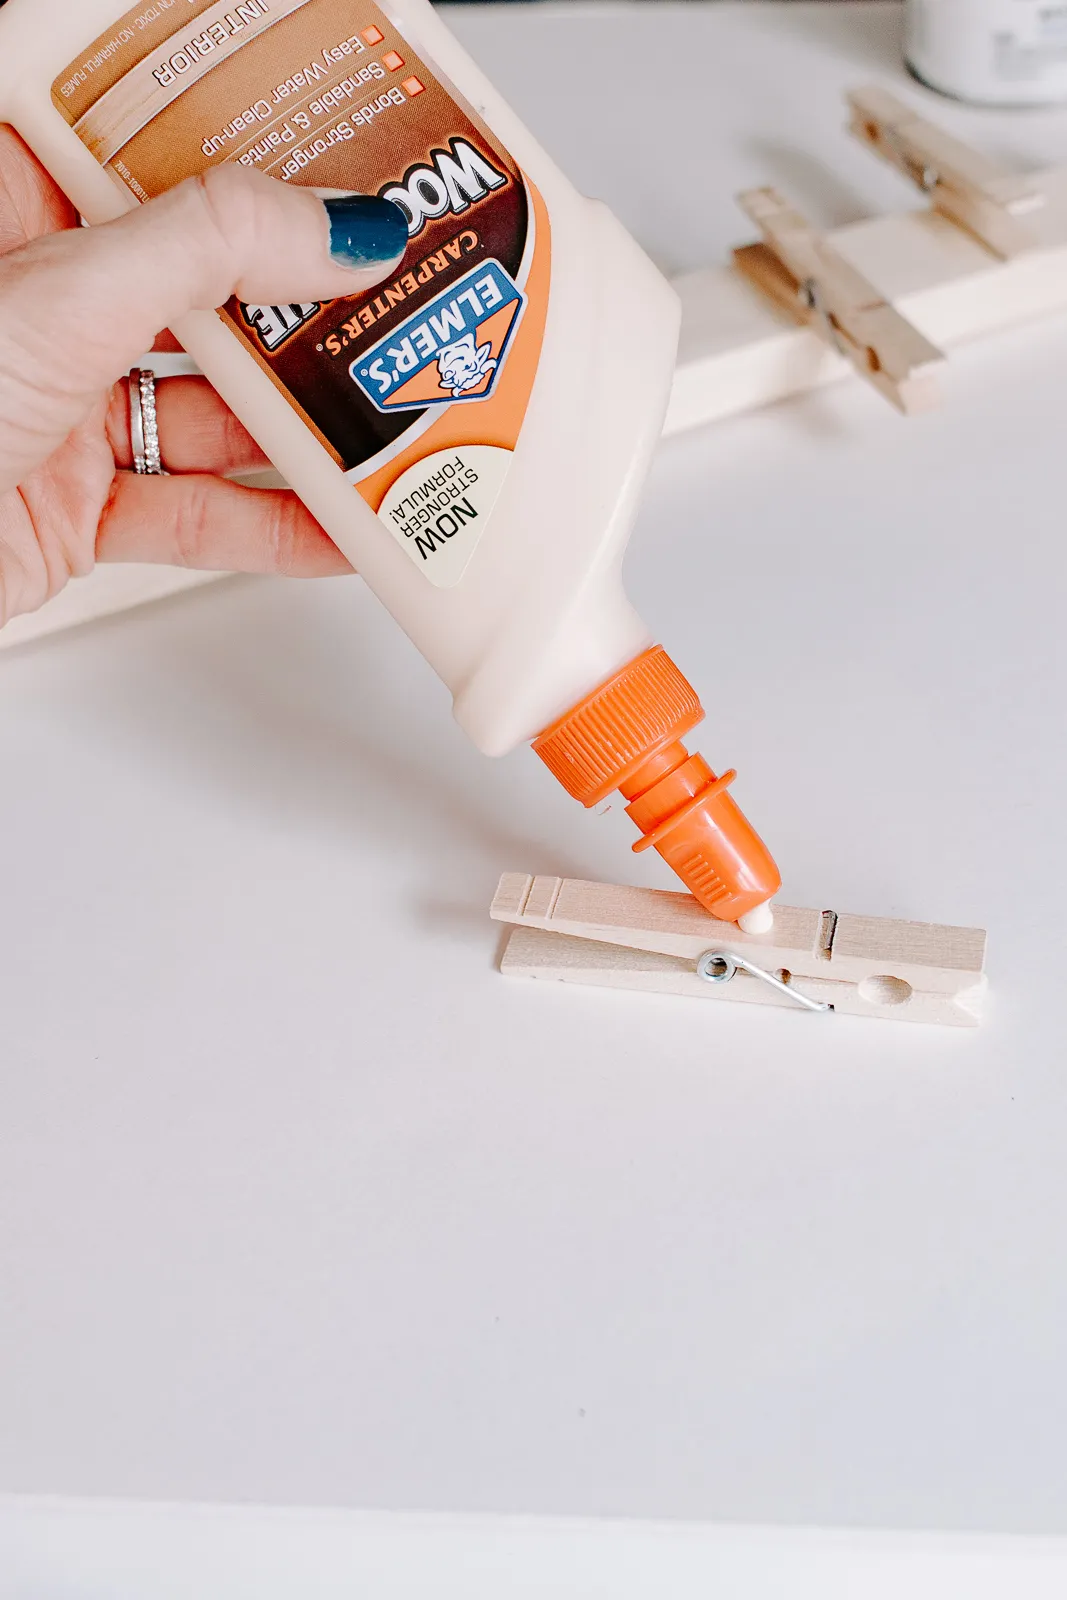
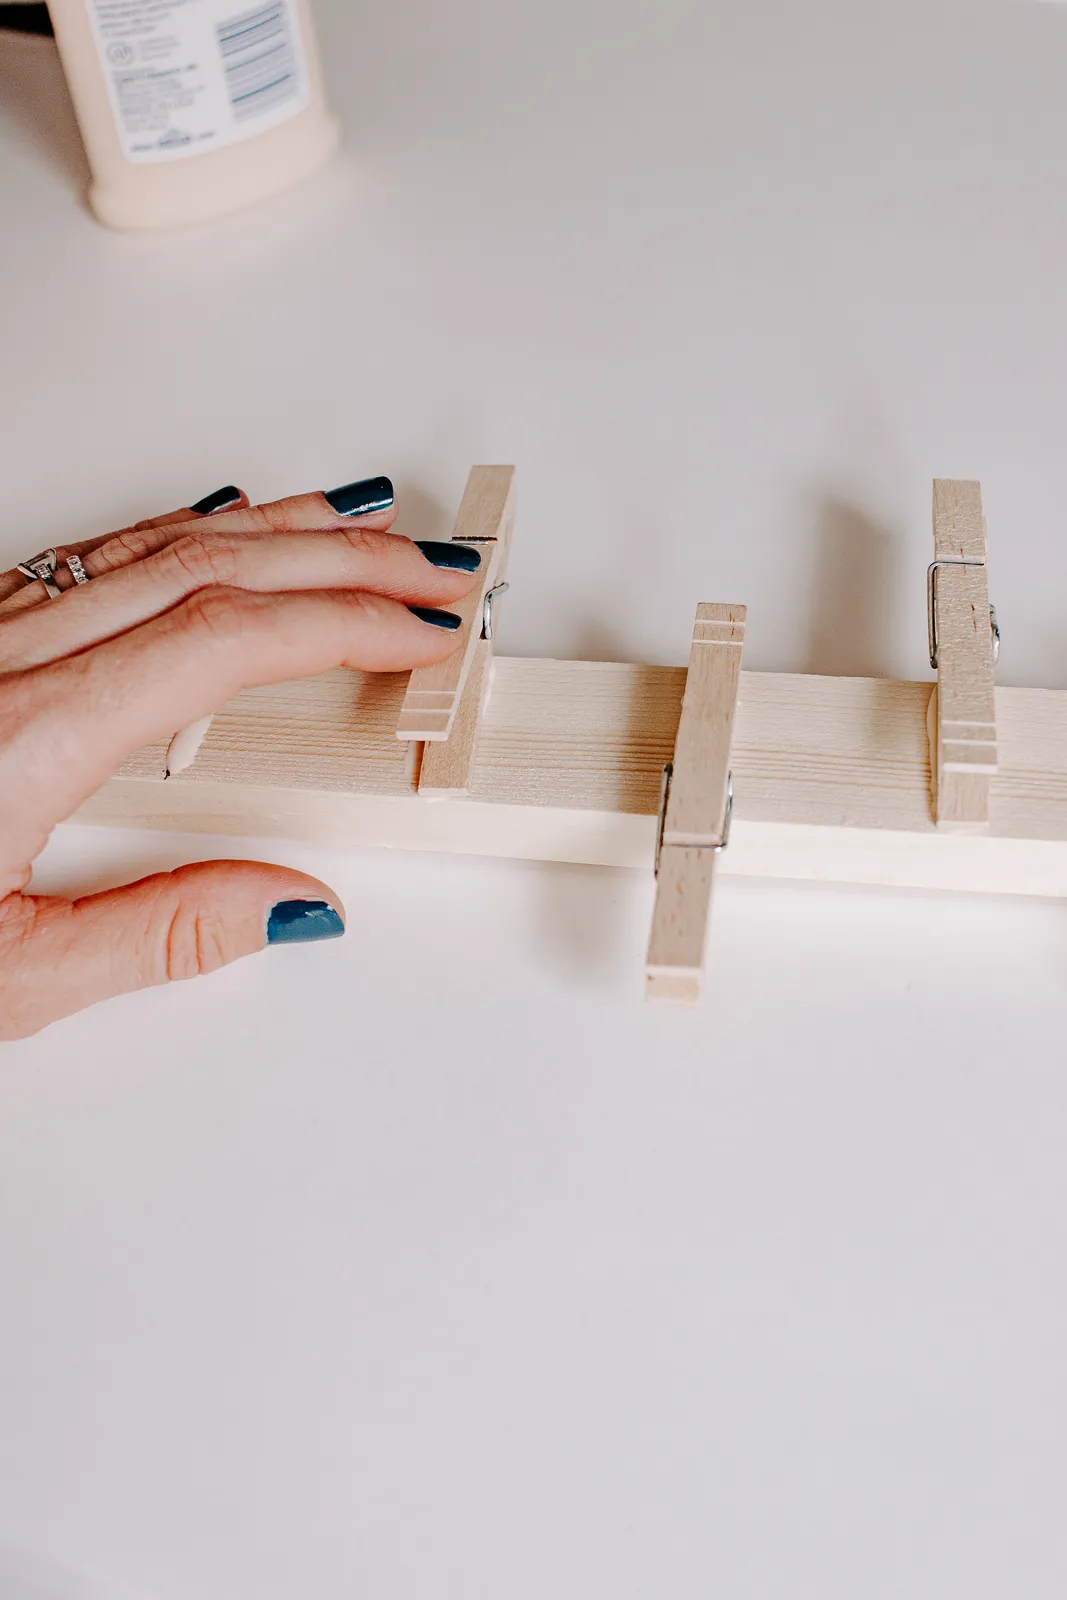
Apply a dab of wood glue to the back of each clothespin and align them with your pencil marks. Press firmly for a few seconds to ensure a strong bond. Remember, the “mouth” of the clothespin should face outward, ready to clip! For any excess glue, a quick swab with a Q-tip does the trick. Allow the glue to dry overnight for maximum strength.
 Gluing clothespins to wood for wall organizer
 Clothespins glued to wood for wall organizer
Step 3: The Color of Creativity
Once the glue has dried, it’s time to unleash your inner artist! While the natural wood look has its own rustic charm, a coat of spray paint can add a personalized touch.
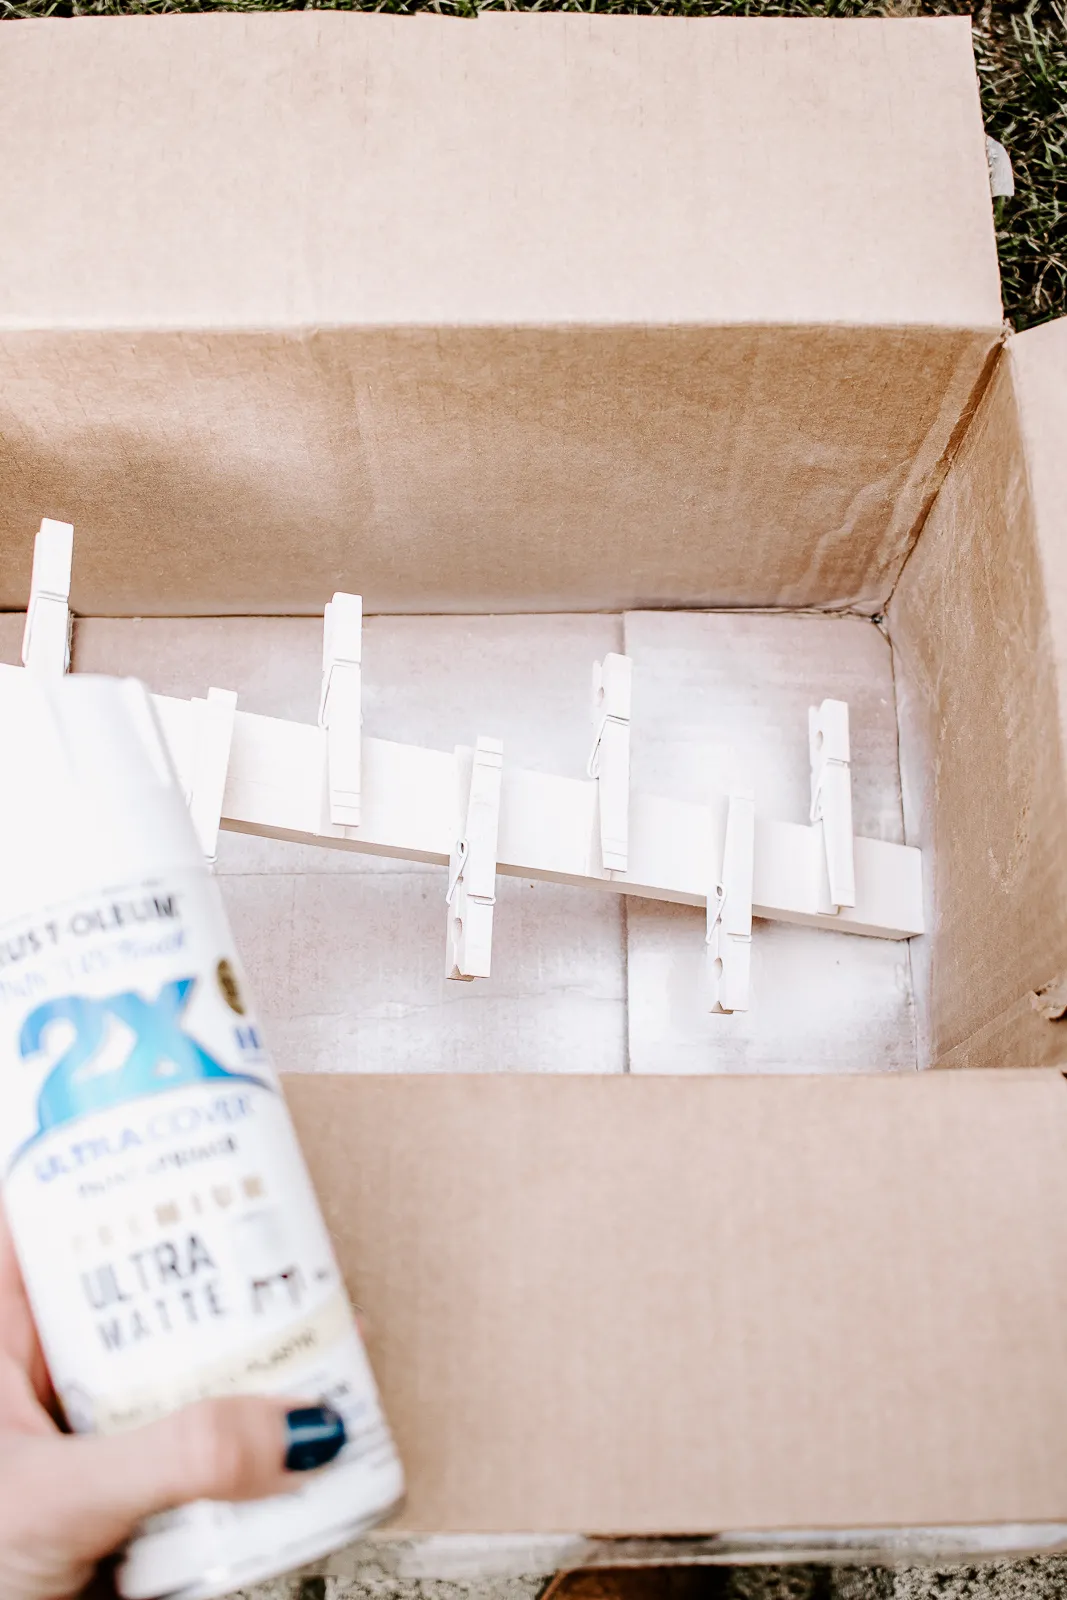
Pro Tip: Always spray paint in a well-ventilated area or outdoors. Place your wall organizer inside a large cardboard box to prevent unwanted paint splatters. Trust me, pink grass isn’t a good look for your lawn!
Apply several light coats in a sweeping motion, allowing each layer to dry before the next. This technique ensures smooth, even coverage and prevents unsightly drips.
 Spray painting a wood wall organizer
Step 4: From Craft Table to Wall Decor
Congratulations! Your DIY painted wooden wall organizer is complete! To hang your masterpiece, I recommend using 3M velcro sticky tabs for lightweight items like stationery and photos. For heavier objects, traditional nails and a hammer will provide more secure support.
 Finished white wall organizer hanging on a blue wall
A World of Organizing Possibilities
This versatile creation isn’t just for stationery! Here are some creative ways to incorporate your DIY painted wooden wall organizer into different areas of your home:
- Home Office: Tame the paper clutter with a dedicated space for bills, important documents, and inspiring notes.
- Craft Room: Organize your art supplies like paintbrushes, washi tapes, and colorful ribbons.
- Bedroom: Hang your favorite jewelry pieces, stylish scarves, or even use it as a unique tie rack.
- Entryway: Keep keys, sunglasses, and incoming mail organized and within easy reach.
- Kitchen: A charming way to display family recipes, shopping lists, or even small potted herbs.
 Wall organizer used to hold pictures and stationery
 Wall organizer used to hold pictures and stationery
Unleash Your Inner Artist with Robert Kline Art
This DIY painted wooden wall organizer is a testament to the power of creativity and resourcefulness. It’s a simple project with endless possibilities for personalization, making it a perfect craft for both seasoned DIY enthusiasts and beginners alike.
Ready to embark on your crafting journey? Head over to Robert Kline Art for more inspiring ideas and unique handmade treasures. We believe that everyone has a creative spark waiting to be ignited. Don’t forget to share your finished masterpieces with us!
