Blog
DIY Painted Wooden Wall Hooks: A Simple Solution for a Stylish Home
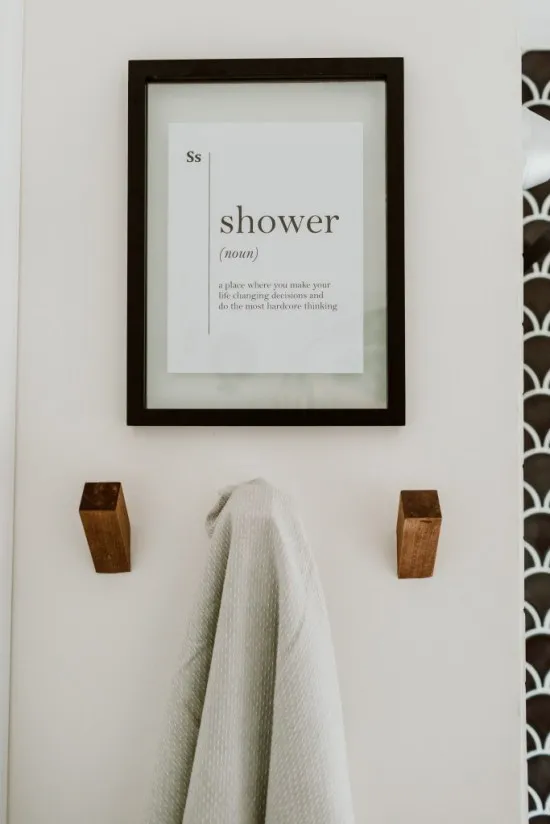
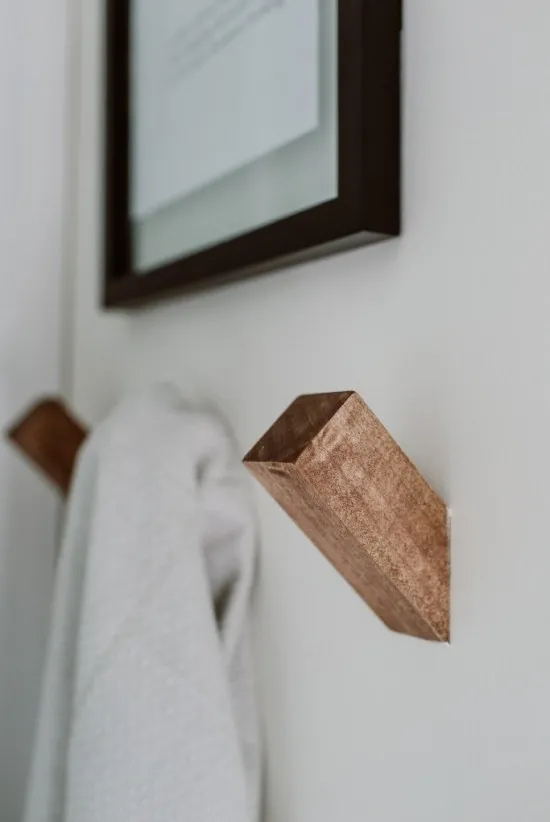
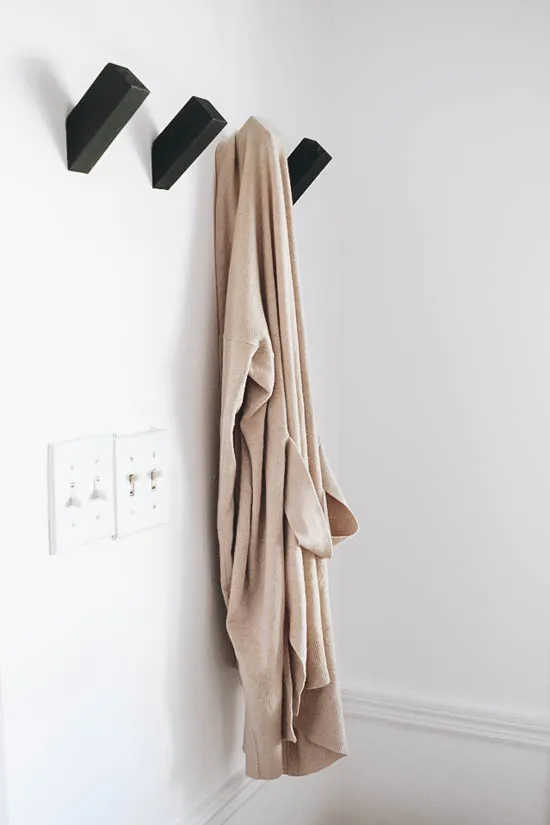
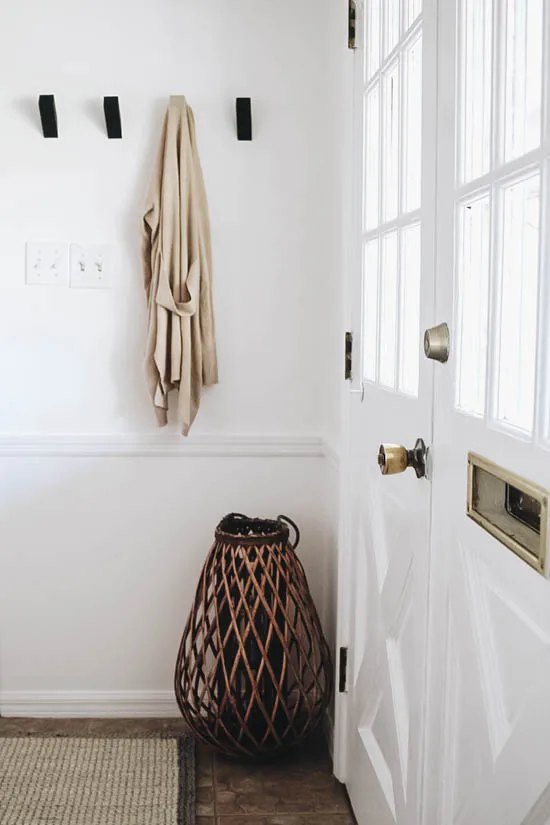
Look no further than DIY painted wooden wall hooks! As an experienced craftsman at Robert Kline Art, I’m thrilled to share this easy and budget-friendly project that can instantly elevate any room. Whether you’re a seasoned DIYer or just starting out, this tutorial will guide you through the process of creating beautiful, functional hooks that perfectly complement your aesthetic. The best part? You can customize them with your favorite paint or stain to match your existing decor.
 "Modern wooden wall hooks in a white entryway" class=
Why DIY Wooden Wall Hooks?
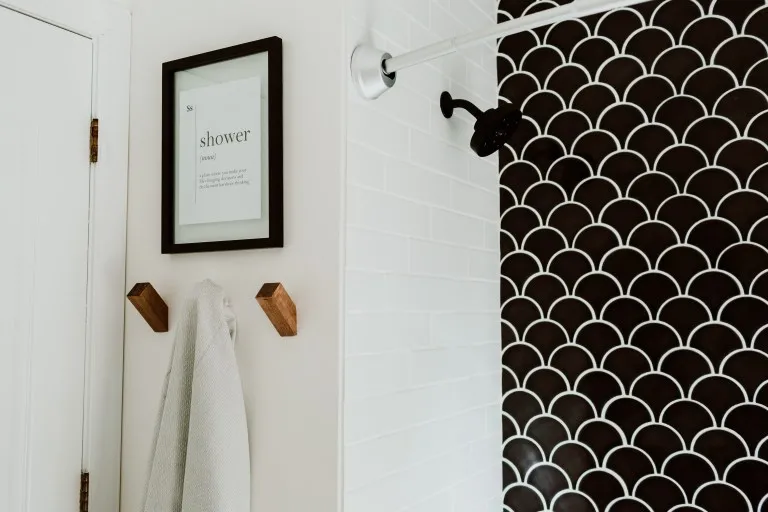
During my guest bathroom renovation, finding the right towel hooks proved surprisingly challenging. Everything either clashed with my style or was beyond my budget. That’s when the DIY light bulb went off! Crafting my own hooks not only solved the problem but also opened my eyes to the creative possibilities and cost savings of DIY home decor. I’ve been hooked ever since, and you will be too!
 "Close-up of black wooden wall hooks holding a white bag" class=
Let’s Get Started: You Only Need a Few Materials
- Miter Saw
- 2 x 2 Pine Wood
- Measuring Tape
- Pencil
- Sandpaper (120 and 220 grit)
- Drill
- Drill Bit (slightly smaller than the dowel screw)
- Dowel Screws (one for every hook)
- Pliers
- Drywall Anchors (one for every hook)
- Stain or Spray Paint of your choice ( I love using Varathane’s Flagstone stain or Behr’s Flat Black spray paint for a modern look).
Note: Some links provided are affiliate links, which means I may earn a small commission at no extra cost to you. This helps support Robert Kline Art in creating more inspiring content. Thank you!
Crafting Your Wooden Hooks: A Step-by-Step Guide
1. Cut and Shape:
- Angle Cut: Using a miter saw, cut the end of your 2 x 2 pine wood at a 45-degree angle.
- Mark and Cut: Measure 3 inches from the shorter side of the angled cut and mark it with a pencil. Make a straight cut at this mark to create the hook shape.
- Repeat: Continue steps 1 and 2 until you’ve created the desired number of hooks.
2. Smooth and Prepare:
- Sanding is Key: Smooth out any rough edges and prepare the wood for finishing by sanding all sides of each hook. Begin with 120-grit sandpaper to remove any imperfections and follow with 220-grit sandpaper for a polished look.
- Pre-Drill: Using a drill bit slightly smaller than your dowel screws, drill a hole into the angled side of each hook. This hole will house the dowel screw, ensuring the hook sits flush against the wall. Maintain consistency by drilling at the same spot and angle for each hook.
3. Finishing Touches:
- Stain or Paint: Now comes the fun part – adding personality! Stain or paint your hooks in your desired color. Let them dry completely before moving on to the next step.
- Secure the Dowel Screw: Insert one side of the dowel screw into the pre-drilled hole. Use pliers to firmly twist and secure it in place.
4. Installation:
- Mark and Install Anchors: Decide where you want your hooks to go and mark the wall. Install drywall anchors at each mark. For added sturdiness, I recommend using anchors that can hold up to 100 pounds. While these hooks won’t be subjected to that much weight, this extra support helps prevent wobbling over time.
- Attach Your Hooks: Finally, align the exposed dowel screw on each hook with the installed drywall anchor and screw it in.
 "Entryway with black wall hooks" class=
 "Woman installing black wall hooks" class=
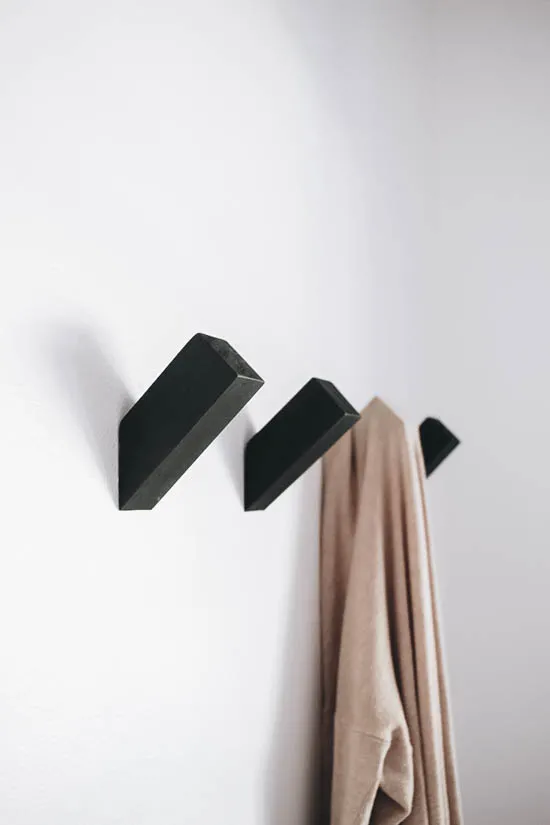
 "Black wall hook with a white purse hanging" class=
Tips and Tricks From Your Resident Craftsman
-
Visual Learner? Check out my quick and easy-to-follow video tutorial for a visual walkthrough of the process.
-
Sanding is Your Friend: Don’t underestimate the importance of sanding. It makes a world of difference in achieving a smooth and professional finish.
-
Test Your Anchors: Before you start hanging anything heavy, ensure your anchors are securely installed to prevent any mishaps.
 "Entryway with black wall hooks and a bench" class=
Unleash Your Creativity
These DIY painted wooden wall hooks are incredibly versatile and can be used throughout your home:
- Bathroom: Hang towels, robes, or even decorative items.
- Entryway: Keep coats, bags, and keys organized.
- Kitchen: Create a charming space for hanging mugs, utensils, or tea towels.
- Mudroom: Tame the chaos with designated spots for backpacks, scarves, and hats.
- Laundry Room: Air-dry delicate garments or keep laundry essentials within reach.
- Garage: Get organized and maximize storage space.
They also make heartfelt and personalized gifts for friends and family who appreciate handcrafted touches.
Share Your Masterpieces
I’d love to see your DIY wooden wall hook creations! Feel free to share pictures of your finished projects in the comments below or tag Robert Kline Art on social media. Happy crafting!
