Blog
Refresh Your Home Decor with a DIY Chalk Painted Plant Stand

Hey there, fellow plant lovers and DIY enthusiasts! Robert Kline here, and I’m excited to share a recent project that’s breathing new life into my home decor – a charming chalk painted plant stand.
I’m always on the lookout for unique ways to display my leafy companions, and when I stumbled upon a sturdy wooden plant stand at a local consignment shop, inspiration struck. While the original wood tone was lovely, I envisioned a fresh, bright look that would blend seamlessly with my existing furniture. Enter the magic of chalk paint!
The Beauty of Chalk Paint for DIY Projects
For those unfamiliar, chalk paint is a DIYer’s dream come true. It requires minimal prep work – no sanding or priming required! This makes it perfect for busy creatives or anyone new to the world of furniture makeovers.
Gathering Your Supplies
Before we dive in, let’s gather our tools and materials. Here’s what you’ll need for this project:
- A Wooden Plant Stand: Feel free to use a new one or give an old piece a fresh start!
- TSP Cleaner: This powerful cleaner removes dirt, grime, and any residue that might interfere with paint adhesion.
- Chalk Paint: I opted for a classic Linen White, but the color possibilities are endless!
- Paint Brushes: Choose brushes suitable for chalk paint.
- Clear Sealing Wax: This will protect your finished piece from moisture and add a subtle sheen.
- Soft Cloths: For applying and buffing the sealing wax.
Easy Steps to a Stunning Transformation
Ready to transform your plant stand? Let’s get started!
- Clean and Prepare: Begin by giving your plant stand a thorough cleaning with TSP. This ensures a smooth and even paint application.
- Embrace the Chalk Paint: Apply two coats of your chosen chalk paint color, allowing ample drying time between coats. Remember, no priming is necessary!
- Seal and Protect: Once the paint is completely dry, apply a coat of clear sealing wax using a soft cloth. This step provides a durable finish and enhances the beauty of your handiwork.
Tips and Tricks for a Flawless Finish
- For a distressed, vintage-inspired look, lightly sand the edges of your plant stand after painting.
- Experiment with different colored waxes to create unique effects.
- Allow the sealing wax to cure completely before placing your plants on the stand.
Showcasing Your Masterpiece
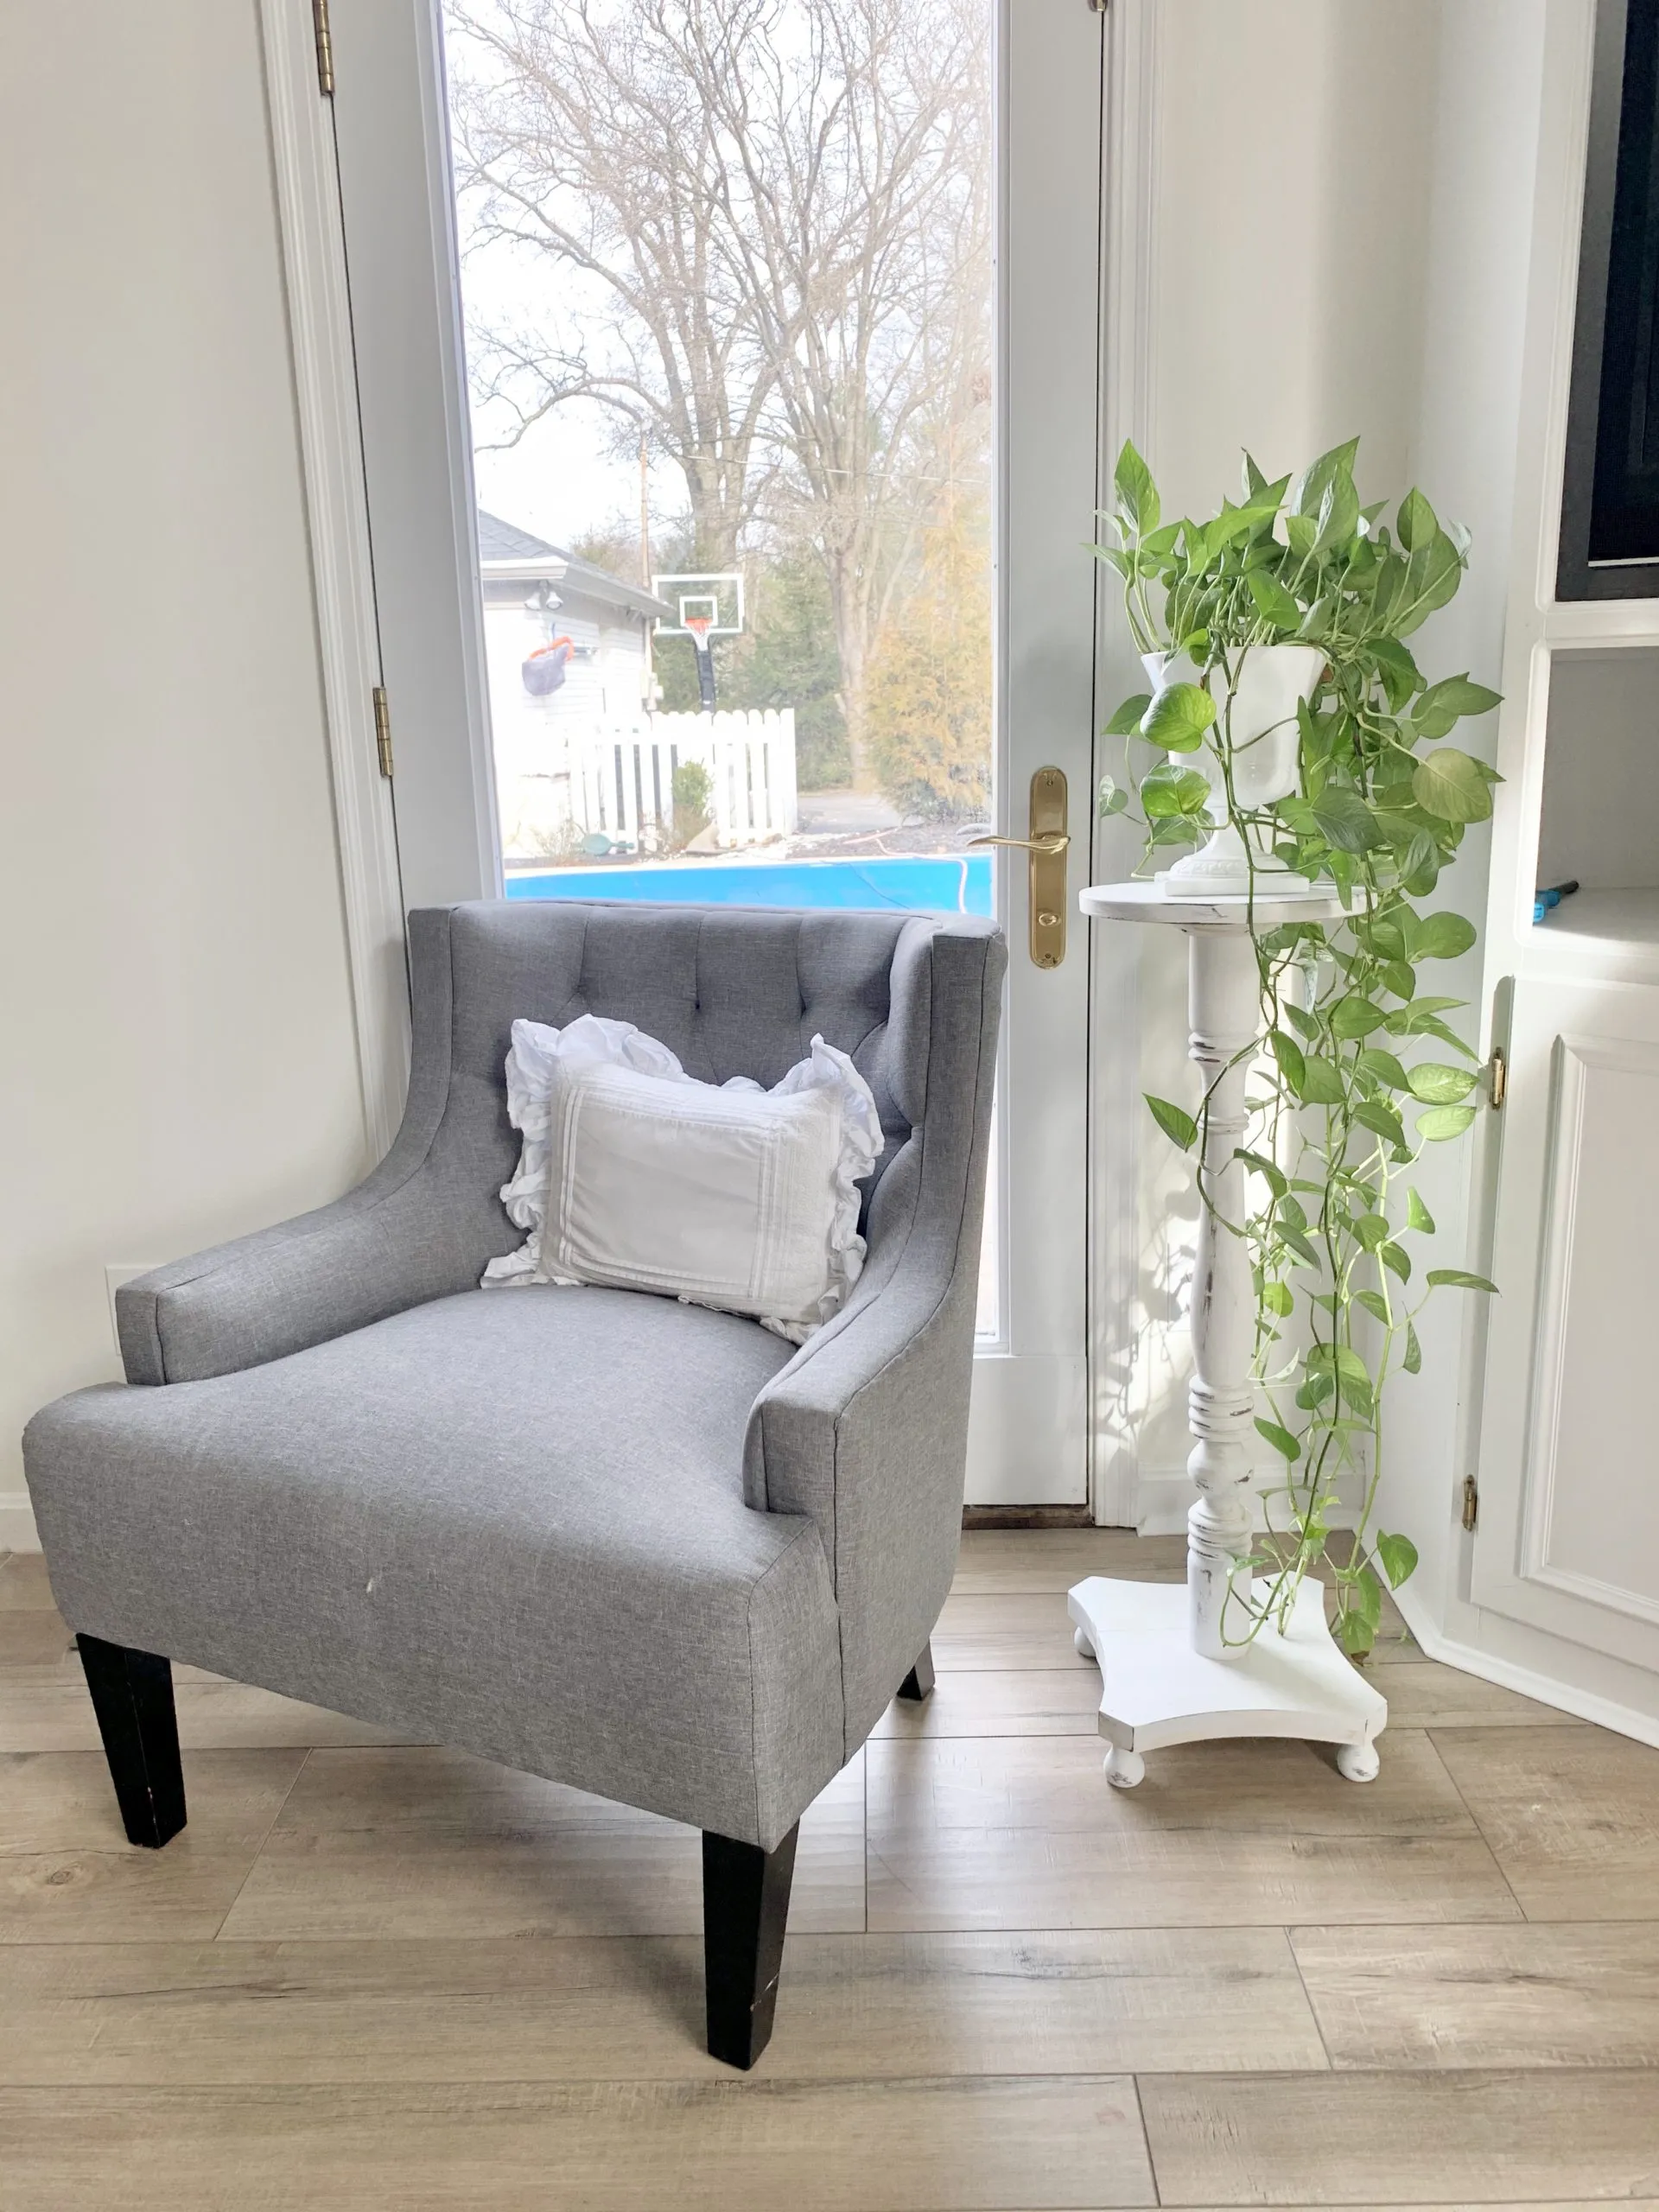
 Wood Plant Stand Updated with Chalk Paint
 Wood Plant Stand Updated with Chalk Paint
 Wood Plant Stand Updated with Chalk Paint
This versatile piece now brightens a corner of my living room, proudly displaying my favorite ferns. I love how easy it was to customize with just a few simple steps!
Unleash Your Creativity with Robert Kline Art
Ready to explore the world of DIY and crafting? Head over to Robert Kline Art for more inspiring projects, tips, and tricks! And don’t forget to share your own creations with us – we love seeing your artistic flair shine through!
