Blog
DIY Elevated Pet Bowl Stand: A Step-by-Step Guide
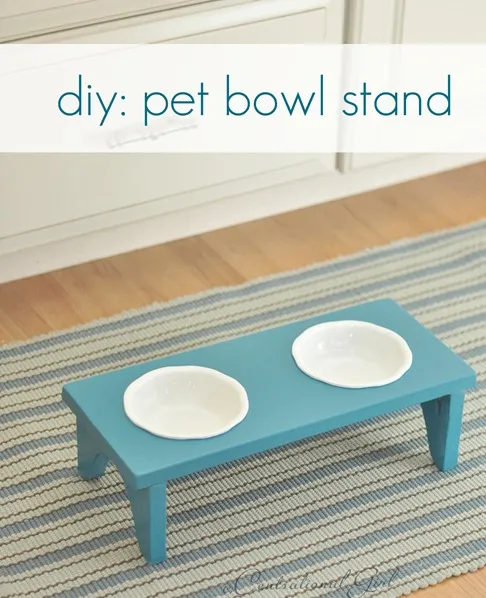
As a craft enthusiast, I’m always excited to combine my love for creating with my passion for pets. This DIY elevated pet bowl stand is a perfect project for anyone looking to add a personal touch to their pet’s dining area while also improving their feeding experience. This project is not only budget-friendly but also allows you to customize the stand to your pet’s size and your home decor.
Designing Your Pet Bowl Stand
My inspiration for this project came from my own cat, Coco. Like all felines, she’s prone to knocking things over, and her food and water bowls were no exception. To solve this problem, I decided to build an elevated pet bowl stand. This not only prevents spills but also adds a touch of charm to my kitchen.
Gathering Your Materials
Before you start building, gather the following materials:
- Two ¾” x 8” x 2’ wood boards
- 1” flat head screws
- Jig saw
- Kreg jig or “L” brackets
- Wood stain + polyurethane, or primer + paint
- Pet food bowls
You can find most of these supplies at your local hardware store and the pet bowls at any pet supply store.
Building Your Pet Bowl Stand
Here’s a step-by-step guide to building your own elevated pet bowl stand:
Step 1: Measure and Cut the Feet
- Determine the desired height of the stand. Keep in mind the height of your pet and the depth of their bowls.
- Subtract the thickness of the top board from the total desired height to get the height of the feet.
- Create a template for the feet on paper, ensuring a sturdy and visually appealing design.
- Trace the template onto the wood boards and cut out the feet using a jigsaw.
 measure leg height
Step 2: Prepare the Top Board
- Place your pet bowls on the second wood board to determine their placement.
- Outline the edges of the bowls and mark a cut line slightly smaller than the outline. This will create a snug fit for the bowls.
- Carefully cut out the bowl insets using the jigsaw. Drilling a pilot hole in the center of each bowl outline can make the cutting process easier.
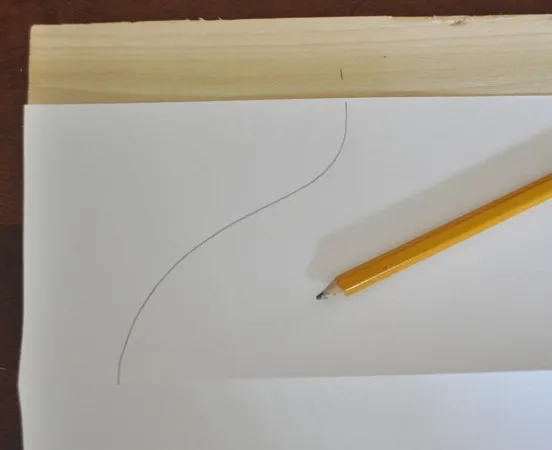 fold paper in half and cut
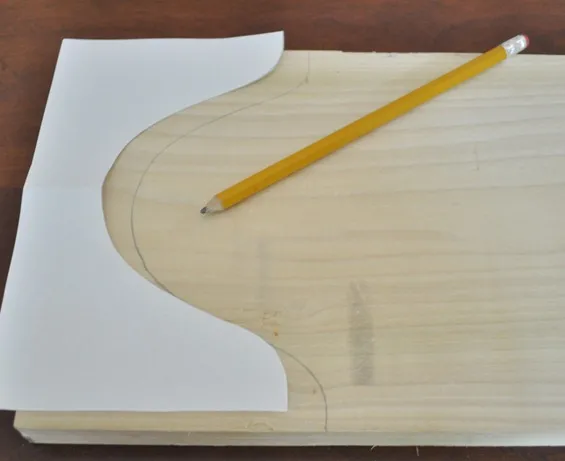 outline edges
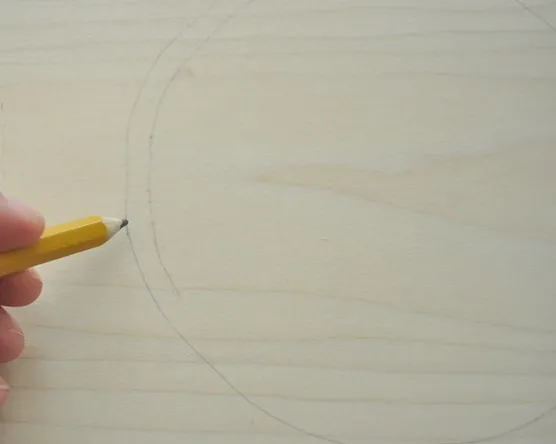 cut with jig saw
Step 3: Assemble the Stand
- Use a Kreg jig to drill pocket holes into the feet for attaching them to the top board. If you don’t have a Kreg jig, you can use “L” brackets and flat head screws for a secure attachment.
- Attach the feet to the underside of the top board using screws, ensuring they are evenly spaced and securely fastened.
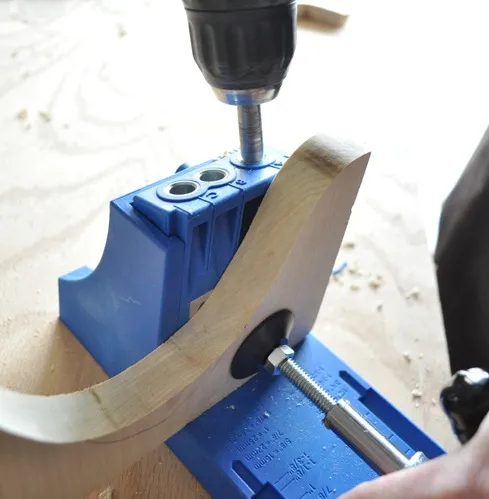 screw feet to top
Step 4: Finishing Touches
- Sand down any rough edges for a polished look.
- Get creative with the finishing touches. You can stain the wood for a natural look, paint it in vibrant colors, or even add a personalized touch with your pet’s name or a cute design.
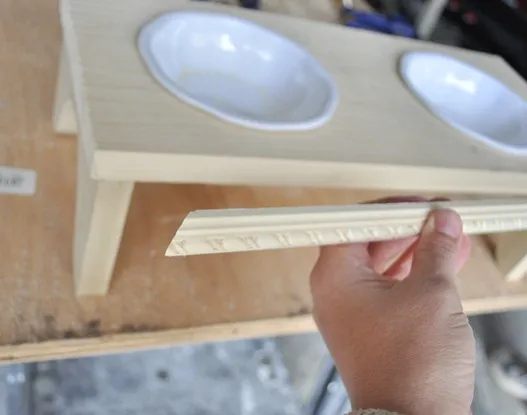 round edges with sander
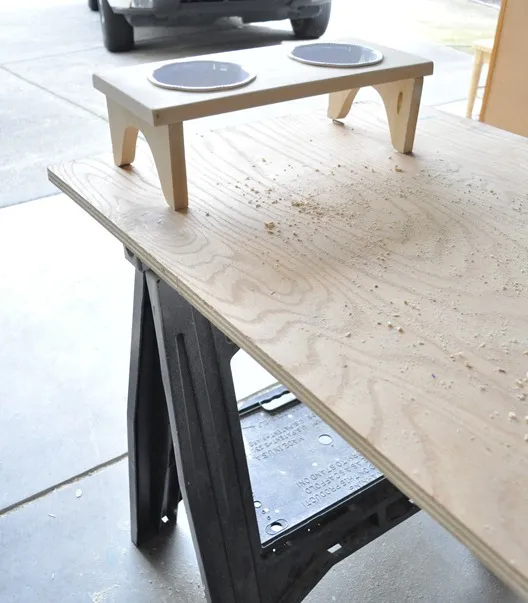 pet stand natural wood
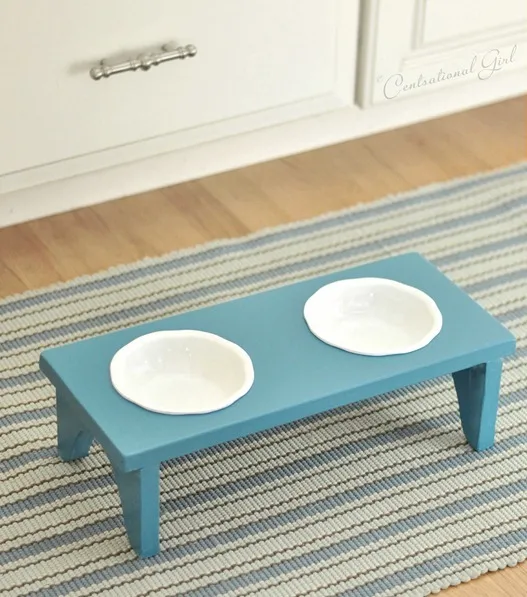 add name or monogram
Enjoy Your Custom Pet Bowl Stand!
This DIY elevated pet bowl stand is a testament to the fact that crafting can be both practical and stylish. With a little time and effort, you can create a unique piece that not only enhances your pet’s feeding experience but also adds a personal touch to your home.
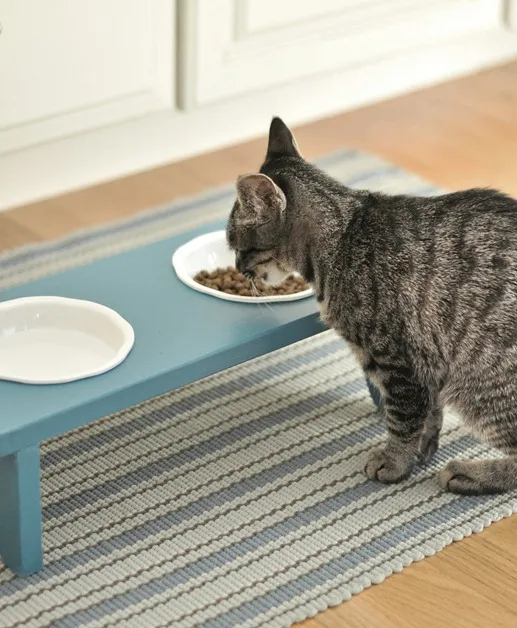 coco and pet stand
What are your thoughts on this DIY project? Share your own experiences and ideas in the comments below. And don’t forget to explore Robert Kline Art for more creative craft projects and unique, handmade gifts.
