Blog
DIY Painted Wooden Napkin Rings: A Unique and Easy Craft Project

Hello, fellow craft enthusiasts! Robert Kline here, and today we’re diving into a project that’s close to my heart – crafting beautiful, personalized wooden napkin rings. As many of you know, Robert Kline Art is all about embracing the joy of handmade, and these napkin rings are a testament to the magic we can create with a few simple materials and a dash of creativity.
This project is particularly special because it revisits a technique I discovered somewhat serendipitously. As I often say, some of the best innovations come from unexpected places!
The Story Behind the Technique
Last summer, I was engrossed in designing a DIY dunk tank – quite an ambitious project involving woodworking and plumbing. While tackling the rotating arm mechanism, I realized I’d drilled a hole too small for the PVC pipe. Now, any self-respecting DIYer knows the frustration of such mishaps. But instead of scrapping the piece, I devised a workaround. Using a scrap piece of wood with the correct sized hole as a guide, I was able to enlarge the original hole perfectly. This experience got me thinking – what if we could apply this technique to create something unique and functional? Enter the DIY wooden napkin rings!
Crafting Your Own Wooden Napkin Rings
This project is perfect for both beginners and experienced crafters looking for a rewarding and stylish addition to their table setting. Here’s what you’ll need:
- A piece of 2×4 lumber
- A 2″ hole saw
- A 1 1/2″ hole saw
- Power drill
- Sandpaper (100- to 220-grit)
- Wood stain (optional)
- Acrylic paint (your choice of color)
- Paintbrush
- Wood finish (matte or glossy)
- Clamps
- Pencil
- Measuring tape
Step 1: Create the Guide Piece
- Cut a small section of your 2×4 lumber.
- Secure it with clamps to your work surface.
- Using the 2″ hole saw and your power drill, cut a circle into the wood. This piece will act as your guide for cutting the outer ring of your napkin rings.
A Word on Using Hole Saws:
Hole saws, while incredibly useful, require a bit of practice. The larger surface area can cause kickback if you’re not careful. Here are a few tips:
- Always maintain a firm grip on your drill and apply pressure away from you.
- Start drilling at a low speed and gradually increase it once the pilot bit creates a groove.
- If the saw binds, release pressure, back it out slightly, and continue drilling.
Step 2: Cut the Inner Circle
- Cut a length of 2×4 lumber.
- Using the 1 1/2″ hole saw, cut a circle, ensuring it’s centered side to side on the wood.
- Measure and mark 1/4″ around the edge of the circle with a pencil. This will help you align your guide piece in the next step.
Step 3: Cut the Outer Circle
- Place the guide piece you created earlier on top of the 1 1/2″ circle, aligning the hole with your pencil markings.
- Clamp the guide piece securely in place.
- Now, use the 2″ hole saw to cut around the inner circle, following the guide piece. You’ll end up with a perfectly concentric ring!
 cutting guide for wooden napkin rings
Image: Use a pre-cut ring as a guide to make cutting perfect circles easier.
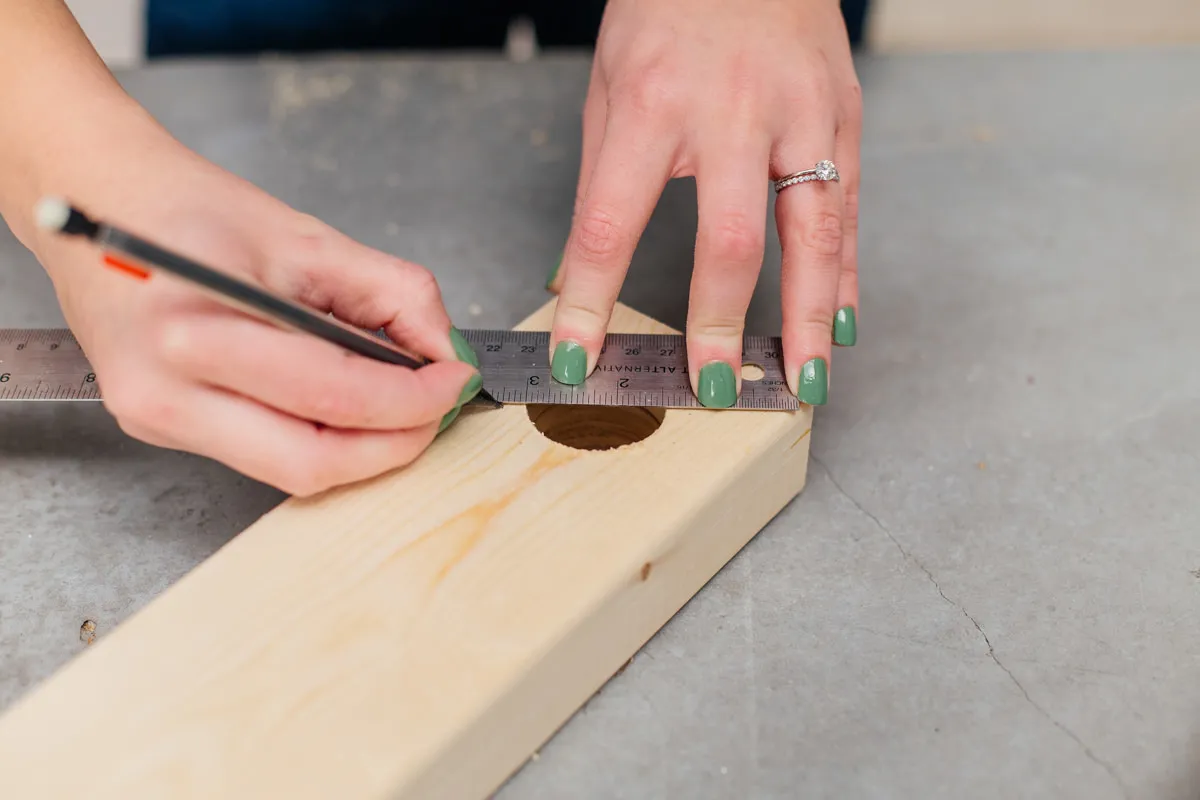 measuring guide for diy wooden napkin rings
Image: Precise measurements are key for consistent napkin rings.
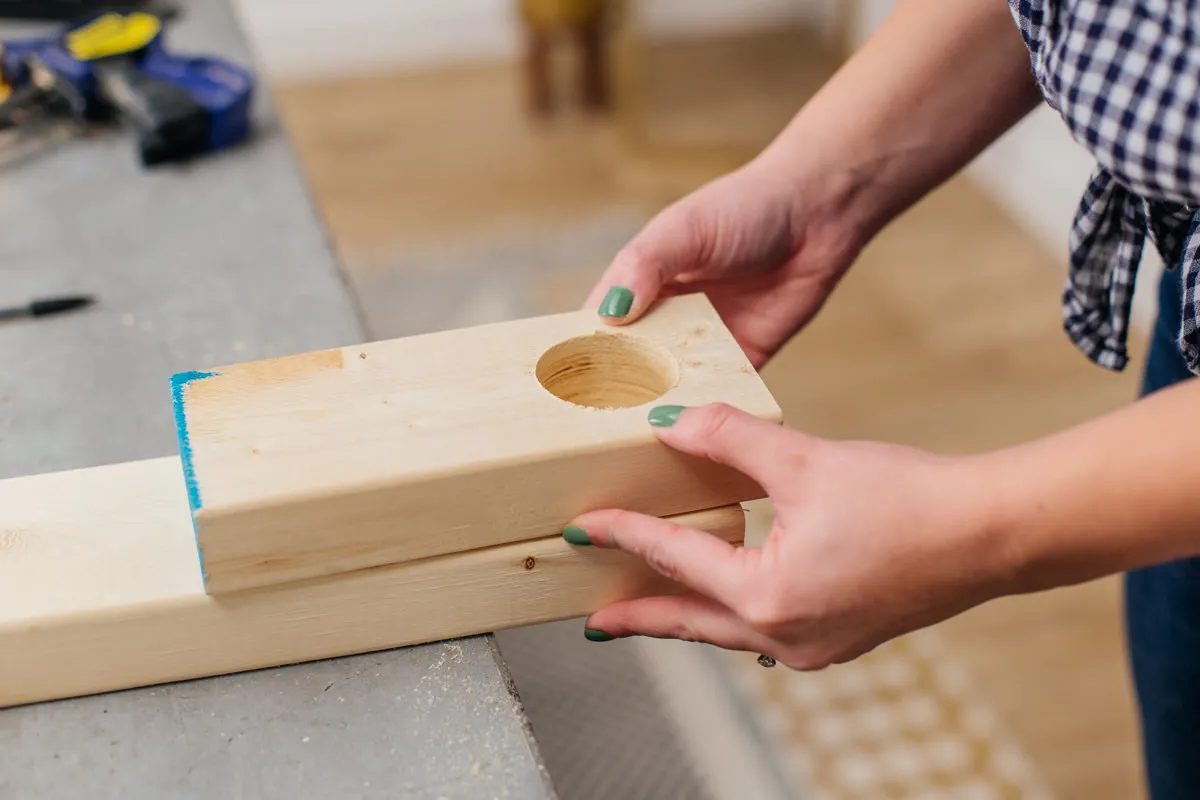 cut outside circle of wood napkin rings
Image: Carefully guide the hole saw to create the outer circle of the napkin ring.
Step 4: Sand for a Smooth Finish
- Sanding is crucial for achieving a professional look and feel.
- I recommend starting with a coarser grit (100-150) and gradually moving to a finer grit (220).
- Pay close attention to the inside of the rings, ensuring it’s smooth to avoid snagging your napkins.
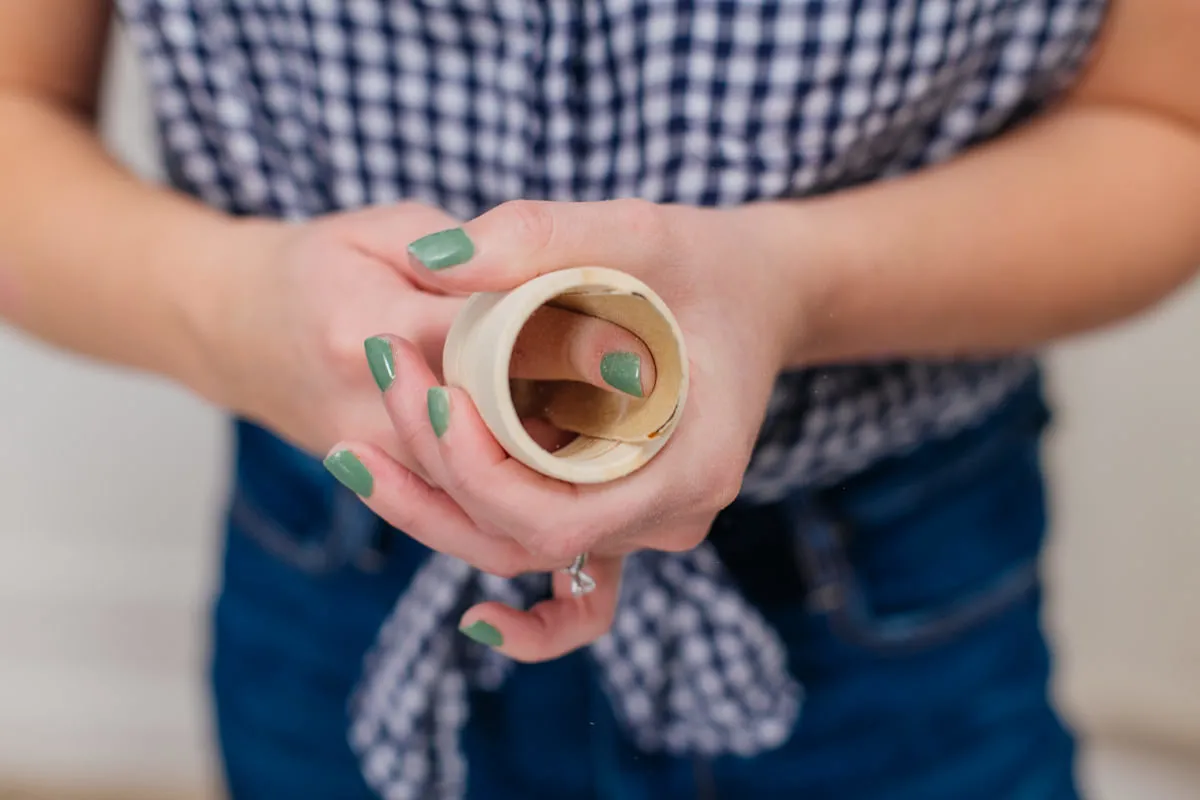 sanding napkin ring
Image: Sanding ensures a smooth finish, inside and out.
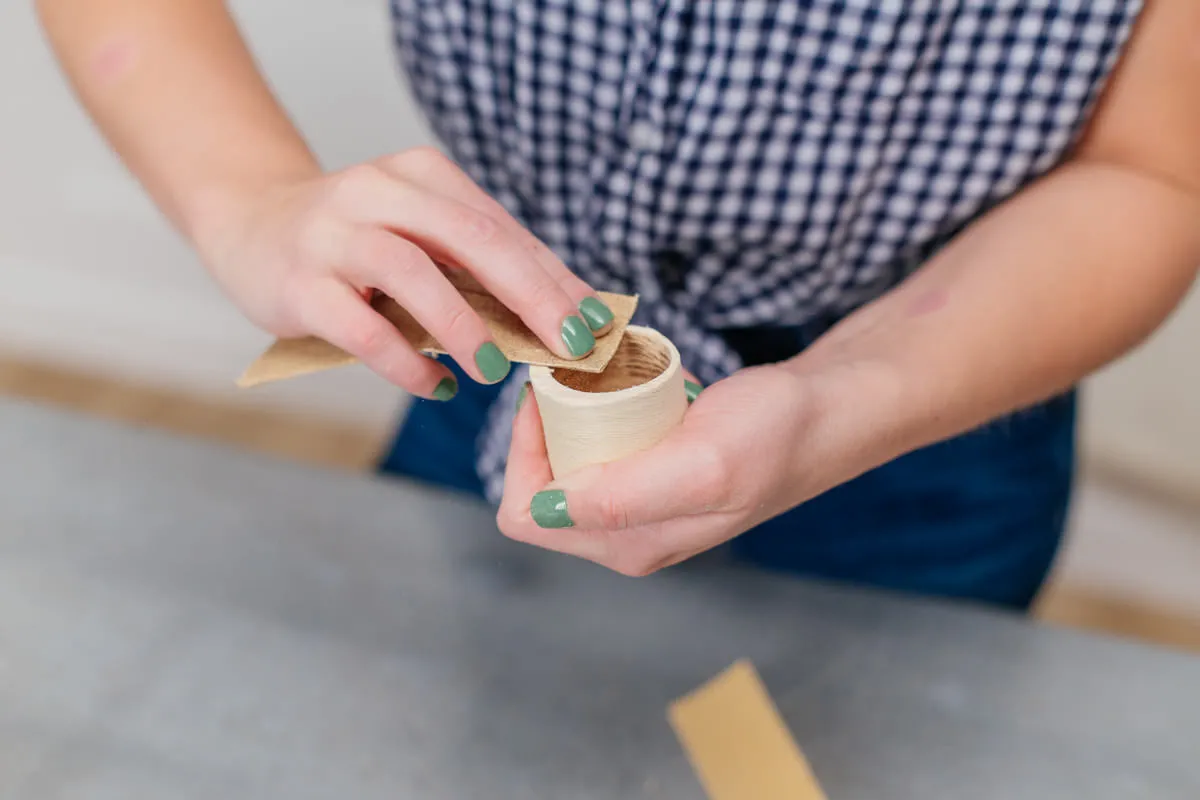 sanding diy wooden napkin ring
Image: Smoothing the surface is important for a polished result.
Step 5: Paint and Finish
- Now for the fun part – adding your personal touch!
- I love the rustic charm of natural wood, so I opt for a clear or light stain for the exterior.
- For a pop of color, paint the inside of the rings with your favorite shade of acrylic paint.
- Finally, seal your creations with a wood finish to protect them from moisture and food stains.
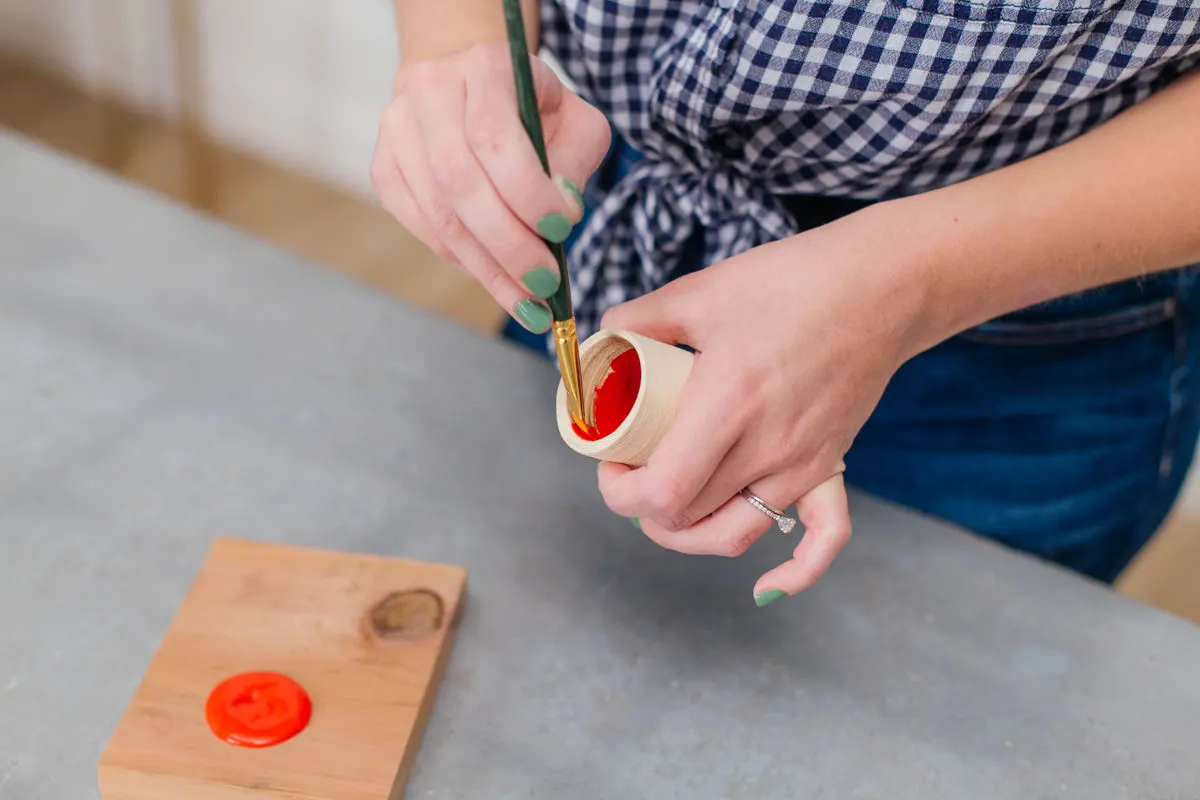 painting inside of napkin ring
Image: Add a touch of color to the inside of your rings for visual interest.
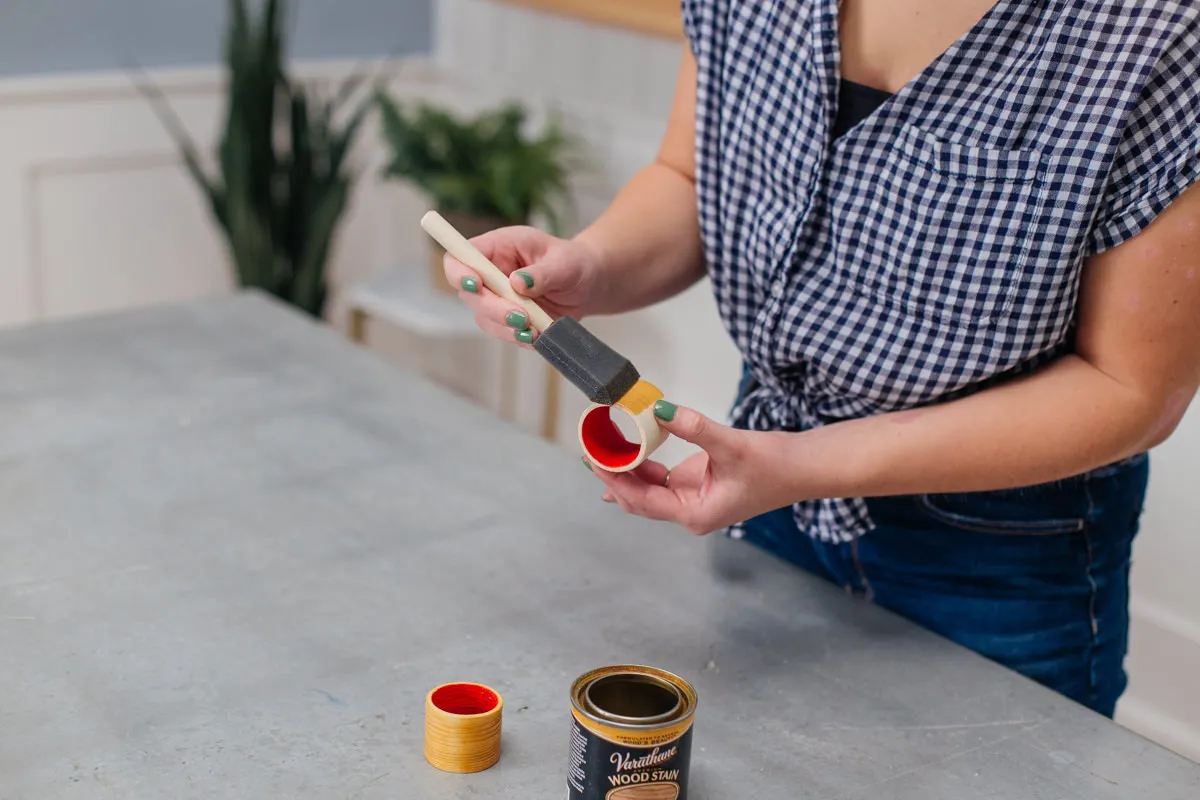 staining and finishing napkin ring
Image: Staining or painting and sealing your napkin rings adds durability and personal style.
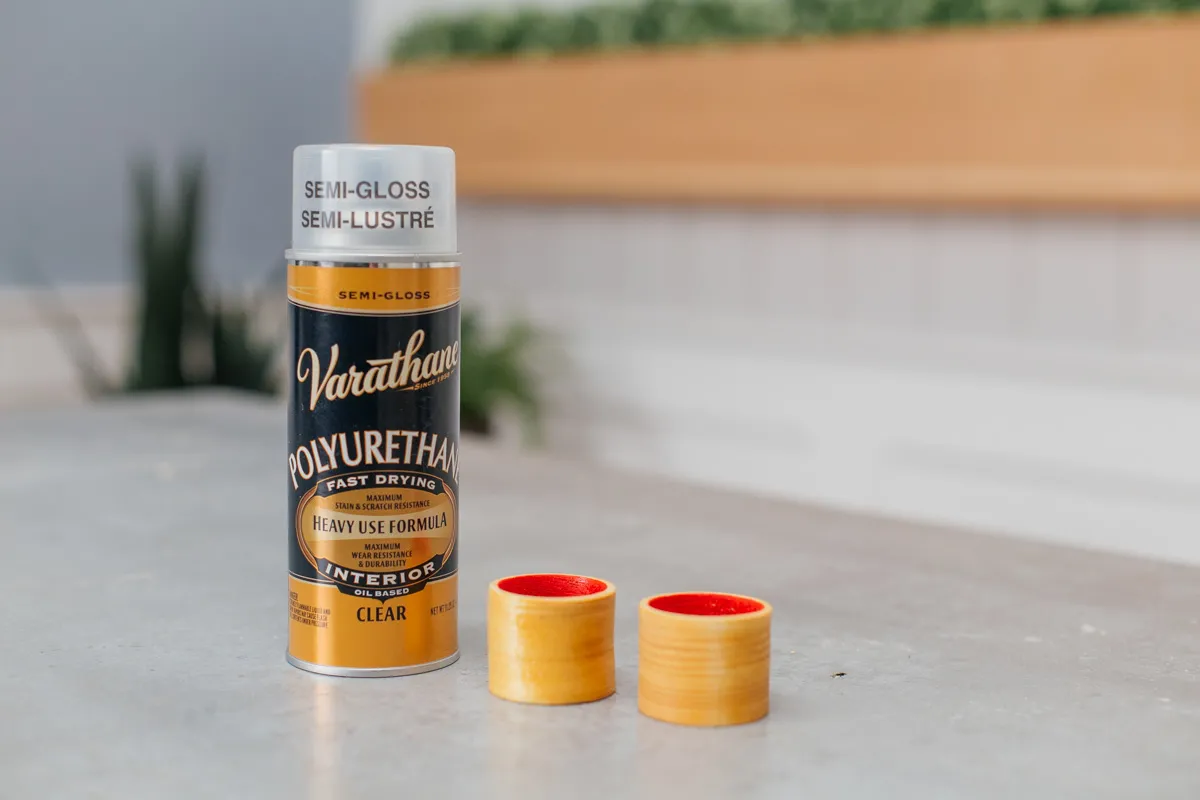 napkin rings
Image: These napkin rings are ready to add a touch of elegance to any table setting.
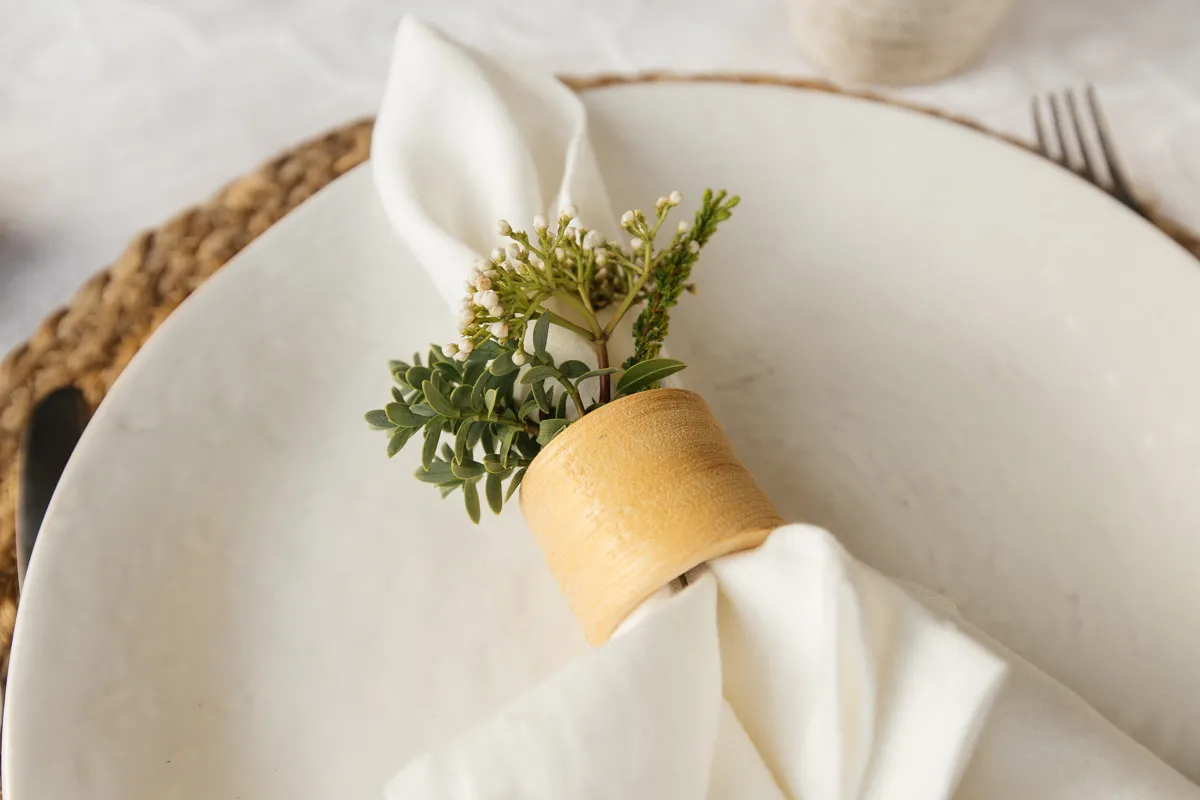 final napkin rings wooden
Image: Showcase your creativity with these unique, handmade napkin rings.
Conclusion
There you have it – a set of beautifully crafted wooden napkin rings that are sure to impress your dinner guests! This project is a testament to the power of creative problem-solving and the beauty of handmade craftsmanship. Remember, the most rewarding projects are often born from experimentation and a willingness to try something new.
So go ahead, gather your materials, and embark on your own napkin ring-making adventure. And while you’re at it, why not explore the other handcrafted treasures available on Robert Kline Art? From unique home decor to personalized gifts, there’s something for everyone.
Don’t forget to share your creations with me! I always love seeing your interpretations and the unique spins you put on these projects. Happy crafting!
