Blog
DIY Painted Decorative Box: A Step-by-Step Guide

Hey there, fellow craft enthusiasts! Have you ever stumbled upon the perfect home decor piece, only to be turned off by the price tag? We’ve all been there! But what if I told you that you can recreate that coveted item with a little DIY magic? Today, we’re diving into the world of painted decorative boxes – a simple yet impactful way to personalize your living space.
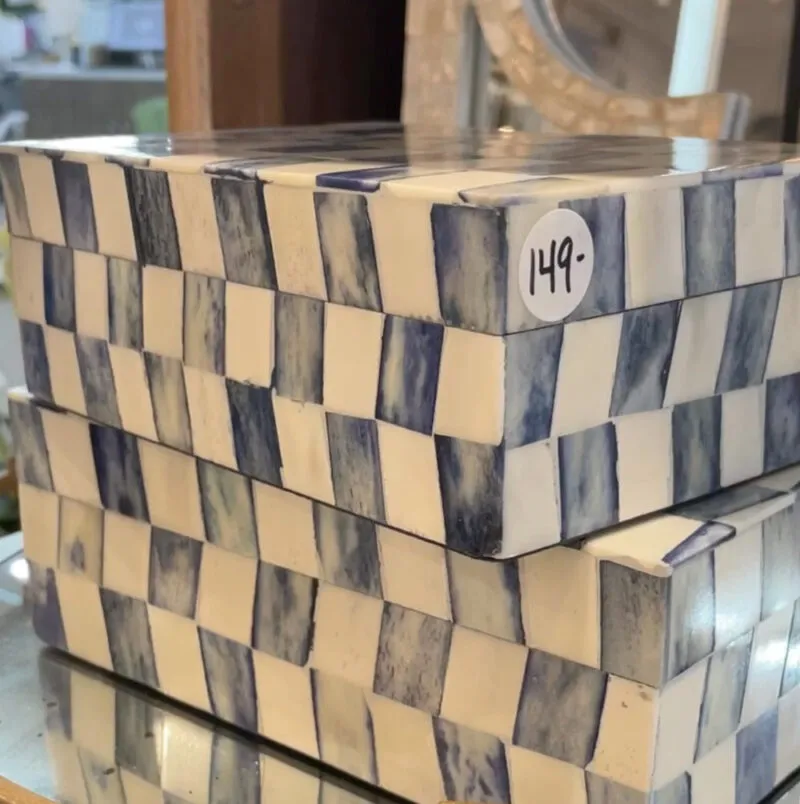
I’m Robert Kline, and I’m all about infusing handmade charm into everyday life. Recently, I was captivated by a stunning blue and white checked box at a store, but the price was simply out of my budget. So, I channeled my inner artist and decided to create my own version. The result? A unique, budget-friendly piece that perfectly complements my home decor.
Join me as we transform a plain wooden box into a work of art, step by delightful step!
Gathering Your Supplies
Before we embark on this creative journey, let’s gather our tools. Here’s what you’ll need:
- A wooden box: Choose a size and shape that suits your needs and style.
- Sandpaper: Medium grit sandpaper will do the trick for smoothing out any rough edges.
- Paint: Acrylic, chalk paint, or even spray paint – the choice is yours! Opt for colors that resonate with your decor.
- Paintbrushes: A chip brush or synthetic brush will work wonders for this project.
- Washi tape: This will help us create those crisp, clean lines for our check pattern.
- Sealer: Protect your masterpiece with a wax or spray sealer.
- Small Phillips screwdriver: Essential for removing and reattaching hinges and clasps.
- Optional: Cricut removable vinyl for an extra touch of flair on the inside of the box.
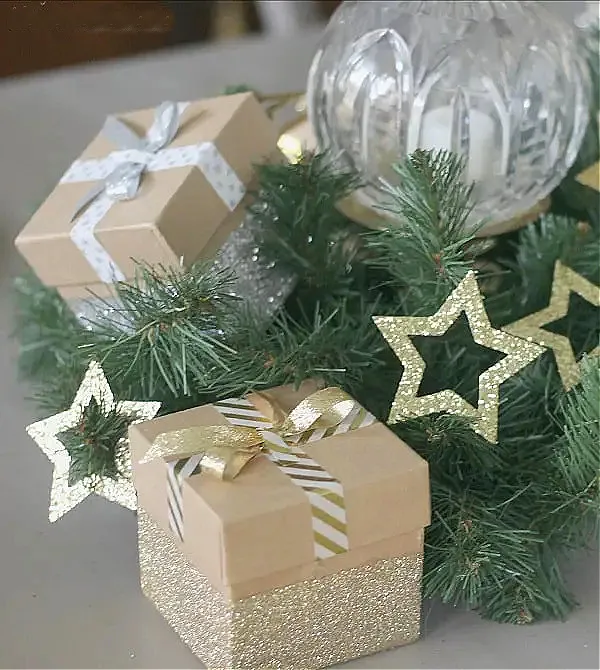
 decorative boxes with glitter
Prepping Your Canvas: The Importance of Preparation
Just like a painter prepares their canvas, we need to prep our wooden box for a flawless finish.
- Cleaning: Begin by giving your box a good clean with a damp cloth to remove any dust or debris.
- Sanding: Lightly sand the surface to create a smooth base for the paint to adhere to.
- Filling (optional): If you encounter any gaps or holes, fill them with wood filler and sand smooth once dry.
- Priming (optional): While not mandatory, applying a primer can help create an even surface and enhance paint adhesion.
Painting Your Masterpiece: Let’s Get Creative
Now for the fun part – bringing our vision to life with paint!
-
Background: Start by painting the entire box with your chosen base color. I opted for a classic white for a clean and bright look. Allow it to dry completely.
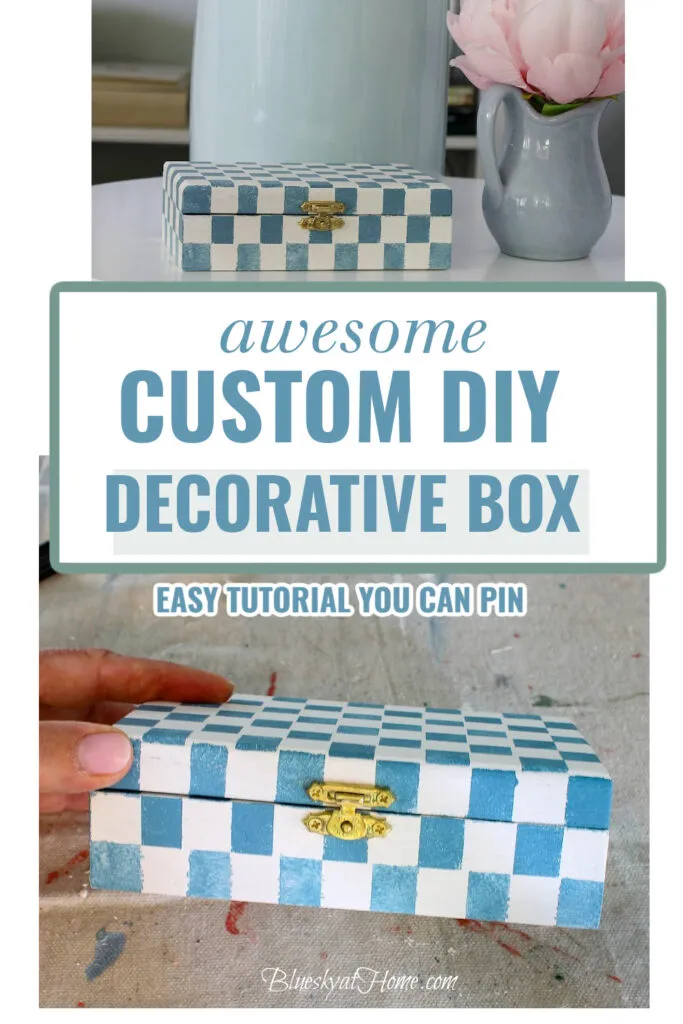
 painted decorative box
 -
Creating the Check Pattern:
- Using your washi tape, carefully create a grid pattern on the lid of the box.
- Apply your second paint color to the exposed squares.
- Allow the paint to dry slightly before carefully removing the tape.
- Repeat this process for the sides of the box, aligning the pattern with the lid.
Expert Tip: “To prevent paint bleeding, use a low-tack washi tape and press firmly along the edges,” suggests DIY expert, Sarah Jones.
-
Sealing for Protection: Once your paint is completely dry, apply a sealant to protect your design and give it a professional finish.
 decorative box inspiration
Adding Personal Touches: Make It Your Own!
Here’s where your creativity can truly shine! Consider these options for personalizing your decorative box:
- Lining: Elevate the interior with a piece of patterned paper, fabric, or even adhesive vinyl like I did!
- Embellishments: Add a touch of whimsy with decorative elements like beads, buttons, or ribbons.
- Decoupage: Incorporate patterned napkins or paper cutouts for a vintage-inspired aesthetic.
Showcasing Your Creation
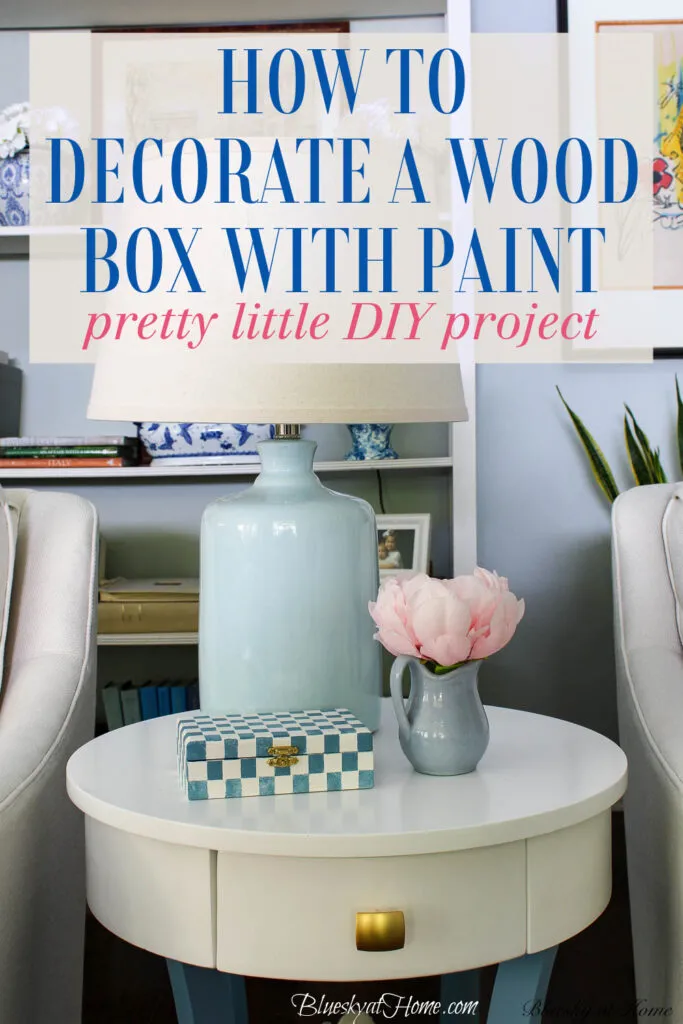
Once your DIY painted box is complete, find the perfect spot to display it in your home. Use it to store jewelry, keepsakes, or simply as a charming accent piece.
 A decorated blue and white box
Conclusion
Congratulations on crafting your very own decorative box! This project is a testament to the transformative power of creativity and a little DIY spirit. Remember, the beauty of handmade lies in the imperfections and the unique story behind each creation.
Head over to Robert Kline Art for more inspiring DIY projects and craft ideas. Let’s continue to explore the joy of creating together!
