Blog
From Flea Market Find to Charming Herb Garden: A DIY Transformation

Hey there, fellow craft enthusiasts! Robert Kline here, and I’m thrilled to share my latest upcycling adventure with you. I recently stumbled upon a diamond in the rough at a local flea market – a simple wooden box that whispered “herb garden” to my creative soul. With a little imagination and a few supplies, I transformed it into a charming and functional piece for my backyard. Intrigued? Let’s dive into this fun and easy DIY project!
Gathering Your Supplies
Before we embark on this transformation journey, let’s gather our tools and materials:
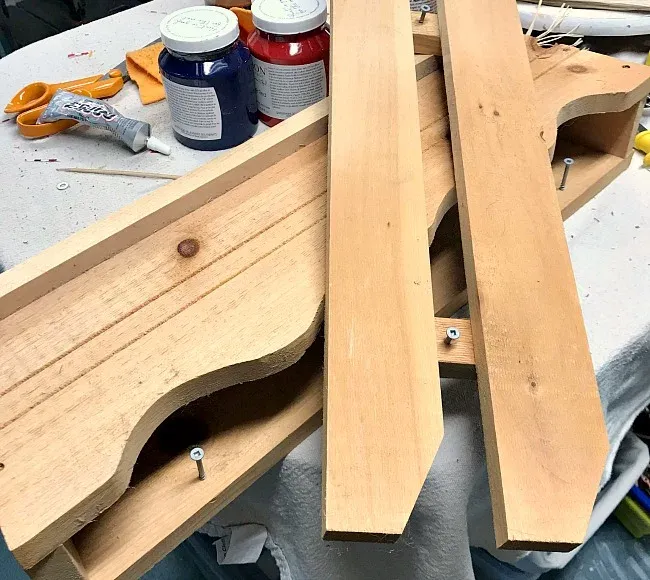
- A wooden box: Don’t worry if you can’t find one exactly like mine. You can easily build a rectangular box with some scrap wood.
- Wooden rails: These will add height and visual interest to our planter.
- Saw: For trimming the wooden rails to size.
- Sandpaper: To smooth out any rough edges for a polished look.
- Paint: I opted for Fusion Mineral Paint in “Raw Silk” – a beautiful off-white with a touch of gray.
- Paintbrushes: Choose brushes appropriate for your paint type and project size.
- Stencil: I used the “HERB” stencil from Old Sign Stencils by Funky Junk Interiors – they have a fantastic selection!
- Stencil brush: For applying paint through the stencil.
- Sealer: Protect your handiwork from the elements with a weather-resistant sealer.
- Potting soil
- Herb plants
Bringing the Vision to Life
Step 1: Prepping the Canvas
I began by sanding down my wooden box and rails to ensure a smooth and even surface for painting.
Step 2: Adding a Touch of Color
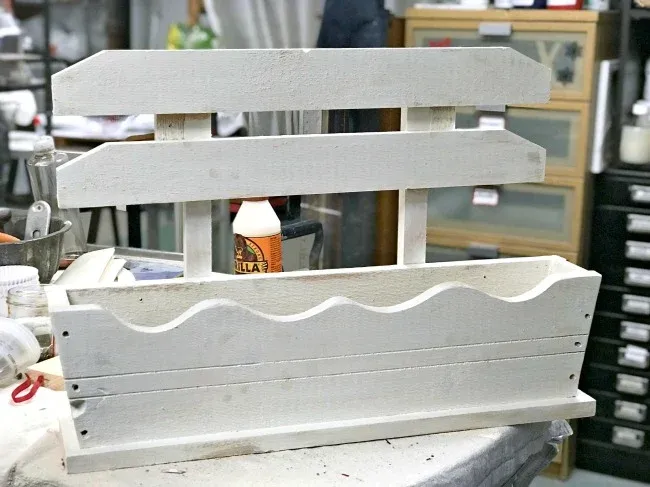
Next, I gave the box and rails two coats of Fusion Mineral Paint in “Raw Silk,” allowing ample drying time between each coat. Remember, it doesn’t have to be perfect! I embraced the rustic aesthetic and wasn’t afraid to let a bit of the wood peek through.
Step 3: A Stencil of Distinction
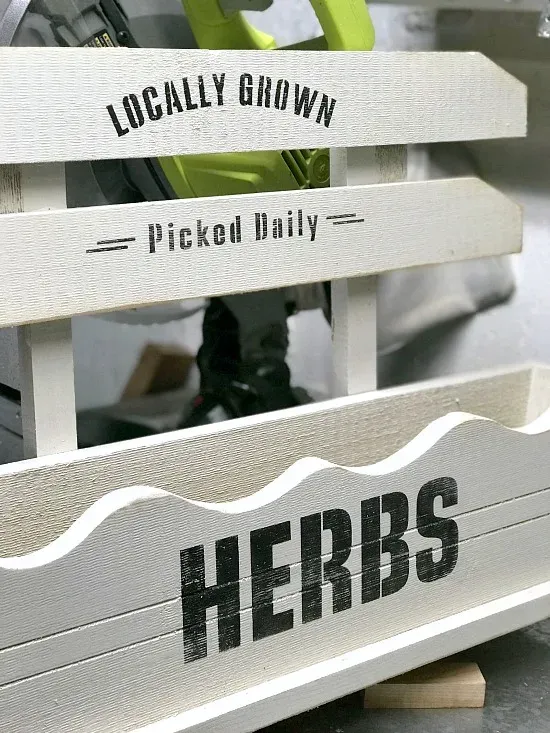
Once the paint dried completely, I carefully positioned my “HERB” stencil and used a stencil brush to dab on the paint. I find that less is more when stenciling – it helps prevent bleeding and creates a crisper result.
Step 4: Sealing the Deal
To protect my creation from the elements, I applied a coat of weather-resistant sealer. This crucial step ensures that your herb garden can withstand the test of time (and weather!).
Step 5: Planting Your Herbs
Fill your newly painted herb garden with potting soil and your favorite herbs. I chose basil, but feel free to get creative with your plantings!
 Wooden Herb Garden Box from Scrap Wood
 Wooden Herb Garden Box Painted with Old Sign Stencils
 DIY Wooden Herb Garden Box filled with Basil
From Trash to Treasure: The Joy of Upcycling
This project was incredibly rewarding, taking me just over an hour to complete. It’s amazing how a few simple steps and a touch of creativity can transform a discarded item into a cherished piece. And the best part? You can customize this project to your heart’s content!
Seeking More DIY Inspiration?
If you enjoyed this project, be sure to explore the Robert Kline Art website for more inspiring DIY ideas. We have a treasure trove of creative projects, from vintage enamelware herb gardens to repurposed wooden totes – there’s something for every style and skill level.
Don’t forget to share your creations with us! Leave a comment below or tag us on social media. We love seeing your unique spins on our projects.
Happy crafting!
