Blog
DIY Painted Wooden Hanging Planter: A Touch of Retro Chic for Your Plants
Remember the iconic 70s sitcom, Three’s Company? The fashion, the furniture, and those amazing macrame plant hangers! As a lifelong crafter here at Robert Kline Art, I’ve always been drawn to that retro aesthetic. That’s why I’m thrilled to share this DIY painted wooden hanging planter project. It’s a fun nod to the past with a modern twist, perfect for adding a touch of handmade charm to your home décor.
Gathering Your Supplies
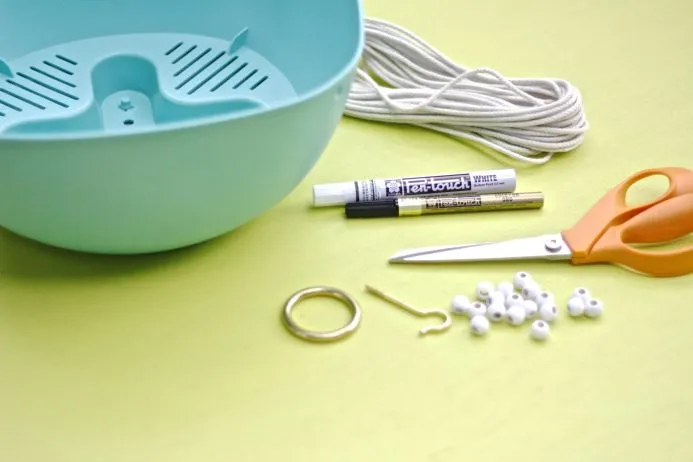
Before we dive in, let’s gather our materials. For this project, you’ll need:
- Rope (about 120 inches)
- Wooden beads
- A plant (choose one that suits the size of your pot)
- A hanging pot with a hole in each corner
- Scissors
- Sakura Pen-touch paint pens (waterproof and permanent)
- A gold O-ring (easily found at any hardware store)
- A metal hook for hanging
Creating Your Macrame Masterpiece
Now, let’s get crafting!
Step 1: Prepping the Rope
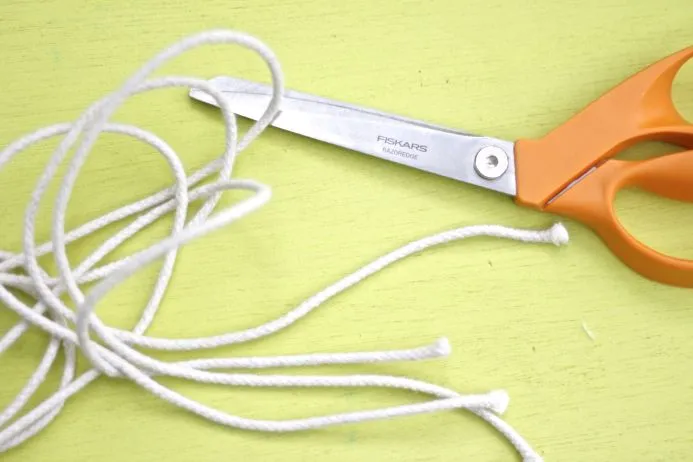
- Cut your rope into two equal pieces, each measuring about 120 inches long.
Step 2: Forming the Base
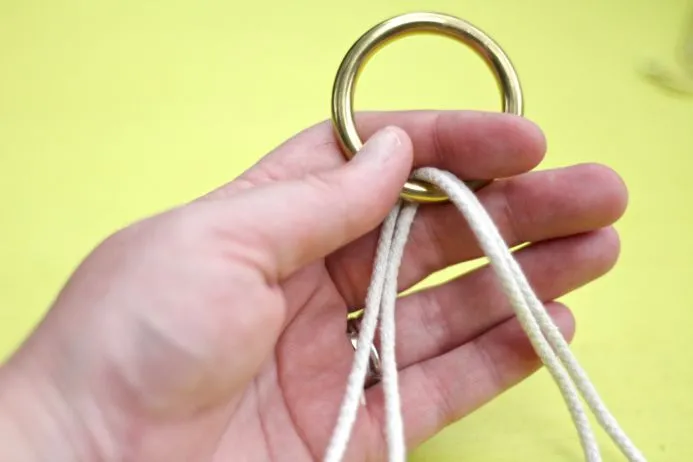
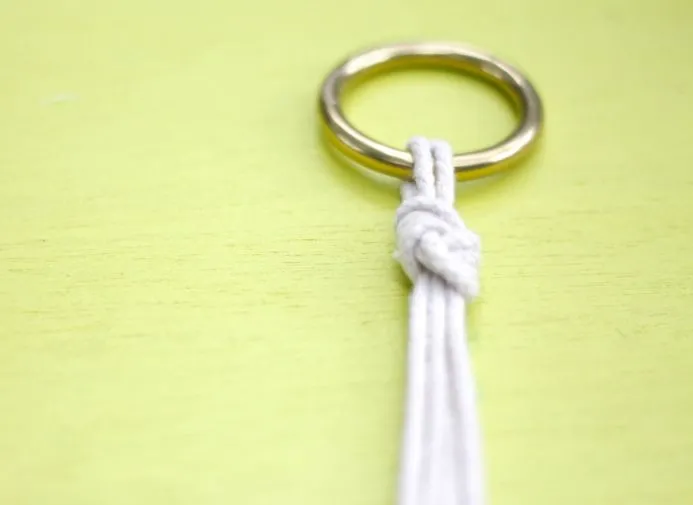
- Thread both pieces of rope through the gold O-ring, ensuring you have equal lengths on either side.
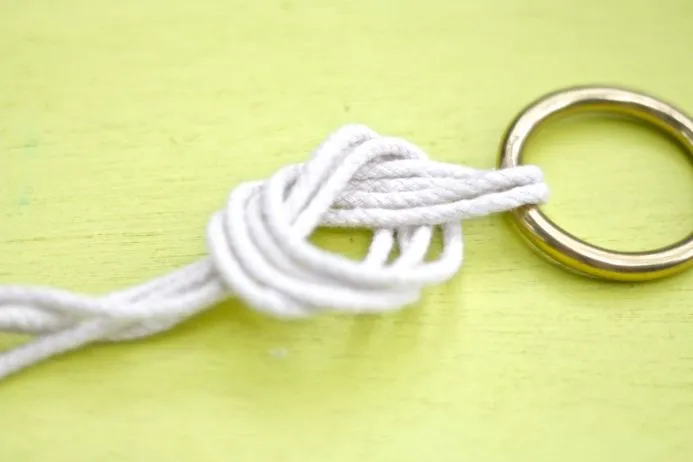
- Tie a secure knot just below the ring to create the top loop for hanging.
- Tie another knot a few inches down from the first. The distance between these knots determines how low your plant will hang. You can add more knots for a longer hanger.
 Rope threaded through O-ring and knotted for DIY plant hanger
Step 3: Adding the Beads and Knots
- Thread a wooden bead onto one of the rope strands hanging down from the last knot.
- Tie a knot below the bead to secure it in place.
- Repeat this process for the remaining three strands of rope.
 Close up of wooden bead on rope for plant hanger
- Continue adding beads and knots to all four strands, keeping the spacing consistent for a balanced look. The number of beads you add will determine the overall length of your hanger.
Pro Tip: Precision is key! Ensure your beads and knots are aligned at the same level on each strand to prevent a lopsided planter.
 Adding additional beads and knots to DIY plant hanger
Step 4: Attaching the Planter
- Thread one of the rope pieces hanging from the center knot through a corner hole in your planter.
- Thread a bead onto the rope and tie a few knots at the end to secure it.
- Trim any excess rope for a clean finish.
 Threading rope through hole in planter
- Repeat this step for the other three corners, taking care to maintain even lengths on all sides to prevent your planter from hanging crooked.
 Securing rope to planter with knots
Step 5: Adding a Personal Touch
- Now, it’s time to unleash your creativity! Using your Sakura Pen-touch paint pens, decorate your planter with a design of your choice.
- For this project, I opted for a modern geometric pattern with triangles, but feel free to explore different shapes, patterns, or even lettering!
Expert Insight: “Geometric patterns are incredibly popular in home décor right now,” says interior designer Sarah Jones. “They add a sense of visual interest and modern flair to any space.”
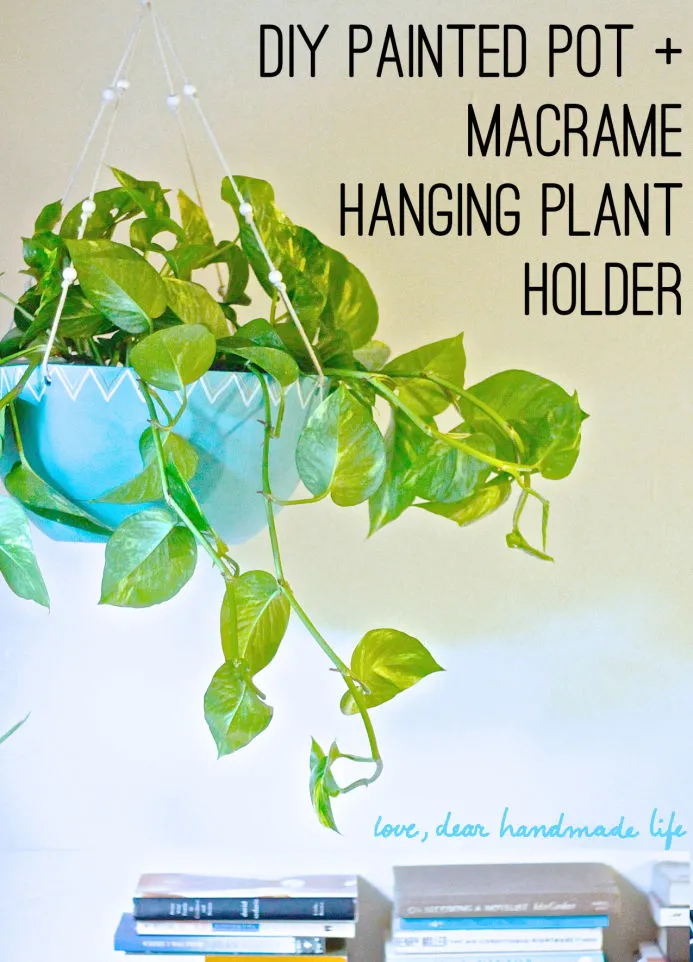 Completed macrame plant hanger with painted geometric design
Step 6: Hanging Your Masterpiece
- Screw your metal hook securely into your ceiling, ensuring it can support the weight of the planter and plant.
- Loop the O-ring of your finished plant hanger onto the hook.
 DIY plant hanger hanging from ceiling
Enjoy Your Handmade Haven!
Congratulations! You’ve just created a unique and stylish hanging planter that brings together retro charm and modern design. Not only is this a fun and rewarding DIY project, but it also makes a thoughtful handmade gift for plant lovers in your life.
What are your favorite ways to add personality to your plant displays? Share your thoughts and creations in the comments below. And for more unique handmade gift ideas and crafting inspiration, be sure to explore the rest of the Robert Kline Art website.
