Blog
Creating a DIY Painted Glass Terrarium: A Touch of Spring Court Charm

Hey everyone, Robert Kline here, your trusted guide in the world of handcrafted artistry! Today, we’re diving into a project that’s been blooming in my workshop for a while now – a DIY painted glass terrarium inspired by the enchanting world of literature.
As an artist constantly drawn to the beauty of nature, I’ve always been fascinated by terrariums. They encapsulate a miniature world of life and color, adding a touch of magic to any space. This project, however, was sparked by a recent literary obsession: the captivating world of Sarah J. Maas’s “A Court of Thorns and Roses” series. The vivid descriptions of the Spring Court, particularly Tamlin’s palace, sparked an idea to recreate the whimsical, cottage-core vibes within a piece of home decor.
From IKEA Hack to Whimsical Wonderland
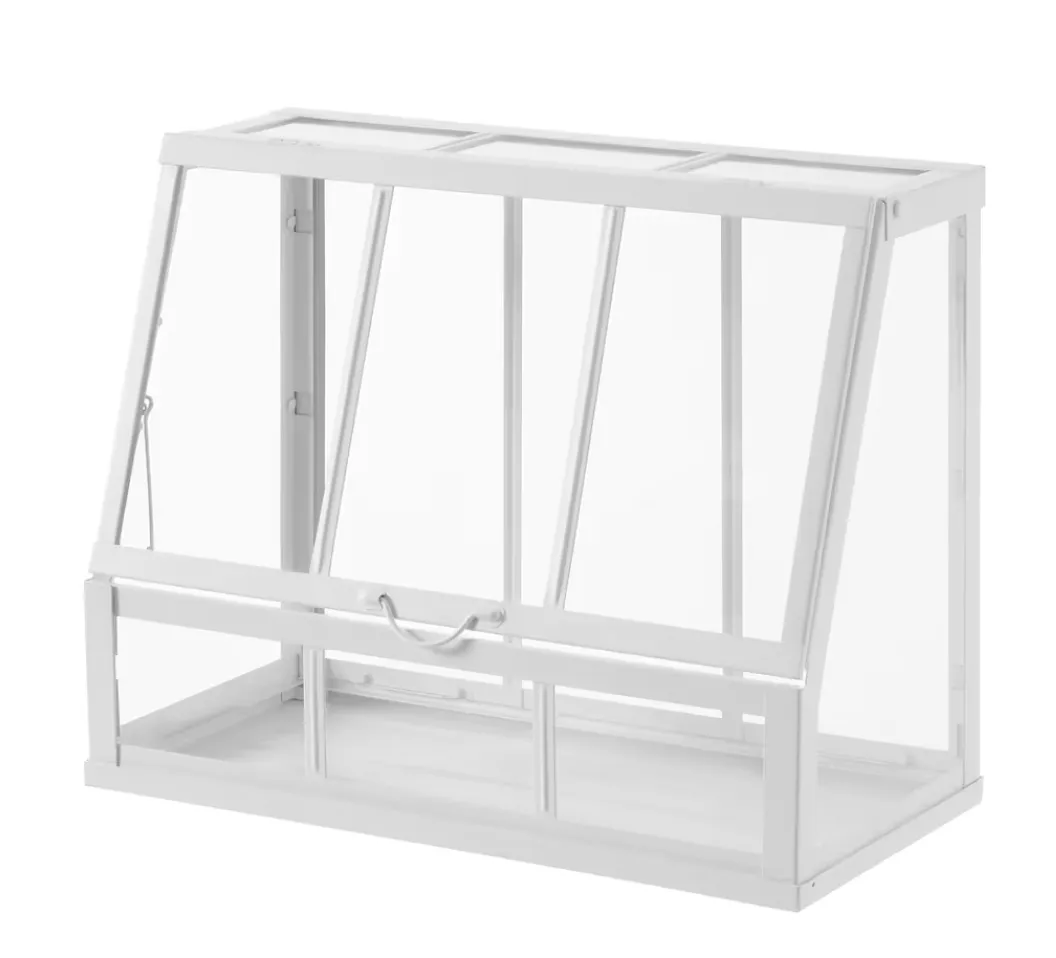
The foundation of this project lies in the ingenuity of IKEA hacks. Using the charming ÅKERBÄR tabletop greenhouse, we’re transforming a simple structure into a work of art. While my green thumb may be more metaphorical than literal, the greenhouse provides the perfect canvas to explore the beauty of stained glass.
 Clear glass greenhouse on a table with faux plants inside
Image: The IKEA ÅKERBÄR greenhouse serves as the base for this enchanting DIY project.
Gathering Your Supplies
Before we embark on this creative journey, let’s gather our tools of transformation:
- IKEA ÅKERBÄR Greenhouse: I opted for the smaller white version (17 3/4”), but feel free to choose the size that suits your space.
- Stained Glass Templates: Downloadable templates provide the intricate patterns for our “stained glass” look.
- Tape: To secure our templates.
- Gallery Glass Black Liquid Leading: This will create the look of leading lines in stained glass.
- Gallery Glass Paints: A rainbow of colors to bring your design to life. I used Kelly green, lime green, amber, peach tea, rosy pink, violet, and aqua.
- Gallery Glass Crystal Clear Window Color: This will provide the textured look of stained glass. I recommend the larger 8oz bottle.
- Toothpicks: Our trusty tools for intricate paint application.
Step-by-Step Guide
Ready to infuse your home with the magic of the Spring Court? Let’s begin!
Step 1: Preparing Your Templates
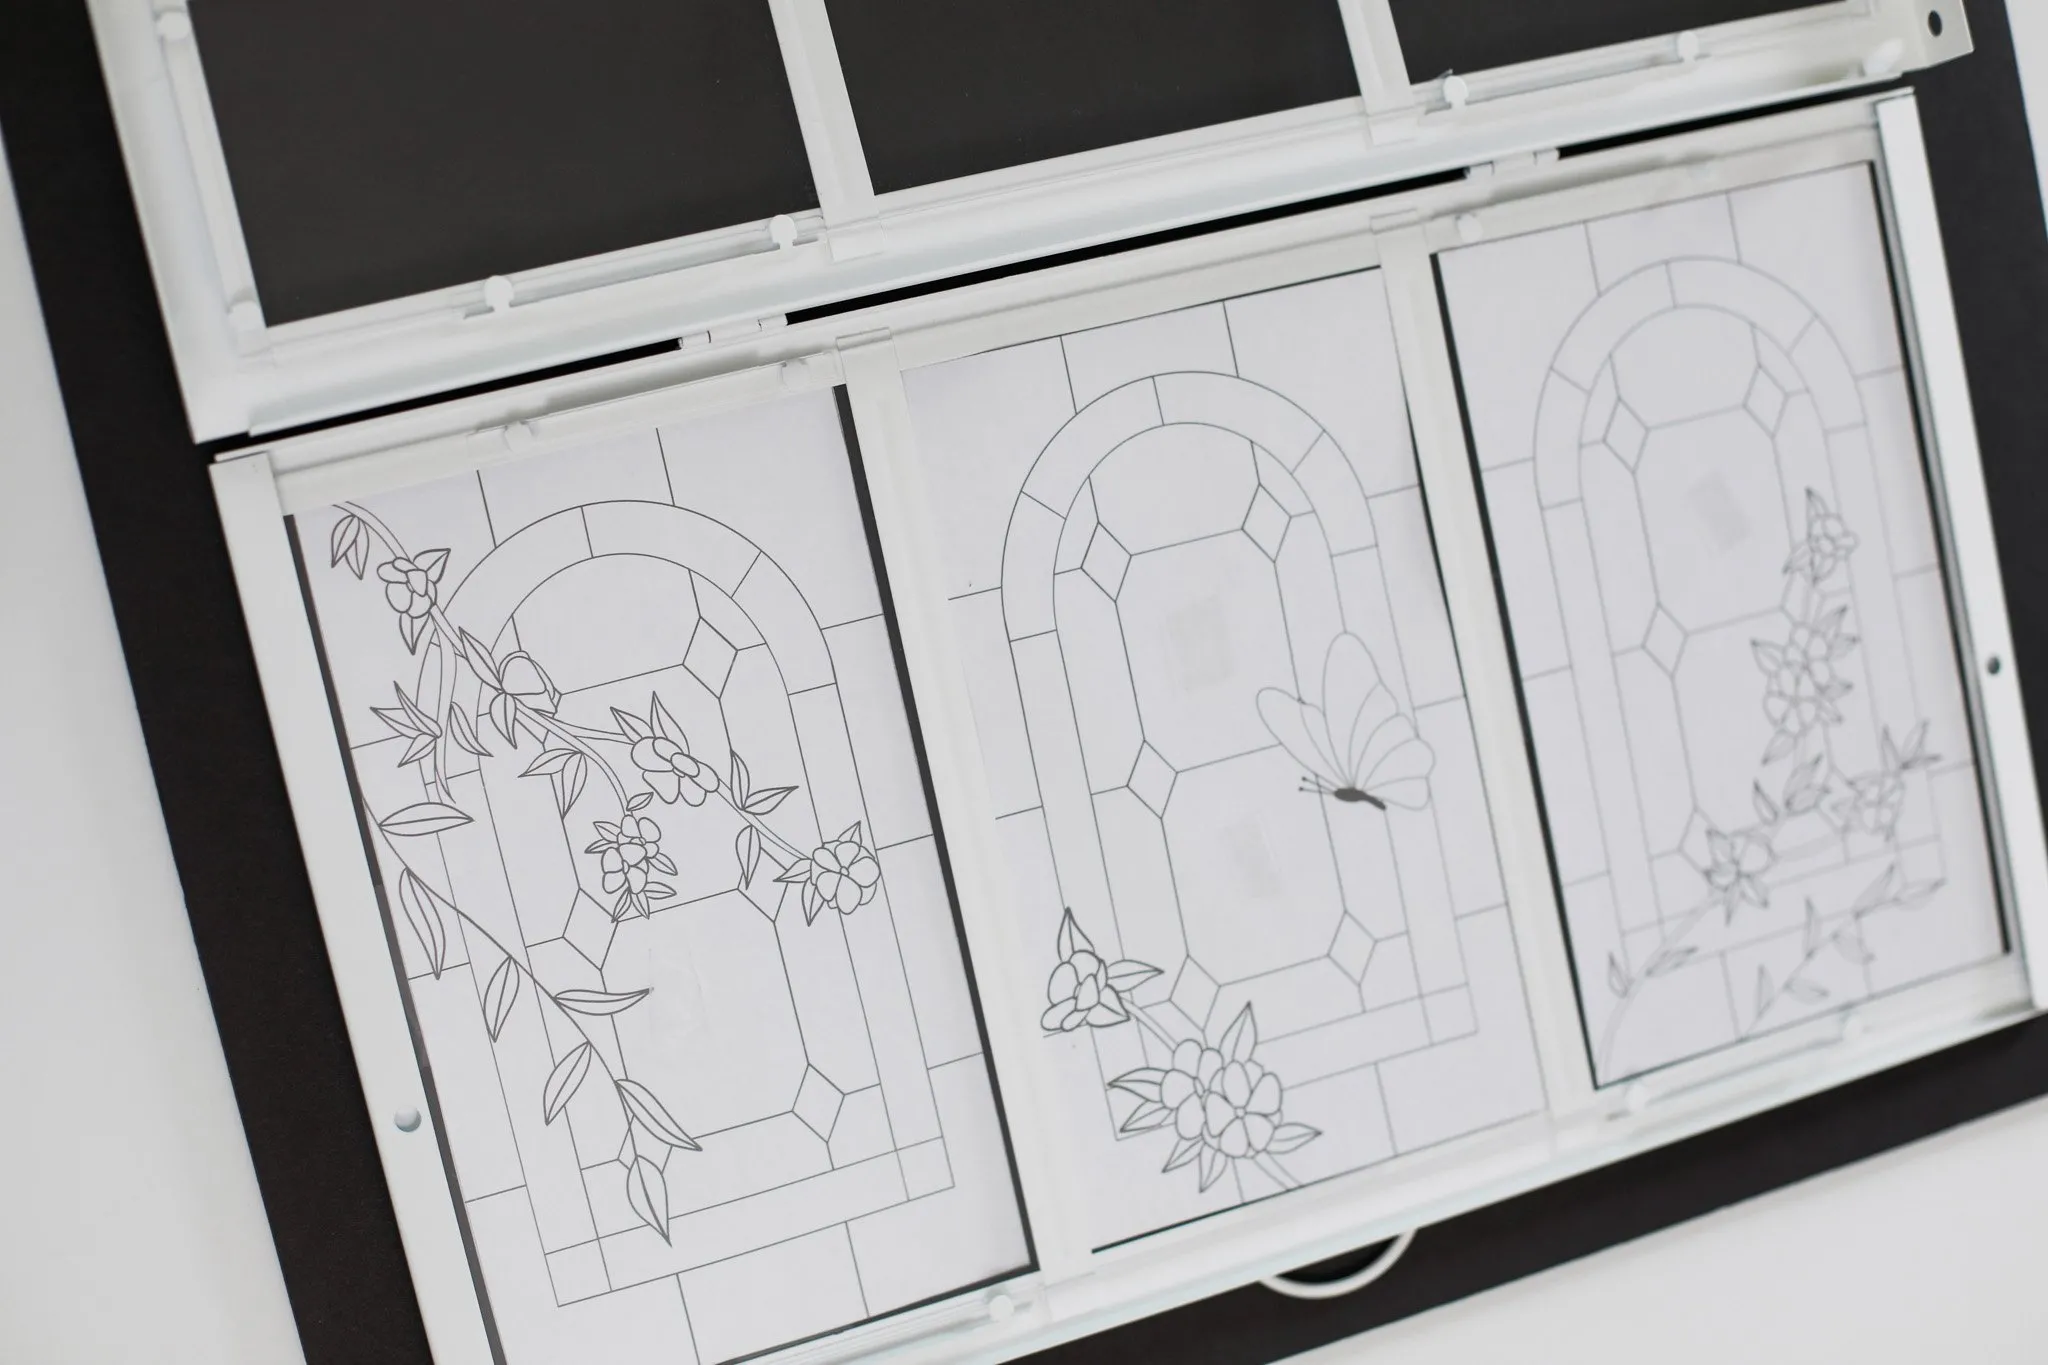
Download and print the stained glass templates, ensuring your print settings are at 100% scale. Carefully cut out each template piece. Remember, the side panels are larger and will require you to join two printed pages.
Step 2: Prepping the Greenhouse
Unbox your IKEA greenhouse and remove the protective plastic film from each panel. Since we’re painting on the inside, carefully tape your templates to the outside of each panel, ensuring they’re visible through the glass. The base tray and back wall won’t be used in this step.
Step 3: The Art of Leading
 Close up image of black paint outlining the design of a flower on clear glass
Image: Precision is key when applying the black leading paint to create the stained glass effect.
This step requires patience and a steady hand. Using the black liquid leading, carefully trace the lines of your template.
Pro Tip: Practice the technique on a scrap piece of plastic first. Hold the leading paint bottle slightly above the surface, gently squeezing to guide a stream of paint along your template lines.
Step 4: A Symphony of Color
Now for the truly enjoyable part! Using your Gallery Glass paints, carefully fill in each section of your design.
Pro Tip: Think of it like decorating cookies with royal icing. Squeeze a small amount of paint into each section and use a toothpick to spread it evenly, ensuring it reaches the edges of your black leading lines. Pop any air bubbles with the toothpick.
 Close up image of one panel of the glass greenhouse, you can see the design has been outlined in black and the shapes filled in with various shades of green and purple
Image: Watch your design come to life as you fill in the spaces with vibrant Gallery Glass paints.
Step 5: The Illusion of Glass
This step is crucial for achieving that authentic stained glass look. Apply the clear Gallery Glass paint to all remaining spaces within your design. While it seems counterintuitive to use clear paint, it creates a subtle, textured effect as it dries, mimicking the look of real stained glass.
Step 6: Assembly and Display
Once your painted panels are completely dry (allow at least 8 hours), assemble your greenhouse following the instructions provided. Place your finished masterpiece in a sunny location to fully appreciate the light dancing through your faux stained glass.
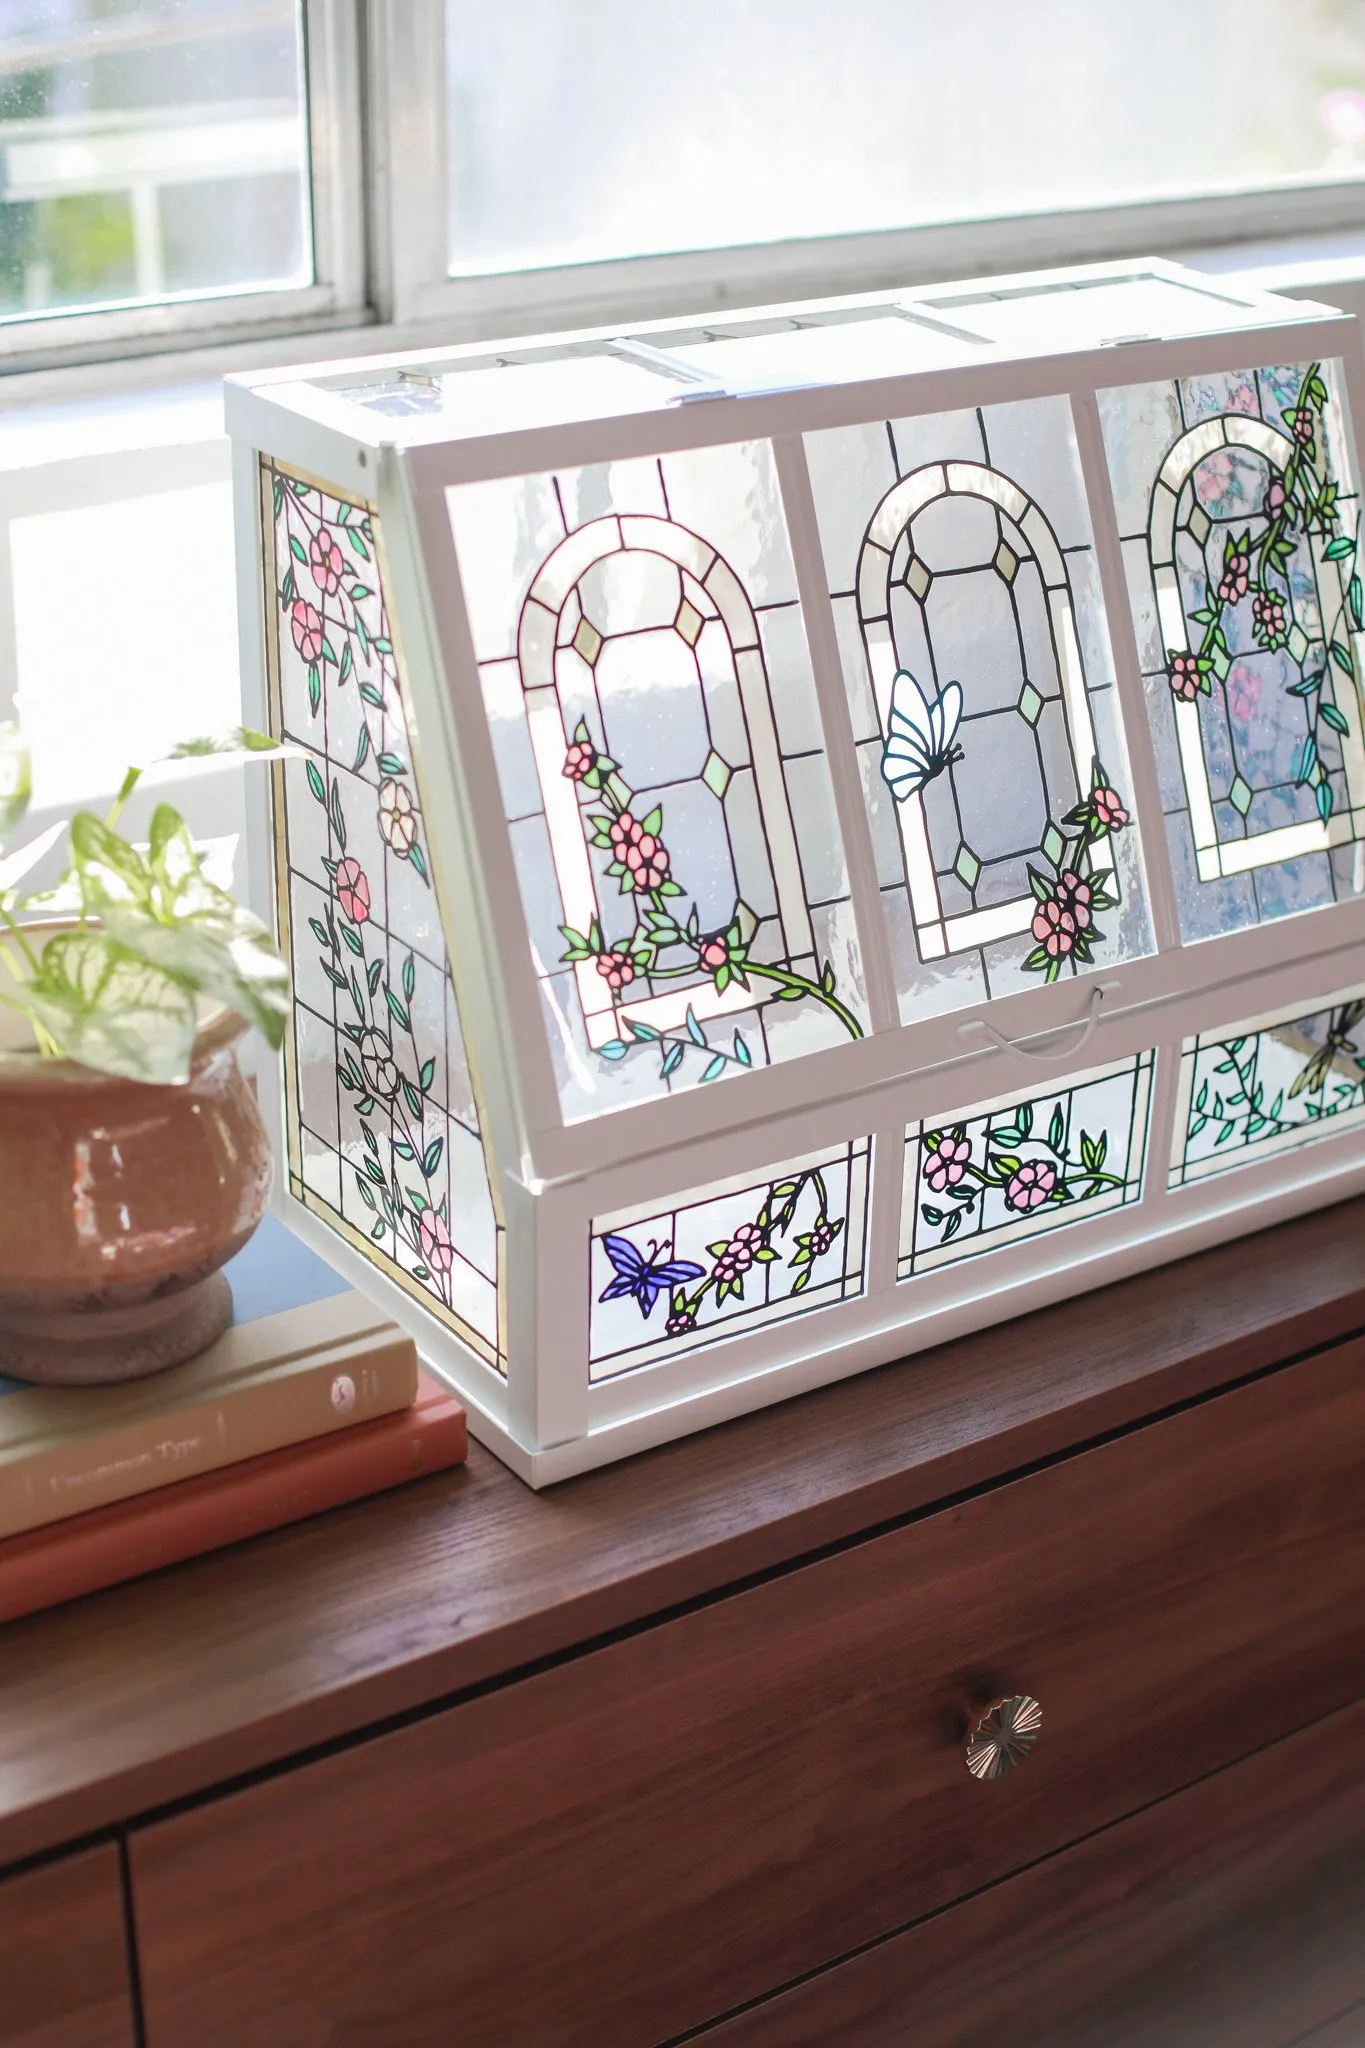
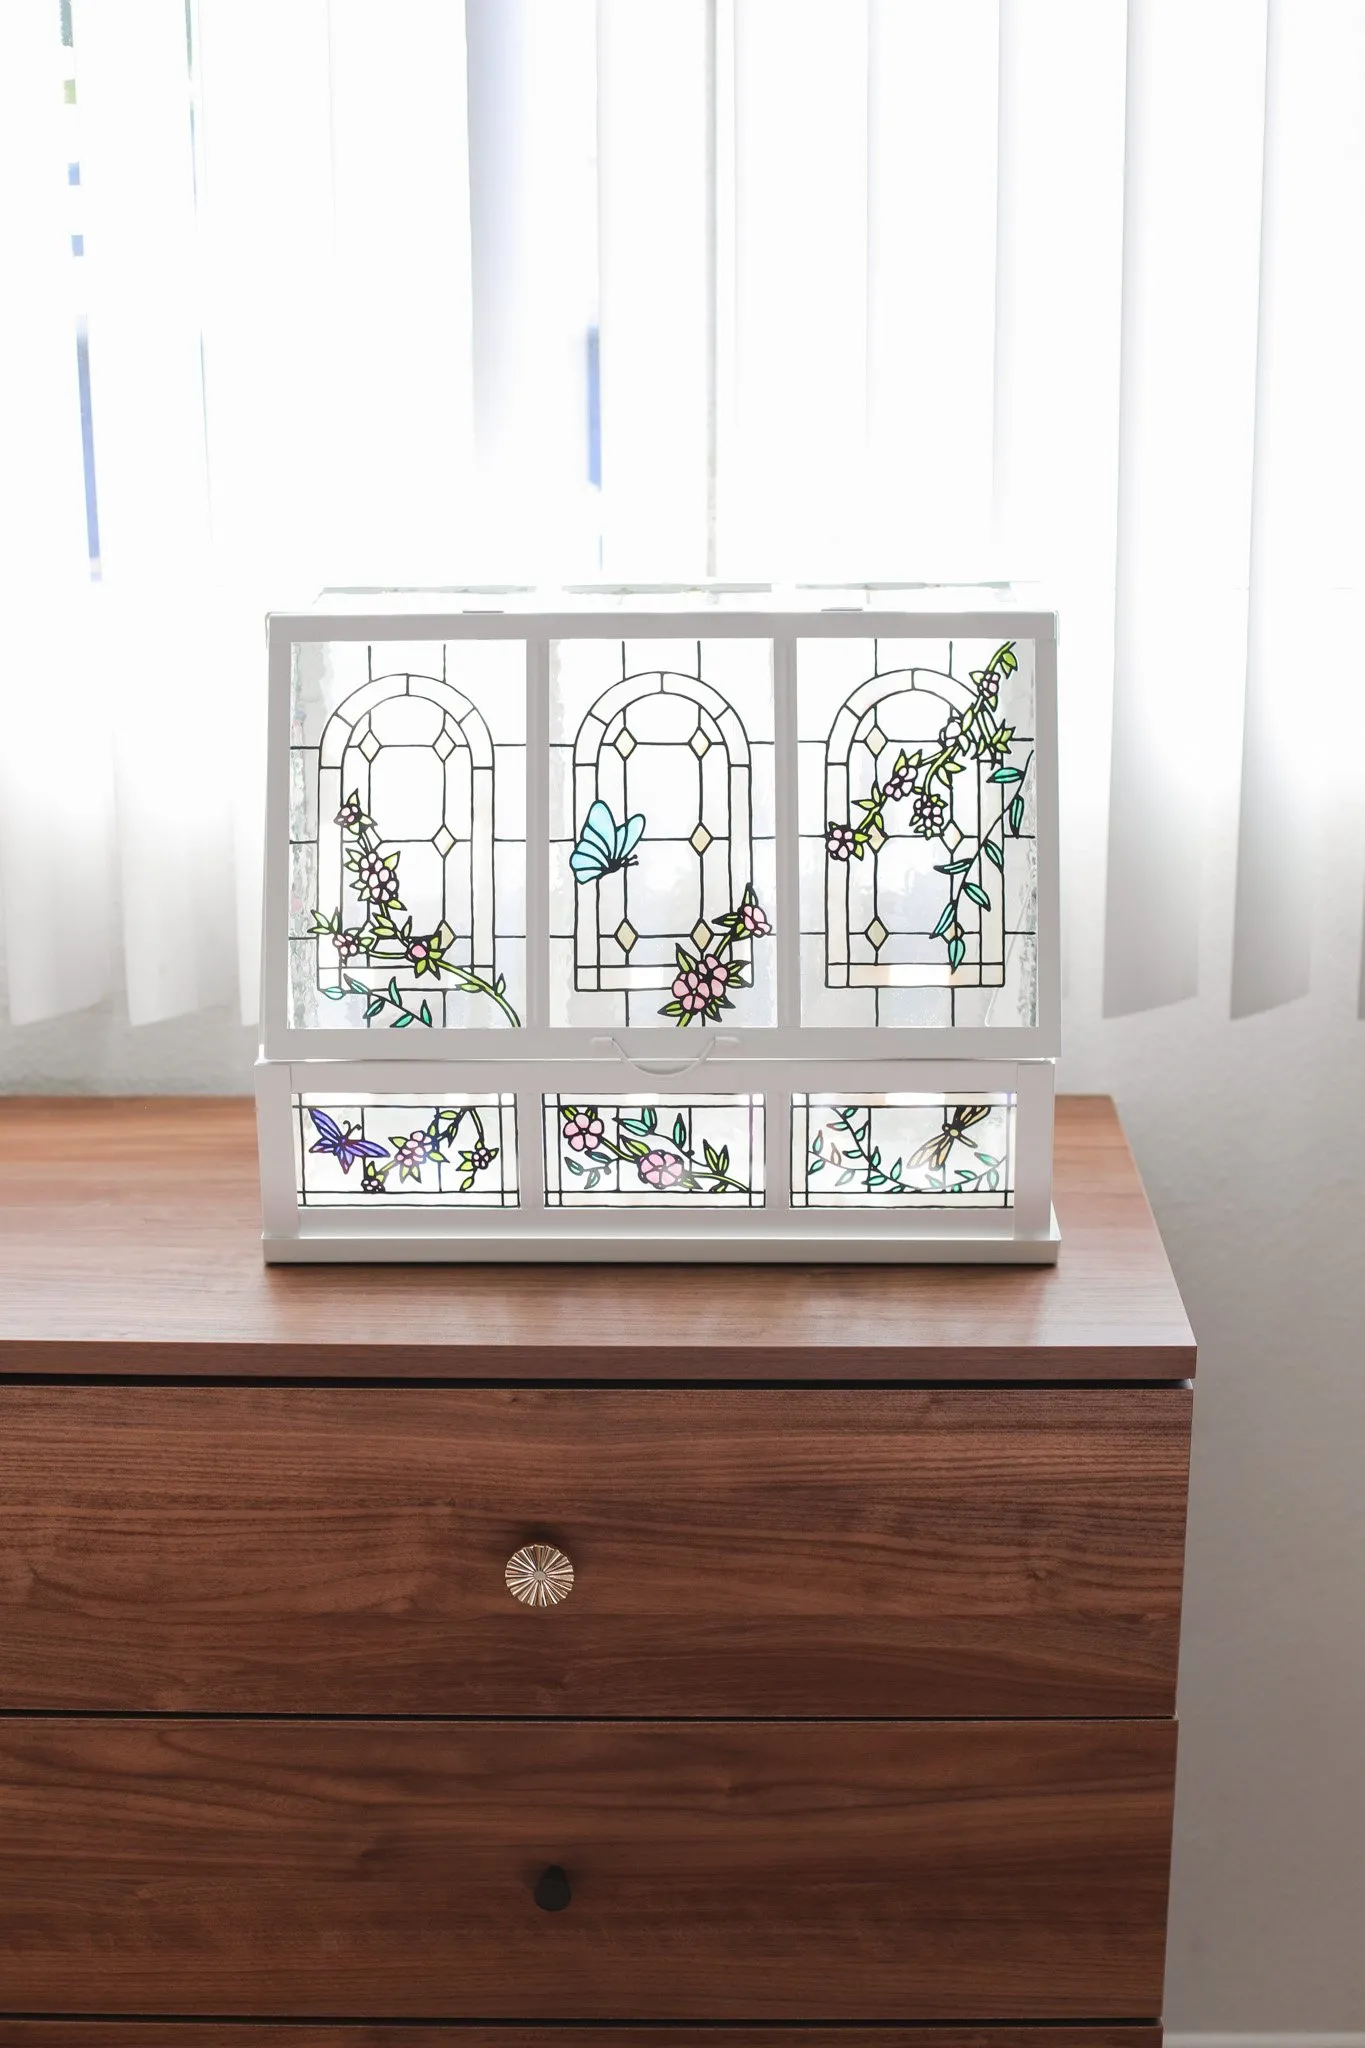
 A collection of images showing off the final product of the DIY stained glass terrarium
Image: The finished DIY stained glass terrarium, a beautiful and unique piece of home decor.
More Than Just a Greenhouse
While this project was inspired by the idea of a terrarium, its possibilities are endless. You can use your finished piece to house actual plants, create a miniature herb garden, or display a collection of faux greenery. It also makes a stunning, handcrafted gift for plant lovers and home decor enthusiasts.
“This project perfectly embodies the spirit of handmade artistry,” says renowned craft expert [Name of Expert]. “It’s about taking a simple object and elevating it with creativity and personal touches. The result is a piece that reflects your unique style and passions.”
Share Your Creations!
I encourage you to personalize this project by choosing colors and designs that resonate with you. Let your creativity bloom and don’t be afraid to experiment! Share your handcrafted masterpieces with me on Instagram [@RobertKlineArt] and use the hashtag #RobertKlineArt.
And remember, the Robert Kline Art website is your source for unique, handmade gifts for every occasion. Explore our collection and discover the perfect piece to bring joy to your loved ones!
