Blog
DIY Chalk Painted Glass Vases: From Salt Shakers to Stunning Decor

Hey there, fellow craft enthusiasts! Robert Kline, your resident art aficionado, here to guide you through a simple yet incredibly transformative project. We’re diving into the world of chalk paint and glass, turning humble Dollar Tree salt and pepper shakers into charming, versatile vases.
As an advocate for budget-friendly crafts, I’m always excited to share projects that breathe new life into everyday items. This one’s close to my heart, showcasing how a touch of chalk paint can elevate the ordinary into pieces brimming with character.
Gathering Your Supplies
The beauty of this project lies in its simplicity and affordability. Here’s what you’ll need:
- Mini wood box (Dollar Tree is a treasure trove for these!)
- Glass salt and pepper shakers (Grab two sets from Dollar Tree)
- Rustoleum Chalked spray paint (Gray is my go-to, but feel free to experiment!)
- Sanding block
- Mod Podge (Regular gloss or matte finish works perfectly)
- Brushes
Optional, but oh-so-handy:
- Twine or ribbon (for an extra touch of rustic charm)
- Seasonal flowers or greenery (to bring your vases to life!)
Transforming Salt Shakers into Vases: A Step-by-Step Guide
Ready to witness the magic of chalk paint? Let’s get crafting!
Step 1: Prepping Your Canvas
Before we introduce the star of the show – the chalk paint – let’s prep those salt and pepper shakers. Clean them thoroughly with warm, soapy water, or use nail polish remover and a cotton ball for a squeaky-clean finish. Ensure they’re completely dry before moving on to the next step.
Step 2: Chalk Paint to the Rescue
This is where the fun begins! Don’t be intimidated by painting glass; chalk paint makes it incredibly easy.
- Shake your can of Rustoleum Chalked spray paint vigorously for a smooth, even application.
- Hold the can about 6-8 inches away from the glass shakers and apply thin, even coats.
- Remember patience is key! Allow each coat to dry completely before applying the next.
- Pro tip: Start with the shakers upside down for the first few coats, then flip them right side up for the final coat. This ensures complete coverage.
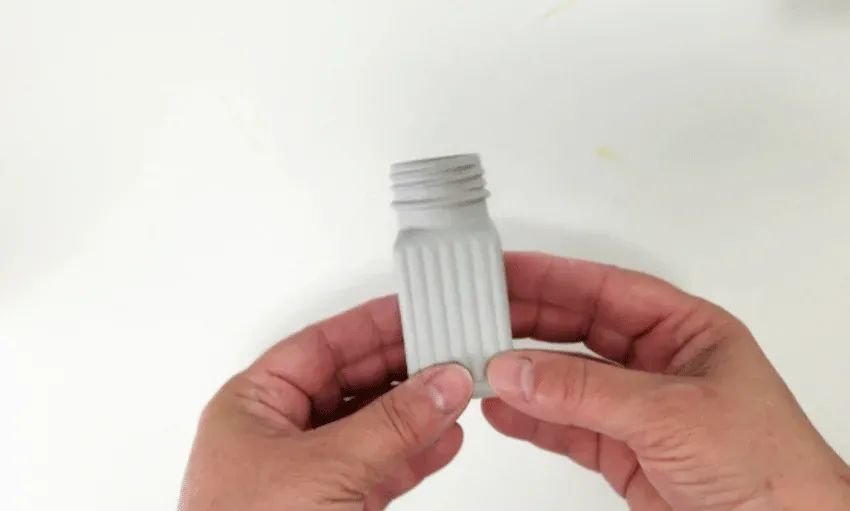
 chalky spray paint on the glass salt and pepper shaker
Caption: A light and even coat is all you need for that beautiful chalky finish.
Step 3: The Art of Distressing
For a touch of rustic charm, we’ll distress the chalk paint. This technique adds depth and character, giving your vases that coveted vintage look.
- Grab your trusty sanding block – Dollar Tree often has these, too!
- Gently sand the painted surface, focusing on the edges and raised areas.
- As you sand, you’ll notice the glass peeking through, creating a beautiful, timeworn effect.
- Once you’re happy with the level of distressing, wipe away any paint dust with a clean cloth.
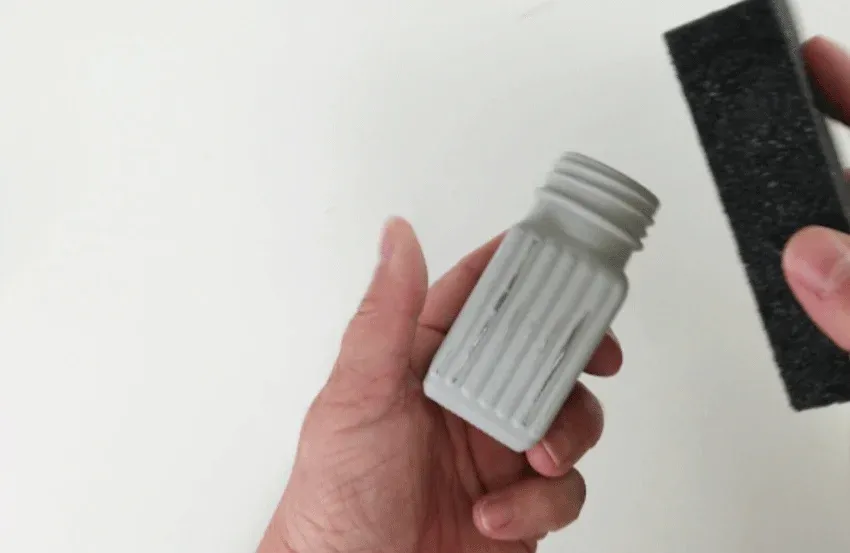
 Just starting to see the glass peek through the chalk paint after sanding a little.
Caption: Gently sanding reveals the glass beneath, creating a beautiful, distressed look.
Step 4: Sealing the Deal
To protect your masterpiece and ensure its longevity, we’ll seal the chalk paint. Mod Podge is an excellent choice for this, providing a durable and crystal-clear finish.
- Dip a small paintbrush into the Mod Podge and apply a thin, even coat over the entire painted surface.
- Allow the Mod Podge to dry completely.
- For a more polished look, you can buff the dried Mod Podge with a lint-free cloth.
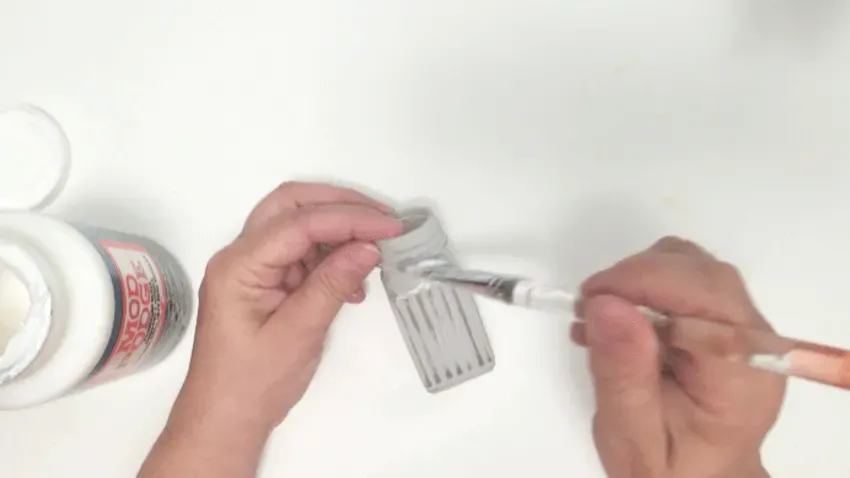
 Brushing Mod Podge over the chalk paint to seal the paint on the glass.
Caption: Sealing the chalk paint not only protects it but also enhances its vibrancy.
Showcasing Your Creations
And there you have it – four stunning vases, ready to elevate your home decor! Arrange them in the charming wooden box you snagged from Dollar Tree. Add a touch of whimsy by tying twine or ribbon around the neck of each vase. Finally, complete the look with your favorite seasonal blooms or greenery.
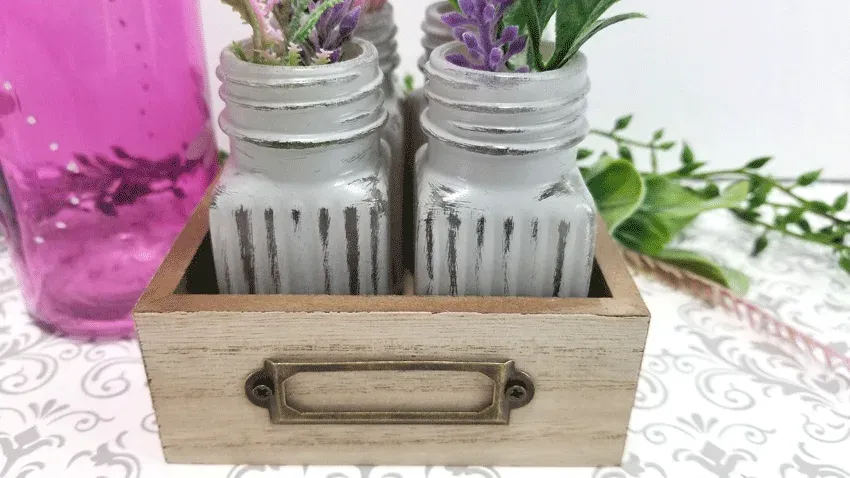
 Close up photo of the chalk painted, distressed glass vases made from Dollar Tree salt and pepper shakers.
Caption: From humble beginnings to charming decor, these vases showcase the transformative power of chalk paint.
Embrace the Joy of Upcycling
This project exemplifies the beauty of upcycling, transforming everyday items into unique and personalized decor. I always say, “The most meaningful art comes from the heart and hands,” and these DIY chalk-painted vases are a testament to that.
So go ahead, unleash your creativity, and don’t forget to share your masterpieces with me! Tag @RobertKlineArt on your social media creations, and let’s inspire each other with the endless possibilities of art.
