Blog
Create a Vibrant DIY Herb Garden with Painted Mason Jars

Hey there, fellow craft enthusiasts! Robert Kline here, ready to share a project that combines my love for art and gardening. Today, we’re diving into a fun and easy DIY project: creating a charming herb garden using painted mason jars. It’s a delightful way to bring a touch of nature indoors while adding a pop of color to your kitchen. As someone who has spent years exploring various art forms, I find immense joy in transforming everyday objects into unique and beautiful pieces.
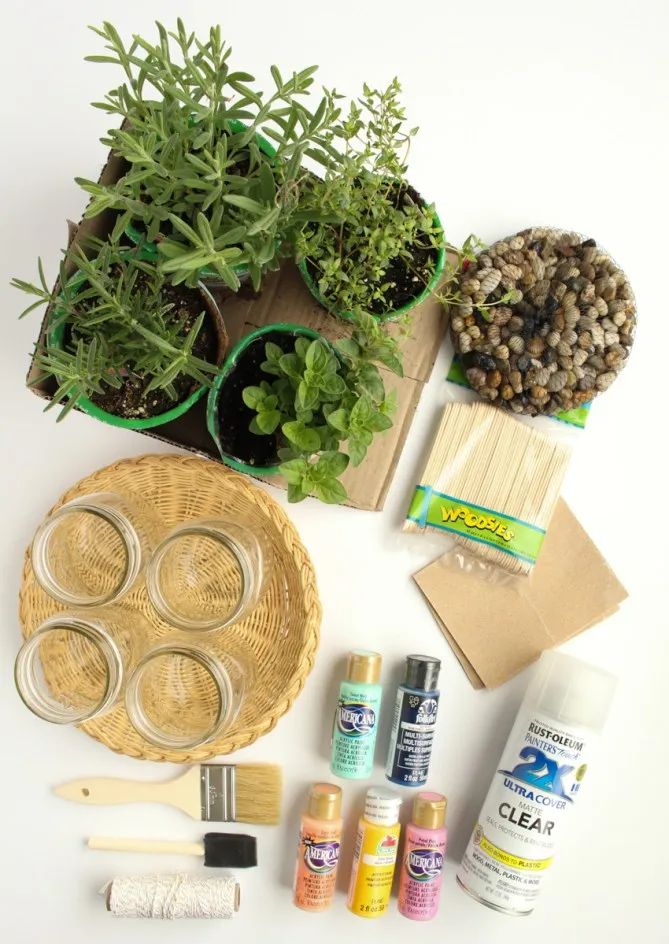
Materials You’ll Need:
- Mason jars (head to your local thrift store for budget-friendly finds!)
- Acrylic paints in your favorite colors (I’m partial to vibrant hues!)
- Foam or paintbrushes for smooth application
- Painter’s tape for crisp lines
- Clear spray varnish to protect your masterpiece
- Soil and a selection of your favorite herbs
- A sturdy tray (metal, wood, or even wicker!)
Step-by-Step Guide:
Phase 1: Preparing Your Mason Jars
- Clean and Dry: Start by giving your mason jars a thorough wash to remove any dust or residue. Allow them to dry completely.
- Apply Painter’s Tape (Optional): If you’re going for a specific design with clean lines, use painter’s tape to mark off the areas you want to keep paint-free.
- Paint Your Jars: Unleash your creativity and paint the jars in your desired colors. Don’t hesitate to experiment with patterns or color combinations. Apply 2-3 coats for rich, vibrant hues.
- Seal with Varnish: Once the paint dries completely, seal your work with a clear spray varnish. This step will protect the paint from moisture and ensure your herb garden lasts longer.
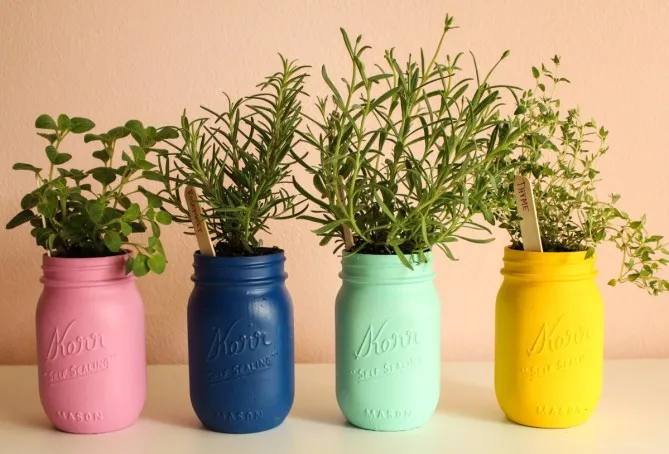
 DIY painted mason jars before planting
Alt: Colorful painted mason jars prepped for a DIY herb garden project.
Phase 2: Crafting Your Herb Garden Tray
- Choose Your Tray: Select a tray that complements your mason jars. I often find unique and affordable trays at thrift stores.
- Add a Splash of Color (Optional): To elevate the look, consider painting your tray using the same techniques as your mason jars.
- Design Inspiration: From stripes to polka dots, the possibilities are endless! Let your imagination guide you in creating a tray that reflects your style.
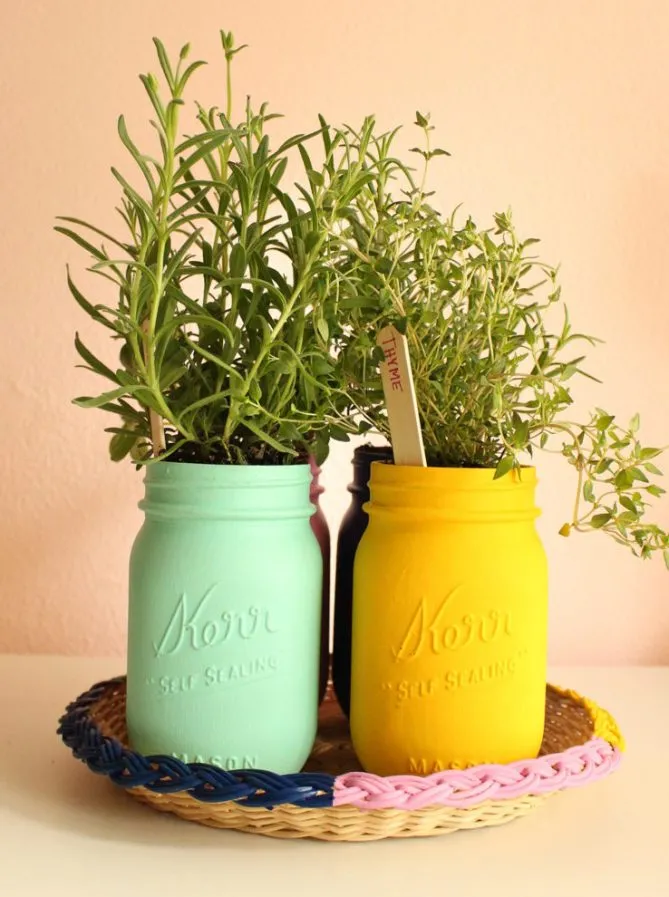
 DIY painted mason jars on a tray
Alt: Completed painted mason jar herb garden sitting on a matching painted tray.
Phase 3: Assembling Your Herb Garden
- Drainage Layer: Add a layer of small rocks or pebbles to the bottom of each mason jar to facilitate drainage.
- Potting Your Herbs: Fill the jars with soil and gently transplant your chosen herbs. Remember to select herbs that thrive indoors and suit your culinary preferences.
- Label Your Herbs: Create charming labels for your herbs using wooden craft sticks or twine and tags. This thoughtful touch adds a personal touch and helps you easily identify each plant.
 DIY painted mason jar herb garden close up
Alt: Close up image of a DIY painted mason jar herb garden, showcasing painted labels and thriving herbs.
Tips and Tricks from Robert Kline Art:
- Experiment with Colors and Designs: Don’t be afraid to get creative with your painting. Bold colors and unique patterns will make your herb garden stand out.
- Use High-Quality Paint: Invest in high-quality acrylic paints that adhere well to glass and provide excellent coverage.
- Seal for Durability: Applying a clear varnish is crucial for protecting your painted jars from water damage and fading.
- Choose the Right Herbs: Select herbs that thrive indoors and receive adequate sunlight. Some popular choices include basil, mint, oregano, and thyme.
Conclusion:
Creating a DIY painted glass herb garden is a rewarding experience that combines creativity, practicality, and a touch of greenery. As an art enthusiast, I encourage you to embrace this project and personalize it with your unique style. The end result will be a charming addition to your kitchen and a constant source of fresh herbs for your culinary adventures. Remember, the true beauty lies in the joy of creation!
Ready to embark on more exciting DIY projects? Explore the world of handmade crafts and discover unique, handcrafted gifts for your loved ones on our website. Don’t forget to share your creations and tag us on social media – we can’t wait to see your masterpieces!
