Blog
DIY Splatter Paint Trinket Dishes with Whimsical Brass Insects
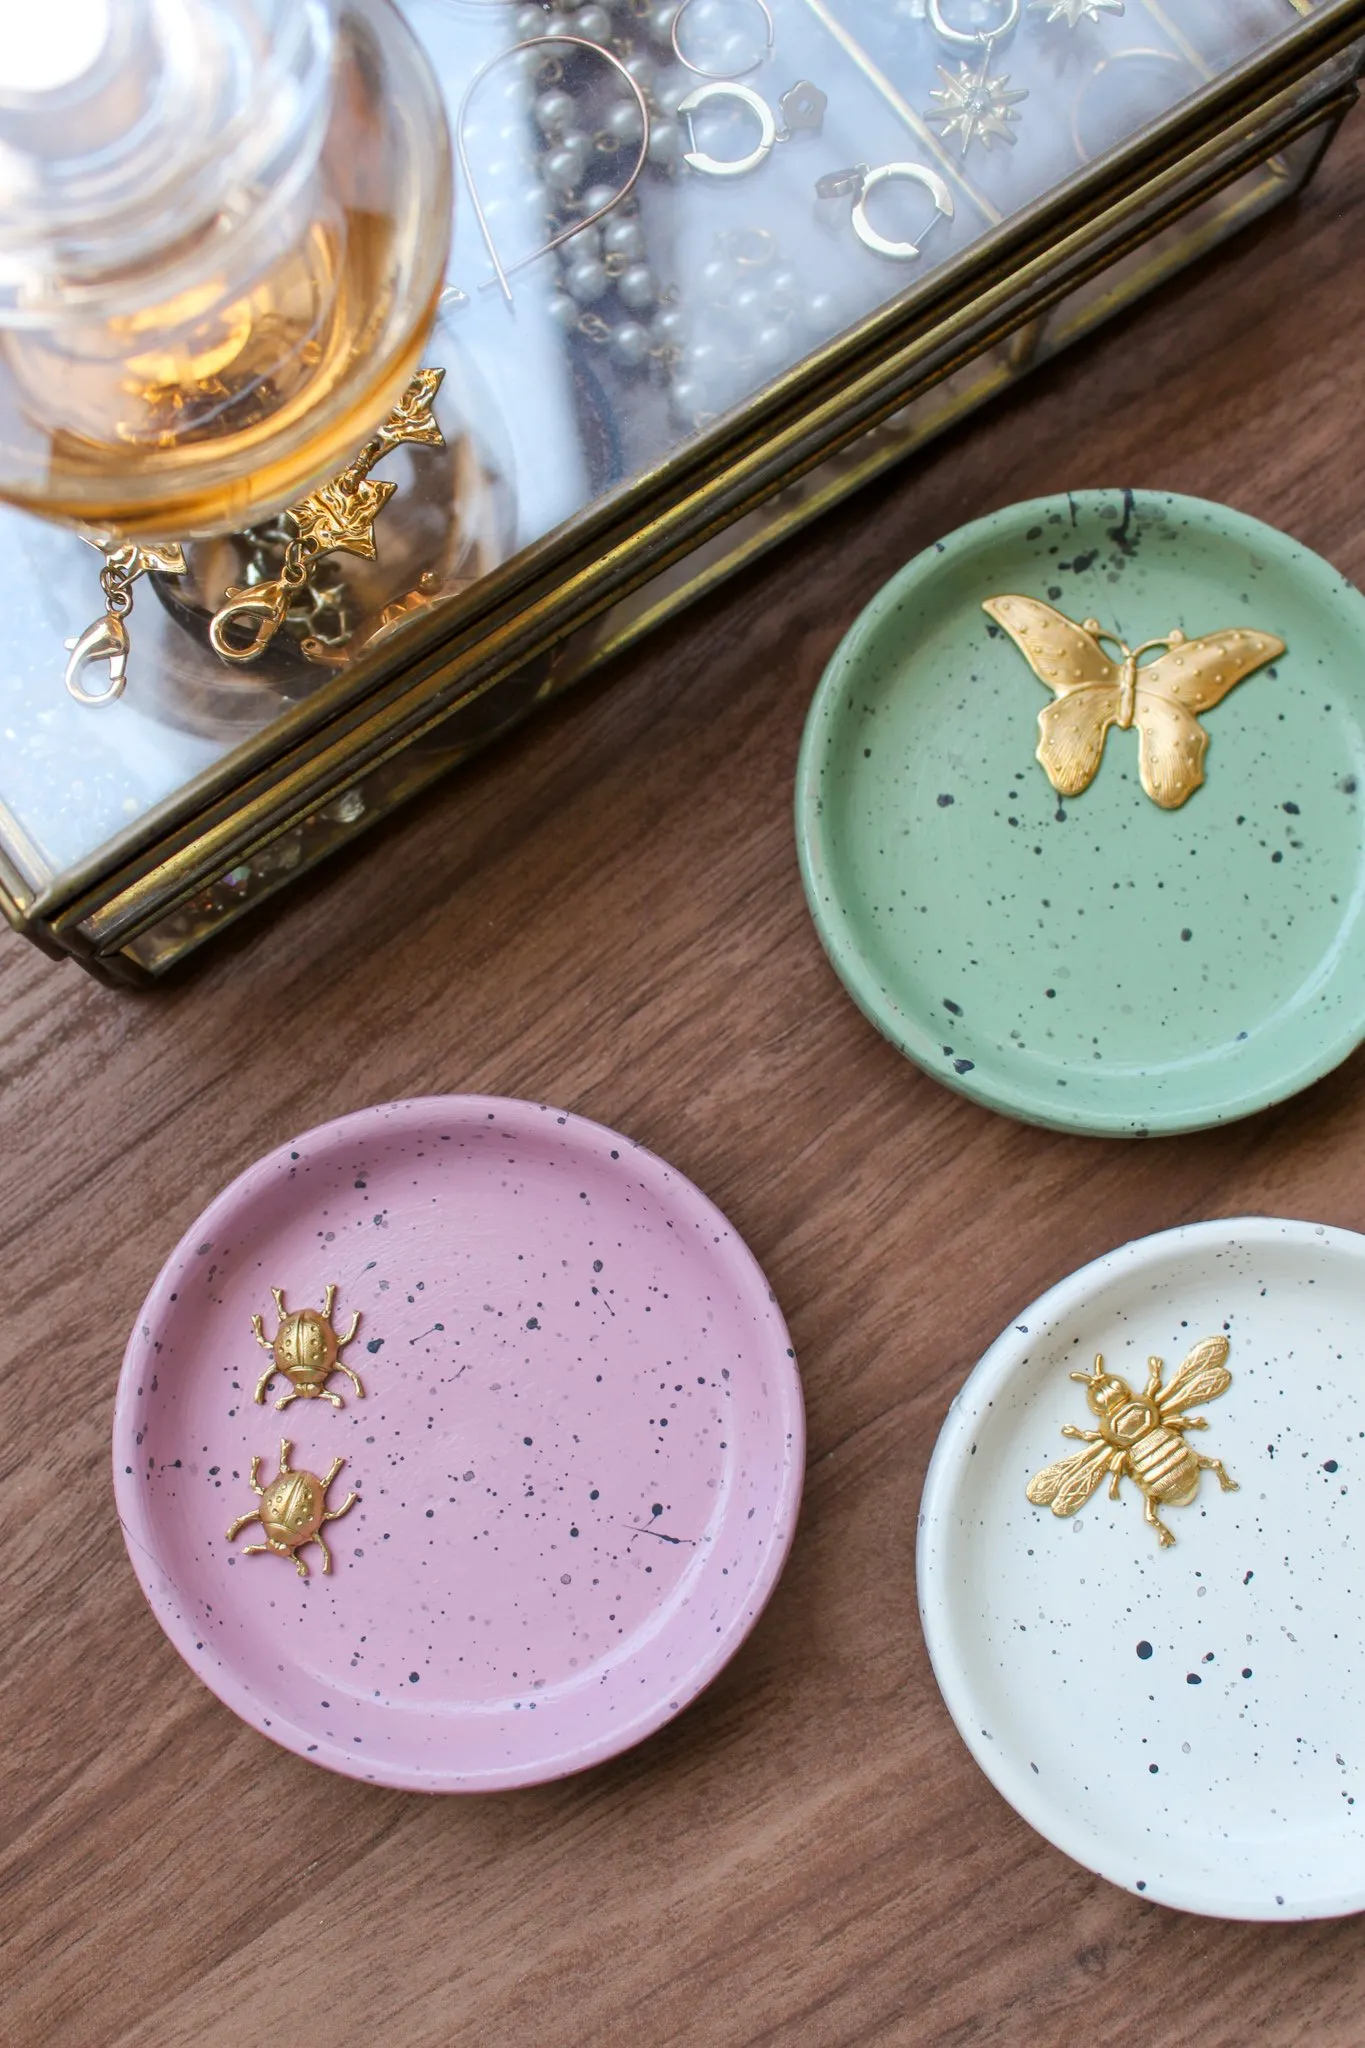
Hey there, fellow craft enthusiasts! Remember the joy of making mud pies as kids? Let’s tap into that playful energy with a DIY project that’s both chic and charming: splatter paint trinket dishes adorned with adorable brass insects. These little dishes are not only fun to make but also make thoughtful handmade gifts for friends and family.
Gathering Your Supplies
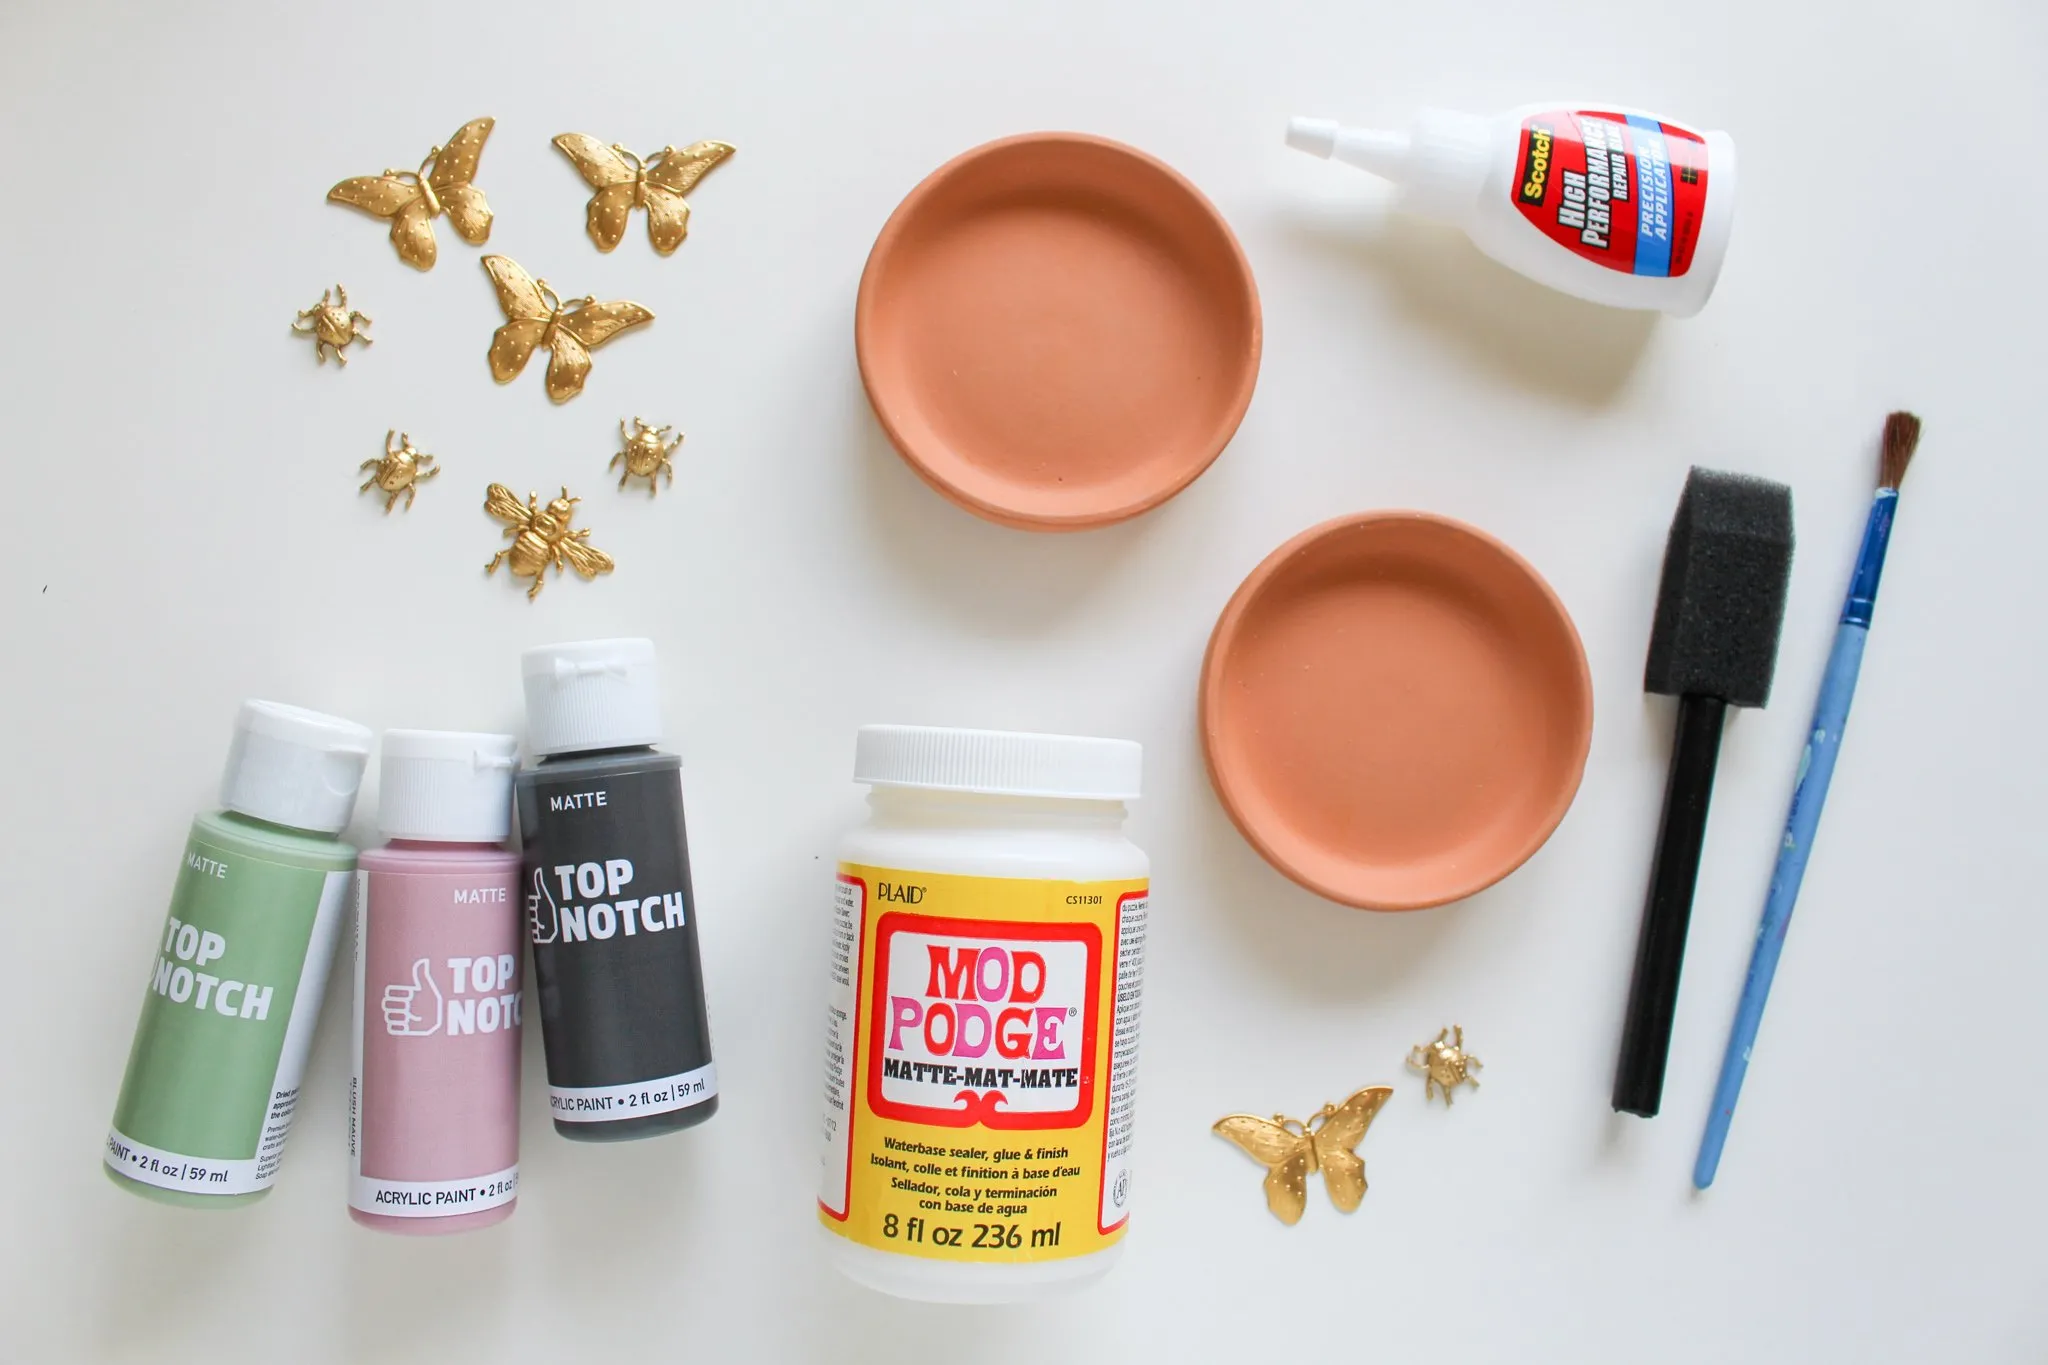
Every crafting adventure starts with the right tools. Here’s what you’ll need to create your own splatter paint trinket dishes:
- Acrylic paint: Choose your favorite colors to create a vibrant and personalized design.
- Terracotta clay plant saucer: These saucers provide the perfect base for your trinket dishes.
- Paint brushes: You’ll need a variety of sizes for both base coats and splattering.
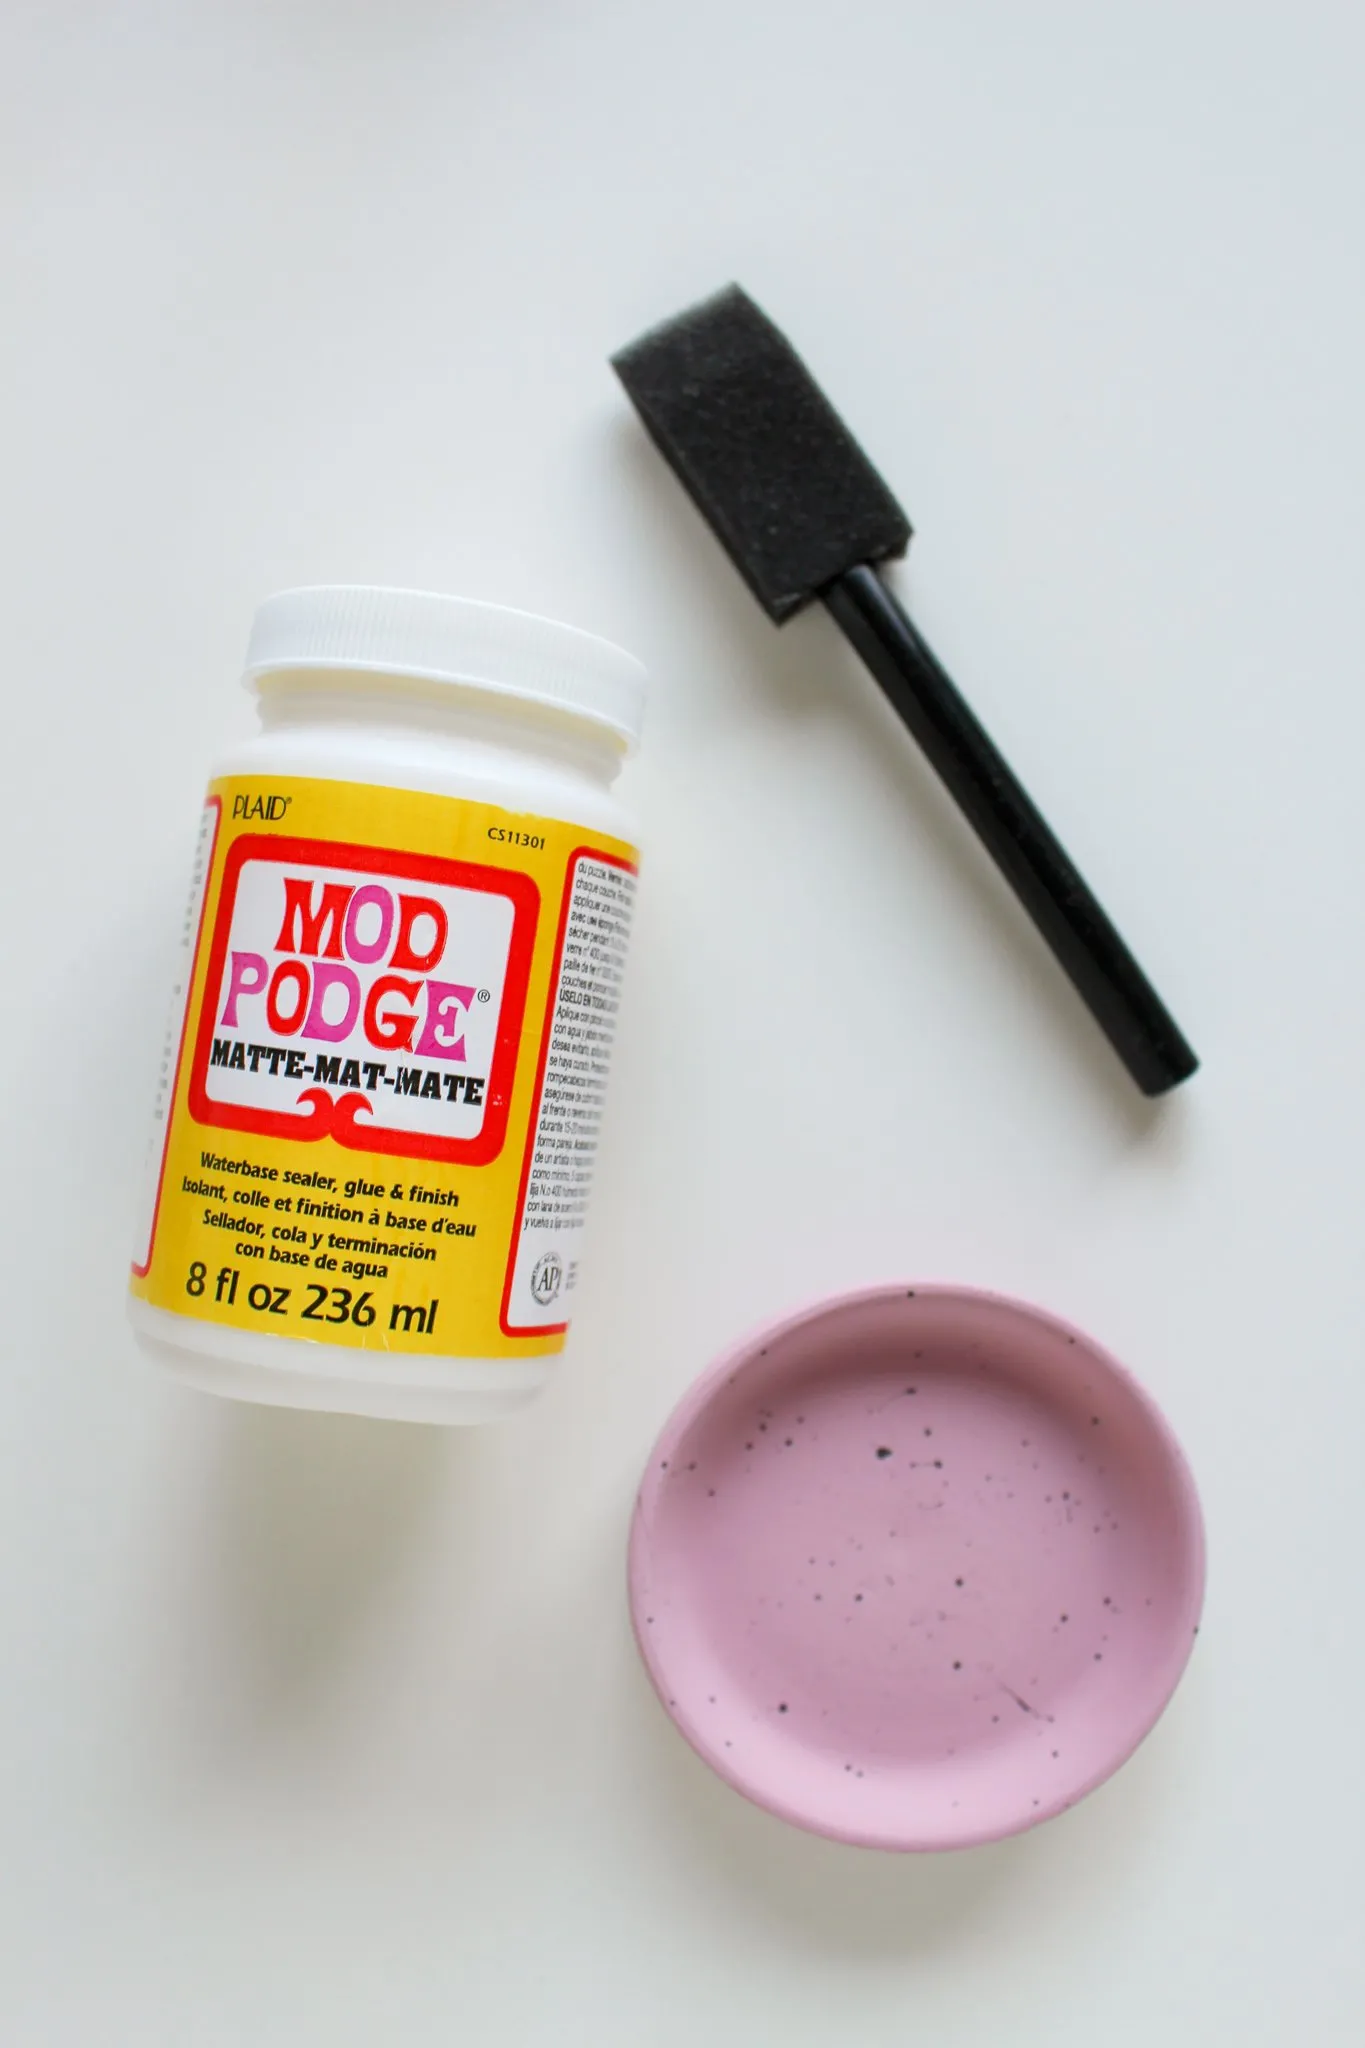
- Mod Podge: This magical sealant will protect your paint and add a polished finish.
- Craft adhesive: This will securely attach your whimsical brass insects.
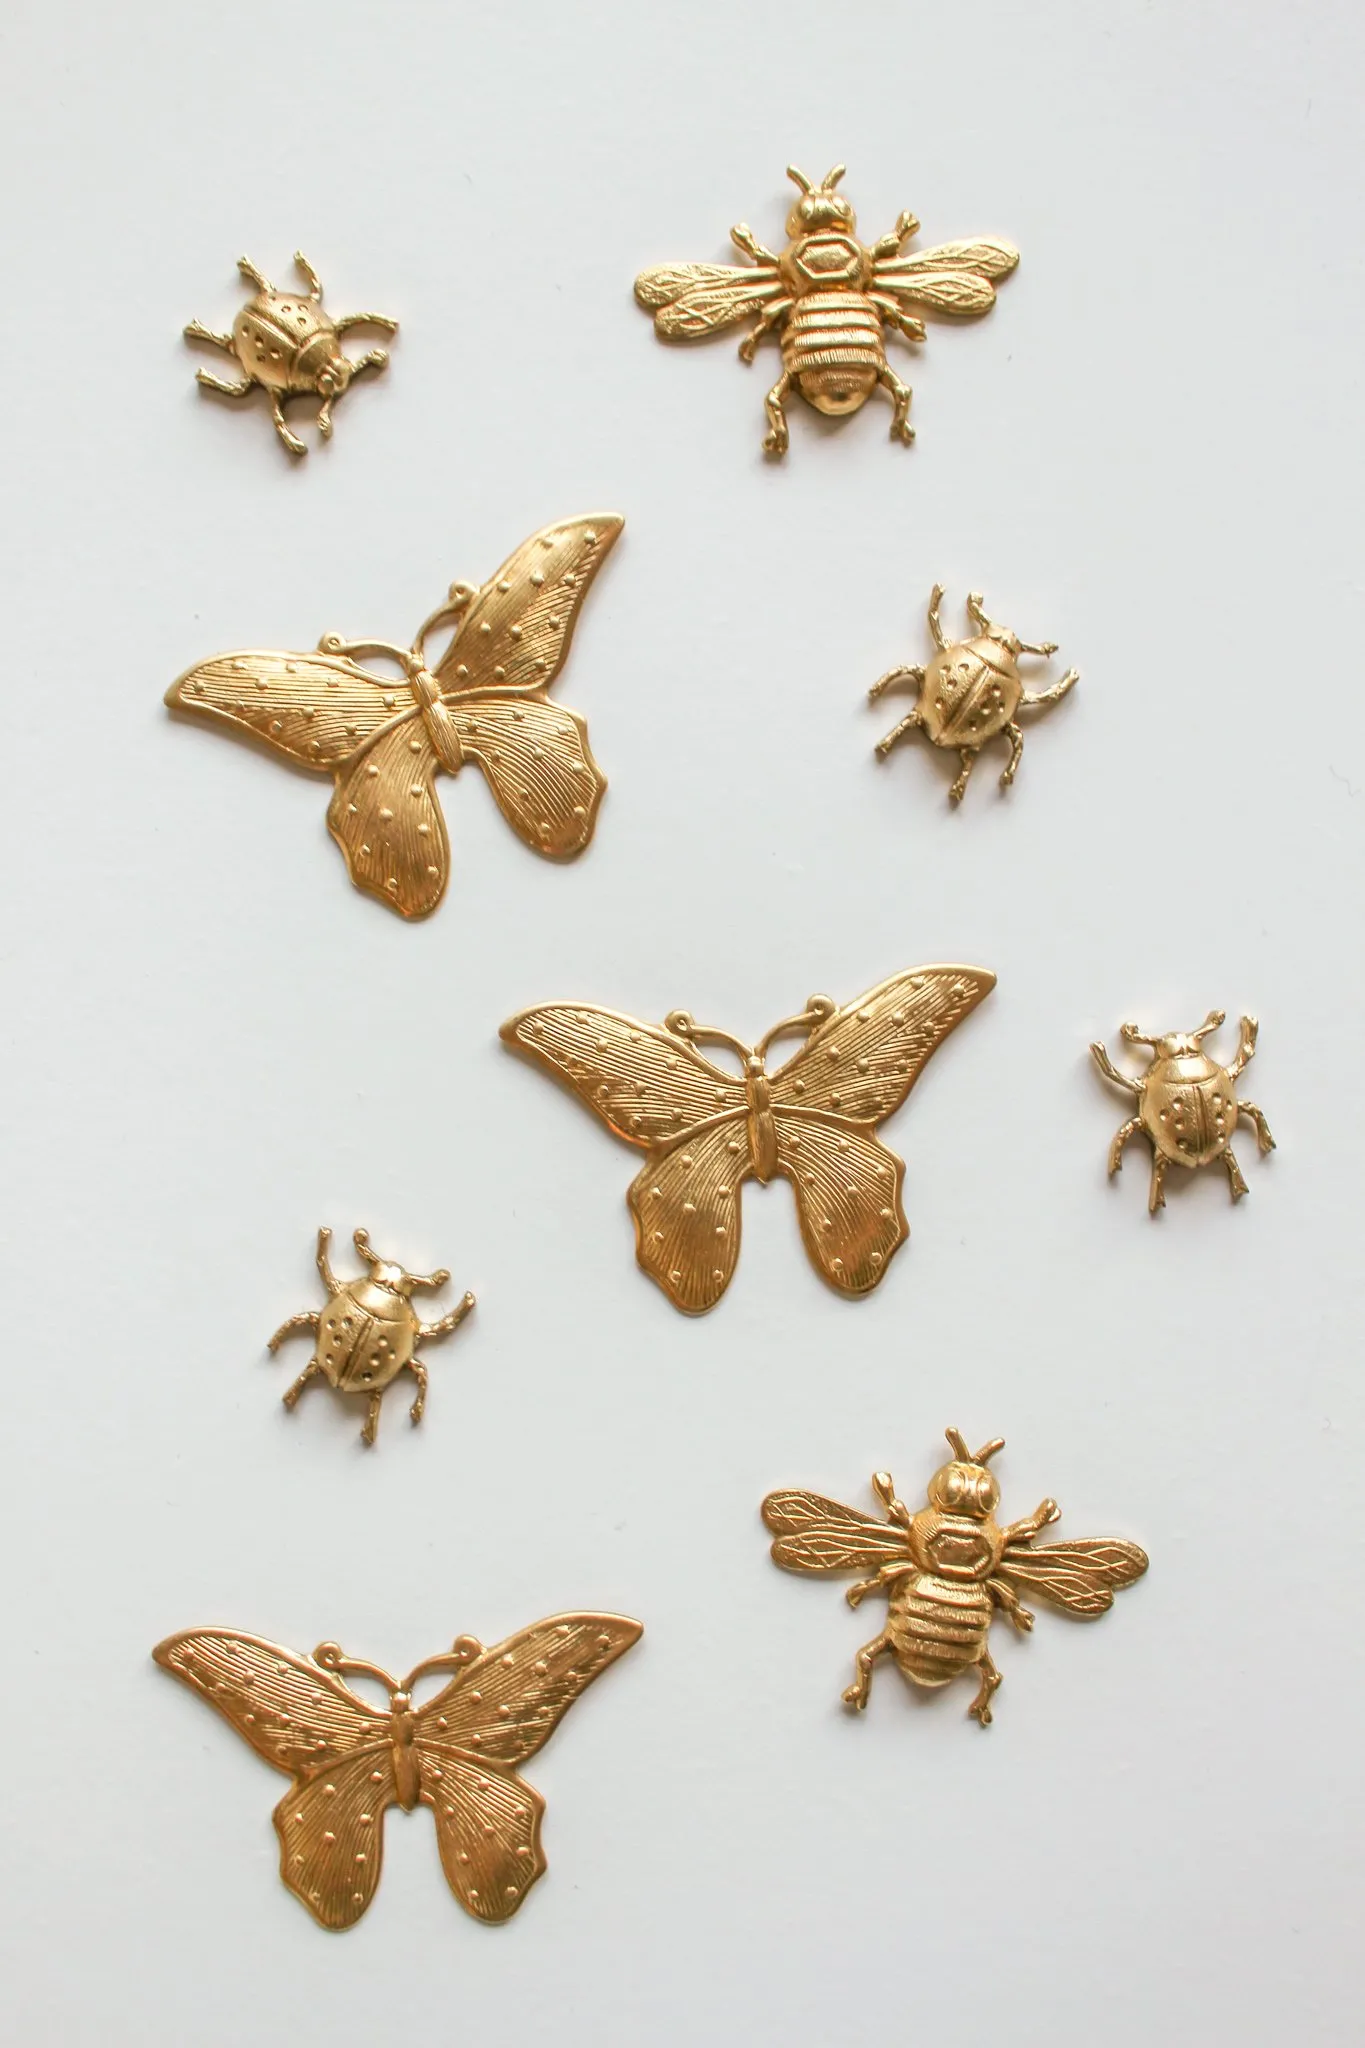
- Brass insects: Think whimsical! Ladybugs, butterflies, and honeybees add a touch of spring charm.
 Terracotta clay plant saucers
Creating Your Masterpieces
Ready to unleash your inner artist? Follow these simple steps to create your own unique trinket dishes:
Step 1: Prep Your Canvas
Start by giving your terracotta clay plant saucer a good wash with soap and water. This removes any dust or debris, ensuring a smooth and even paint application. Allow it to dry completely before moving on.
 Clean terracotta clay plant saucers
Step 2: Lay Down the Foundation
Now it’s time to add some color! Apply 3-4 coats of your chosen acrylic paint to the saucer, letting it dry completely between each coat. The number of coats will depend on the opacity of your paint.
“Using multiple thin coats of paint will give you a smoother, more professional-looking finish,” advises seasoned crafter and DIY expert, Emily Carter.
Step 3: Splatter with Abandon
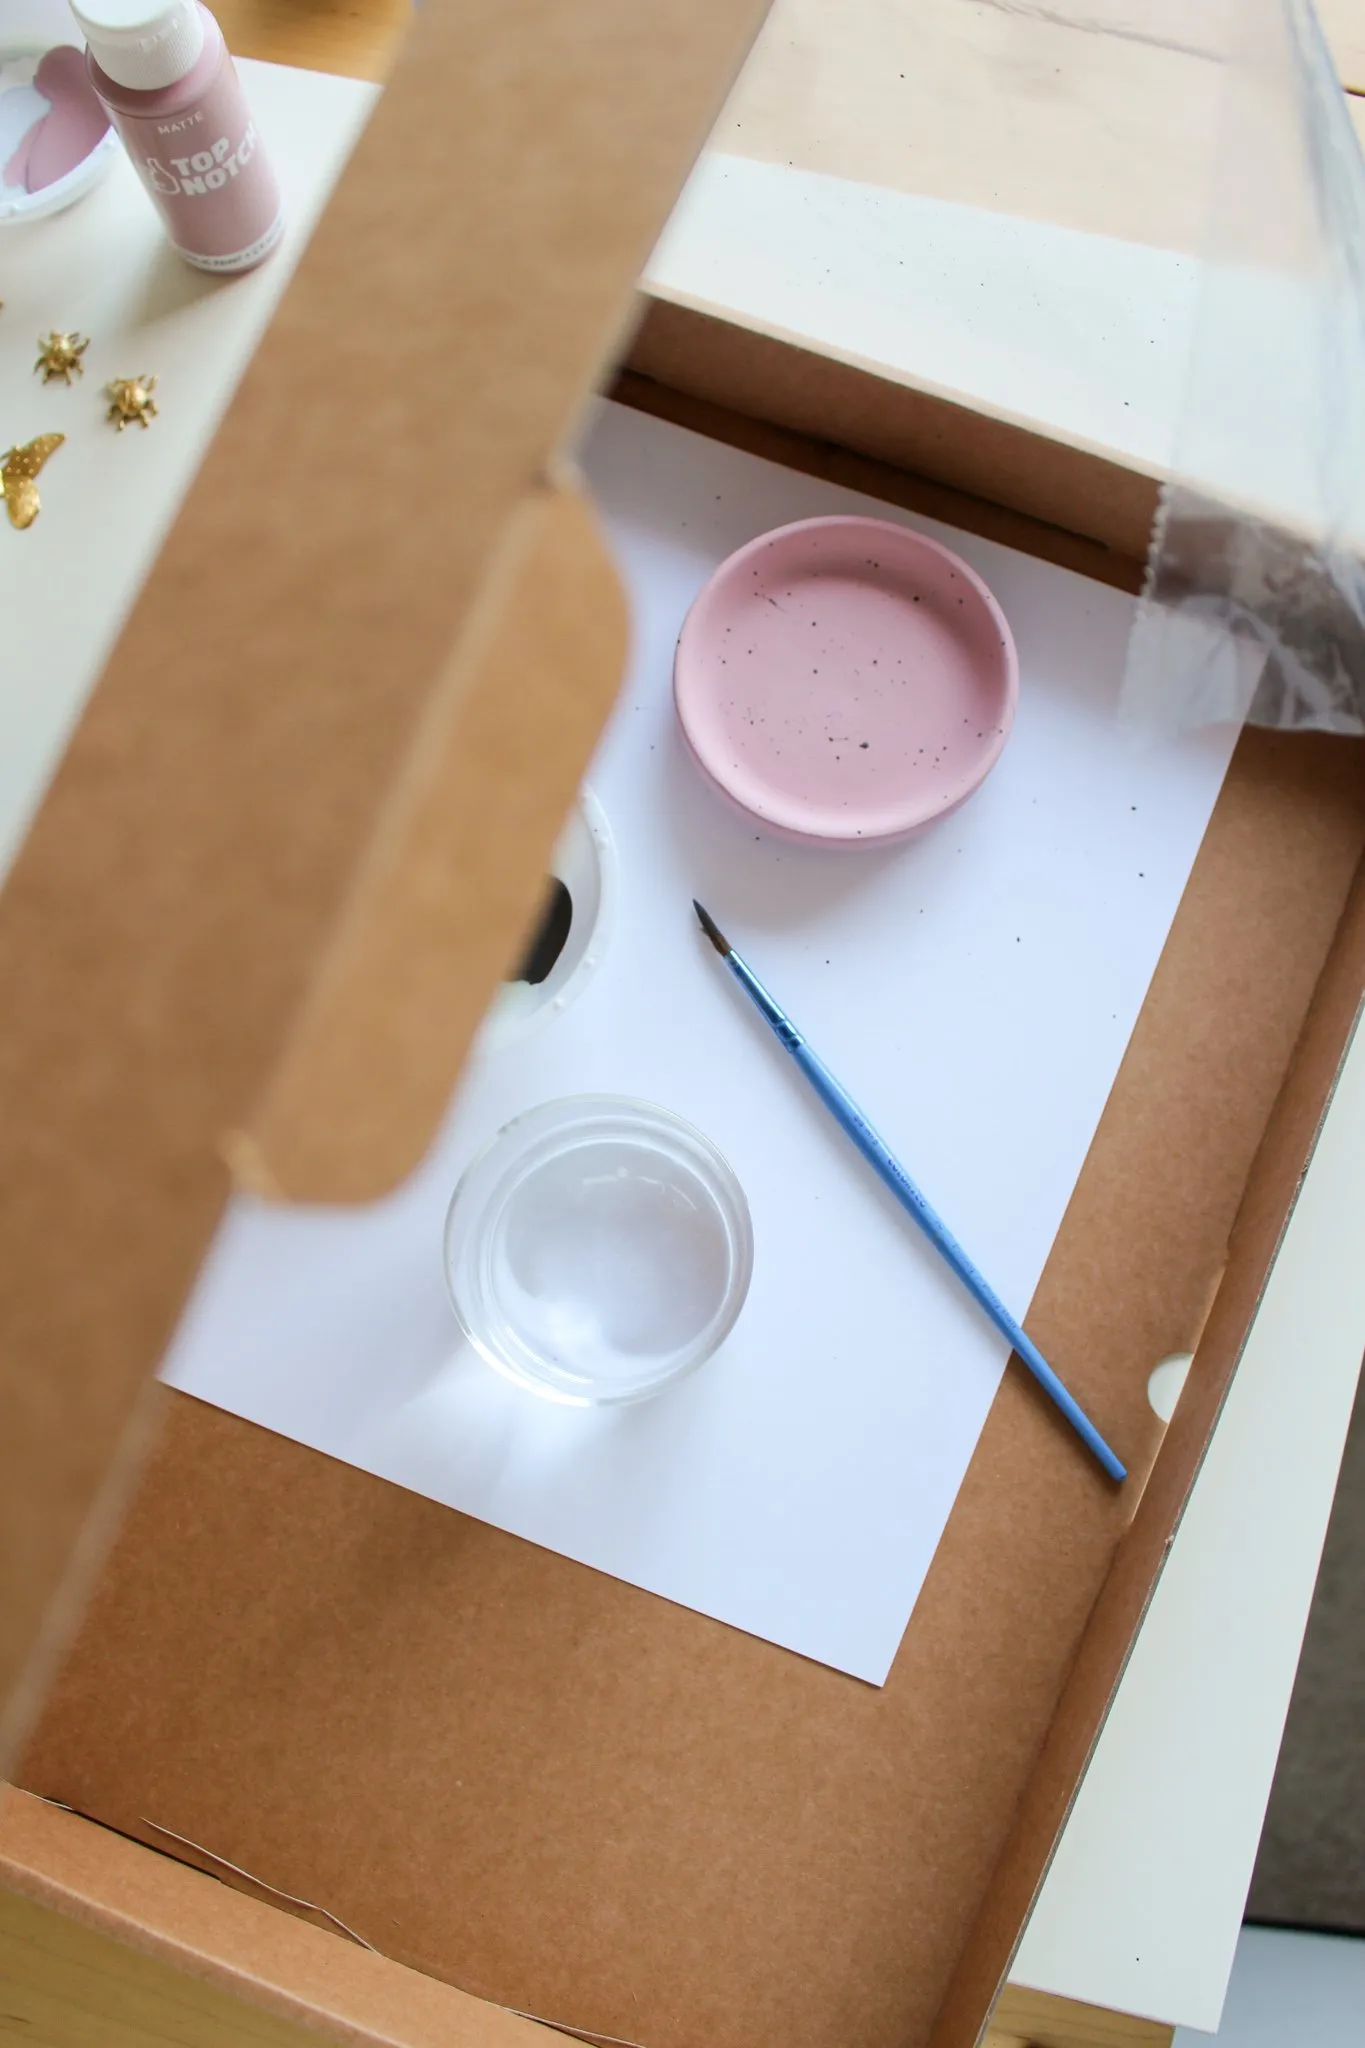
This is where the real fun begins! Find an enclosed space, like an old cardboard box, to contain the paint splatters. Tape some plastic wrap or garbage bags to the inside for added protection. Dip a paintbrush in water, then into your chosen splatter color. Hold the brush a few inches above the saucer and flick it to create a splatter effect. You can also gently tap the brush against your finger for a more controlled splatter.
“Don’t be afraid to experiment with different colors and splatter techniques,” encourages Carter. “Each piece will be unique and reflect your personal style.”
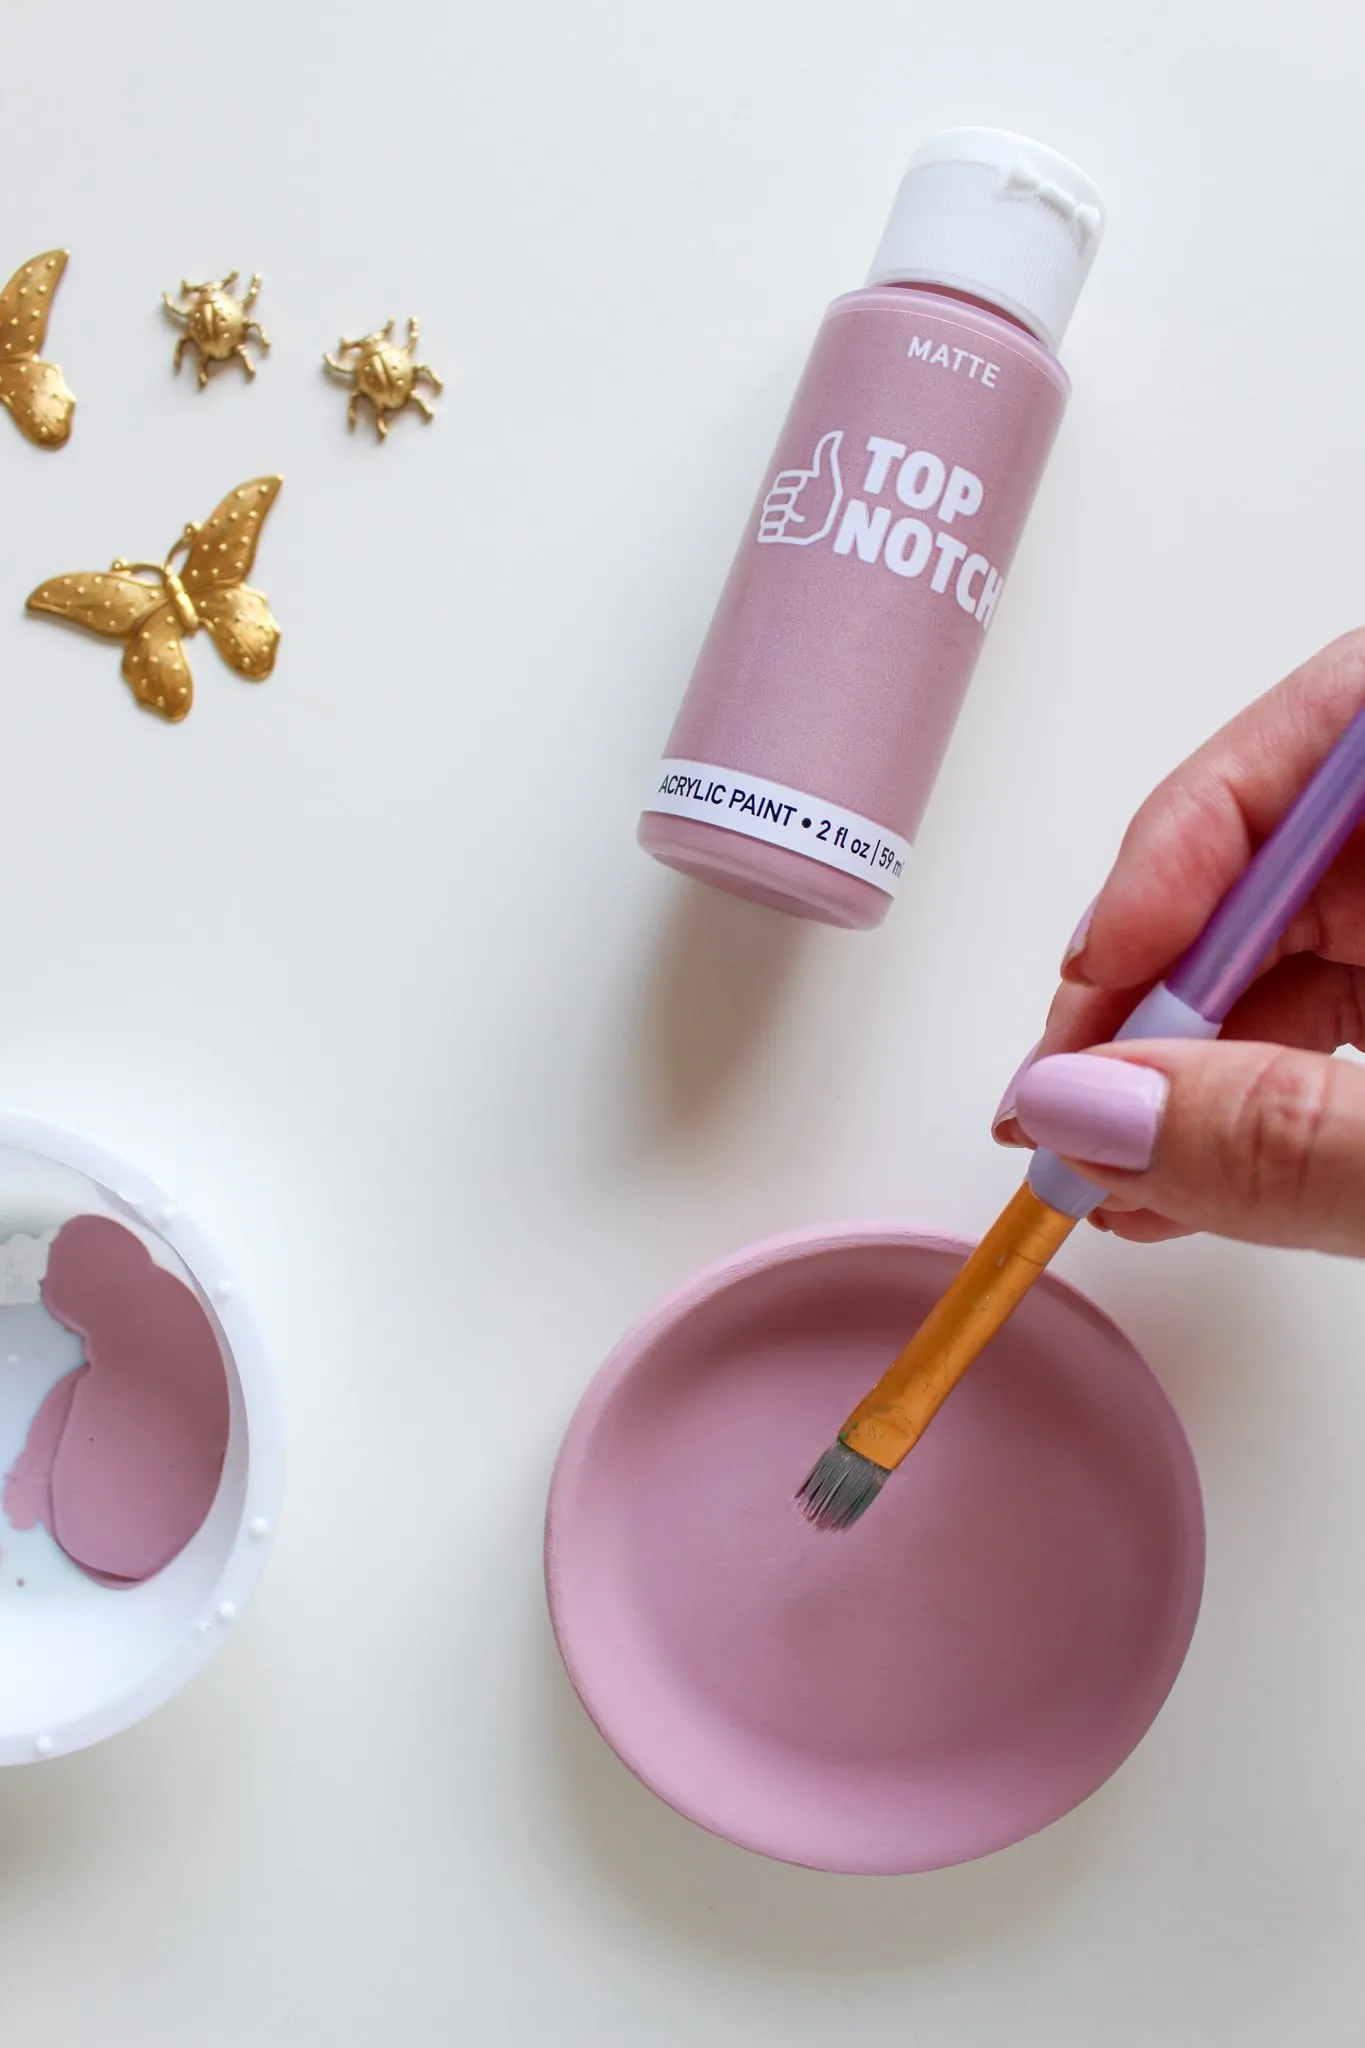 Splatter painting a trinket dish
Step 4: Seal and Protect
Once your splattered masterpiece is dry, it’s time to seal in all that vibrant color. Apply a coat of Mod Podge to the entire dish, including the sides. I prefer a matte finish for a subtle look. Let it dry for 15-20 minutes, then add a second coat for extra protection.
 Applying Mod Podge to a trinket dish
Step 5: Embrace the Whimsy
Now for the finishing touch! Attach your charming brass insects to the bottom of the dish using craft adhesive. Allow the adhesive to dry completely overnight.
 Attaching brass insects to a trinket dish
Enjoy Your Creations!
Congratulations! You’ve created your very own set of adorable and functional splatter paint trinket dishes. Use them to hold jewelry, keys, or any small treasures.
These trinket dishes also make wonderful personalized gifts. “Handmade gifts show you put thought and care into creating something special,” says gift-giving expert, Sarah Jones.
 Finished splatter paint trinket dishes with brass insects
So gather your supplies, embrace your creative spirit, and let’s get crafting! Don’t forget to share your creations with me. I can’t wait to see what you come up with! And for more unique handmade gift ideas, be sure to explore the rest of Robert Kline Art website.
