Blog
DIY Ceramic Spoon Rest: A Simple & Stylish Solution

Hi everyone, Robert Kline here! As a craft enthusiast, I’m always on the lookout for creative solutions to everyday problems. Today, I’m excited to share a super easy and stylish DIY project: a painted ceramic spoon rest. If you’re tired of messy coffee spoons staining your countertops (like I was!), this one’s for you.
This project is perfect for beginners and doesn’t require a lot of fancy materials. With just a few simple steps, you’ll have a personalized spoon rest that adds a touch of handmade charm to your kitchen.
Materials: Gathering Your Supplies
Before we dive in, let’s gather our tools. You’ll need:
- Ceramic spoon rest: Choose a plain one that fits your style.
- Rubbing alcohol: For cleaning the surface.
- Cotton balls: To apply the rubbing alcohol.
- Printed text or design: Choose a font, word, or pattern you love.
- Sharpie Pen: For tracing the design.
- Sharpie Oil-Based Marker: To make the design permanent and washable.
Steps: Creating Your Masterpiece
-
Prep the Surface: Begin by cleaning the ceramic spoon rest thoroughly with rubbing alcohol and cotton balls. This removes any dirt or oils that could prevent the Sharpie from adhering properly. Let it dry completely.
 Easy DIY spoon rest idea! How to use Sharpies on a ceramic spoon rest.
 -
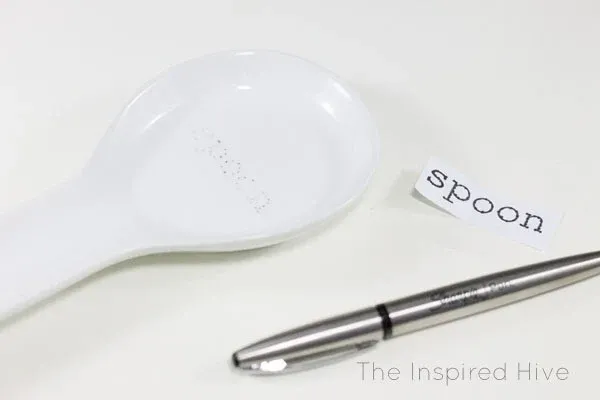
Transfer Your Design: Tape your printed text or design securely to the spoon rest. Use the Sharpie pen to carefully dot over the outline of your design. The ink will bleed through the paper, creating a traceable guide on the ceramic.
 Easy DIY spoon rest idea! How to use Sharpies on a ceramic spoon rest.
 -
Outline with Oil-Based Marker: Let the Sharpie pen ink dry completely to avoid smudging. Once dry, use your Sharpie oil-based marker to connect the dots and finalize your design.
 Easy DIY farmhouse spoon rest idea! How to use Sharpies on a ceramic spoon rest.
 -
Cure for Durability (Optional): To make your spoon rest dishwasher safe, you’ll need to cure the oil-based Sharpie ink. Preheat your oven to 250 degrees Fahrenheit (120 degrees Celsius). Place the spoon rest in the oven and bake for two hours. This will heat-set the ink, making it permanent. Allow it to cool completely in the oven before handling.
 Easy DIY farmhouse spoon rest idea! How to use Sharpies on a ceramic spoon rest.
Conclusion: Enjoy Your Handmade Touch
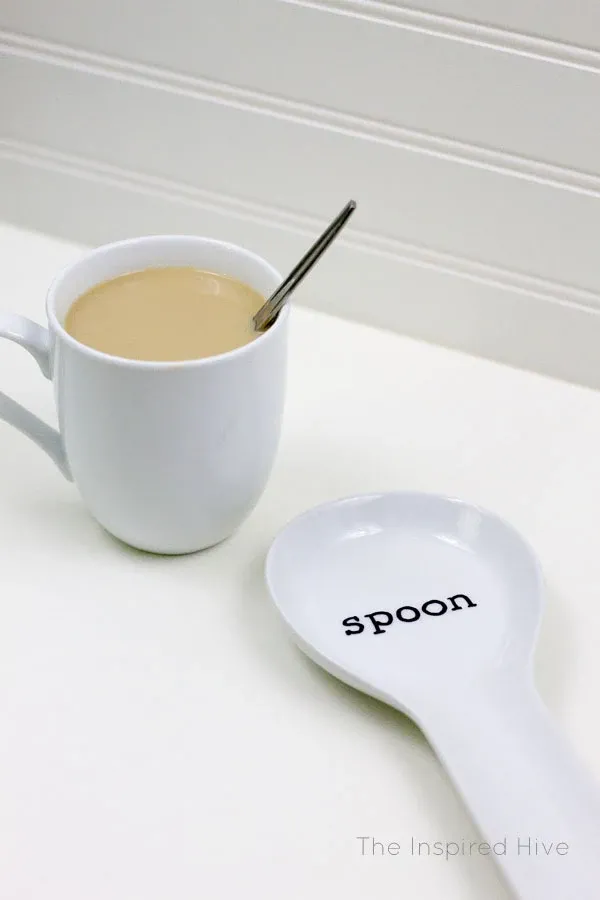
And that’s it! You’ve successfully created your own unique and practical ceramic spoon rest. Not only will it keep your countertops clean, but it also adds a touch of personalized style to your kitchen.
 Easy DIY farmhouse spoon rest idea! How to use Sharpies on a ceramic spoon rest.
I encourage you to experiment with different fonts, designs, and colors to match your kitchen decor. This simple DIY project is a fantastic way to unleash your creativity and add a personal touch to your home.
Don’t forget to share pictures of your creations and let me know how your spoon rests turn out in the comments below! For more creative DIY ideas and unique handmade gifts, be sure to explore the rest of Robert Kline Art website. Happy crafting!
