Blog
DIY Natural Highlighter for a Radiant Glow

Have you ever wanted to achieve that luminous, lit-from-within look? Highlighters are the secret weapon! They accentuate your best features, like cheekbones and brow bones, giving you that healthy, radiant glow. As someone who loves to embrace natural beauty, I’m excited to share my personal favorite DIY natural highlighter recipe. It’s easy, affordable, and best of all, free of harsh chemicals.
Why DIY Natural Highlighter?
While there are many highlighters on the market, they often contain ingredients that might not be the best for your skin. Creating your own natural highlighter gives you complete control over the ingredients, ensuring a safe and gentle application for a healthy glow. Plus, it’s incredibly fun and satisfying!
Gathering Your Ingredients
This DIY highlighter is essentially a luxurious, shimmering balm, and you only need three simple ingredients:
- 1 TBSP Sweet Almond Oil: This acts as the base of our highlighter, providing a smooth and nourishing application.
- 2 tsp. Beeswax: This helps to solidify the highlighter and give it a balmy texture.
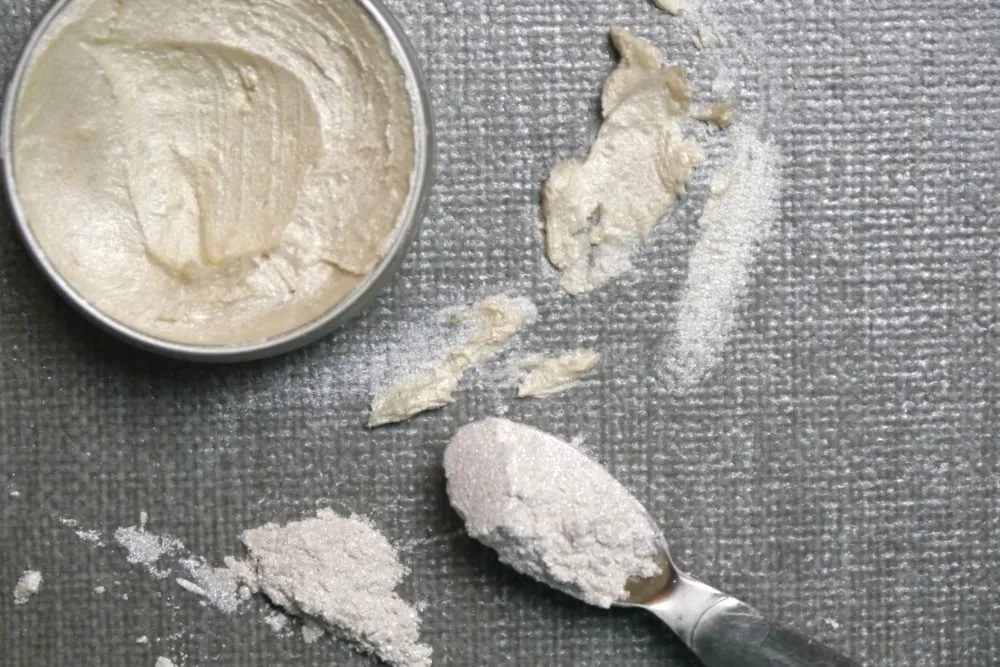
- 1 tsp. White Mica Powder: This is our star ingredient! Mica powder is a natural mineral that provides a beautiful, light-reflecting shimmer.
You can find these ingredients at most health food stores or online.
 DIY Highlighter
Creating Your DIY Highlighter: A Step-by-Step Guide
- Creating a Double Boiler: Fill a medium-sized pot halfway with water and place a glass pyrex measuring cup inside. This creates a gentle heat source to melt our ingredients.
- Melting Magic: Combine the sweet almond oil, beeswax, and white mica powder in the glass measuring cup. Heat over medium heat, stirring occasionally, until the ingredients melt into a smooth, cohesive mixture.
- The Cooling Process: Once melted, pour the mixture into a small, clean container with a lid, like an empty lip balm tin. As the mixture cools, the mica powder might settle. To ensure an even shimmer, stir the mixture periodically until it starts to solidify. This helps to distribute the mica evenly throughout the balm.
- Smooth it Out: For a polished finish, gently press the balm into the tin with your fingertips to create a smooth and even surface.
 DIY Highlighter
Application Tips for a Natural Glow
You can apply this DIY highlighter with your fingers, a makeup sponge, or a brush, whichever you prefer! Here are a few of my favorite ways to use it:
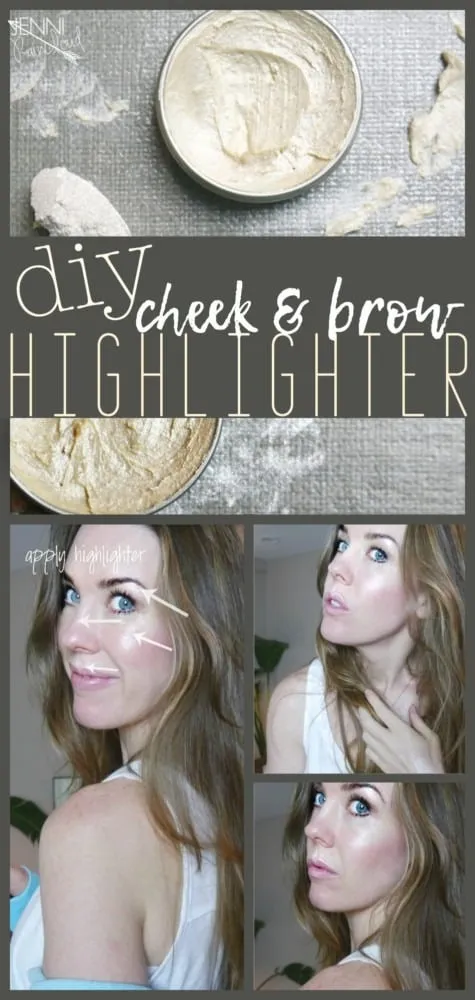
- Inner Corner Highlight: Applying a touch of highlighter to the inner corners of your eyes can instantly brighten your eyes and make them appear more awake.
- Cheekbone Definition: Sweep the highlighter along the tops of your cheekbones for a natural-looking lift and definition.
- Brow Bone Lift: Applying highlighter just beneath your eyebrows can create the illusion of lifted brows and a more open eye area.
- Cupid’s Bow: Adding a touch of highlighter to your cupid’s bow, the small dip above your upper lip, can create the illusion of fuller lips.
 DIY Highlighter
Embrace Your Natural Radiance
This DIY natural highlighter is a wonderful addition to any makeup routine, adding a touch of healthy radiance to your complexion. Experiment with application techniques and find what works best for you. Remember, the key is to enhance your natural features, not mask them.
I encourage you to try this recipe and experience the joy of creating your own natural beauty products. And as always, feel free to share your creations and experiences in the comments below. For more handmade beauty recipes and craft ideas, explore Robert Kline Art!
 DIY Highlighter
 DIY Highlighter for brows and cheeks
