Blog
DIY Natural Face Serum for Glowing Skin

Hey there, fellow skincare enthusiasts! Robert Kline, your friendly neighborhood art and craft expert here, and let me tell you, my journey into the world of DIY skincare has been nothing short of amazing! After trying countless serums that promised the moon but barely delivered a twinkle, I decided to take matters into my own hands.
As an artist, I’ve always been drawn to the idea of crafting something unique and personal. So why not extend that creativity to my skincare routine? After months of experimentation, I’m thrilled to share my very own natural face serum recipes with you. These recipes are simple, effective, and perfect for anyone looking to achieve that healthy, radiant glow naturally.
Why DIY Face Serum?
You might be wondering, why go through the hassle of making your own serum when there are countless options available on the market? Well, let me tell you, the benefits are worth it!
1. Natural & Gentle: You control exactly what goes into your serum, ensuring it’s free from harsh chemicals, artificial fragrances, and potential irritants. This is especially beneficial for sensitive skin.
2. Cost-Effective: Making your own serum can save you a lot of money in the long run. Those tiny bottles of store-bought serums can cost a pretty penny!
3. Customized Results: You can tailor the ingredients to address your specific skin concerns, whether it’s dryness, acne, aging, or simply maintaining a youthful glow.
4. The Joy of Creation: There’s something incredibly satisfying about crafting your own skincare products. It’s a form of self-care that allows you to connect with your inner artist.
Understanding Carrier Oils: The Base of Your Serum
Before we dive into the recipes, let’s talk about carrier oils. Essential oils are potent, so we dilute them with carrier oils to ensure safe and effective application. Think of carrier oils as the canvas upon which your essential oils work their magic.
Here are a few excellent choices:
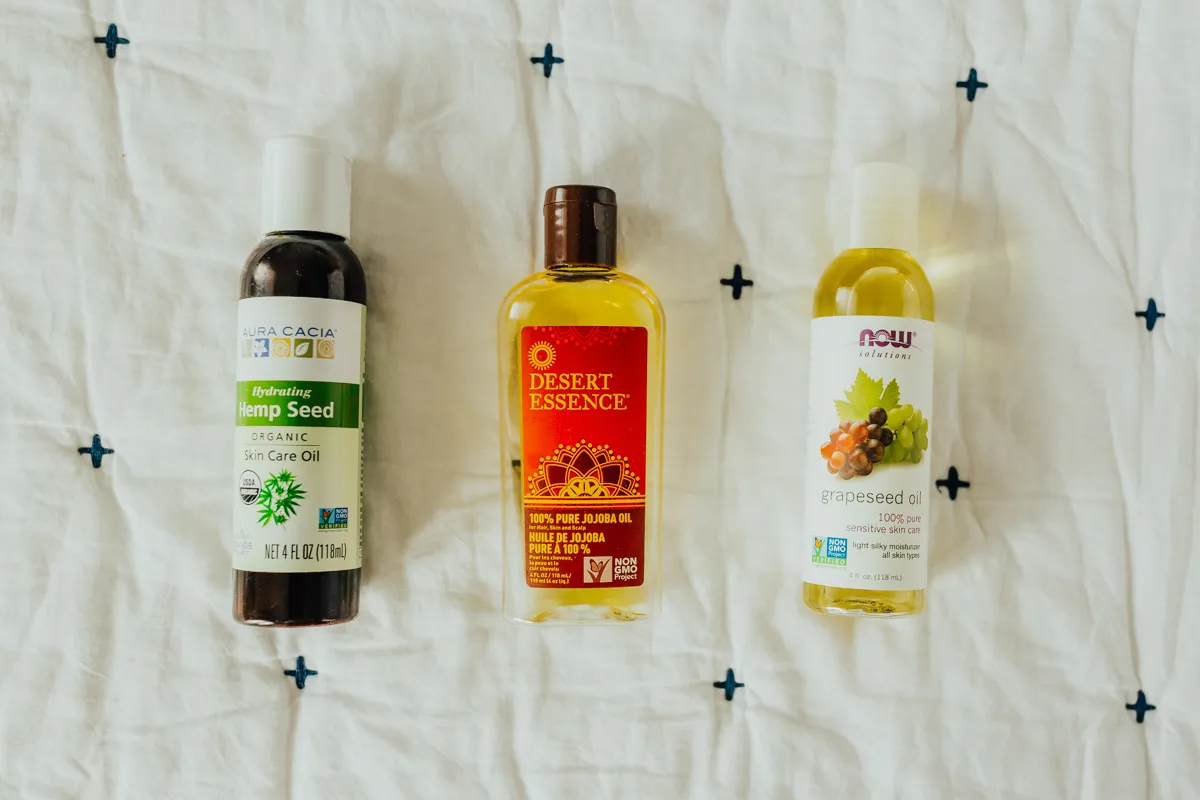
1. Jojoba Oil: Closely mimics skin’s natural sebum, making it suitable for most skin types. It’s particularly beneficial for normal to combination skin.
2. Hemp Seed Oil: Ideal for oily and acne-prone skin due to its low comedogenic rating and high linoleic acid content, which can help balance sebum production.
3. Argan Oil: A luxurious oil rich in antioxidants and fatty acids, perfect for dry, mature, or acne-prone skin. It’s known to hydrate, soothe, and promote a youthful complexion.
4. Grapeseed Oil: Another lightweight oil suitable for most skin types. It’s known for its astringent properties, which can help tighten pores and even out skin tone.
 best carrier oils for serum
Caption: Choosing the right carrier oil is crucial for your DIY serum.
Oils to Avoid:
Steer clear of coconut oil and flaxseed oil, as their high comedogenic ratings can potentially clog pores.
DIY Face Serum Recipes: Unleash Your Inner Alchemist
Now, let’s get to the fun part – crafting your own serums!
Recipe 1: Clear Skin Elixir
This recipe is my personal favorite for maintaining clear and balanced skin.
Ingredients:
- 20 drops Frankincense Essential Oil
- 20 drops Copaiba Essential Oil
- Splash of Witch Hazel (alcohol-free preferred)
- 20 drops Lavender Essential Oil
- 20 drops Tea Tree Essential Oil
- 10 drops Geranium Essential Oil or Rose Essential Oil (optional, for scar healing)
- Carrier Oil of Choice (I use a blend of hemp seed and grapeseed)
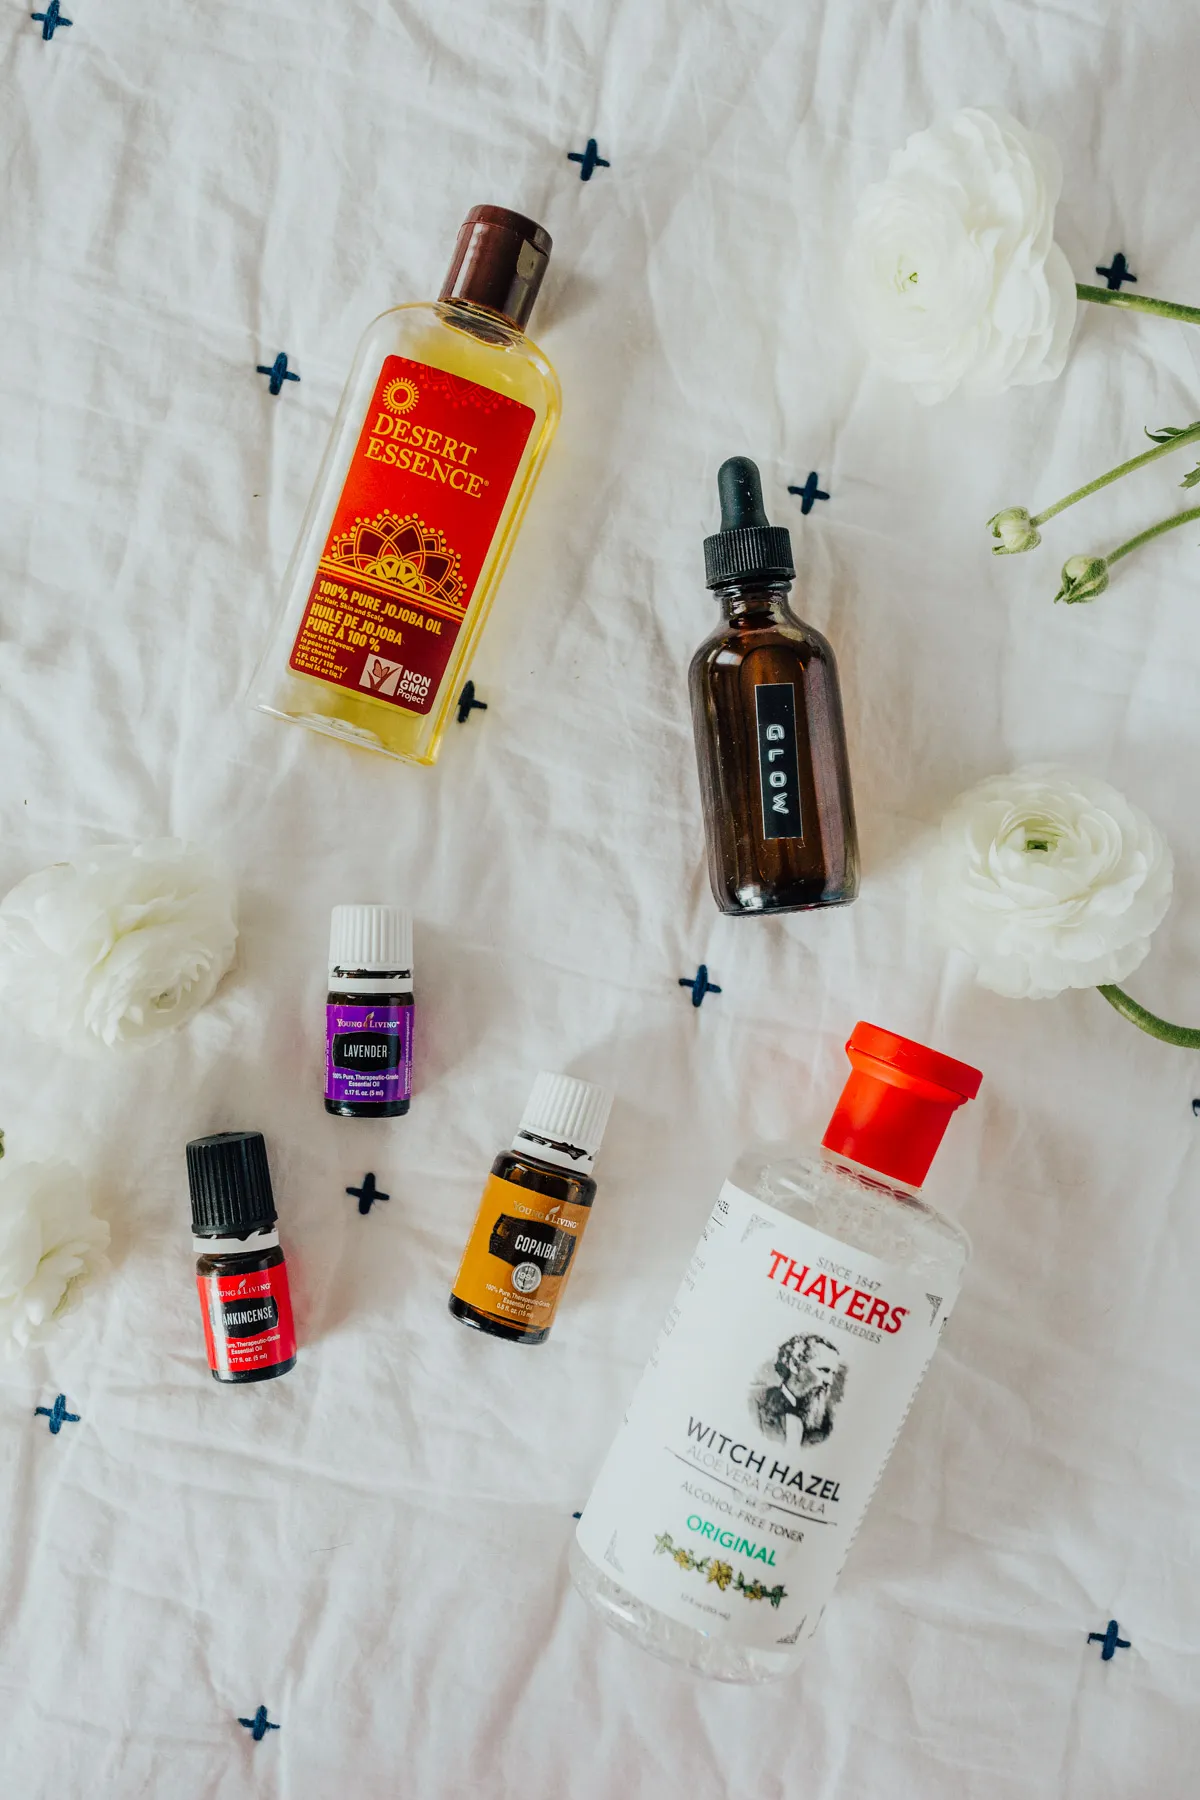
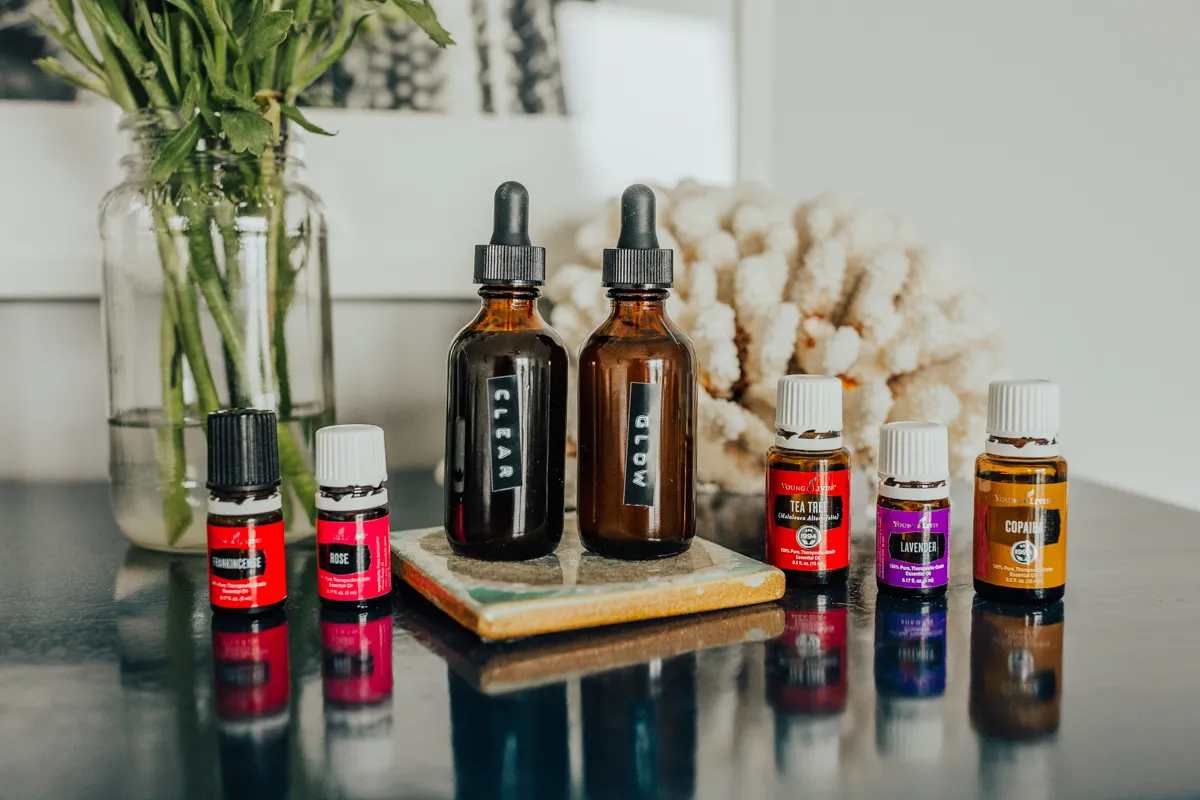
 diy essential oil face serum
Caption: Combining essential oils for a powerful clear skin serum.
Recipe 2: Radiant Glow Serum
This recipe is perfect for anyone looking to boost hydration and achieve a healthy, luminous complexion.
Ingredients:
- 20 drops Frankincense Essential Oil
- 20 drops Copaiba Essential Oil
- Splash of Witch Hazel (alcohol-free preferred)
- 20 drops Lavender Essential Oil
- 10 drops Tea Tree Essential Oil (optional, for breakouts)
- 5 drops Rose Essential Oil (optional, for anti-aging)
- Carrier Oil of Choice (jojoba oil and a touch of grapeseed oil work well)
 diy glow face serum
Caption: This serum is packed with ingredients known to enhance your natural glow.
Instructions:
-
In a 2 oz amber or dark glass dropper bottle, combine all the essential oils.
-
Add a splash of witch hazel.
-
Fill the rest of the bottle with your chosen carrier oil.
-
Close the bottle tightly and shake well to blend the ingredients thoroughly.
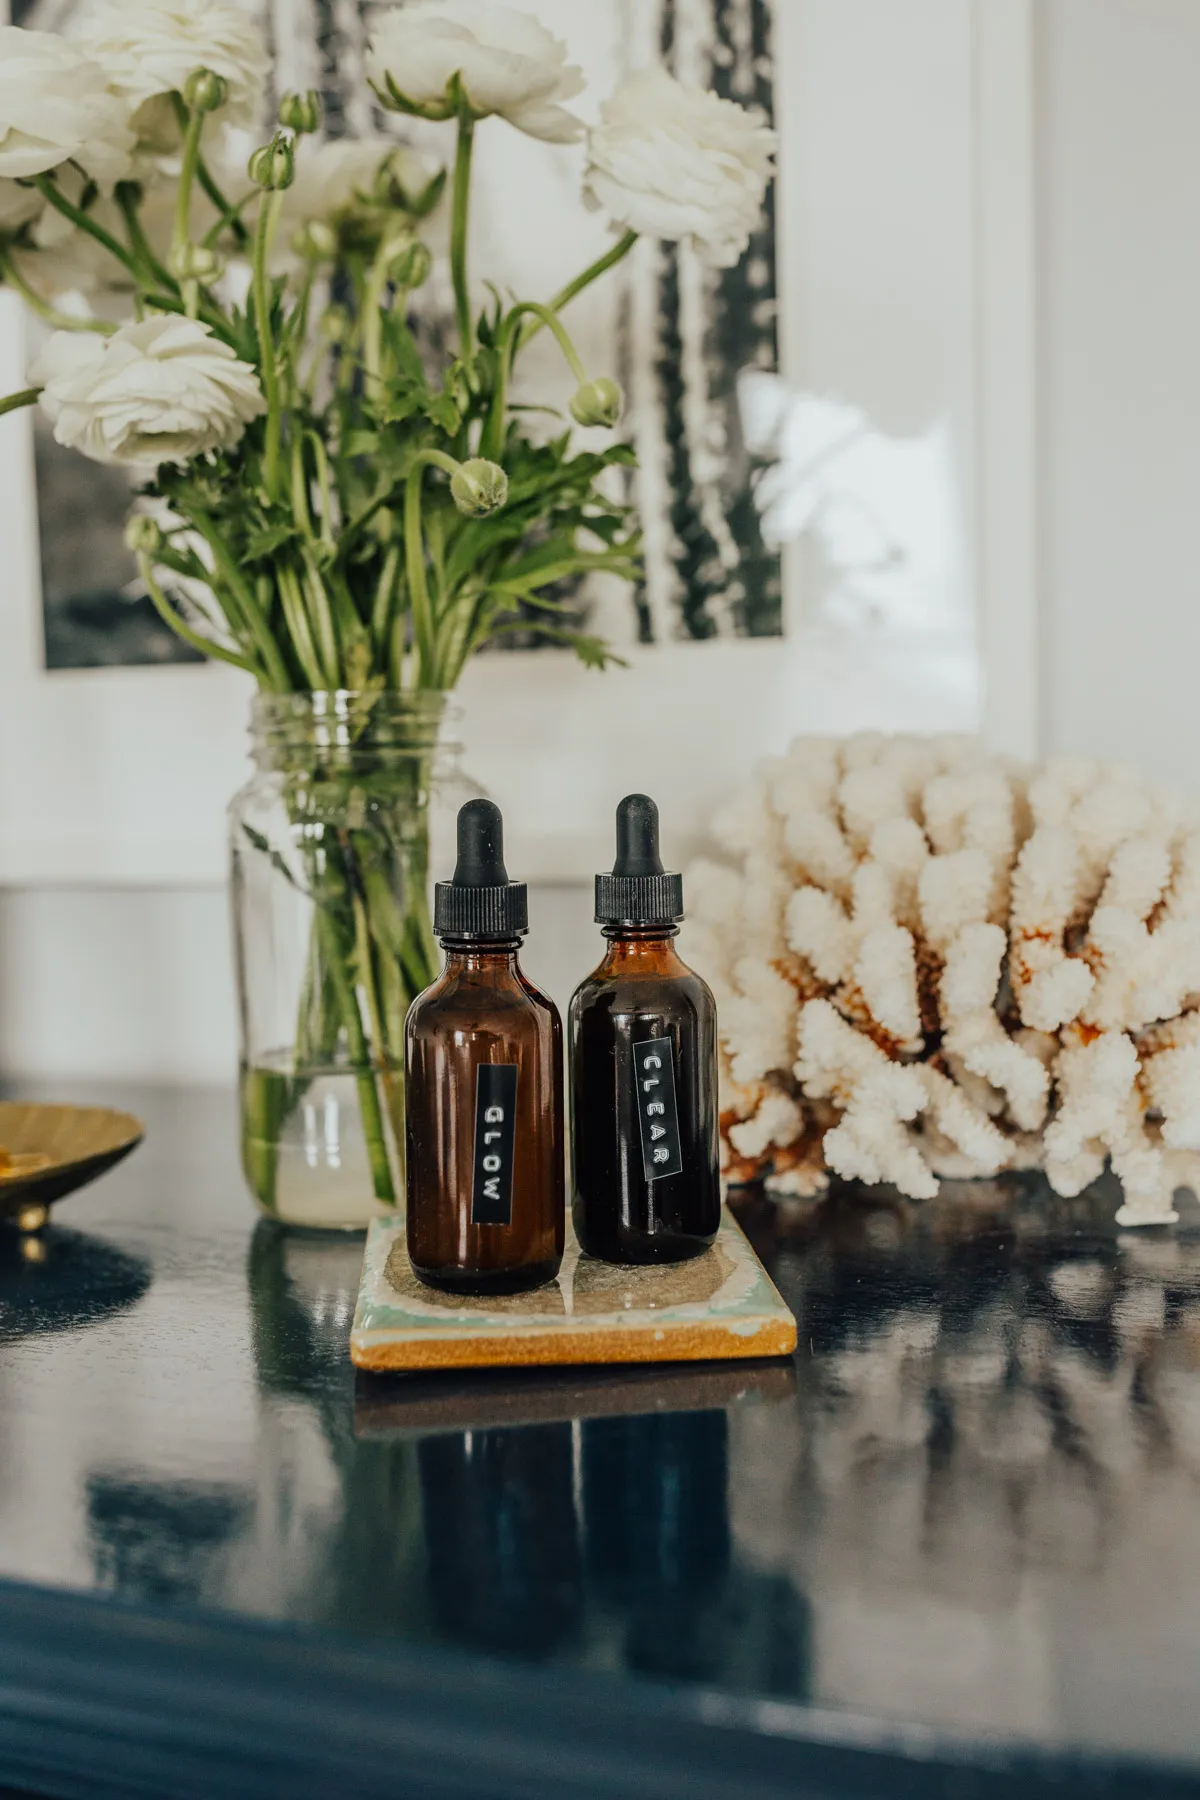
 diy face serum
Caption: Always store your serum in a dark glass bottle to preserve the quality of the oils.
Application Tips:
- Use 3-5 drops of serum both morning and night.
- Apply to damp skin after cleansing and toning for better absorption.
- Gently massage the serum into your skin using upward circular motions.
Note: Always conduct a patch test before applying any new product to your face, especially if you have sensitive skin.
My Experience & Final Thoughts
Since incorporating these serums into my skincare routine, I’ve noticed a remarkable improvement in my skin’s clarity, texture, and overall health. It’s been softer, smoother, and noticeably more radiant. The best part? I know exactly what’s going onto my skin, and I can pronounce every ingredient!
“As a dermatologist, I often see patients with skin sensitivities to commercial skincare products,” says Dr. Emily Carter (fictional expert). “Creating your own serums with natural ingredients allows for greater control and can be a wonderful solution for those with sensitive or reactive skin.”
Remember, crafting your own skincare is a journey of exploration and discovery. Feel free to experiment with different carrier oils and essential oil combinations to find what works best for your unique skin.
Have you ever tried making your own face serum? Share your experiences and favorite DIY skincare recipes in the comments below!
And be sure to explore the rest of Robert Kline Art for more creative inspiration and unique handmade gifts.
