Blog
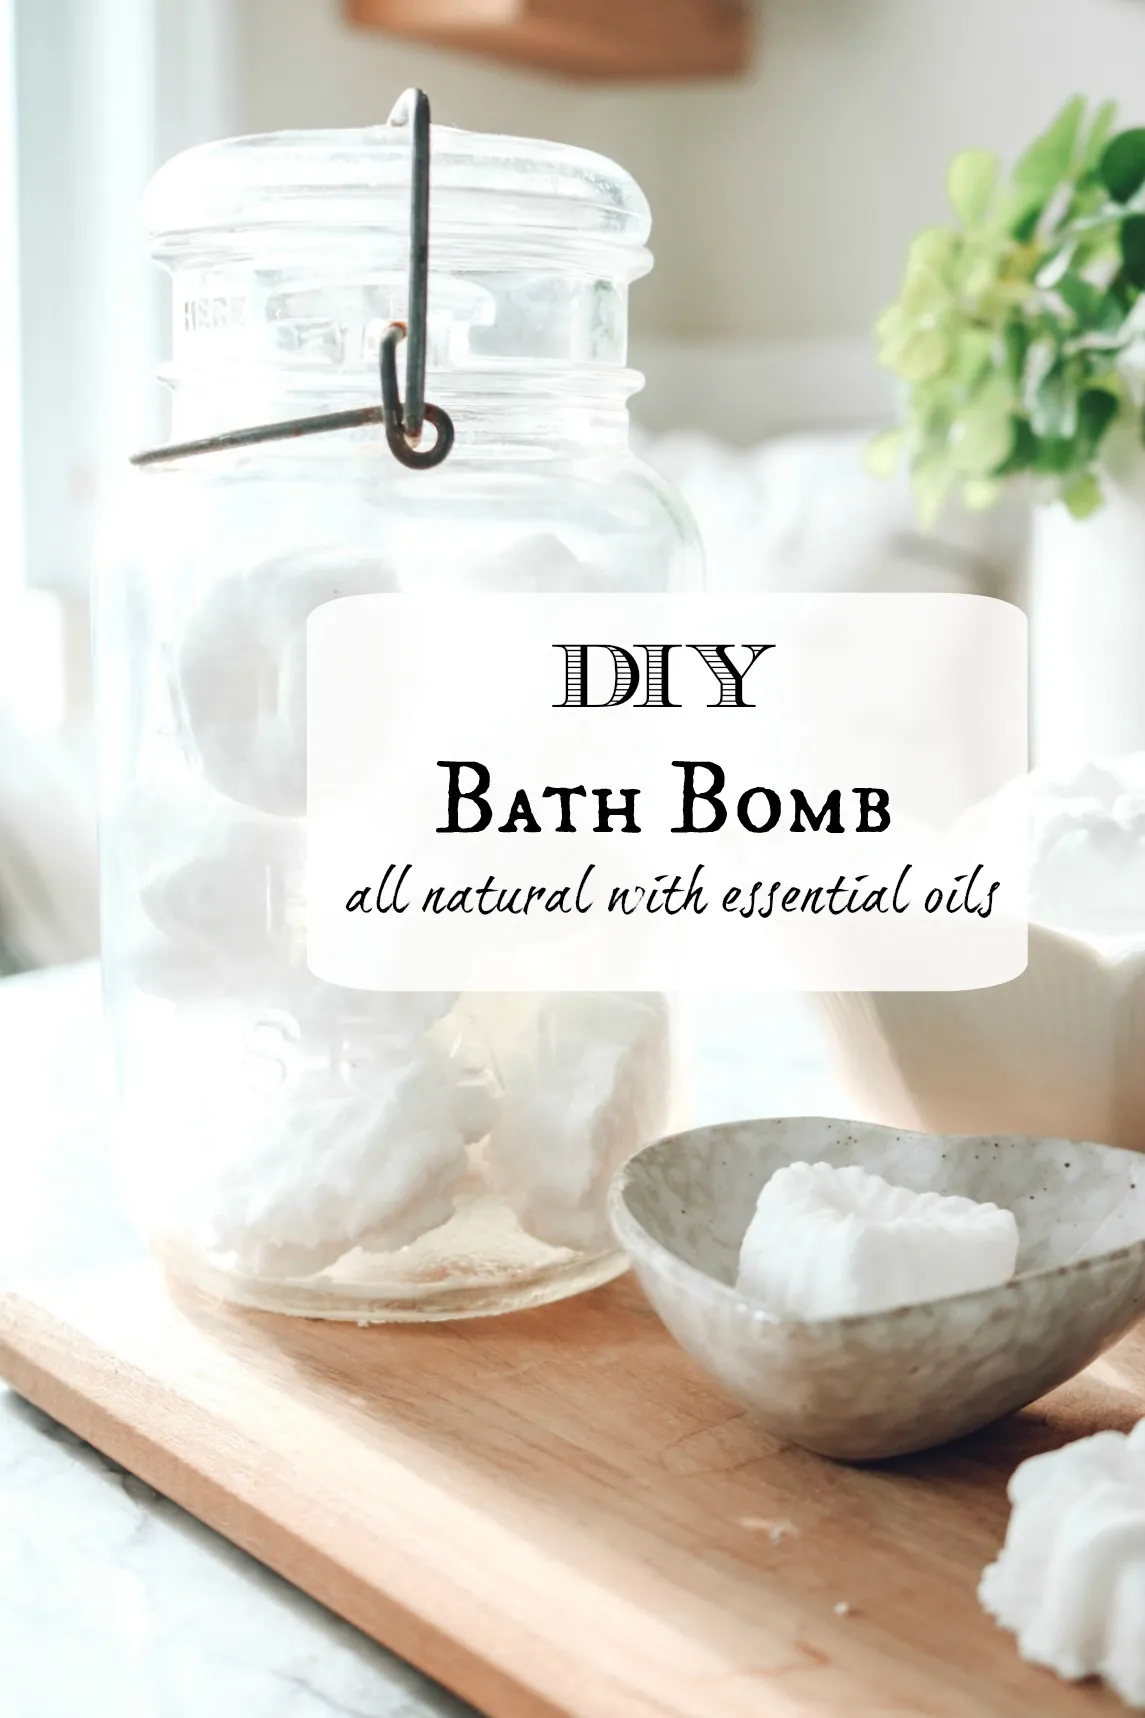
DIY Natural Bath Bombs: A Fun and Easy Craft Project

Hey everyone, Robert Kline here from Robert Kline Art! As a craft enthusiast, I’m always on the lookout for creative projects that are fun, engaging, and beneficial. Today, I’m excited to share a personal favorite: DIY natural bath bombs. Whether you’re looking for a relaxing treat for yourself or a thoughtful handmade gift idea, these bath bombs are a fantastic option.
The best part? Making your own bath bombs ensures you control the ingredients, making them perfect for those with sensitive skin or who prefer all-natural products.
Why DIY Bath Bombs?
We all love a little luxury in our lives, and bath bombs offer a simple way to elevate your bath time. But store-bought bath bombs can often contain harsh chemicals and artificial fragrances that may not agree with everyone.
Crafting your own bath bombs provides a solution! This fun and easy DIY project allows you to select natural, skin-loving ingredients and customize the scent to your liking. Plus, it’s a very rewarding experience!
Gathering Your Supplies
For this project, you’ll need a few basic ingredients and tools:
Ingredients:
- 1 cup baking soda
- 1/2 cup citric acid
- 2 tablespoons Epsom salts
- 3 tablespoons coconut oil (melted)
- 4 drops of your favorite essential oil
- 1 teaspoon water (or more if necessary)
Tools:
- Large bowl
- Smaller bowl
- Whisk
- Molds (silicone molds work best, but you can also use large ice cream scoops)
- Baking sheet
Let’s Get Crafting!
Step 1: Combining the Dry Ingredients
In your large bowl, combine the baking soda, citric acid, and Epsom salts. Whisk them together until they’re fully incorporated.
Step 2: Mixing the Wet Ingredients
In your smaller bowl, whisk together the melted coconut oil and essential oils.
Expert Tip: “When choosing essential oils for your bath bombs, consider their individual properties,” advises aromatherapy specialist Sarah Jones. “Lavender is known for its calming effects, while citrus oils like lemon and grapefruit can be invigorating.”
Step 3: Combining Wet and Dry Ingredients
Gradually add the wet ingredients to the dry ingredients, whisking continuously to avoid any clumping. The mixture should have a crumbly texture, similar to wet sand.
Step 4: Molding Your Bath Bombs
If the mixture seems too dry, add water one teaspoon at a time until it holds its shape when pressed together.
Pack the mixture tightly into your molds or ice cream scoops, then carefully remove them and place them on your baking sheet to dry.
Step 5: Drying and Storing
Allow your bath bombs to dry completely for 8-12 hours. Once they’re dry, store them in an airtight container in a cool, dry place.
Enjoy Your Handmade Bath Bombs!
These DIY bath bombs are not only fun to make but also make fantastic gifts for friends and family. Experiment with different essential oil combinations to create custom scents, or add dried flowers for an extra touch of luxury.
 DIY- Bath Bombs- All Natural
Conclusion
Creating your own natural bath bombs is a rewarding and creative process. It allows you to relax, de-stress, and enjoy the satisfaction of making something beautiful and beneficial with your own hands.
So, gather your supplies and give this DIY project a try. You might be surprised at how easy and enjoyable it can be! And don’t forget to check out Robert Kline Art for more inspiring craft ideas and projects. Happy crafting!
