Blog
Create a Unique and Stylish Bathroom with this DIY Marbled Clay Soap Dish
Have you been searching for the perfect soap dish to complement your bathroom decor, but nothing quite fits? As an artist and craftsman, I understand the struggle of finding that perfect piece. That’s why I’m excited to share this easy and fun DIY project: a marbled polymer clay soap dish! Not only is it incredibly stylish and customizable, but it’s also a great way to impress your guests with your creativity.
This project is perfect for small spaces, and the use of pastel colors adds a touch of elegance to any bathroom. Plus, imagine the compliments you’ll receive when guests see your handcrafted soap dish!
Gather Your Materials
Before we begin our crafting journey, let’s gather the necessary supplies:
- Polymer clay in various colors of your choice (I recommend starting with pastels for a soft and elegant look).
- Clay sculpting tools (These will come in handy for shaping and adding details to your soap dish).
- A small brush (For applying paint to the rim).
- Metallic paint in a color that complements your clay choice (This will add a touch of sophistication).
Step-by-Step Guide to Crafting Your Marbled Soap Dish
Now that you have your materials ready, let’s dive into the creative process:
1. Prepare the Clay
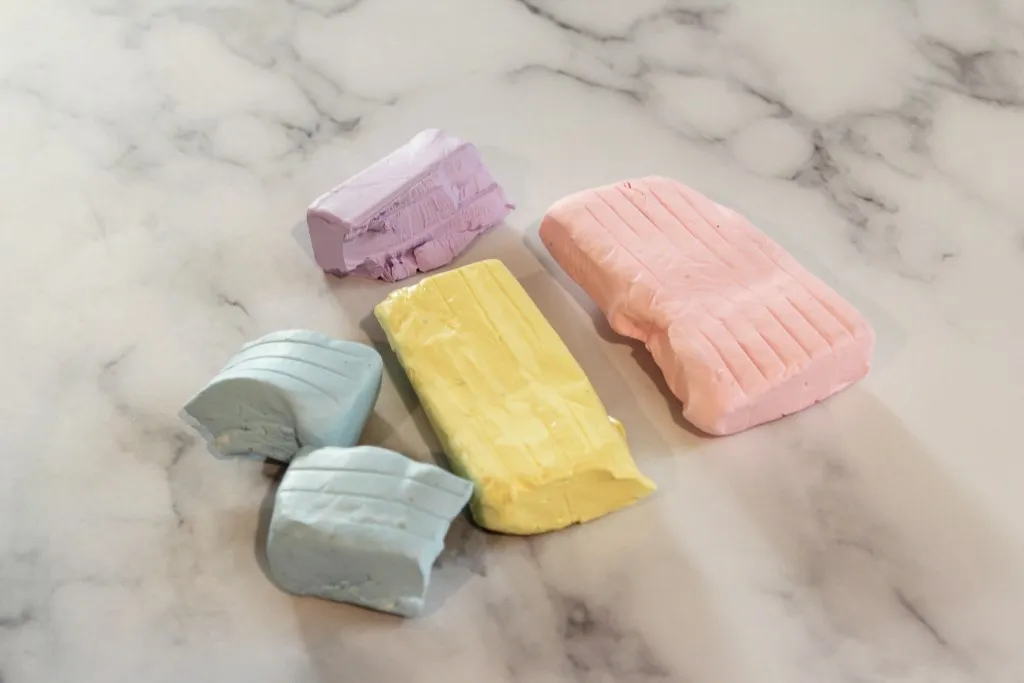
- Cut the clay into small pieces, approximately ¾ to 1 inch in length and ½ inch thick. You’ll need a piece for each color you want to incorporate into your marbled design.
 Polymer clay in pastel blue, purple, yellow, and pink.
2. Create the Marbled Effect
- Roll each clay piece into a thin string.
- Align the strings side-by-side and gently twist them together.
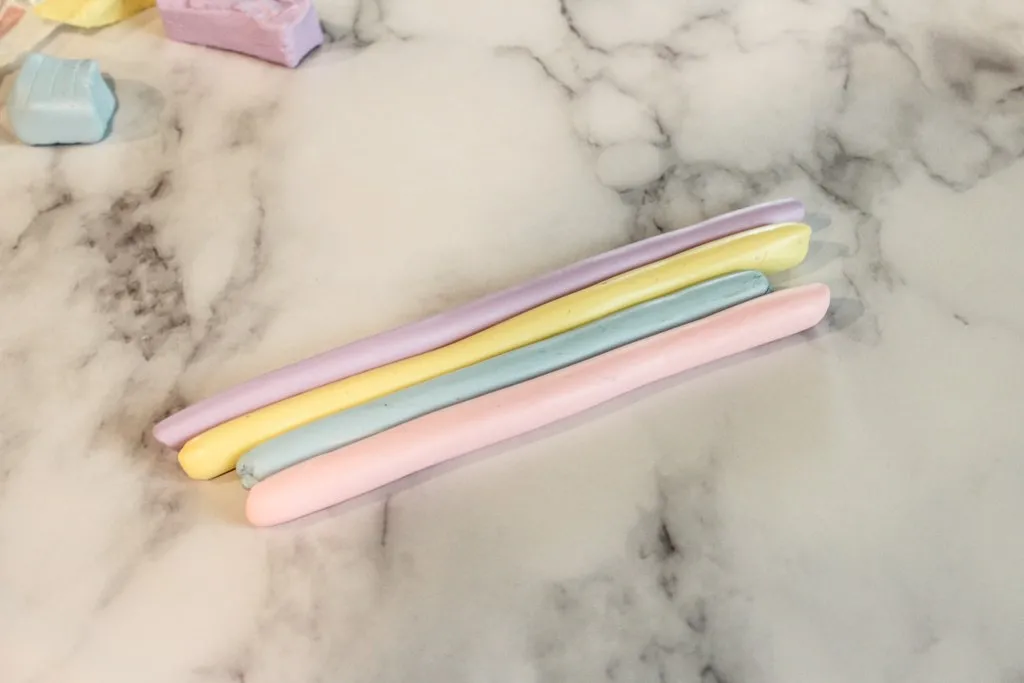 Strings of polymer clay together.
 - Form the twisted strings into a circle.
- Use a rolling pin or a glass jar to flatten the circle to about ¼ inch thickness.
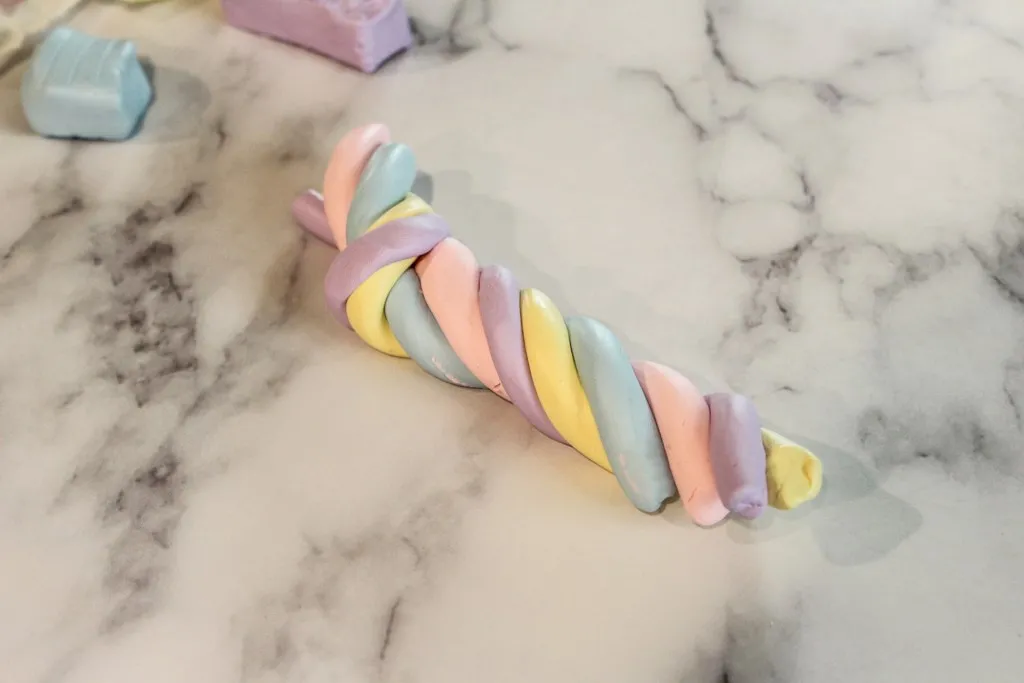 Twist the polymer clay to start creating the marbled look.
 - To achieve a more intricate marbled design, repeat the twisting and flattening process a few more times.
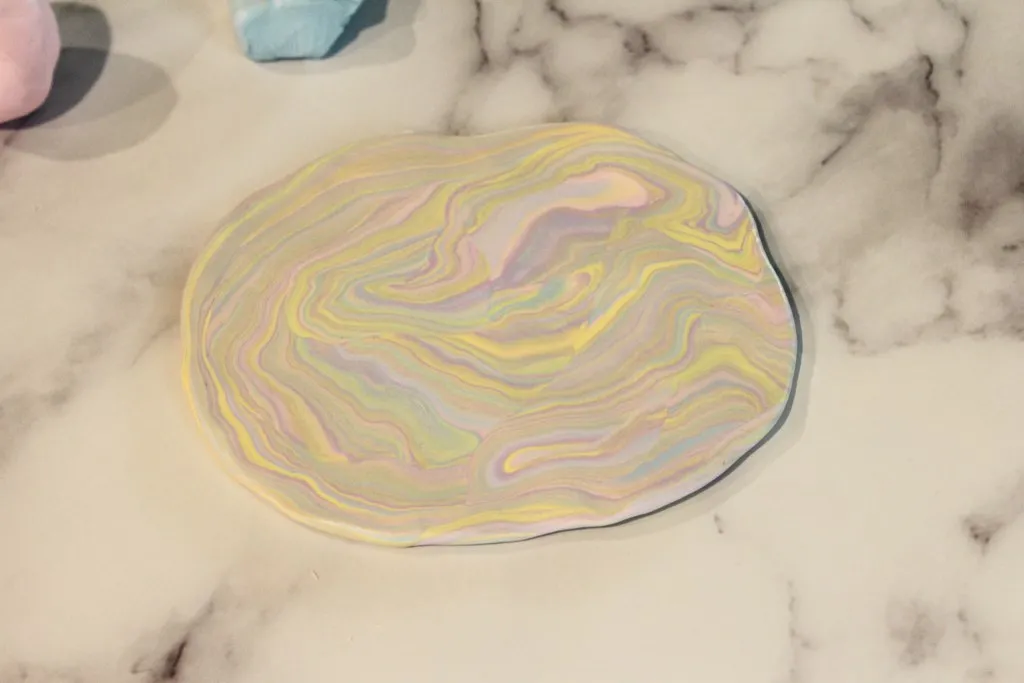 Stretch the polymer clay for the polymer clay soap dishes DIY and form it into a circle of one quarter inch thick.
3. Shape Your Soap Dish
- Gently press the flattened clay circle into a small ramekin or a mold of your choice to create the soap dish shape. This will give it a slightly curved form.
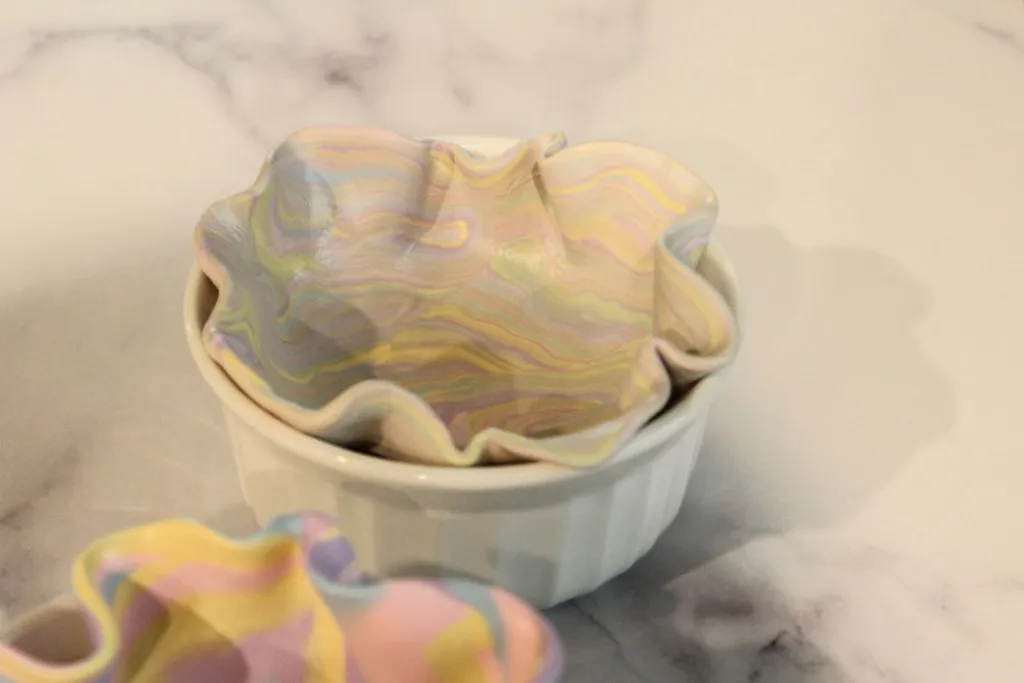 Place the polymer clay soap dishes in a ramekin and bake as needed.
4. Bake to Perfection
- Preheat your oven to the temperature specified on your polymer clay packaging.
- Place the shaped soap dish in the oven and bake for the recommended time, usually around 15 minutes per ¼ inch thickness.
- Once baked, allow the soap dish to cool completely in the oven before removing it.
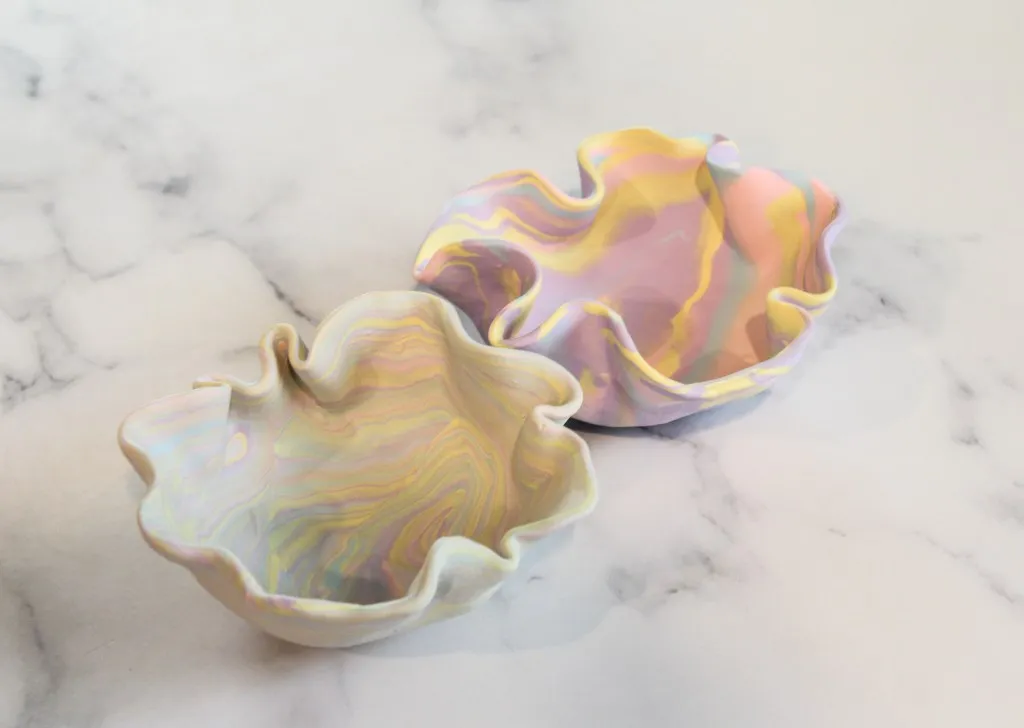 Once the polymer clay soap dishes are out of the oven allow them to cool.
5. Add a Touch of Sparkle
- Using your small brush, carefully paint the rim of the cooled soap dish with your chosen metallic paint. This will create a beautiful contrast and highlight the unique shape of your creation. Let the paint dry completely.
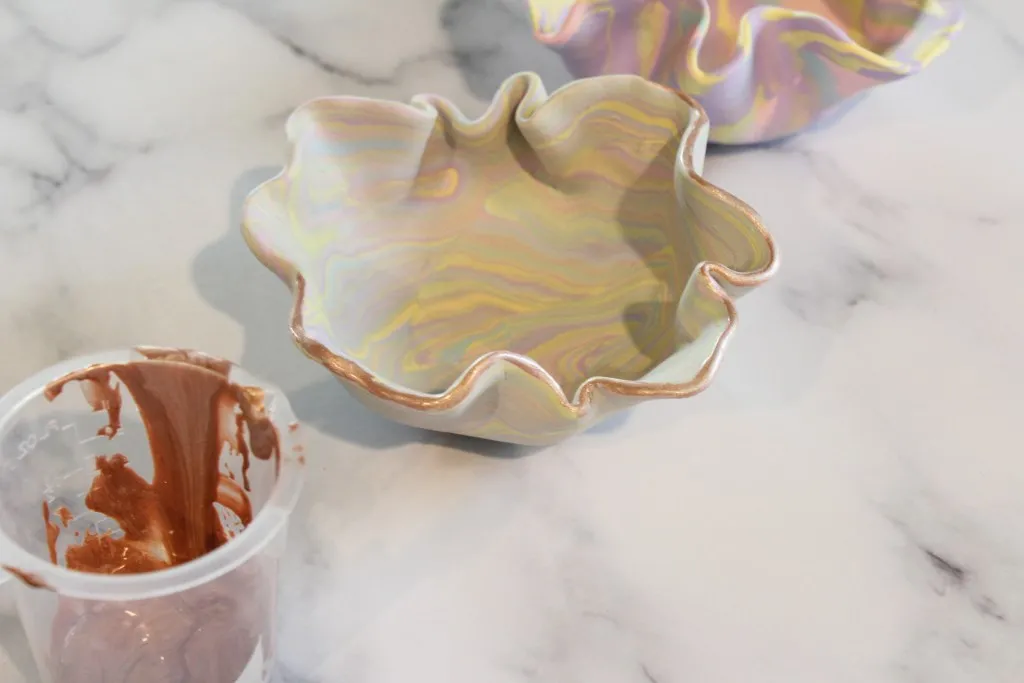 Paint the rim of the polymer clay soap dishes with a contrasting color.
Your Masterpiece Awaits
Congratulations! You’ve just created a beautiful and unique marbled clay soap dish. Place it by your bathroom sink and admire your handiwork. Not only does it serve a practical purpose, but it also adds a touch of personalized style to your bathroom decor.
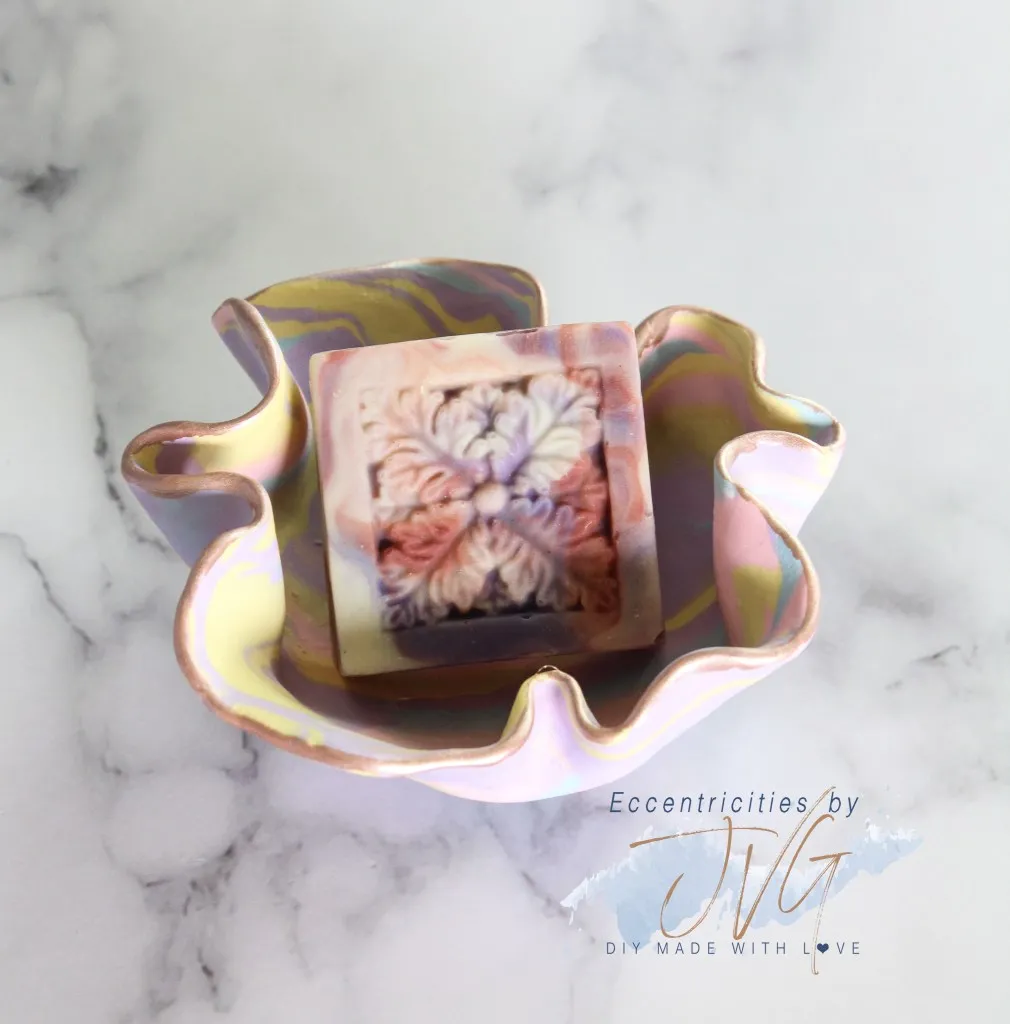 Polymer clay soap dishes in different pastel colors.
 Polymer clay soap dishes in different pastel colors.
 Polymer clay soap dishes in different pastel colors.
This DIY project is incredibly versatile. Feel free to experiment with different color combinations, marbling techniques, and embellishments. You can create a whole set of matching bathroom accessories or explore different shapes and designs. The possibilities are endless!
So why wait? Un unleash your creativity today and transform your bathroom into a haven of style and handmade charm with this easy and enjoyable DIY project!
And don’t forget to share your creations with us! We at Robert Kline Art would love to see your unique marbled clay soap dishes. Tag us on social media or leave a comment below. Happy crafting!
Looking for more handcrafted gift ideas? Browse our website for unique and personalized creations that are sure to impress.
