Blog
DIY Marbled Clay Pots: A Simple Guide to Beautiful Planters

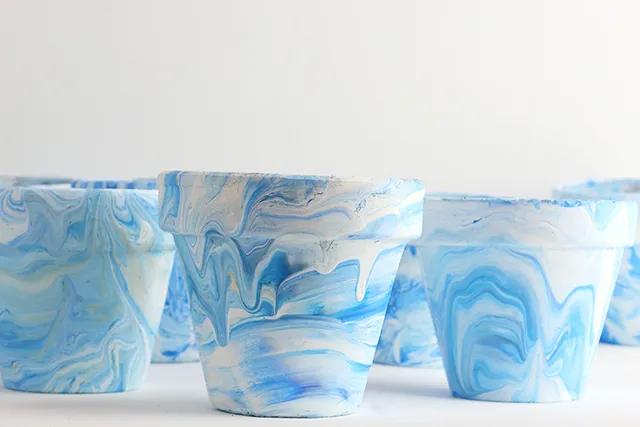
Hey there, fellow craft enthusiasts! Robert Kline here, and today we’re diving into the world of marbling. I’ve been experimenting with different marbling techniques on various materials and recently discovered a simple yet stunning way to create marbled clay pots.
Whether you’re looking to add a touch of elegance to your home décor or searching for a unique handmade gift idea, these marbled pots are sure to impress. The process is surprisingly easy, even if you’re a beginner, and the results are truly one-of-a-kind. Let’s get started!
Gathering Your Marbling Materials
Before we begin our marbling adventure, let’s gather all the necessary supplies. You’ll need:
- Acrylic paint: White plus at least two accent colors of your choice.
- Disposable bin: Large enough to comfortably dip your pot.
- Spare jars or containers: For mixing paint.
- Water
- Paint brush
- Clay pot (terra cotta or similar)
- Plastic drop cloth
- Varnish or clear spray paint
Step-by-Step Guide to Marbling Clay Pots
Step 1: Creating the Marbling Mixture
- In your disposable bin, mix four parts white acrylic paint with one part water. This creates the base for your marbling effect.
- In separate jars, dilute your accent colors with water. This helps them spread nicely on the water’s surface.
- Using your paintbrush, gently splash drops of the diluted accent colors onto the white paint mixture.
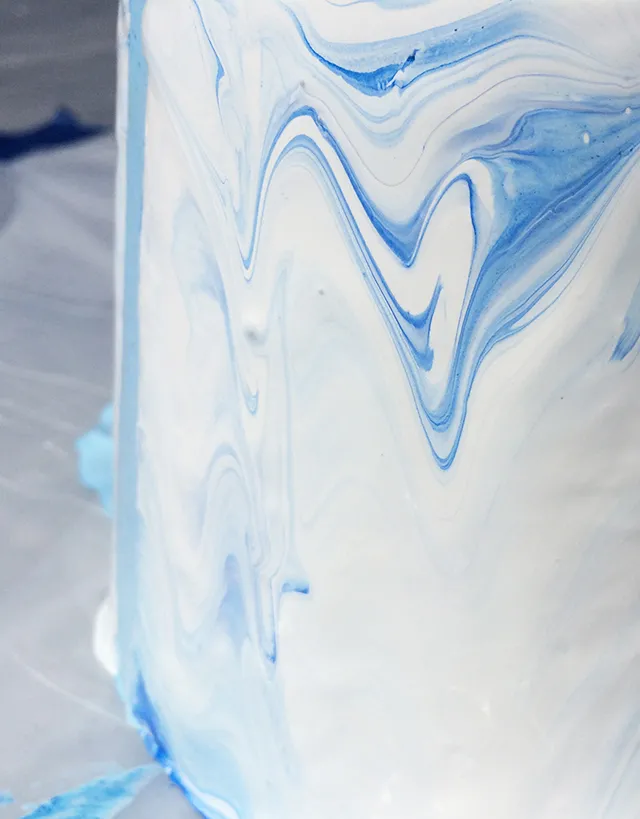
- Watch the magic happen as the colors organically blend and create beautiful marbling patterns. Feel free to swirl your brush through the paint to create additional lines or designs.
 Marbling with Paint
Pro Tip: “Experiment with different color combinations and marbling techniques to discover your signature style,” advises renowned ceramic artist Sarah Miller. “The beauty of marbling lies in its unpredictability and the unique patterns it creates.”
Step 2: Dipping Your Pot for a Marbled Finish
- Gently roll the sides of your clay pot through the paint mixture, ensuring the entire surface is covered. Remember, a light touch goes a long way – you don’t want to over-apply the paint.
- For a more controlled application, try positioning a few fingers inside the pot and using your other hand to guide it.
- Once coated, allow any excess paint to drip off the pot.
 Marbled Pots
Robert’s Tip: “I’ve found that wearing gloves during this step keeps your hands clean and makes the process much more enjoyable!”
Step 3: Drying and Sealing Your Masterpiece
- Place your freshly marbled pot upside down on a plastic drop cloth to dry.
- After 10-15 minutes, flip the pot to allow the other side to dry evenly. This helps achieve a more dynamic marbling effect.
- Once completely dry, seal your design with a few coats of clear finishing spray or acrylic varnish, allowing sufficient drying time between each coat.
 Pot Drying
Showcasing Your One-of-a-Kind Marbled Pots
Congratulations! You’ve just created a unique, hand-marbled clay pot. These beauties are perfect for showcasing your favorite plants, adding a pop of color to your home décor, or gifting to fellow plant lovers.
More Than Just Pots: “Don’t limit yourself to pots!” encourages Martha Stewart Living DIY expert, John. “This marbling technique can be applied to a variety of surfaces, including vases, trays, and even candle holders.”
Explore More Handmade Treasures at Robert Kline Art
Want to explore more inspiring DIY projects and unique handmade gifts? Head over to the Robert Kline Art website for a curated collection of art pieces, tutorials, and crafting inspiration. Let’s continue to explore the endless possibilities of art together!
Don’t forget to share your marbled creations with us! Tag #RobertKlineArt on social media. We’d love to see your masterpieces.
