Blog
DIY Marbled Clay Pots: A Simple Guide to Stunning Planters

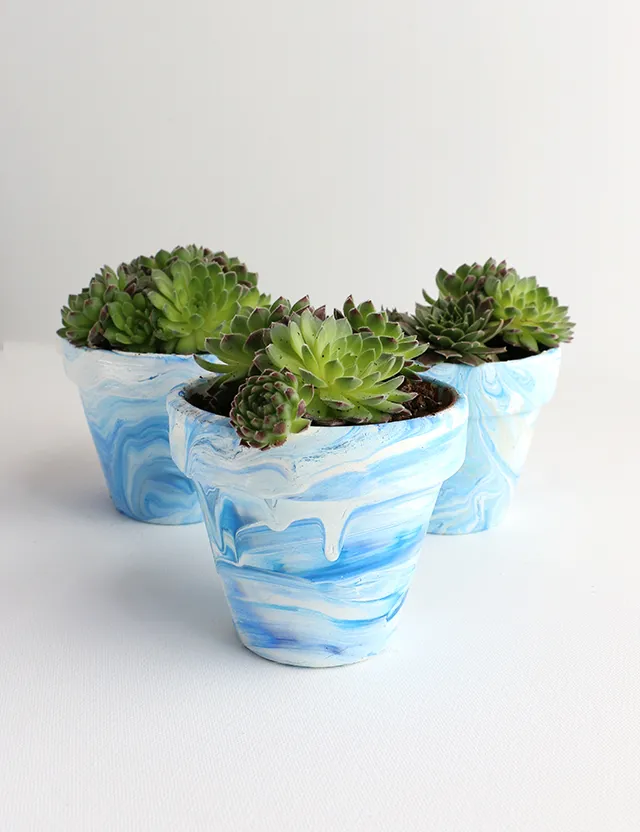
Hey there, fellow craft enthusiasts! Robert Kline here, and I’m excited to share my latest creative endeavor with you: DIY marbled clay pots. There’s something so satisfying about transforming ordinary terra cotta into unique, eye-catching planters. I’ve been experimenting with marbling techniques on various materials, and let me tell you, marbling clay pots comes with its own set of delightful challenges. But fear not, I’ve cracked the code and I’m here to guide you through the process step-by-step. Let’s dive in!
Materials You’ll Need
- Acrylic paint (white plus at least two accent colors)
- Disposable bin
- Spare jars or containers (for mixing paint)
- Water
- Paintbrush
- Terra cotta or clay pot
- Plastic drop cloth
- Varnish or clear spray paint
Step-by-Step Guide to Marbling Clay Pots
Step 1: Prepare Your Paint Mixture
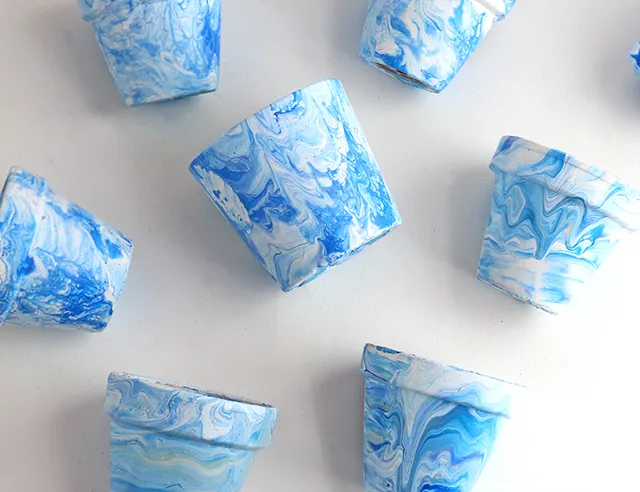
First things first, let’s create the marbling magic. Mix four parts acrylic white paint with one part water in your disposable bin. Ensure the bin is wide enough to comfortably accommodate your pot. Now, in your spare jars, water down your accent colors, one color per jar. Once diluted, use your paintbrush to playfully splash drops of these colors onto the white paint. Watch as they slowly begin to marbleize – it’s mesmerizing! For added flair, drag your brush through the paint to create lines or patterns.
Pro Tip: Experiment with different color combinations and marbling techniques on a few test pots before committing to your final piece.
 Marbling with Paint
Step 2: The Marbling Magic Begins
With your paint mixture ready, gently roll the sides of your pot through the paint, ensuring even coverage. Don’t press too hard – a light touch is key to avoid over-applying the paint.
Robert Kline’s Tip: For optimal rolling, I find it easiest to place a few fingers inside the pot for support, with one finger on the bottom to guide the movement. Trust me, it gets a bit messy, so gloves are your friends!
Allow excess paint to drip off and set the pot upside down on your plastic drop cloth. After 10-15 minutes, flip the pot right side up. This allows for multi-directional drying and prevents those one-way drip patterns.
 DIY Marbled Pots_1
Step 3: Seal and Admire
Once your marbled masterpiece is dry, it’s time to seal in the beauty. Apply a few coats of clear finishing spray or acrylic varnish, allowing ample drying time between each coat. And there you have it – a stunning marbled clay pot ready to house your beloved plants!
 Marbled Pot
Conclusion
Creating your own marbled clay pots is a fun and rewarding experience, and the results are truly unique. These pots make thoughtful handmade gifts or charming additions to your own plant collection.
I encourage you to give this technique a try. Don’t be afraid to experiment with different colors and patterns. Remember, the beauty of handmade lies in its imperfections! Feel free to share your creations and experiences in the comments below. And for more unique handmade gift ideas and crafting inspiration, be sure to explore the rest of the Robert Kline Art website.
