Blog
DIY Marbled Clay Jewelry Dish: A Stunning Handmade Gift Idea
Hey there, fellow art enthusiasts! Robert Kline here, and I’m excited to share a craft project that’s as fun to create as it is beautiful to behold: a DIY marbled clay jewelry dish. These dishes, often seen in high-end boutiques, make for incredibly thoughtful gifts, and the best part? You can easily make them at home without breaking the bank!
Gathering Your Materials
For this project, you’ll need a few basic materials, most of which you can find at your local craft store or online.
-
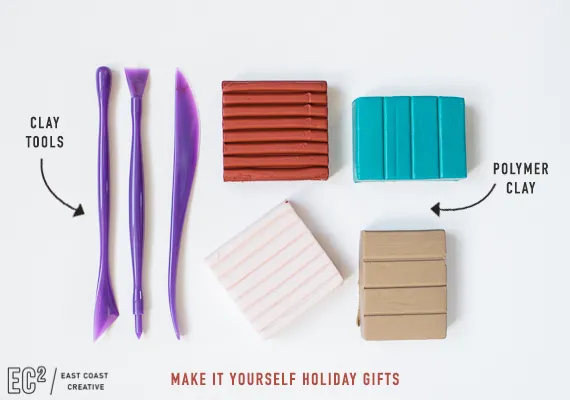
Clay: Polymer clay is perfect for this project, as it’s easy to work with and comes in a vibrant array of colors. Choose a variety of hues you love to create unique marbling effects.
-
Tools: A sharp knife or clay cutter, a rolling pin, and an oven-safe bowl (for shaping) are essential.
-
Finishing Touch: Liquid gilding adds a touch of elegance and gives your dish a professional finish.
 Clay and tools for jewelry dish
Image: An assortment of colorful clay and tools neatly arranged on a table, ready for crafting.
Crafting Your Marbled Masterpiece
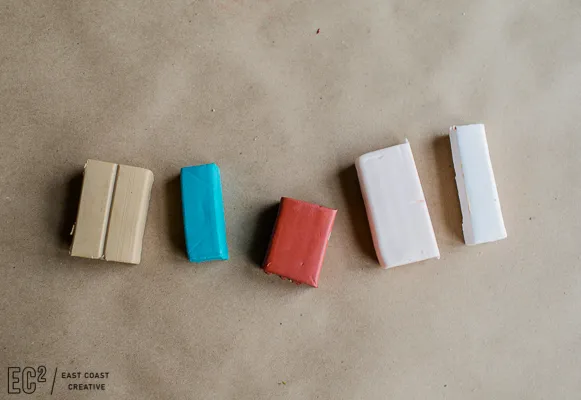
Step 1: Slice and Dice: Begin by cutting your clay blocks into smaller pieces. Don’t worry about uniformity here; aim for different sizes and quantities of each color to create dynamic marbling.
Step 2: Roll It Out: Roll each clay piece into a “snake” about 6 inches long. If the clay feels too firm, a quick 10-second blast in the microwave can do wonders to soften it.
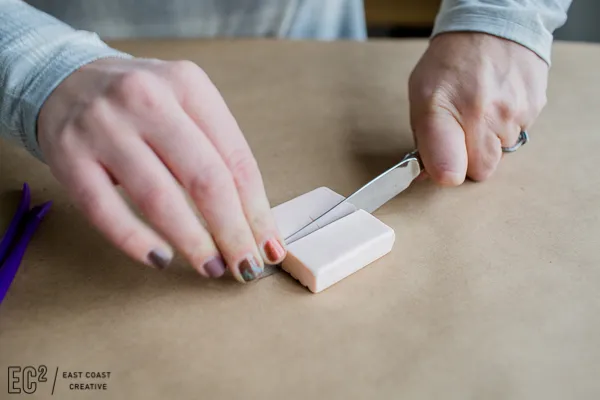 Rolled clay "snakes"
Image: Colorful clay “snakes” arranged on a work surface, ready for twisting and shaping.
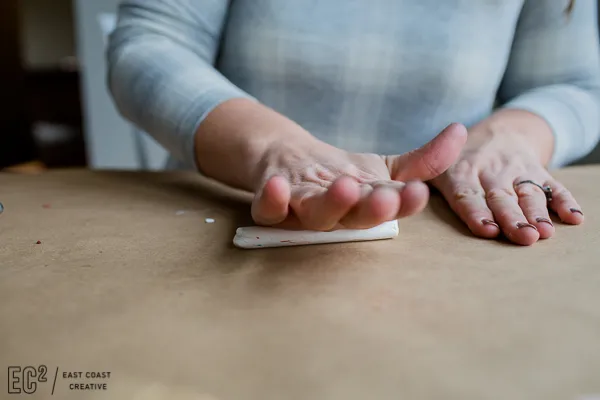
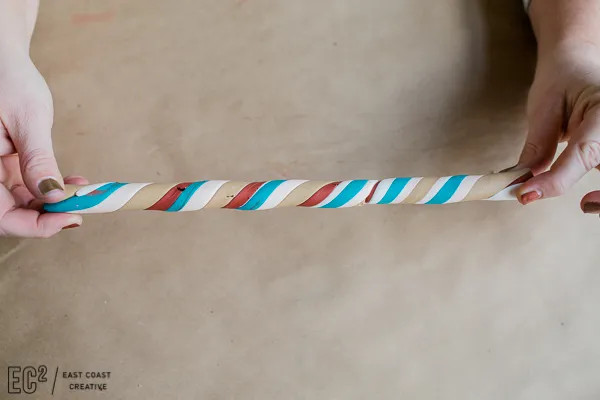
Step 3: Twist and Shout: Gather your colorful “snakes” and twist them together. Use your hands to roll and elongate the twisted clay until it doubles in length. Fold it in half, and repeat the twisting and rolling process.
 Twisting the clay
Image: Hands twisting multiple colors of clay together to create a beautiful marbled effect.
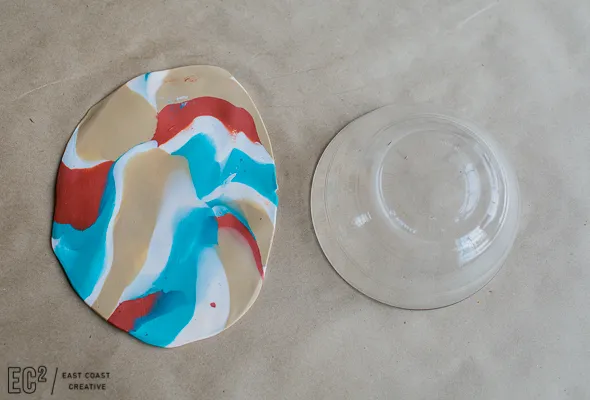
Step 4: Shape Your Dish: Roll the marbled clay into a ball and then use a rolling pin to flatten it into a 1/4-inch thick sheet. Use a bowl (around 6 inches in diameter) as a template to cut out a perfect circle.
 Shaping the clay
Image: Using a bowl as a guide to shape the marbled clay into a perfect circle.
Step 5: Bake It to Perfection: Carefully place the clay circle inside an oven-safe bowl to create the dish shape. Bake according to the instructions on your clay packaging (typically around 230 degrees for 20 minutes). Remember, all clay brands vary, so double-check those instructions!
 Baking the clay dish
Image: The marbled clay dish, carefully placed inside a bowl, ready for baking.
Step 6: Add a Touch of Glitz: Once baked and cooled, add a touch of elegance by painting the edges of your dish with liquid gilding. This step elevates the entire piece, giving it a polished, professional finish.
 Finished marbled clay dish
Image: A stunning finished marbled clay dish with gold-painted edges, perfect for holding jewelry.
A Gift from the Heart
These DIY marbled clay dishes make truly special handmade gifts. They are not only beautiful and functional but also imbued with a personal touch that store-bought gifts simply can’t replicate.
Pro Tip: Experiment with different color combinations, add textures to the clay, or even stamp patterns onto the surface before baking. Let your creativity flow!
Get Creative with Robert Kline Art!
Don’t forget to explore the rest of the Robert Kline Art website for more inspiring DIY projects, crafting tips, and unique handmade gifts. Let’s unleash our creativity together!
