Blog
Transform Your Thrift Store Finds: DIY Jewelry Organizer From a Vintage Spoon Rack

Hey there, fellow craft enthusiasts! Robert Kline here, and today, we’re diving headfirst into the world of upcycling with a project that’s as charming as it is practical: turning a thrifted spoon rack into a stunning DIY jewelry organizer.
From Kitchen Relic to Chic Storage
Let’s be honest, when was the last time you saw a spoon rack used for its intended purpose? These days, they’re practically begging for a second life, often languishing in thrift stores for a steal. I recently stumbled upon a vintage beauty at Value Village for a mere $5, and inspiration struck! Why not transform this forgotten piece into a functional and stylish way to display my ever-growing jewelry collection?
Let’s Get Crafting: Turning Trash to Treasure
This project is perfect for crafters of all levels, requiring minimal tools and a sprinkle of creativity. Here’s how I turned my thrifted find into a unique jewelry holder:
Materials:
- Thrifted wooden spoon rack
- Chalk style paint (your favorite color!)
- Mod Podge (optional, for a floral twist)
- Floral napkins (optional, to match the Mod Podge)
- Dollar store twine (optional, for a rustic hanger)
- Small cup hooks (optional, for additional earring storage)
Tools:
- Pliers
- Paint brush
- 220 grit sandpaper
- Drill
Instructions:
-
Prepping the Rack: Start by bidding farewell to one or two spoon rack brackets to create space for longer necklaces. Pliers will be your trusty sidekick here. Smooth out any rough edges with sandpaper.
-
Chalk Paint Chic: Now for the fun part! Apply a coat of chalk style paint to your spoon rack. Once dry, add another coat for good measure. Remember, patience is key to a smooth finish.
-
Distressed Elegance: Once the paint is dry, unleash your inner artist and lightly sand the edges and carved details for a vintage, distressed look. This adds character and charm!
-
Floral Fantasy (Optional): If you’re feeling extra fancy, cut out floral motifs from napkins. Apply Mod Podge to your spoon rack and gently smooth the napkin motifs over it. Seal the deal with another layer of Mod Podge and let it dry completely.
-
Earring Extravaganza: Grab your drill and create small holes on the top bracket for your hook earrings. I opted for 16 holes, but adjust based on your rack size. Alternatively, screw small cup hooks into the bottom of a bracket for even more earring storage.
-
Rustic Charm (Optional): Replace the original hanger with twine for a rustic touch. Simply thread it through the existing holes and knot securely.
-
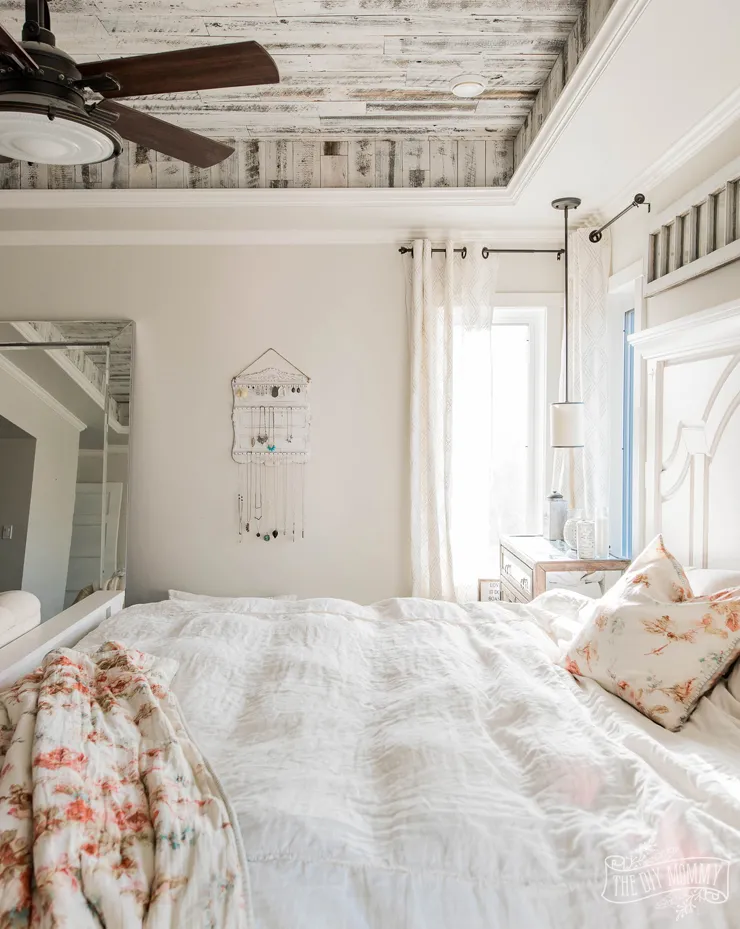
Wall-Worthy Display: Hang your masterpiece on the wall and admire your handiwork! Drape necklaces, bracelets, and earrings on the brackets – your jewelry has never looked so organized.
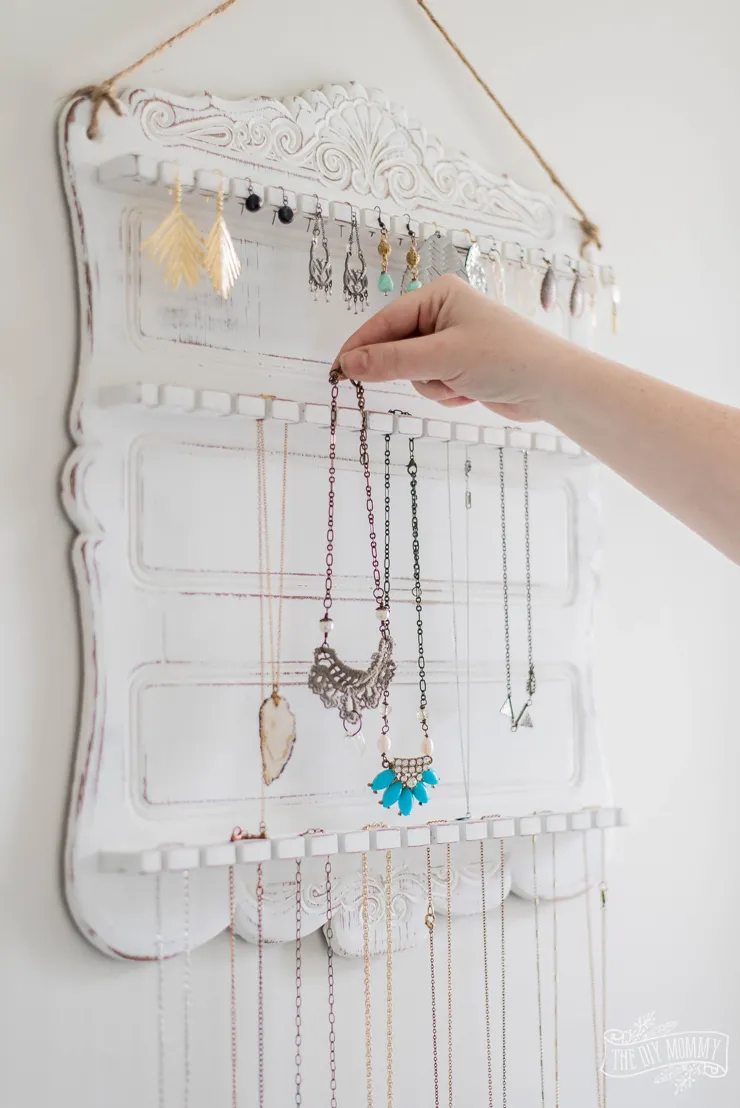
 DIY Jewelry Organizer from a Thrifted Spoon Rack
 DIY Jewelry Organizer from a Thrifted Spoon Rack
More Than Just a Necklace Holder
This DIY jewelry organizer is incredibly versatile. The different levels are perfect for:
- Mid-length necklaces and bracelets: The second shelf is ideal for keeping these organized and tangle-free.
- Long necklaces: Let them dangle gracefully from the bottom shelf, preventing knots and tangles.
- Earrings: Hang hook earrings from the drilled holes or cup hooks, keeping them easily accessible.
 DIY Jewelry Organizer from a Thrifted Spoon Rack
Why This DIY Jewelry Organizer is a Game-Changer
Besides being a budget-friendly and stylish addition to your bedroom decor, this DIY project offers:
- Organization Made Easy: Say goodbye to tangled necklaces and misplaced earrings!
- Space Saver: Free up drawer space and keep your jewelry off surfaces.
- Visual Delight: Transform a simple spoon rack into a charming focal point.
- Sustainable Crafting: Upcycling gives new life to old items, reducing waste.
Don’t Just Take My Word For It
“Turning everyday objects into beautiful and functional pieces is incredibly rewarding,” says renowned DIY expert Sarah Jones. “This spoon rack jewelry organizer is a perfect example of how a little creativity can go a long way.”
 DIY Jewelry Organizer from a Thrifted Spoon Rack
Get Creative and Personalize Your Jewelry Organizer
Remember, this is just a starting point. Feel free to experiment with different:
- Paint colors and finishes: Go bold, stay neutral, or embrace the distressed look.
- Embellishments: Add beads, buttons, or other decorative elements.
- Hangers: Use ribbon, leather strips, or even repurposed belts.
 DIY Jewelry Organizer from a Thrifted Spoon Rack
Ready to Unleash Your Inner DIYer?
Head to your local thrift store, grab a forgotten spoon rack, and let the transformation begin! Don’t forget to share your creations with me on social media – I can’t wait to see your unique spin on this upcycled jewelry organizer.
For more inspiring DIY projects and handcrafted treasures, be sure to explore the rest of the Robert Kline Art website. Happy crafting!
 DIY Jewelry Organizer from a Thrifted Spoon RackDIY Jewelry Organizer from a Thrifted Spoon Rack
