Blog
DIY Macrame Hanging Planter: Add a Touch of Modern Boho to Your Home

Hey there, fellow craft enthusiasts! Robert Kline, your trusted guide in the world of handmade artistry, here. Today, we’re diving into the trendy world of macrame, but with a modern twist! Remember that dream I had of a kitchen overflowing with lush greenery? Well, shelves weren’t the answer (oh, the lessons we learn in DIY!), but I found a stylish solution: macrame hanging planters.
Now, forget those dusty, outdated macrame pieces you might be picturing. We’re creating something fresh and contemporary using an unexpected material – paracord. That’s right, the same sturdy cord used for parachutes! It’s surprisingly versatile, offering a clean look and a bit of stretch, perfect for this project.
Trust me, this DIY is easier than it looks. With just a few knots and an hour to spare, you’ll have a stunning planter that adds a touch of modern boho charm to any room.
Ready to transform your space with me? Let’s gather our supplies and get knotting!
Gathering Your Macrame Materials
Before we begin our macrame journey, let’s ensure we have everything we need:
- 16-20mm Wooden Beads: These add a touch of natural elegance and complement the modern aesthetic.
- 50ft of 550 Paracord: Opt for a color that suits your style. I went with classic white, but the possibilities are endless!
- Scissors: A sharp pair will make clean cuts.
- Pot: Choose a planter that fits your desired aesthetic and plant size.
- Plant: Select a plant baby that will thrive in its new hanging home.
- 1 Hour of Your Time: This is a beginner-friendly project that won’t eat up your entire day.
Step-by-Step Guide to Crafting Your Macrame Plant Hanger
Let’s break down the process into manageable steps:
Step 1: Prepare Your Paracord
- Cut four long strands of paracord, ensuring you have ample length for your desired hanging height. Remember, it’s better to have a little extra than to come up short.
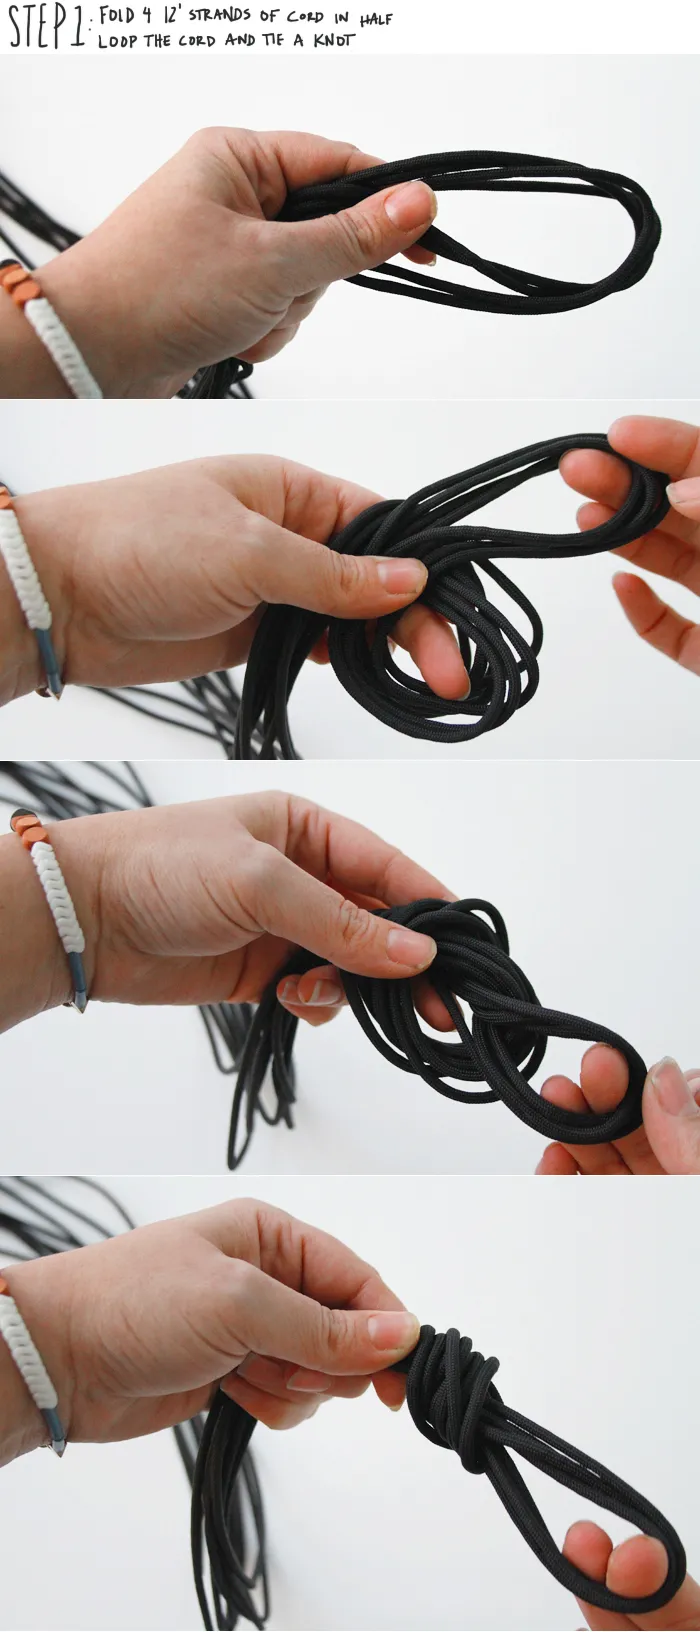
- Fold each strand in half and tie a loop knot at the top. This creates the base from which your planter will hang.
Step 2: Creating the First Row of Knots
- Spread out your eight strands on a flat surface or hang the loop from a hook or rod.
- Take two adjacent strands and tie a simple knot a few inches down from the top loop. Repeat this for each pair of strands.
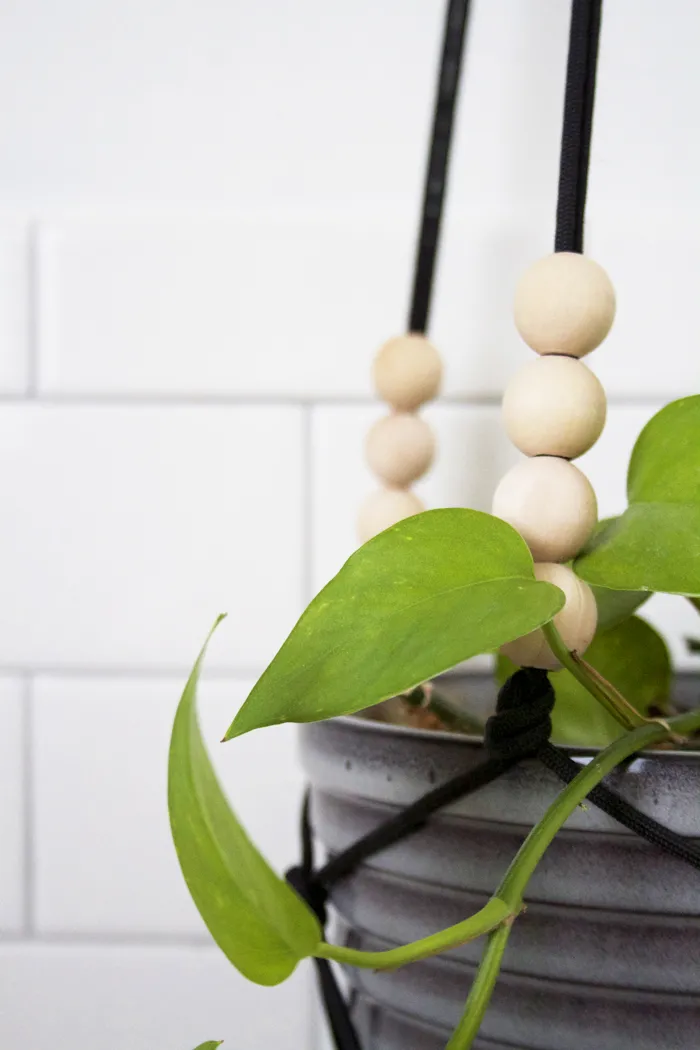
 Easy DIY Modern Macrame Planter Tutorial
Pro Tip: “Maintaining even tension while tying your knots is key to achieving a polished look,” advises macrame artist Sarah Thompson. “Don’t be afraid to untie and retie knots until you’re happy with the spacing.”
Step 3: Adding a Touch of Natural Charm
- Thread a wooden bead onto each strand, pushing it up towards the knots you just created. This adds a visual break and complements the natural texture of the macrame.
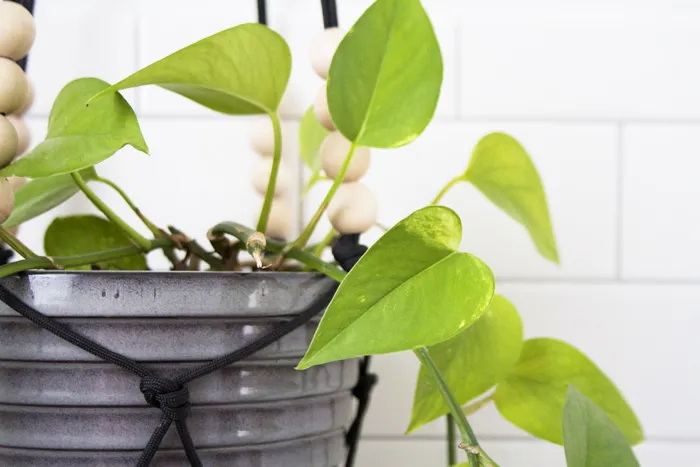
 Close up – Easy DIY Modern Macrame Planter Tutorial
Step 4: Building the Net Structure
- Leaving a space of about 27.5″ from the first row of knots, tie another set of knots, connecting each strand to its neighbor, just as you did in step two.
 Easy DIY Modern Macrame Planter Tutorial
Robert’s Tip: “If you’re using a larger pot, adjust the spacing between knots accordingly. Remember, this project is all about customization!”
Step 5: Expanding the Net
- Continue knotting the strands together in a diagonal pattern, creating a net that will cradle your pot.
 Entryway : Coat Hooks
Step 6: Securing the Base
- Once you’ve reached the desired length, tie a final set of knots, bringing all strands together at the bottom. This forms the base of your hanger and prevents your pot from slipping through.
Step 7: Finishing Touches
- Using a lighter or match, carefully melt the ends of the paracord to prevent fraying.
Safety First: Always exercise caution when working with heat sources. Ensure you have proper ventilation and keep a fire extinguisher handy.
Show Off Your Handiwork!
Congratulations on creating your very own modern macrame hanging planter! Now it’s time to find the perfect spot to display your creation and watch your plant baby thrive.
Share your masterpiece with me! I’d love to see your unique take on this project. Post your photos in the comments below or tag Robert Kline Art on social media.
Remember, crafting is a journey, not a destination. Embrace the process, experiment with different colors and materials, and most importantly, have fun! Head over to Robert Kline Art for more inspiring DIY projects and unleash your inner artisan.
