Blog
DIY Macrame Hanging Organizer: A Touch of Boho Chic for Your Space

Looking for a stylish and practical way to organize your belongings and add a touch of bohemian charm to your home? Look no further than a DIY macrame hanging organizer! This project is surprisingly simple, even for beginners, and allows you to personalize your creation with your favorite colors and knots. Let’s dive into the world of macrame and create a stunning organizer that’s as unique as you are.
Gathering Your Supplies
Before we begin knotting, let’s gather the materials you’ll need:
Materials:
- 5mm macrame cord (approximately 32 meters total)
- 8 strands at 4 meters each
- 2 strands at 60 centimeters each
- 2 wooden dowels or planks (for the shelves)
- 2 macrame rings (or sturdy metal rings)
- 2 wall hooks
- Drill
- Spade drill bit (sized to match your macrame cord)
- Tape measure
- Scissors
- Masking tape or painter’s tape
Pro Tip: Experiment with different types of macrame cord! Thicker cords create a bolder look, while thinner cords offer a more delicate finish.
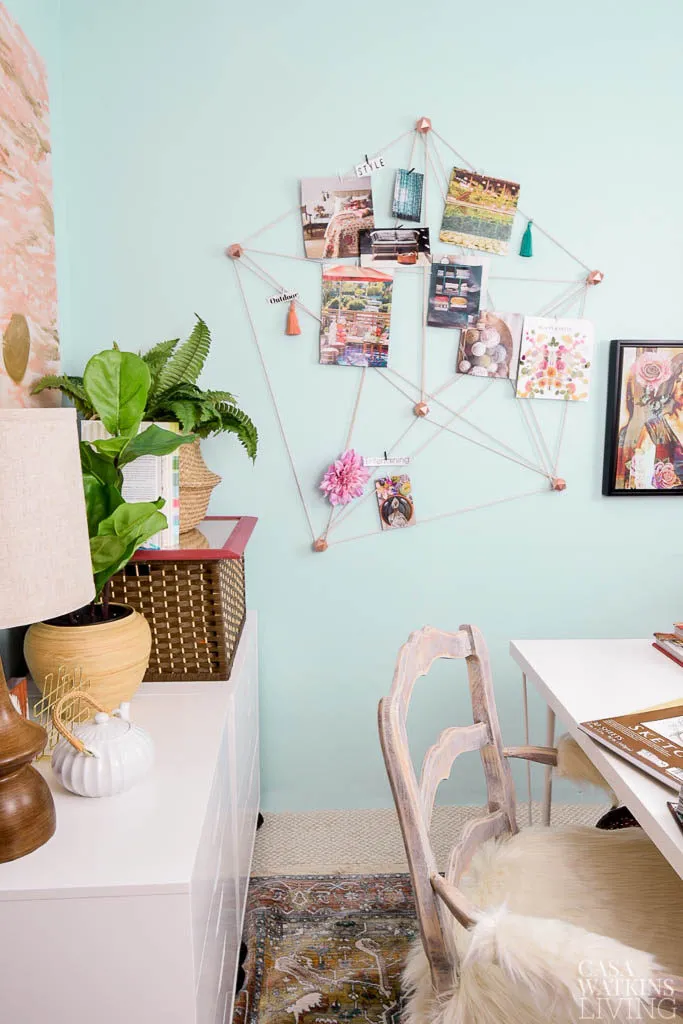
 diy macrame wall organizer in boho chic office
Image Description: A completed macrame hanging organizer with two shelves, adorned with plants and decorative items, hanging in a boho-chic office setting.
Creating Your Macrame Masterpiece
Now, let’s get those creative juices flowing and start knotting our organizer:
Step 1: Prepare the Shelves
- Measure and Mark: Decide on the desired size of your shelves and mark the drill points. Drill holes in all four corners of each shelf, approximately 2.5 centimeters from the edges.
- Sand and Finish (Optional): Sand down any rough edges on your shelves and apply a wood finish or paint if desired.
Step 2: The Art of Macrame
- Cut and Secure: Cut eight 4-meter strands of macrame cord and two 60-centimeter strands.
- Form the Base:
- Fold four 4-meter strands in half and thread the looped ends through one macrame ring. Bring the loose ends through the loop and tighten to create a lark’s head knot.
- Repeat for the remaining four 4-meter strands on the second macrame ring.
- Use the 60-centimeter strands to tie a gathering knot just below each ring, securing all eight strands together.
Step 3: Knotting the Structure
-
Back Sections:
- Divide the cords hanging from each ring into front and back sections (four strands each).
- Top Shelf: For each back section, create eight square knots, leaving an 8-centimeter gap from the gathering knot. Thread the cords through the back holes of the top shelf, securing with tape to hold them in place. Tie a knot beneath the shelf, leaving an 11-centimeter gap.
- Bottom Shelf: Leave an 8-centimeter gap and tie another eight square knots. Thread the cords through the back holes of the bottom shelf. Tie a knot beneath the shelf, leaving an 8-centimeter gap.
- Repeat for the opposite back section.
-
Front Sections:
- Repeat the knotting process for the front sections, but leave a 13-centimeter gap between the top shelf and the square knots to ensure the shelf sits level.
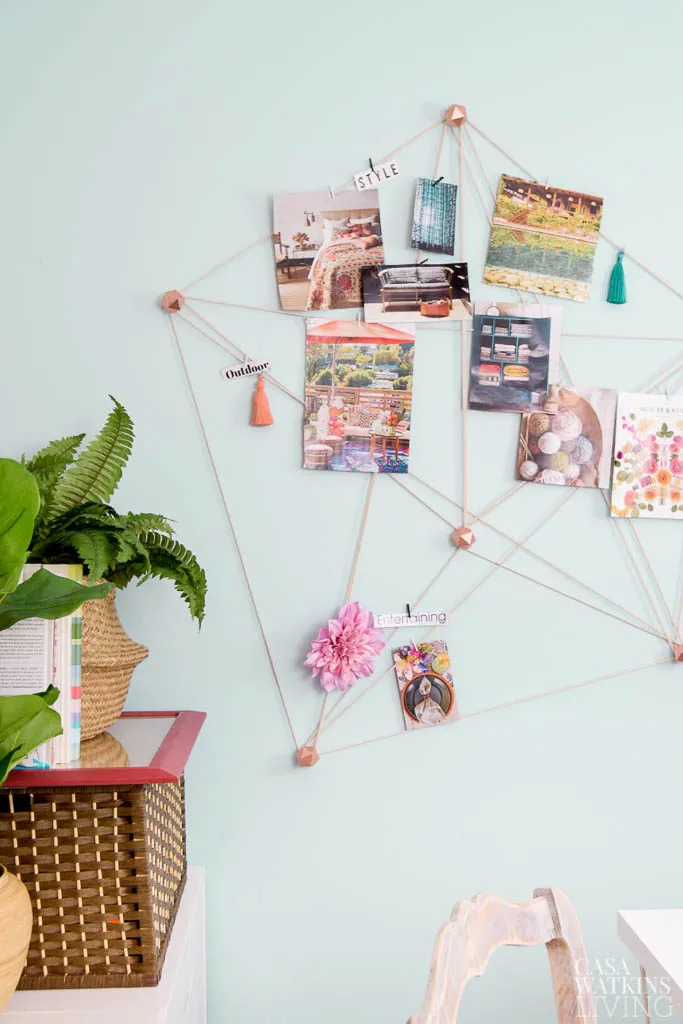
 diy macrame wall organizer
Image Description: A close-up view of the macrame knotting process, showcasing the square knots and the attachment of the cord to the wooden shelf.
Step 4: Hanging Your Creation
- Mount the Hooks: Determine the desired height and spacing for your organizer. Install the wall hooks securely.
- Hang and Adjust: Hang the macrame organizer from the hooks. Adjust the knots below the shelves to ensure both shelves are level.
- Trim the Excess: Trim the ends of the macrame cords for a clean finish.
Personalizing Your Organizer
Styling Tips
- Plants: Add a touch of greenery with small potted plants like succulents, air plants, or trailing vines.
- Decorative Items: Display your favorite trinkets, crystals, candles, or small picture frames.
- Functional Storage: Utilize the shelves to organize jewelry, essential oils, office supplies, or small toiletries.
Variations and Ideas:
- Beads: Incorporate wooden beads or colorful beads into your macrame knots for added visual interest.
- Tassels: Create charming tassels with leftover macrame cord and attach them to the bottom of the shelves or the rings.
- Multiple Tiers: Experiment with adding more shelves to your organizer for additional storage space.
 diy macrame wall organizer
Image Description: The completed macrame organizer, adorned with decorative items and showcasing the intricate knotting details.
Conclusion
Congratulations on creating your very own DIY macrame hanging organizer! Not only have you added a functional and stylish piece to your home décor, but you’ve also tapped into the rewarding experience of crafting with your hands. I encourage you to share your creations and inspire others to explore the world of macrame.
Don’t forget to check out Robert Kline Art for more unique handmade gifts and DIY inspiration. Let’s connect in the comments below and share your macrame journey!
 diy macrame wall organizer
Image Description: The macrame hanging organizer hanging gracefully in a well-lit room, highlighting its functionality and aesthetic appeal.
