Blog
DIY Macrame Hanging Chair: A Relaxing Challenge for Your Creative Spirit

Hey there, fellow craft enthusiasts! Robert Kline here, ready to dive into a project that’s as rewarding as it is relaxing to enjoy afterwards: a DIY macrame hanging chair. Let me tell you, this isn’t your average weekend project, but the journey is just as fulfilling as having a beautiful, hand-crafted chair to call your own.
Inspiration Strikes: The Birth of a DIY Macrame Chair Dream
This project came to life after I was invited to compete in the Creating with the Stars 2014 contest. Excited and a little nervous, my teammate Mallory and I decided to recreate a stunning macrame hanging chair we found at Urban Outfitters. The trend was taking off, and I was eager to challenge myself.
 DIY Hanging Macrame Chair
Gathering Supplies: What You’ll Need for Your Macrame Masterpiece
Here’s where the adventure begins: gathering your materials! For this DIY macrame hanging chair, I used:
- A sturdy saucer chair: I found mine at Target and gave it a fresh coat of white spray paint.
- Heavy-duty clothesline: This formed the core structure of the chair. I used about 8-9 rolls of 200-foot clothesline and an additional 100-foot roll.
- Macrame cord: This is where the magic happens! Stock up on plenty of high-quality macrame cord. I recommend using at least 120 pieces, each about 10 feet long.
- Two hula hoops: One large hoop for the main frame, and a smaller one for the seat.
- Poster board: This handy tool helped me create a template for the seat.
- Scissors, tape, and a measuring tape: Your trusty sidekicks for precise cutting and measuring.
- Wood planks and screws: These are for the hanging mechanism. Choose wood that complements your chair’s style.
Knotting Your Way to Relaxation: Step-by-Step Guide
Now, for the heart of this project: the macrame! Here’s a breakdown of the steps involved:
1. Preparing Your Base:
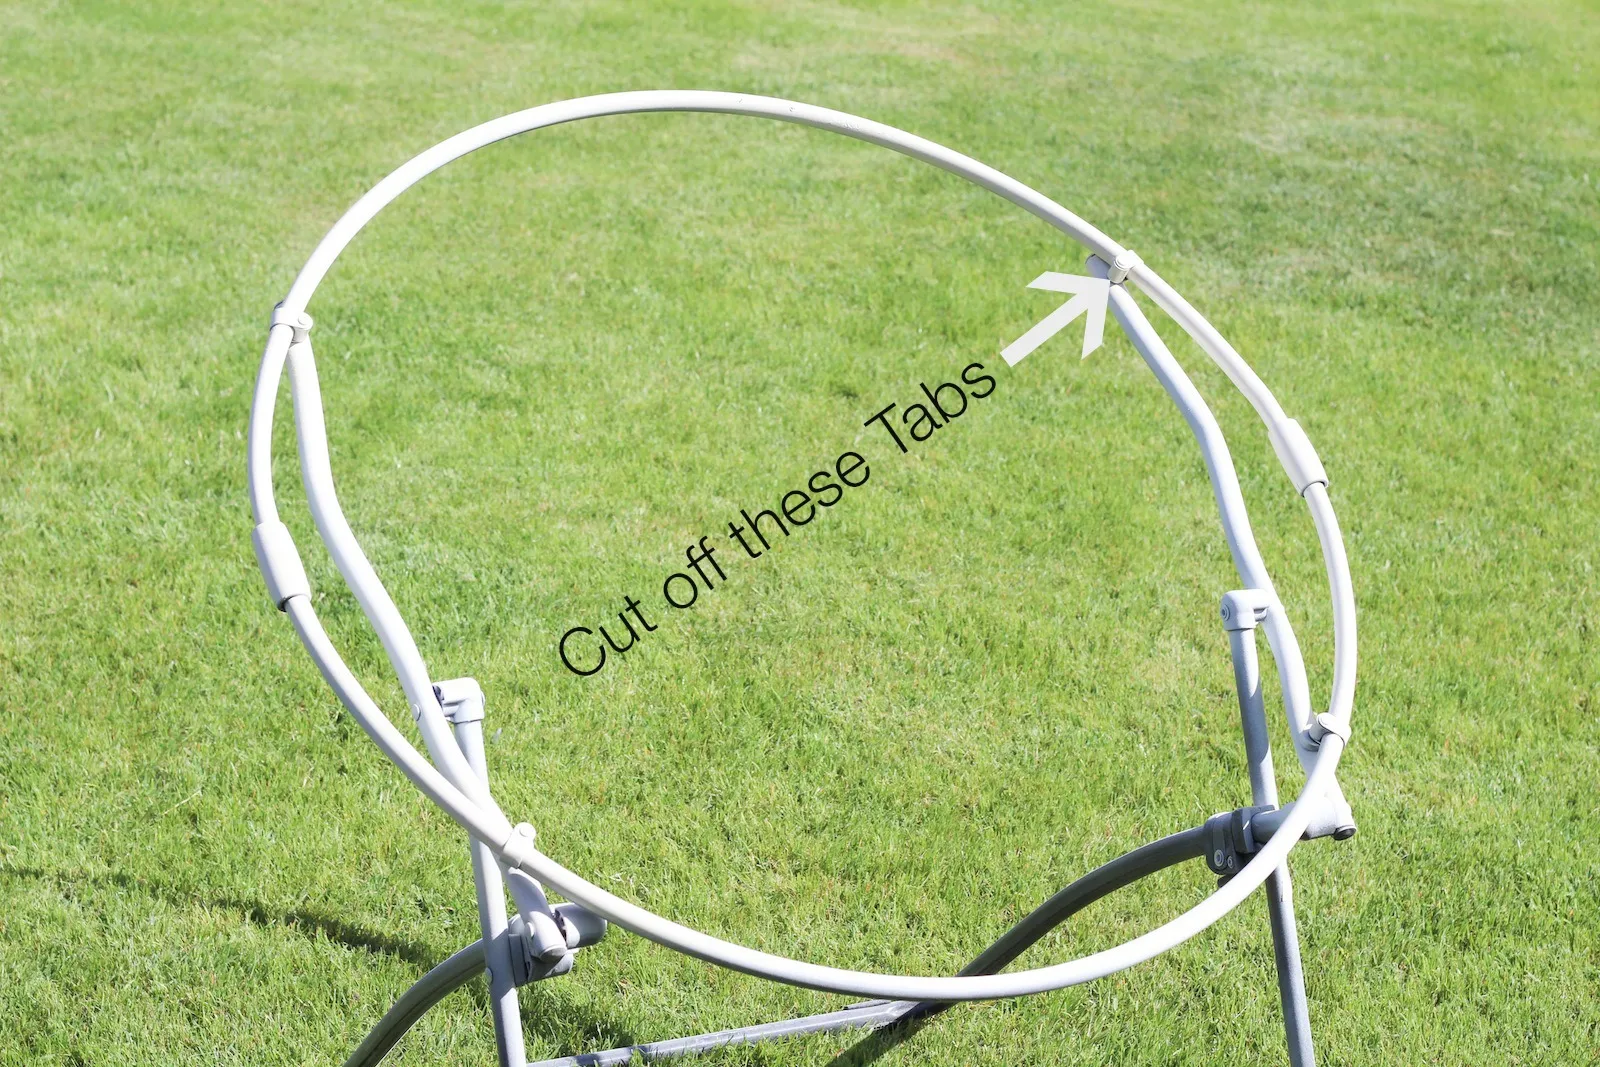
- Remove the legs from your saucer chair: Mine were attached with tabs that needed to be sawed off.
- Spray paint the chair frame and hula hoops: A fresh coat of white paint adds a clean, modern look.
2. Mastering the Macrame:
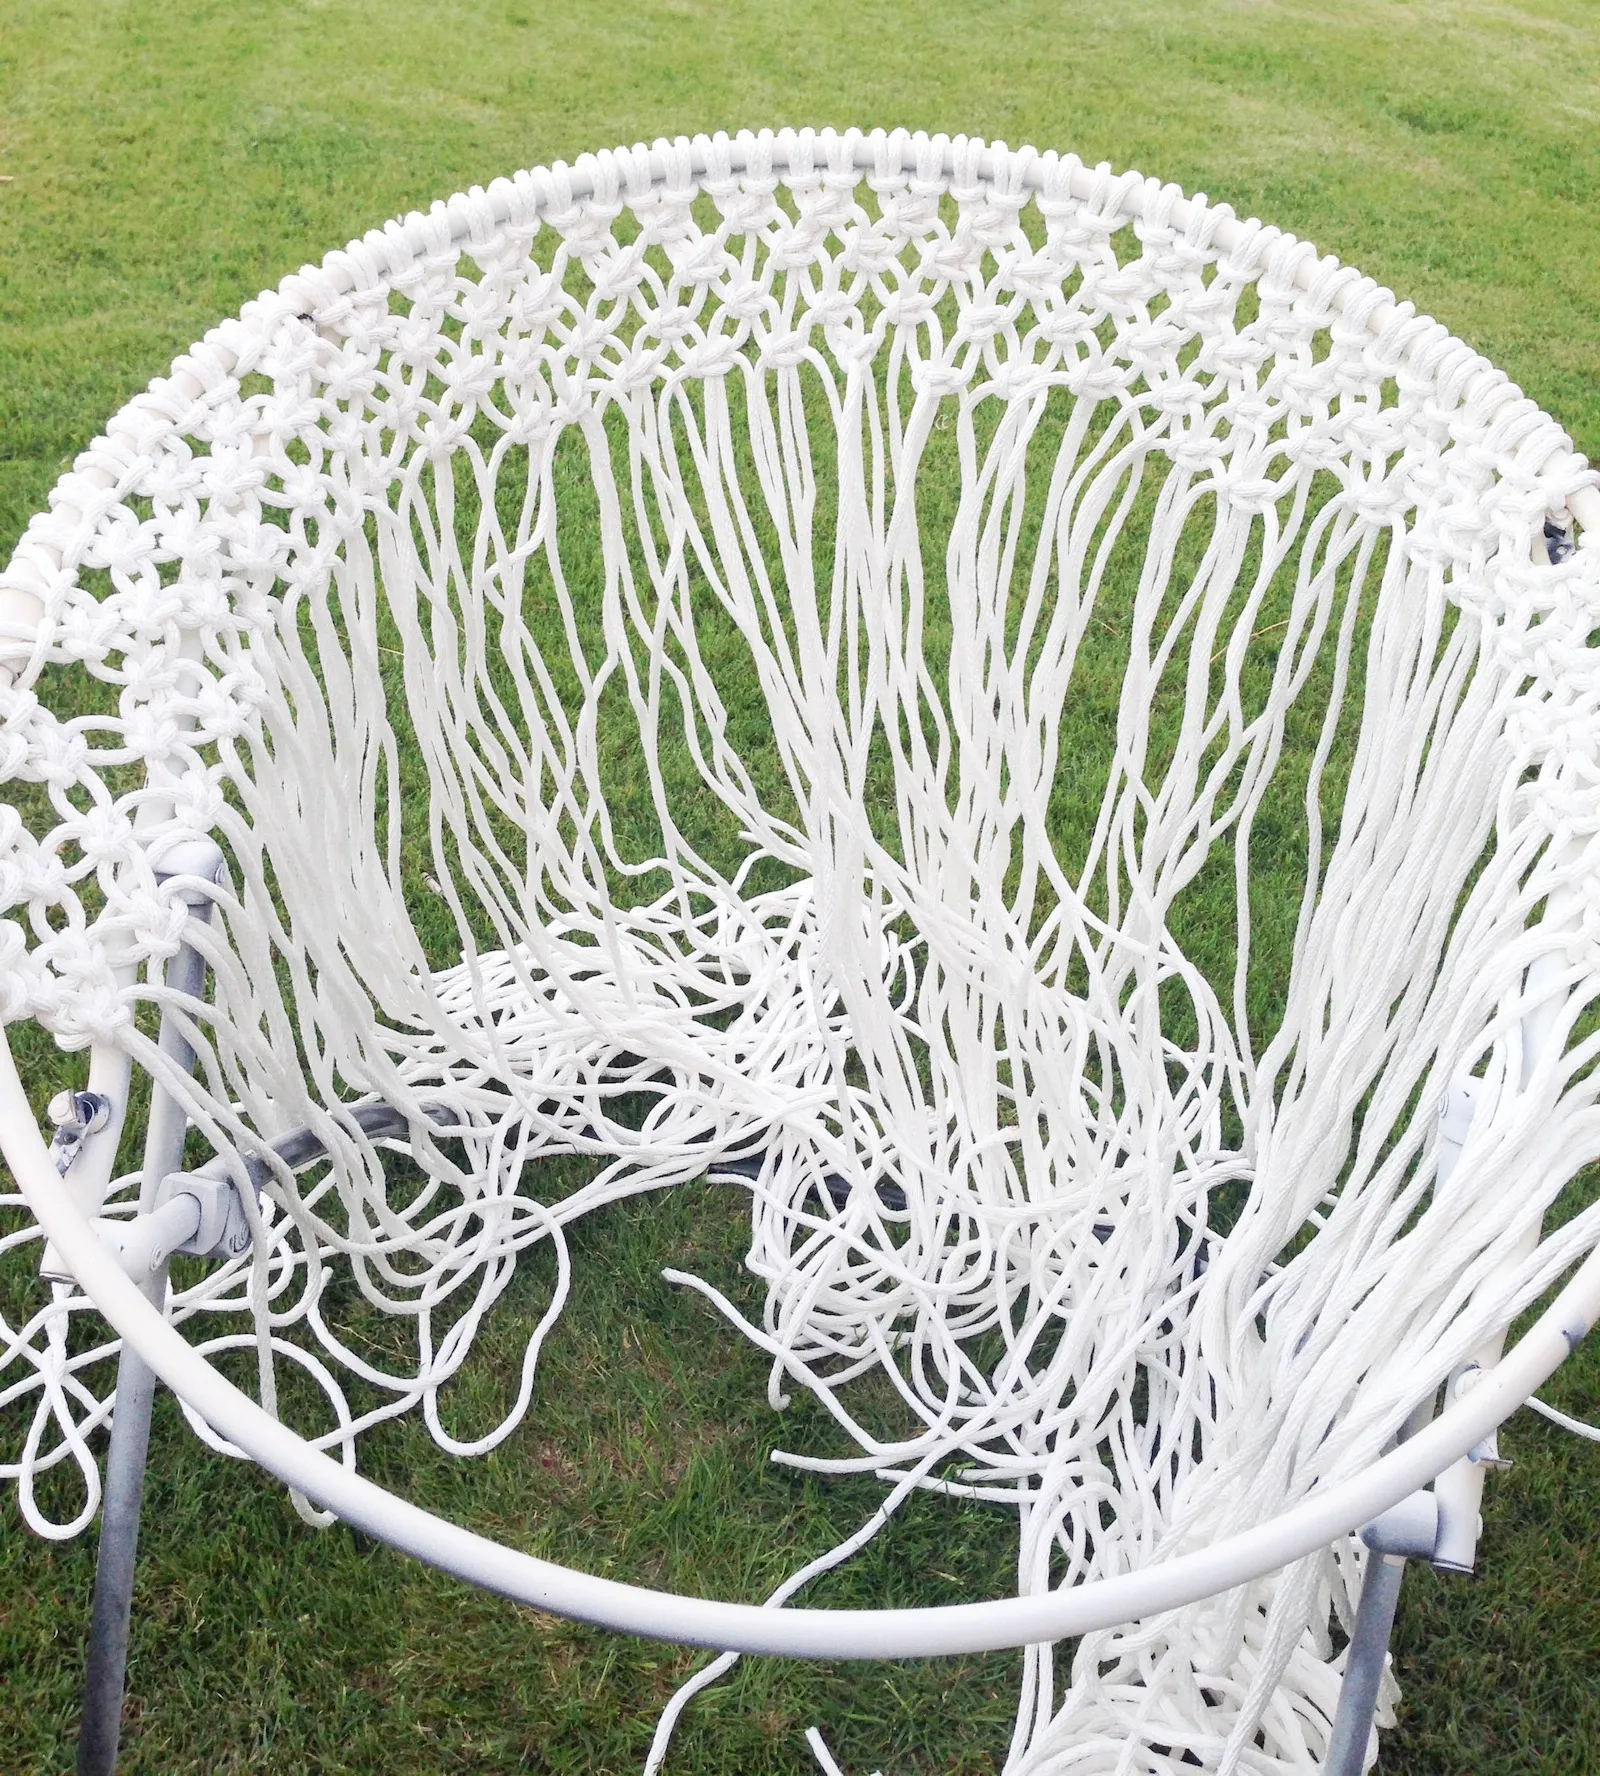
- Start with a basic square knot: Tie this knot around the large hula hoop, forming the base of your chair.
- Progress with alternating square knots: This creates the beautiful, textured pattern of the chair’s sides. I started on one side and worked my way around.
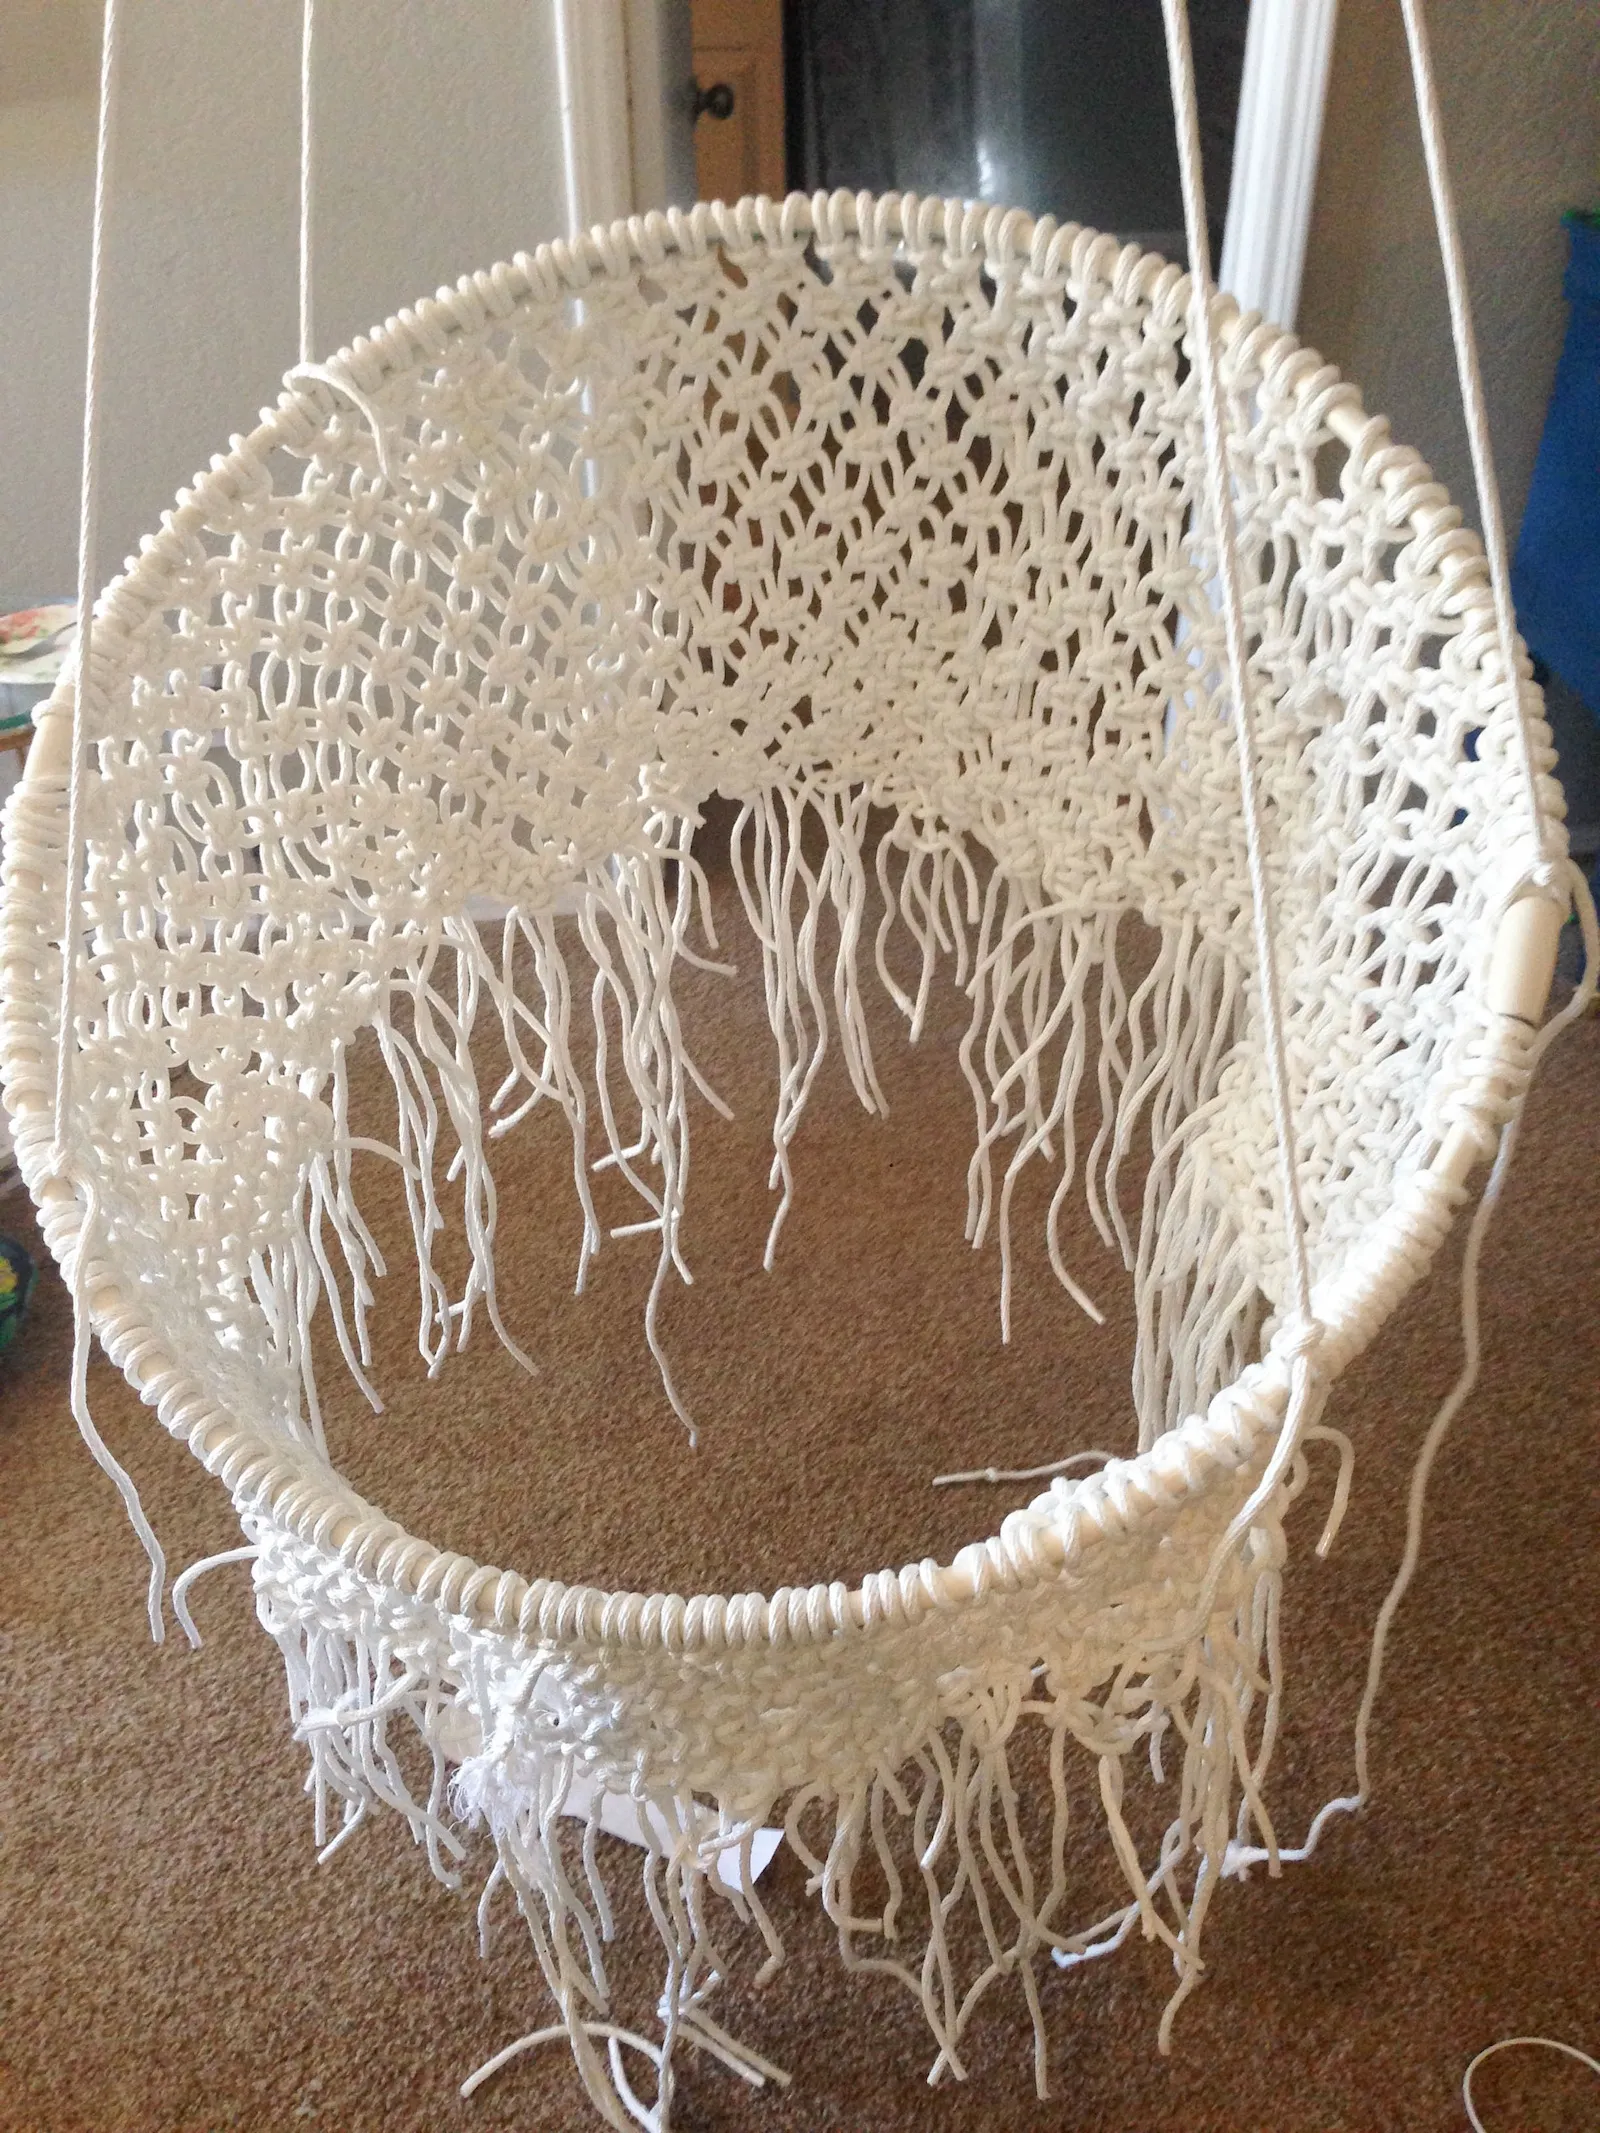
- Create the seat: Use the smaller hula hoop as the base for the seat. I recommend creating the seat as a separate piece and then attaching it to the chair’s frame.
 The Chair
3. A Word of Advice from a Fellow Macrame Enthusiast:
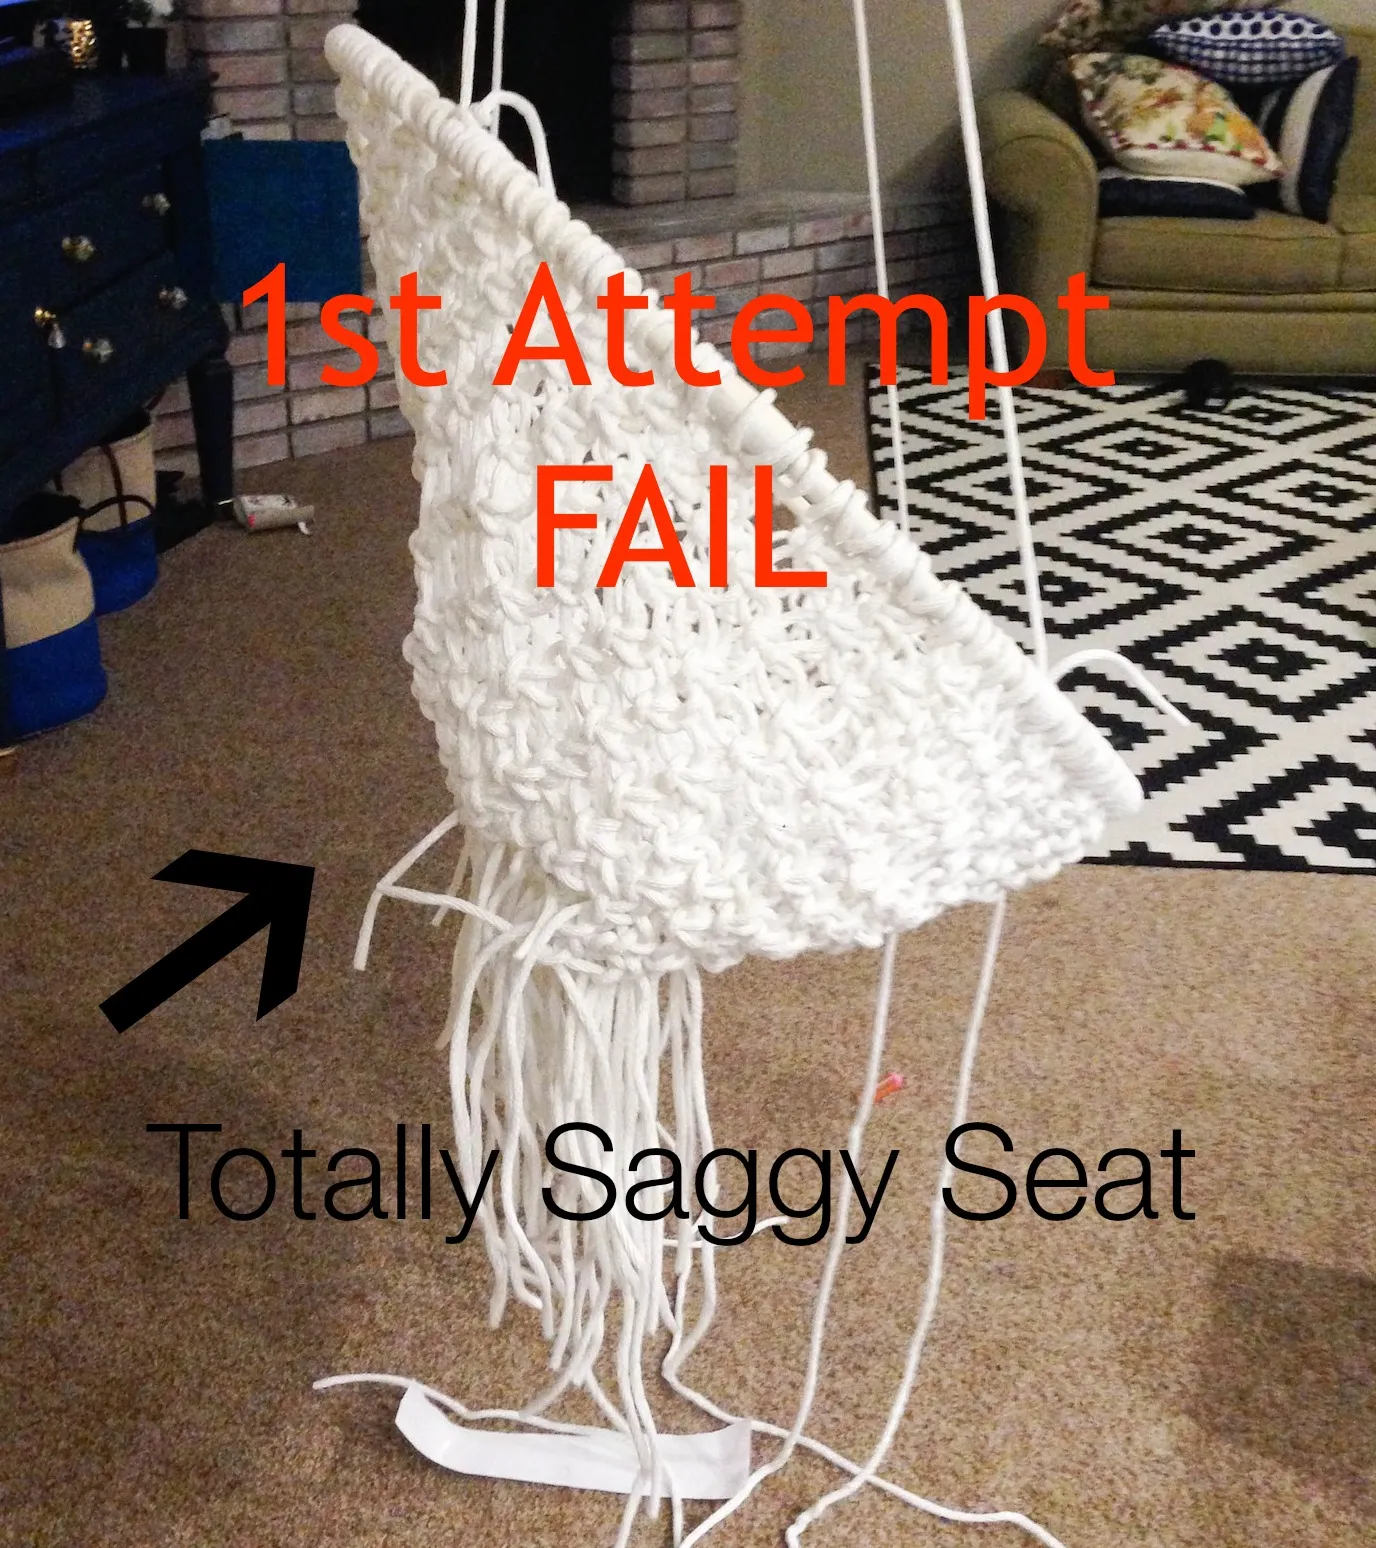
I’ll be honest, I hit a few snags along the way. My first attempt at the seat didn’t work out because I used the same knotting technique as the sides. Remember to embrace the trial and error process! That’s where true creativity blossoms.
 Fail Chair
4. Putting it All Together:
- Attach the seat: Securely tie the seat to the smaller hula hoop using a basic knot. Then, connect the seat and chair sides together using additional knots.
- Braid the hanging ropes: For a polished finish, braid the ropes that will suspend your chair.
- Hang Your Masterpiece: Attach the braided ropes to your chosen hanging mechanism (I used wooden planks). Ensuring it’s level and securely fastened is crucial for safety and stability.
 IMG_6477-2
Tips and Tricks for a Successful Macrame Journey
- Patience is Key: This is a time-consuming project. Don’t be afraid to step away and come back to it with fresh eyes.
- Don’t be Afraid to Experiment: Macrame is all about exploring different knots and patterns. Feel free to add your own creative flair!
- Embrace Imperfections: Remember, handmade items have character! Don’t strive for absolute perfection – enjoy the process and the unique beauty of your creation.
 1st attempt
From Robert Kline’s Workbench to Your Home:
This DIY macrame hanging chair was a labor of love, and although it took me around 40 hours (including my fair share of trial and error), the result was worth every knot.
 IMG_6492-2
Remember, the most important thing is to enjoy the process. Let your creativity flow, embrace the challenges, and take pride in crafting a one-of-a-kind piece for your home.
And hey, if you give this project a try, I’d love to see your creations! Feel free to share your experiences and photos in the comments below.
For more inspiring DIY projects and unique handmade gifts, be sure to explore the rest of Robert Kline Art!
