Blog
DIY Leather Camera Strap: A Touch of Handmade Elegance
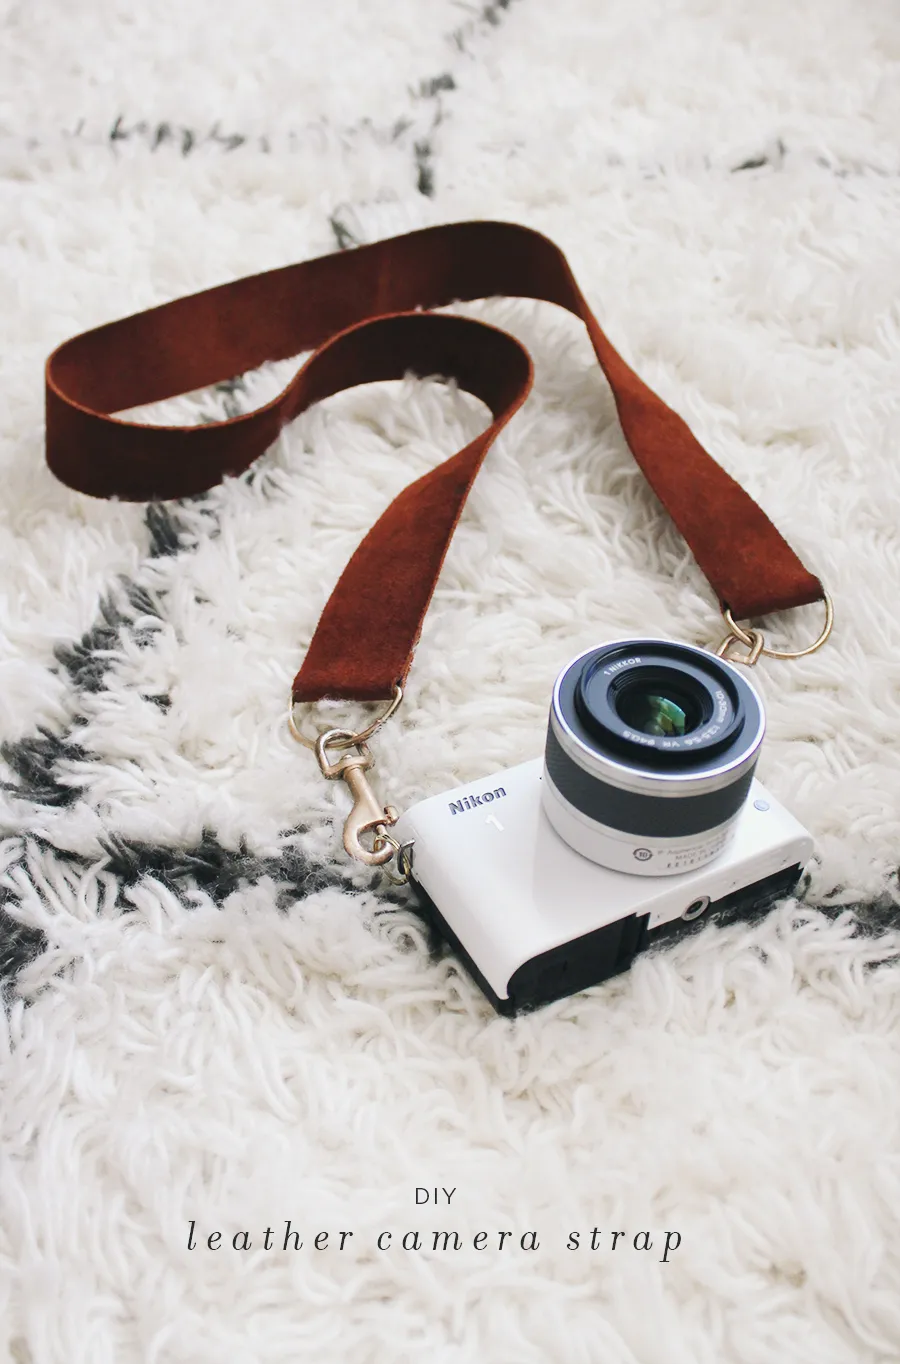
As an artist who values the personal touch, I believe even the smallest details matter. That’s why I’m excited to share my latest obsession: crafting a DIY leather camera strap. Forget the generic straps that scream “amateur”—let’s create something with character, something uniquely you. This project is surprisingly simple, requiring no sewing whatsoever, and it’ll elevate your photography game in minutes.
Gathering Your Supplies
For this project, you’ll need:
- A strip of leather: I recommend a medium-brown suede, about 1 1/2 inches wide. You can find these at most craft stores. The length will depend on your preference, but I suggest using your existing camera strap as a guide.
- Two D-rings: These will attach your strap to the camera. Make sure they’re the right size for your camera model.
- Two swivel hooks: These will connect the D-rings to the leather strap. Opt for gold or silver to match your style.
- Two small keyrings: These will attach the swivel hooks to your camera.
- Two binder clips: Used for temporarily securing the leather while the glue dries.
- Liquid Stitch: A strong fabric glue that will hold your strap together beautifully.
- Scissors
- Ruler
Crafting Your Masterpiece
Step 1: Prepare the D-rings
Take your swivel hooks and carefully thread them through the small slit on each D-ring.
Step 2: Measure and Cut the Leather
Using your existing camera strap as a reference, measure out the desired length for your new leather strap. Remember to add an inch or two for folding over the D-rings. Once you’ve marked the length, carefully cut your leather strip.
Step 3: Attaching the Leather to the D-rings
Fold over each end of your leather strip over the D-ring. Aim for a clean fold that lies flat against the ring. Apply a generous amount of Liquid Stitch to the underside of the folded leather, ensuring a strong bond. Press firmly and smooth out any excess glue.
Pro Tip: To achieve a more polished look, try using a bone folder or the back of a spoon to crease the folded edges firmly before applying the glue.
Step 4: Securing the Fold
Secure the folded leather in place using your binder clips. This will prevent the leather from shifting as the glue dries. Allow the glue to dry completely for at least an hour, or as per the Liquid Stitch instructions.
Step 5: Repeat for the Other Side
Once the first side is dry, repeat steps 3 and 4 for the other end of the leather strap and the remaining D-ring.
Step 6: Final Touches
After both sides are completely dry, attach the small keyrings to the swivel hooks, then connect them to your camera.
 diy leather camera strap via almost makes perfect
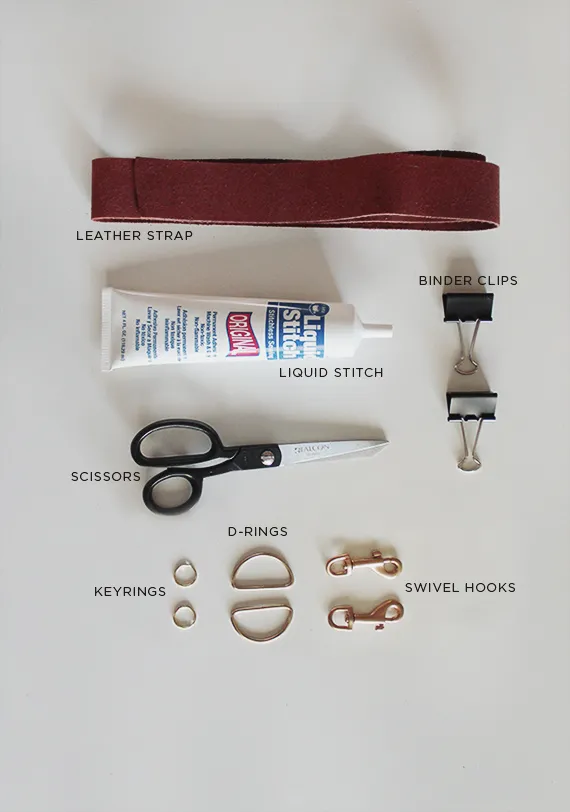 diy camera strap materials
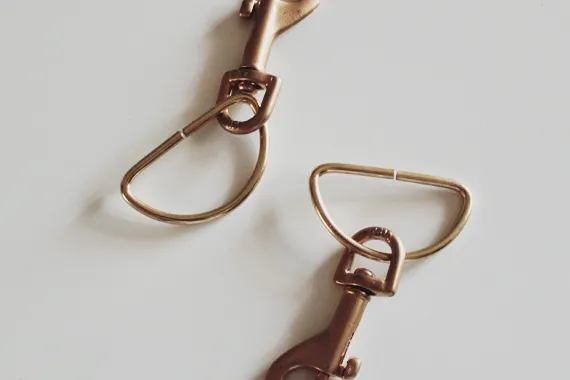 diy-leather-camera-strap
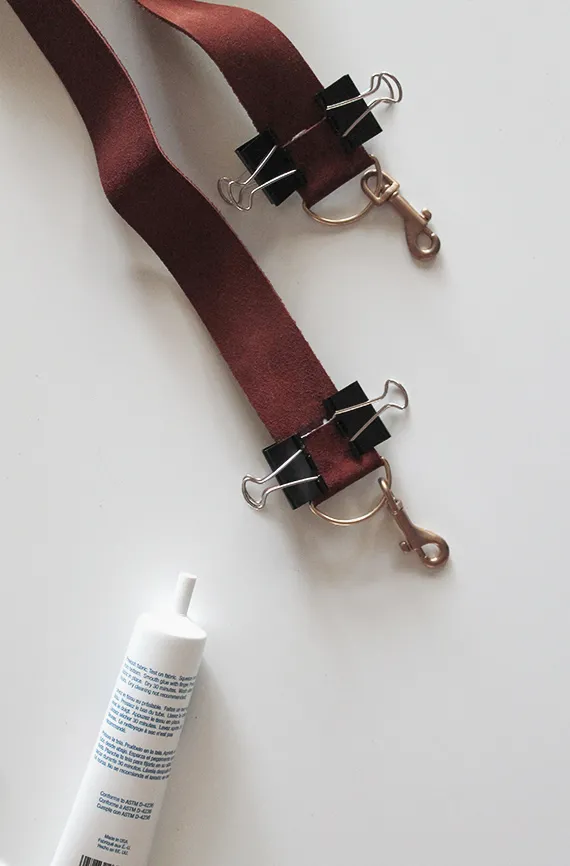 leather camera strap diy
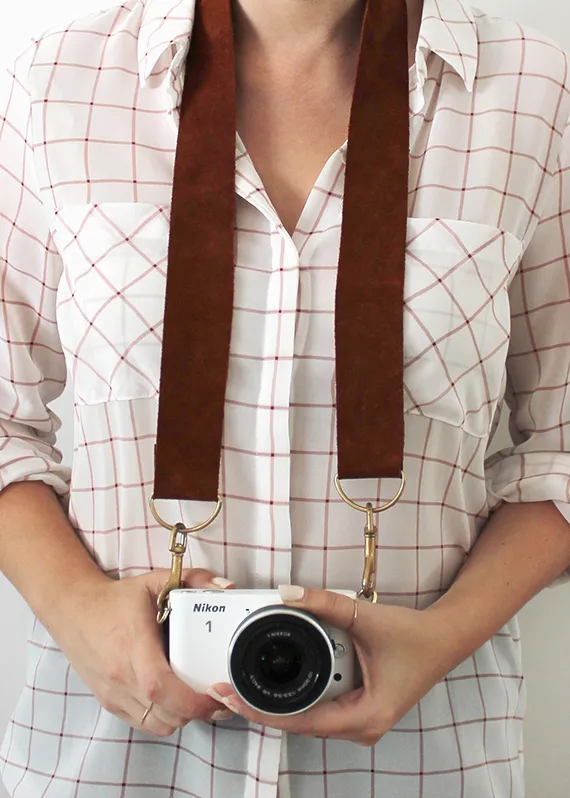 camera strap diy
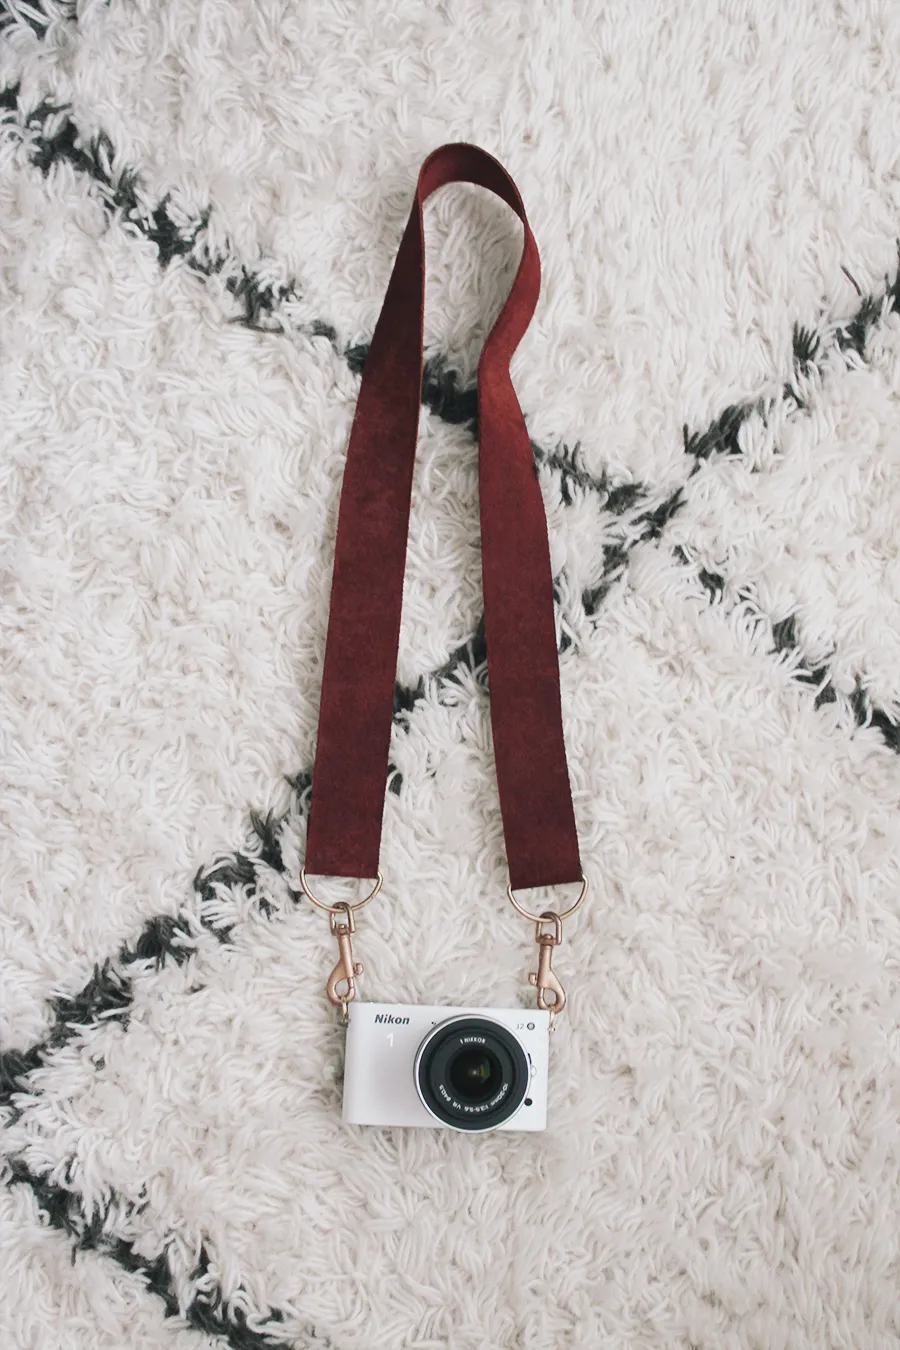 diy camera strap
Conclusion
Congratulations! You’ve just crafted a stylish, personalized leather camera strap that’s sure to turn heads. Not only is this DIY project incredibly satisfying, but it’s also a great way to add a touch of handcrafted elegance to your photography gear.
A Final Thought: Remember, the beauty of handmade lies in its imperfections. Don’t be afraid to experiment with different colors, textures, and hardware to create a camera strap as unique as your photographic eye.
I encourage you to give this project a try and share your creations on social media. And for more handcrafted inspiration and unique gift ideas, browse the Robert Kline Art website.
