Blog
Knit Your Own Cozy: A Chunky Knit Pillow DIY Guide
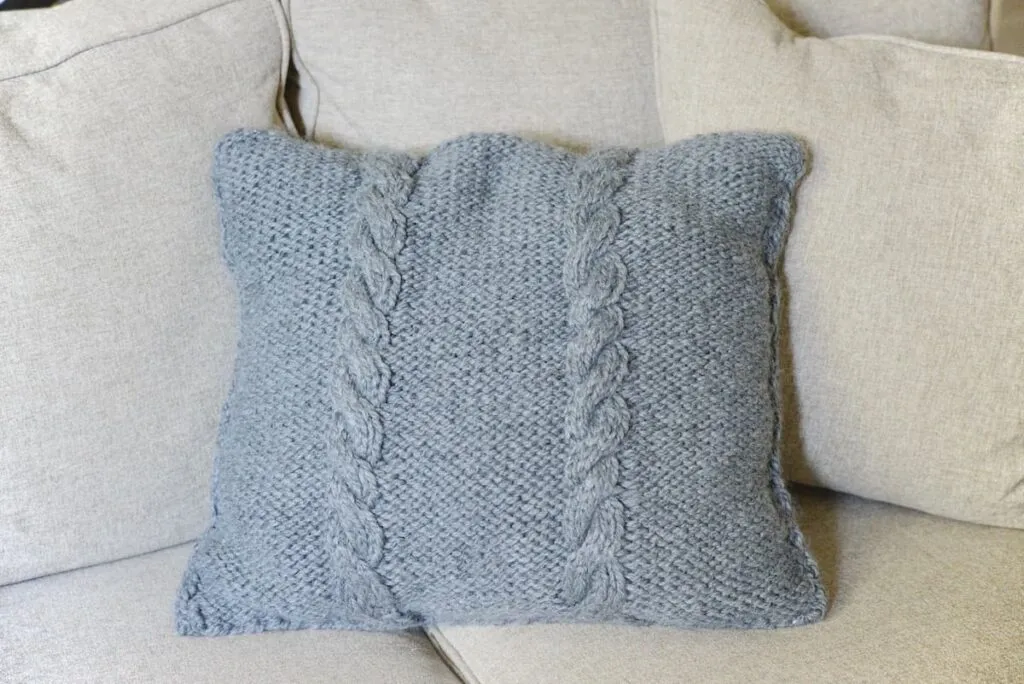
Hey there, fellow craft enthusiasts! Robert Kline here, your guide to all things handmade. As the days grow shorter and the air turns crisp, our homes beckon us to create cozy havens. What better way to do that than with a luxuriously soft, chunky knit pillow?
This DIY project is perfect for both seasoned knitters and enthusiastic beginners. I’ll be sharing my design, featuring a reversible pattern with a classic stockinette stitch on one side and a touch of elegance with a simple cable knit on the other. Don’t worry; even if you’re new to knitting, I’ll walk you through every step, and you’ll be amazed at what you can create.
Why Choose a Hand-Knit Pillow?
I’ve always been drawn to the magic of knitting. There’s something incredibly satisfying about transforming yarn into something both beautiful and functional. Hand-knit home décor, especially throw pillows, add a unique charm and warmth that store-bought items simply can’t replicate.
Imagine sinking into your favorite armchair, embraced by the soft texture of a pillow you lovingly crafted. It’s an invitation to relax, unwind, and savor the simple pleasures of a handmade life. Plus, imagine the compliments you’ll receive from guests who are wowed by your creativity!
The Beauty of Handmade Gifts
Looking for a heartfelt gift idea? A hand-knit pillow is a gesture that speaks volumes. It’s a personalized treasure that shows you put your time, effort, and love into creating something truly special for someone you care about. Whether it’s a birthday, holiday, or just because, this gift is sure to be cherished.
What You’ll Need for Your Chunky Knit Pillow:
Before we begin, let’s gather our supplies. You can easily find these items at your local craft store or online:
- Yarn: For this project, I recommend a super bulky yarn. I opted for the Big Twist Natural Blend from JoAnn’s. The blend of wool and synthetic fibers creates a soft, durable, and easy-care fabric. You can also find beautiful 100% wool yarns online for a luxurious feel.
- Knitting Needles: Choose needles appropriate for your yarn weight. For super bulky yarn, I recommend using size 15 (US) or 10 mm needles.
- Cable Needle: This handy tool makes creating the cable knit pattern a breeze. Don’t worry; I’ll show you how to use it!
- Scissors: A sharp pair of scissors is essential for neatly trimming your yarn.
- Darning Needle: You’ll need this to weave in any loose ends and neatly close the seam of your pillow cover.
 chunky knit pillow on sofa
Let’s Get Knitting!
Now that we have our materials ready, let’s get started. Don’t worry if you’re new to knitting; this project uses simple stitches that are easy to master.
Step 1: Cast On
Begin by casting on the desired number of stitches onto your knitting needle. The exact number will depend on the size of your pillow and the thickness of your yarn. A good starting point is to knit a small swatch to determine the gauge, or stitches per inch, of your knitting. This will help you calculate the correct number of stitches to cast on.
Step 2: Knit the Stockinette Stitch
The stockinette stitch is one of the most basic knitting patterns and creates a smooth, classic look. To knit the stockinette stitch, insert your right needle into the first stitch on your left needle, wrap the yarn around your right needle, and pull the yarn through the stitch. Slip the old stitch off the left needle. Repeat this process for each stitch across the row.
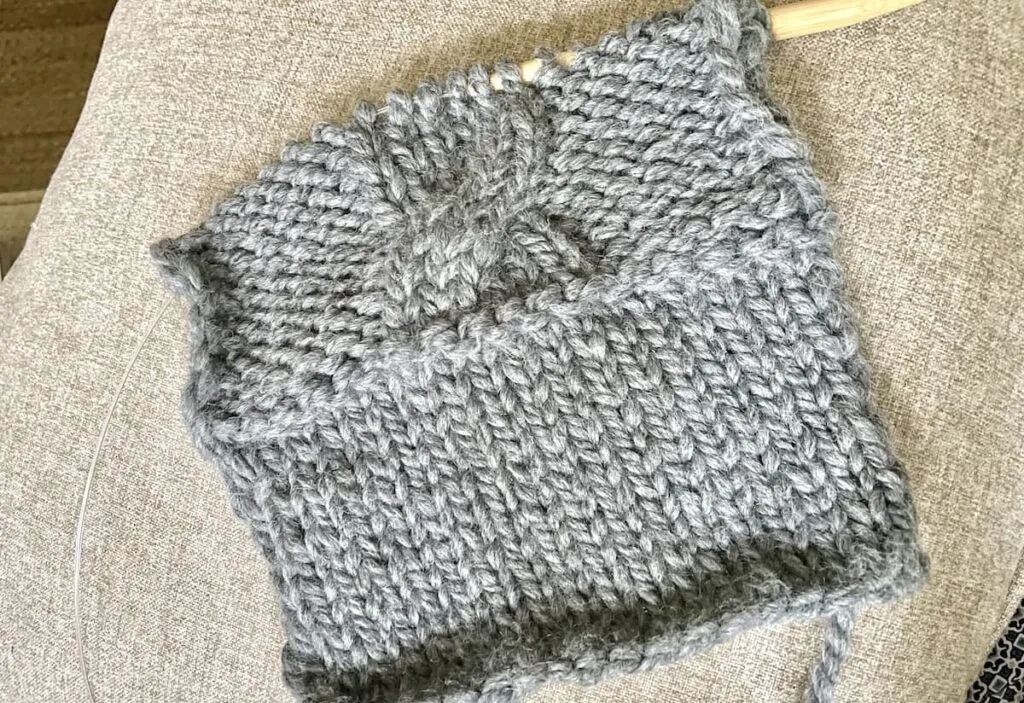 knitted swatch with stockinette stich and cable stitch
Step 3: Knit the Cable Stitch
The cable stitch adds a touch of texture and visual interest to your pillow. To knit a cable stitch, you’ll work a group of stitches out of order, creating the “twist” effect.
- Set up for the cable: Knit to the stitch before the cable.
- Slip stitches to the cable needle: Slip the specified number of stitches for the cable onto the cable needle.
- Hold the cable needle: Hold the cable needle either in front or in back of your work, depending on the desired direction of the cable twist.
- Knit from the left needle: Knit the specified number of stitches from the left-hand needle.
- Knit from the cable needle: Knit the stitches from the cable needle.
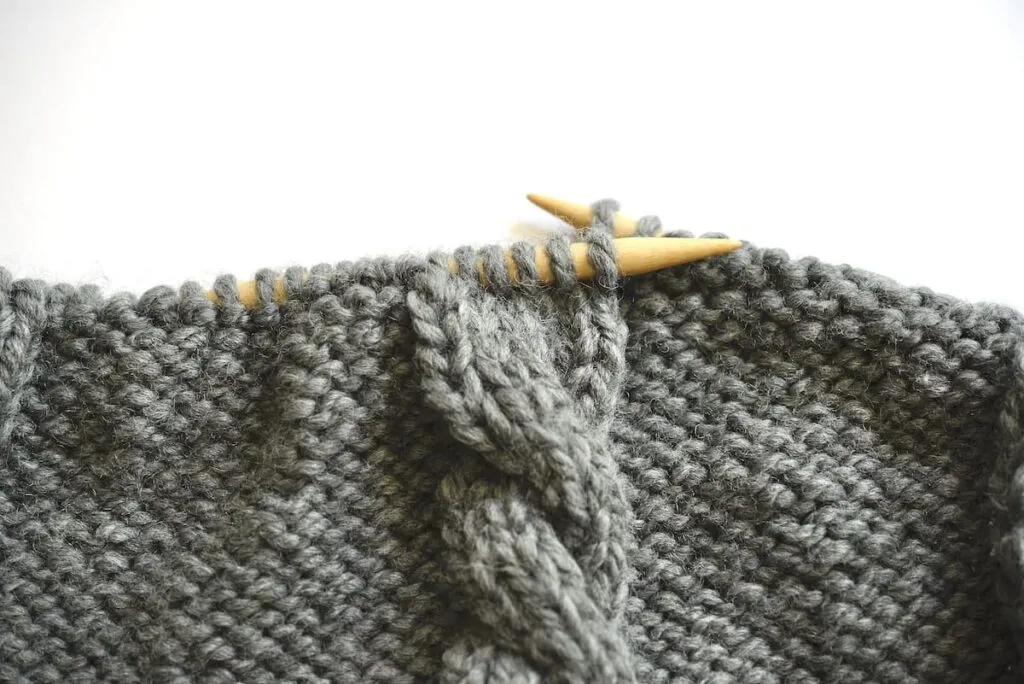 knitted piece with needles starting to knit cables
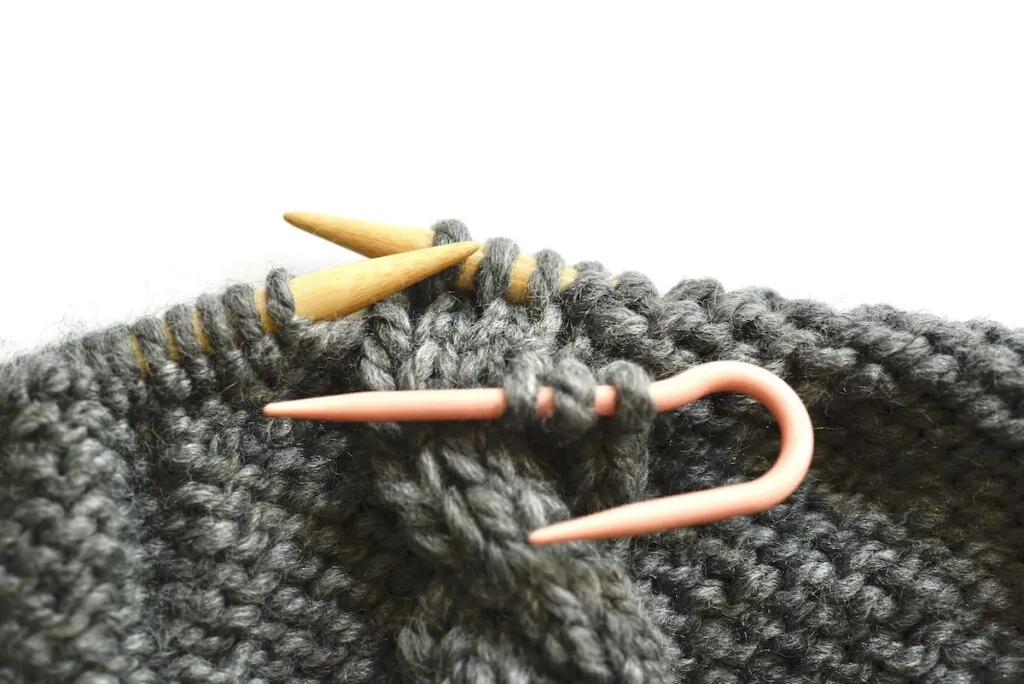 knitted piece with needles and a cable needle to make knit cables
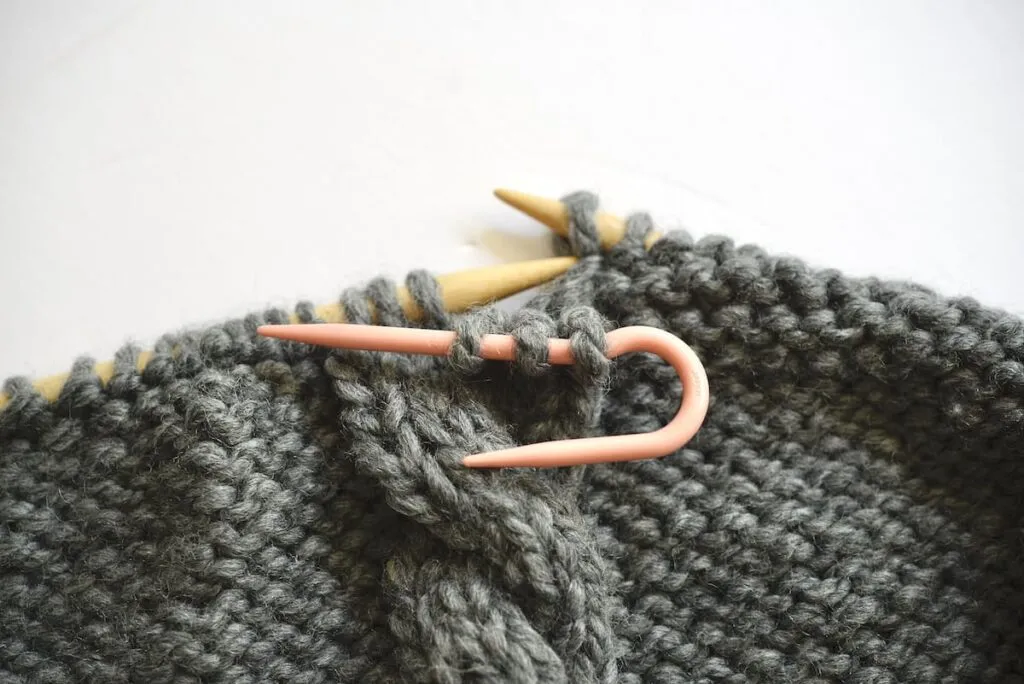 knitted piece with knitting needles showing how to pull the back stiches forward
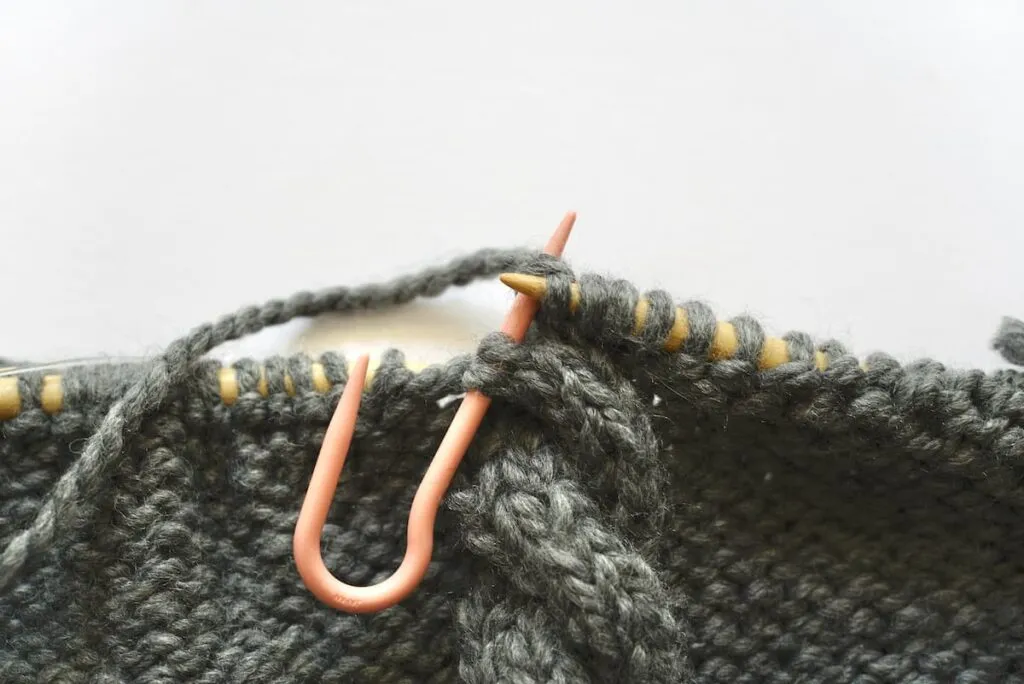 knitted piece with needles finishing a cable
Step 4: Continue Knitting
Continue knitting, alternating between the stockinette and cable stitch patterns according to your design. Knit until your piece reaches the desired length for your pillow cover.
Step 5: Bind Off
Once you’ve reached the desired length, it’s time to bind off your knitting. This creates a neat edge that won’t unravel. To bind off, knit two stitches. Then, insert the left needle tip into the first stitch you knitted and lift it over the second stitch and off the needle. Knit one more stitch, then repeat the process of lifting the first stitch over the second stitch and off the needle. Continue in this manner until all stitches are bound off.
Step 6: Seaming and Finishing
Fold your knitted piece in half, with the right sides facing each other. Using your darning needle and yarn, stitch the sides together, leaving an opening for inserting your pillow.
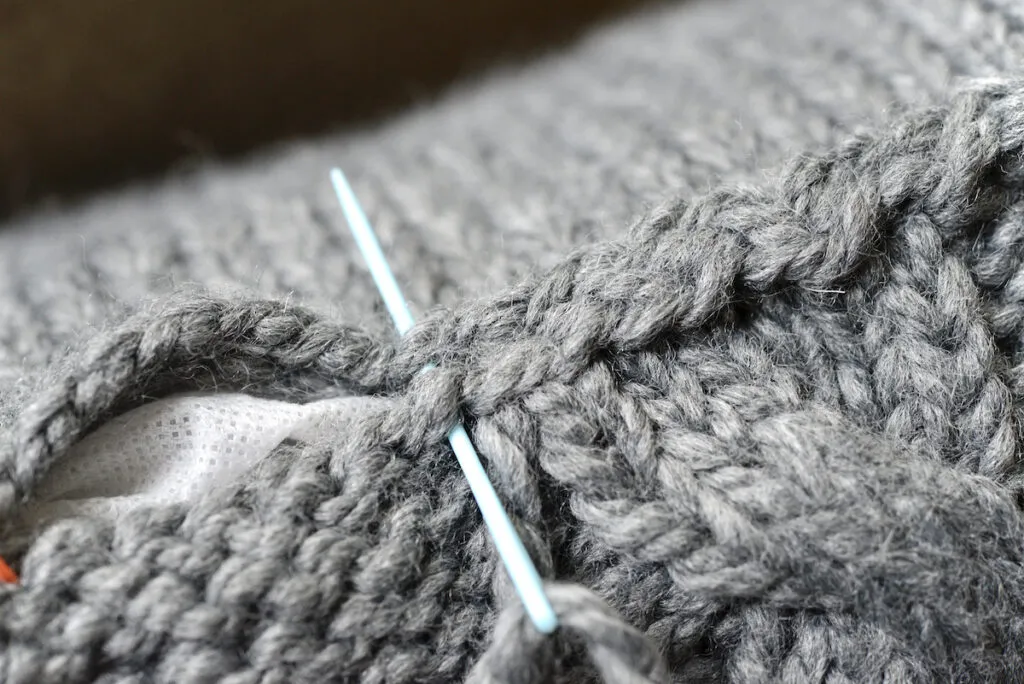 closing the seam of chunky knit pillow with darning needle
Step 7: Insert Your Pillow and Enjoy!
Turn your pillow cover right side out. Insert your pillow form and adjust it as needed.
 chunky knit pillow on sofa with cat
Tips for Success:
- Practice Makes Perfect: Don’t be afraid to experiment and try different cable stitch patterns. The more you practice, the more confident you’ll become.
- Choose the Right Yarn: Super bulky yarn is ideal for this project, as it creates a cozy and inviting texture. However, feel free to explore different yarn weights and fiber blends to achieve your desired look and feel.
- Play with Color: Let your creativity shine by choosing yarn colors that complement your décor or make a bold statement.
Congratulations! You’ve just created a beautiful, hand-knit pillow cover. Now it’s time to find the perfect spot for it in your home and enjoy the fruits of your labor.
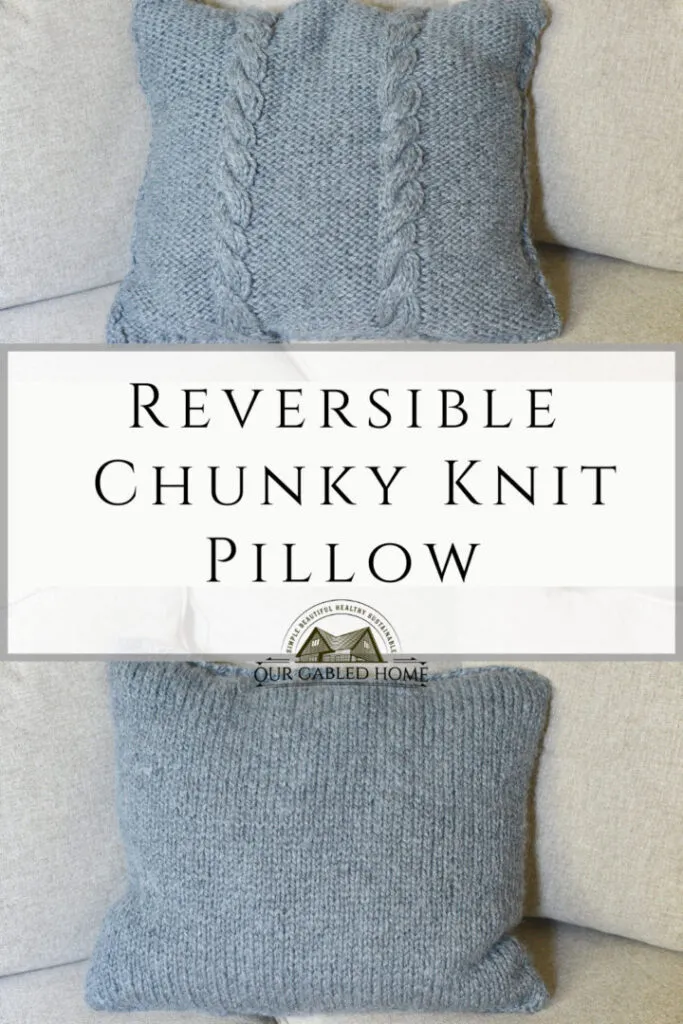 How to Knit an Easy Cozy Chunky Knit Pillow | Beginner-friendly tutorial
I encourage you to share pictures of your creations and leave a comment below telling me about your experience. And don’t forget to explore the Robert Kline Art website for more inspiring handmade gift ideas. Happy knitting!
