Blog
Knit the Perfect Tablet Sleeve: A Free and Easy Knitting Pattern

Looking for a thoughtful, handmade gift that doesn’t require endless hours? At Robert Kline Art, we love projects that are practical, stylish, and perfect for gifting! That’s why we’re thrilled to share this free knitting pattern for a cozy tablet sleeve. Whether you’re a seasoned knitter or just starting out, this easy-to-follow pattern will guide you through creating a personalized gift that’s sure to impress.
Gathering Your Knitting Supplies
Before we embark on this creative journey, let’s gather the essentials:
Yarn:
- 1 skein (50g) of Debbie Bliss Rialto DK yarn in Color A (light blue is pictured)
- 1 skein (50g) of Debbie Bliss Rialto DK yarn in Color B (mustard yellow is pictured)
Needles and Notions:
- US 6 (4 mm) straight knitting needles
- Tapestry needle for seaming and weaving in ends
Optional:
- Stitch markers can be helpful for seaming
Understanding the Knitting Pattern
This pattern uses simple abbreviations and terms to make the process smooth and enjoyable:
- CO: Cast on
- sts: Stitches
- Clr A: Color A
- Clr B: Color B
- RS: Right side
- WS: Wrong side
- sl 1 wyib: Slip 1 stitch with yarn in back
- sl 1 wyif: Slip 1 stitch with yarn in front
- rep from –: Repeat the instructions following the asterisk as directed
- BO: Bind off
Don’t be intimidated by unfamiliar techniques! We’ll be using the Icelandic Bind Off and the Mattress Stitch, both of which have excellent tutorials linked within the pattern instructions.
Knitting the Tablet Sleeve: A Step-by-Step Guide
This pattern is divided into two main sections: the front panel and the back panel. Both panels are worked in the same way, creating a symmetrical and polished look.
Front Panel
- Cast On: Using Color A and a long tail cast on method, cast on 42 stitches (or any even number of stitches to adjust the width).
- Row 1 (RS): With Color B, k1, sl1 wyib; rep from .
- Row 2 (WS): With Color B, k1, sl1 wyif; rep from .
- Rows 3-4: With Color A, repeat rows 1 and 2.
- Pattern Repeat: Repeat rows 1-4 twenty-five times total to achieve the desired length.
- Bind Off: Bind off all stitches using an Icelandic bind off and Color A.
Back Panel
Knit the back panel using the exact same instructions as the front panel.
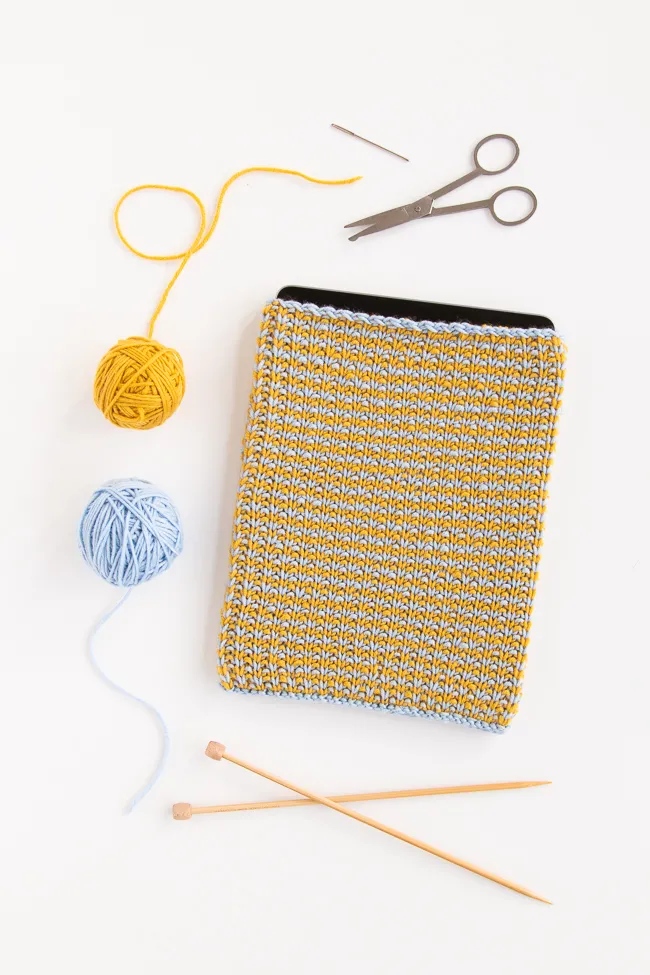
 A completed knitted tablet sleeve in shades of blue and yellow.
Assembling Your Hand-Knitted Masterpiece
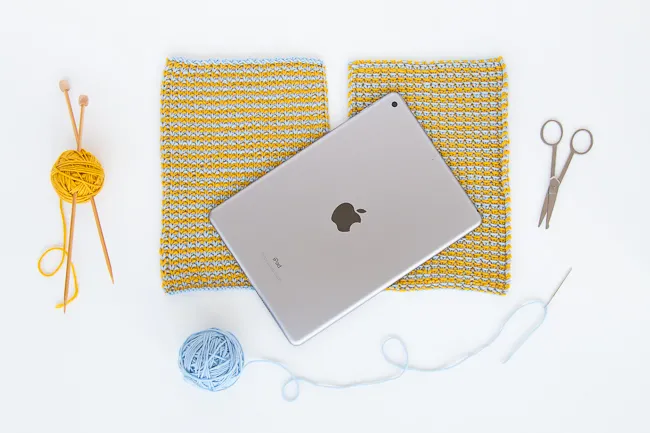
Now that you have two beautifully knitted panels, it’s time to bring them together.
Finishing Touches
- Weave in all loose ends.
- Wet block both panels to the dimensions specified in the pattern (6.8 inches by 9.6 inches). This ensures a professional finish and even stitches.
 A close-up of the knitted stitch used to create the tablet sleeve.
 A close-up of the knitted stitch used to create the tablet sleeve.
Seaming with a Modified Mattress Stitch
- Positioning the Panels: Lay your panels side by side with right sides facing up. The cast-on and bind-off edges should be aligned.
- Threading the Needle: Thread your tapestry needle with Color A yarn. The length of yarn should be approximately 2.5 times the length of the seam you’re sewing.
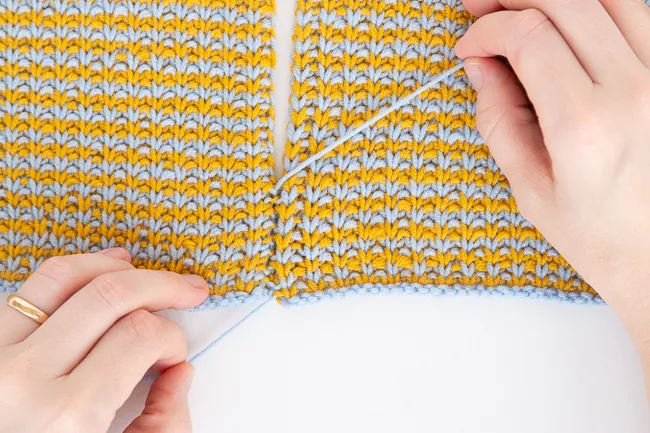
- First Stitch: Insert your needle from front to back, under the first two stitch legs at the bottom left corner of the right-hand panel. Make sure to pick up one leg of each color for this modified mattress stitch.
- Corresponding Stitch: Insert the tapestry needle under the corresponding two stitch legs on the left-hand panel and draw the thread through.
- Continue Seaming: Continue picking up two stitch legs from the right panel, followed by the corresponding two legs on the left panel. Tighten the stitches gently every few stitches to create a secure seam without bunching the fabric.
- Repeat for the Second Seam: Seam the second long side of the sleeve using the same mattress stitch technique.
- Seaming the Bottom: Use a running stitch with Color A to sew the cast-on edges of the sleeve together.
 Steps for seaming the knitted tablet sleeve together using a mattress stitch.
 Steps for seaming the knitted tablet sleeve together using a mattress stitch.
 Steps for seaming the knitted tablet sleeve together using a mattress stitch.
 Steps for seaming the knitted tablet sleeve together using a mattress stitch.
 Steps for seaming the knitted tablet sleeve together using a mattress stitch.
 Steps for seaming the knitted tablet sleeve together using a mattress stitch.
A Cozy Haven for Your Tablet
Congratulations! You’ve successfully knitted a charming and functional tablet sleeve. Not only will it protect your tablet from scratches, but it also makes a thoughtful, handcrafted gift for friends and family.
At Robert Kline Art, we believe that the most meaningful gifts are made with love and creativity. Don’t hesitate to experiment with different color combinations and personalize your sleeve to make it truly unique.
We’d love to see your creations! Share your finished tablet sleeves with us on social media.
Looking for more inspiring craft ideas and projects? Explore the world of handmade creativity at Robert Kline Art! We offer a curated selection of unique gifts, DIY inspiration, and so much more.
